Will Polyurethane Even Out Stain? Why the Real Fix Happens Before You Stain
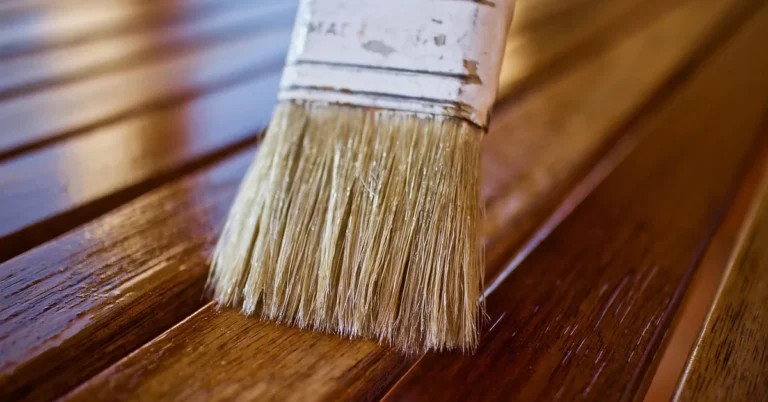
No – polyurethane will not even out an uneven stain job. It’s a clear topcoat, not a colorant, so it seals in whatever color and blotching are already on the wood and adds the same gloss level everywhere without correcting how unevenly the stain itself absorbed. What it does do is make the existing color read slightly richer and more saturated once it’s wet out under a glossy or satin sheen – which is exactly why people mistake it for “evening things out” when really it’s just uniformly amplifying color that was already uneven underneath.
Why This Confusion Happens
Best Pre-Stain Conditioner for Even Color
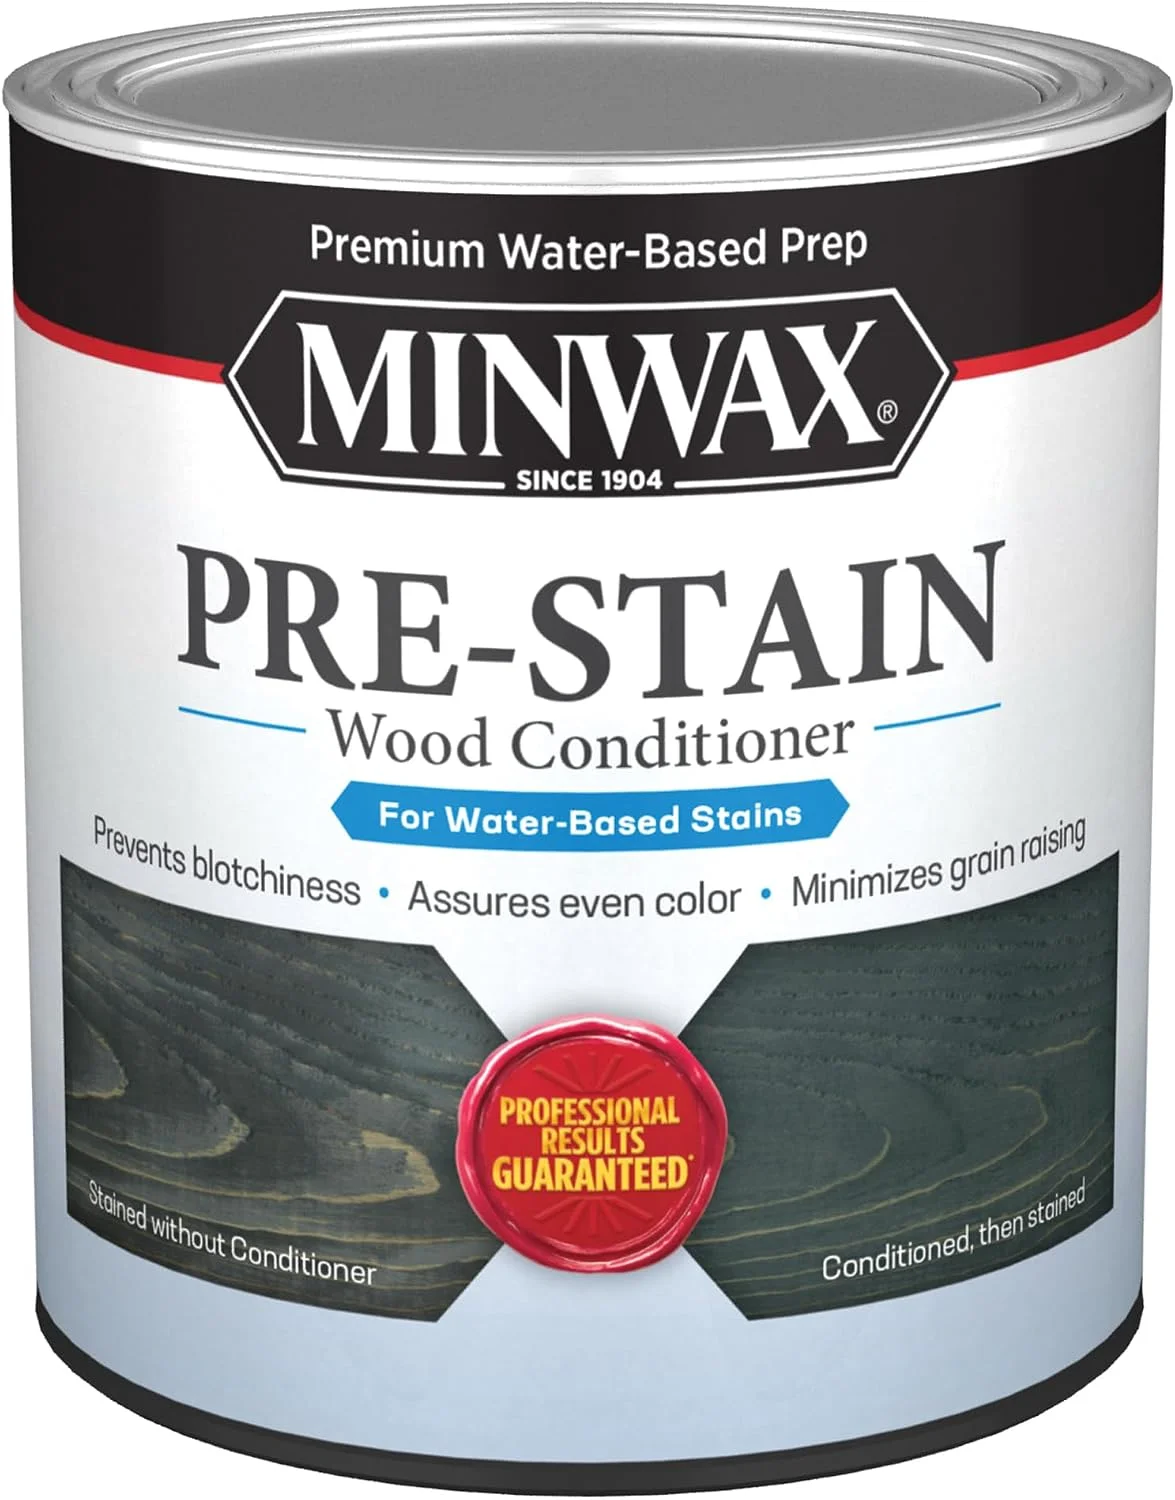 |
Minwax Pre-Stain Wood Conditioner (1 Quart) – $18.48 The actual fix for blotchy stain covered in this article – applied before stain, not after, so it partially seals the soft, over-absorbent spots in pine, birch, cherry, and maple.
|
Wet a stained board with mineral spirits or the first coat of finish and blotchy areas often look like they’ve disappeared – the extra saturation makes light and dark patches blend together visually. That effect is temporary and cosmetic: it’s happening because the finish is wetting out the wood surface uniformly, not because the underlying stain absorption became more even. Once the polyurethane cures, the same blotches you had before are still there, just under a clear, glossy layer instead of a dull one. If your unevenness is bad enough to notice in person, it will still be visible after three coats of polyurethane – possibly more visible, since a glossy sheen reflects light in a way that draws the eye to color variation rather than hiding it.
What Actually Causes Blotchy Stain
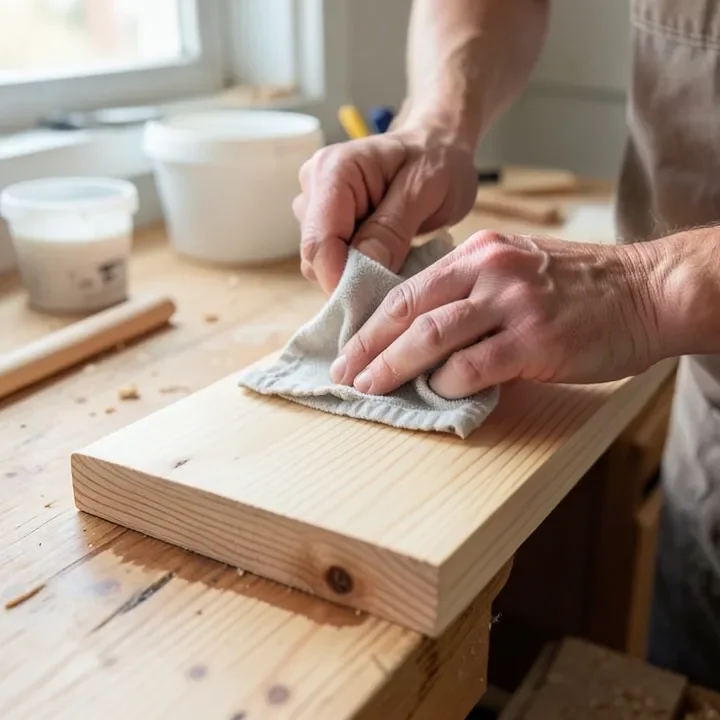
Blotching comes from uneven density in the wood itself, not from a flaw in the stain or an application mistake you can fix after the fact. Softer, less dense pockets of wood (common in pine, birch, cherry, and maple) soak up far more pigment or dye than the denser grain around them, so the same stain reads darker in some spots and lighter in others no matter how carefully you wipe it on. This is a wood-preparation problem, which means it has to be solved before the stain goes on – not covered up with a topcoat afterward.
How to Actually Get an Even Stain (Before You Ever Touch Polyurethane)
- Sand through the grits in order (typically 120 to 180 to 220) rather than jumping straight to fine paper – skipped grits leave uneven scratch patterns that absorb stain differently.
- Apply a pre-stain wood conditioner on blotch-prone species like pine, birch, cherry, and maple. It partially seals the softer areas of the wood so they can’t over-absorb pigment, which is what actually evens out the color before staining.
- Let the conditioner sit for the time the label specifies (usually 5-15 minutes) and wipe off the excess – leaving it too long or not wiping it fully can block the stain from taking at all.
- Apply the stain within the conditioner manufacturer’s recommended window, typically within 2 hours, since conditioner that’s fully cured stops helping.
- Consider a gel stain instead of a penetrating oil or water-based stain on problem woods – gel stain sits more on the surface than soaking in unevenly, which sidesteps the density problem almost entirely.
If the Stain Is Already Down and Uneven
Once stain has dried unevenly, your realistic options are to sand it back and restart with a conditioner, or to accept the variation as part of the wood’s natural character – which, on an open-grain hardwood like oak or ash, often reads as depth rather than a flaw. What doesn’t work is applying more coats of stain or a topcoat hoping it will blend on its own; extra stain coats usually just darken the whole piece without correcting the unevenness, and polyurethane – as covered above – locks the pattern in rather than fixing it.
What Polyurethane Is Actually Good For Here
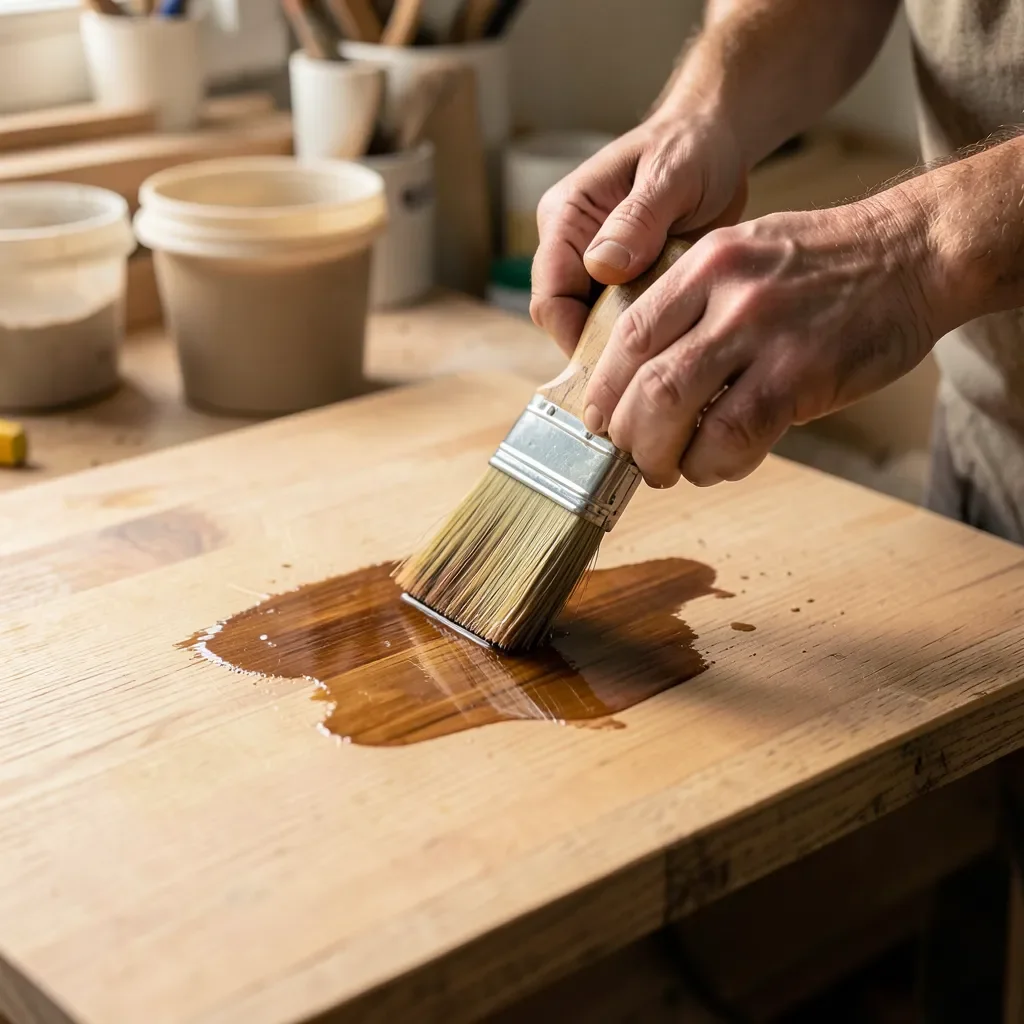
Once your stain color is actually even, polyurethane earns its keep: it adds durability, water resistance, and a uniform sheen across the whole piece, and it does slightly deepen and saturate the stain color for a richer look. Apply it in thin coats with a high-quality brush or foam applicator, scuff-sand lightly between coats with 220-grit paper, and let each coat cure fully before the next – two to three coats is standard for most furniture and tabletop projects.
Frequently Asked Questions
Will polyurethane hide stain imperfections?
No – polyurethane is a clear topcoat, so it seals in whatever color unevenness is already there rather than correcting it. A glossy or satin sheen can actually draw more attention to blotching than a raw stained surface would. Fix unevenness before staining with a pre-stain conditioner, not after with a topcoat.
How does polyurethane affect wood stain color?
It deepens and saturates the existing color and adds a uniform sheen, which can make an already-even stain job look richer. It does not change or correct the underlying color itself – whatever variation was in the stain stays after the polyurethane cures.
Can I apply polyurethane over stained wood?
Yes. Let the stain dry fully per the manufacturer’s timeline, lightly scuff-sand with fine-grit paper to help the topcoat adhere, remove the dust, then apply thin, even coats of polyurethane with a quality brush or foam applicator.
How many coats of polyurethane are needed?
Two to three coats is standard for most furniture and tabletops, with light sanding between coats and full drying time before each new one. High-wear surfaces like floors or tabletops that see a lot of use benefit from the higher end of that range.
Sponsored / affiliate links. As an Amazon Associate I earn from qualifying purchases. I may earn additional commission from eligible campaigns.