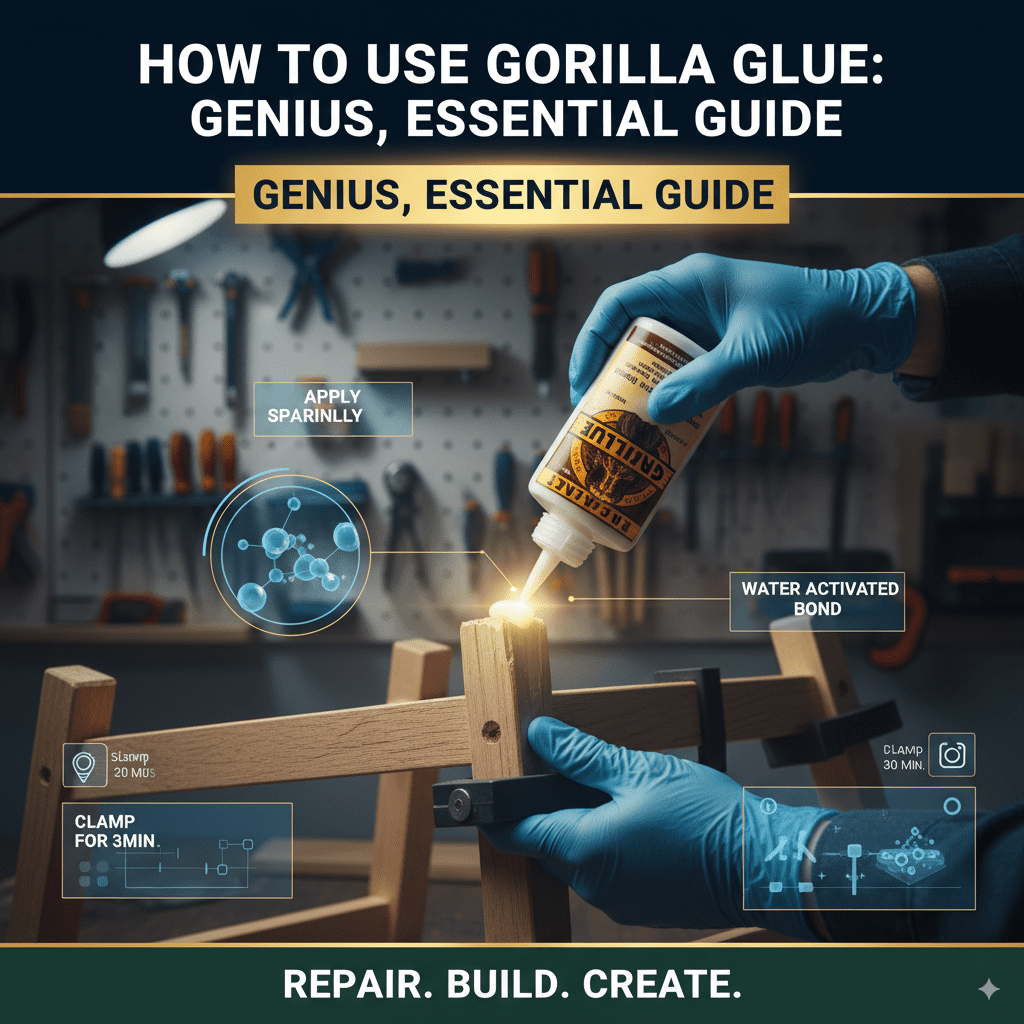
How To Use Gorilla Glue: Genius, Essential Guide
Discover the simple, effective way to use Gorilla Glue for strong, lasting bonds on almost any surface. This guide breaks down the process, ensuring you get perfect results every time, avoiding common pitfalls.
Welcome, fellow DIYers and woodworkers! Have you ever stared at that distinctive black and silver tube of Gorilla Glue, wondering how to unlock its legendary holding power? It’s a common feeling, especially when you need a truly rock-solid bond for a project. Many of us have been there, wrestling with sticky situations and hoping for the best. But don’t worry, using Gorilla Glue is much simpler than you might think, and with a few key steps, you’ll be confidently tackling repairs and building new creations. This guide is designed to demystify the process, giving you the knowledge and confidence to achieve fantastic results. We’ll cover everything from preparation to cleanup, ensuring your projects are strong and beautiful. Get ready to discover the genius of Gorilla Glue!
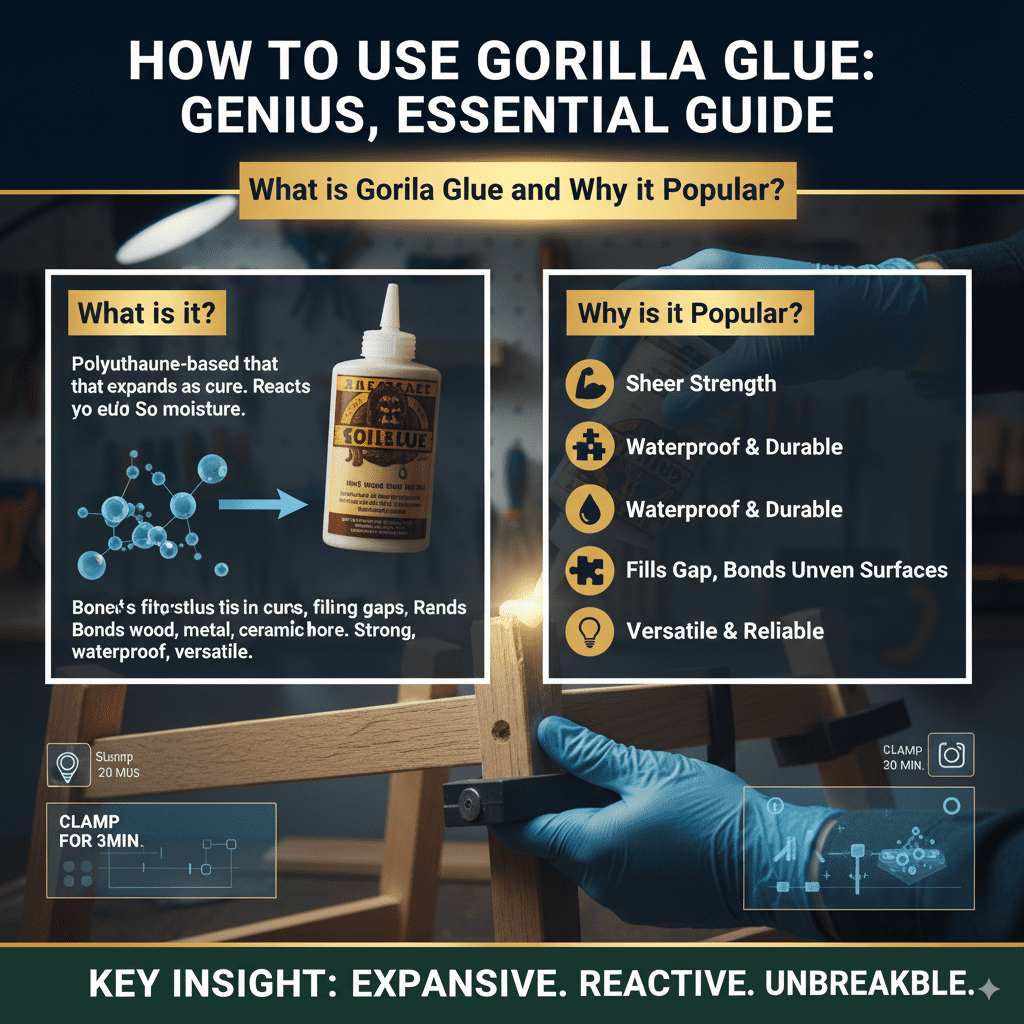
What is Gorilla Glue and Why is it So Popular?
Gorilla Glue has earned its reputation as a tough, reliable adhesive for a reason. It’s a polyurethane-based glue that expands as it cures, filling in gaps and forming an incredibly strong, permanent bond. This expansion is what makes it so versatile and effective, but it’s also the key to understanding how to use it correctly. Unlike many other glues, Gorilla Glue reacts with moisture in the air and on the surfaces you’re joining. This unique property makes it ideal for a wide range of materials, from wood and metal to ceramic and fabric. Its popularity stems from its sheer strength, its waterproof nature, and its ability to bond even uneven surfaces.
The Science Behind the Stick: Polyurethane Power
At its core, Gorilla Glue is a polyurethane. When exposed to moisture, it undergoes a chemical reaction that causes it to expand. This expansion helps it penetrate porous surfaces and create a strong mechanical lock, in addition to the chemical bond. It’s this expansion that allows it to handle slightly uneven surfaces better than some other adhesives. For a deep dive into the fascinating world of adhesives, the U.S. Department of Commerce provides excellent resources on material properties and treatments.
Getting Ready: Essential Tools and Preparation
Before you even think about squeezing that tube, a little preparation goes a long way. Having the right tools and taking a few simple steps beforehand will make the process smoother and ensure a much better outcome. Think of this as setting the stage for a successful bond.
Your Gorilla Glue Toolkit
You don’t need a vast array of specialized tools, but a few items will make your Gorilla Glue experience much easier.
Here’s what you’ll want to have on hand:
- Gorilla Glue: Of course! Choose the right type for your project – original, waterproof, wood glue, or epoxy.
- Damp Cloth or Spray Bottle with Water: Essential for activating the glue.
- Clamps: Crucial for holding your pieces together while the glue cures. A variety of clamp types can be useful.
- Protective Gloves: Gorilla Glue can be sticky and hard to remove from skin.
- Safety Glasses: Protect your eyes from any stray drips or splatters.
- Newspaper or Drop Cloth: To protect your work surface from accidental drips.
- Rubbing Alcohol or Acetone: For cleaning up uncured glue.
- Sandpaper (medium grit): For scuffing up non-porous surfaces and for post-cure cleanup.
- Applicator (optional): For precise application, a small brush or toothpick can be helpful.
Surface Preparation: The Key to a Strong Bond
The strength of your Gorilla Glue bond depends heavily on how you prepare your surfaces. This is arguably the most important step.
- Cleanliness is Crucial: Ensure the surfaces you’re bonding are clean, dry (mostly!), and free of dust, dirt, grease, oil, or any other contaminants. Use a clean cloth and perhaps a mild cleaner like rubbing alcohol for non-porous surfaces.
- Porosity Matters:
- Porous Surfaces (Wood, Fabric, Ceramic): These surfaces have a natural moisture content that Gorilla Glue can use. You’ll simply need to lightly dampen one of the surfaces with a little water. Don’t soak it – a light mist or a wipedown with a damp cloth is perfect.
- Non-Porous Surfaces (Metal, Plastic, Glass): These surfaces don’t hold moisture. You’ll need to add a bit more moisture. Lightly mist the surface with water, or apply a very light spray of the Gorilla Glue brand activator (if you have it) to one of the surfaces. Alternatively, you can lightly scuff the surface with medium-grit sandpaper to give the glue something to grip.
- Fit Check: Before applying any glue, dry-fit your pieces together. Make sure they align perfectly. Once Gorilla Glue is applied, its expansion can make repositioning difficult.
Step-by-Step: How to Use Original Gorilla Glue
Now that you’re prepped and ready, let’s get to the good stuff – applying the glue! The original formula is fantastic for a variety of repairs and projects. This step-by-step guide will walk you through it.
This process is designed for the classic, all-purpose Gorilla Glue.
Step 1: Apply the Glue
Carefully open the bottle. A small amount of glue goes a long way because it expands. Apply a moderate amount to one surface. If you’re joining two porous materials, you’ll moisten one surface (see preparation). If one or both surfaces are non-porous, you’ll need to add moisture to one surface.
Step 2: Add Moisture (If Needed)
Lightly mist one of the surfaces with water using a spray bottle, or wipe it with a damp cloth. Again, don’t saturate it. The glue needs moisture to cure, but too much water can weaken the bond.
Step 3: Join the Surfaces
Press the two surfaces together firmly. You’ll have a short working time – typically a few minutes – to adjust the alignment before the glue starts to foam and set. It’s best to work relatively quickly here.
Step 4: Clamp It
This is critical! Use clamps to hold the pieces tightly together while the glue cures. Ensure there is even pressure across the entire bond line. You want to keep the parts in place and also squeeze out any excess glue that might be trying to expand outwards unnecessarily. If glue squeezes out, that’s okay – we’ll deal with it later.
Step 5: Cure Time
Cure times can vary depending on humidity, temperature, and the amount of glue used, but generally, you’ll want to leave the clamps on for at least 2-4 hours. For a full, maximum strength bond, it’s best to let it cure for 24 hours.
Step 6: Clean Up Excess Glue
Once the glue has cured (or at least partially cured), carefully remove the clamps. If there’s dried glue that foamed out, you can often scrape it off with a putty knife or chisel. For stubborn bits, you might need to use sandpaper or a bit of rubbing alcohol or acetone on a cloth.
Specialty Gorilla Glues and When to Use Them
Gorilla Glue isn’t just a one-trick pony. They offer a range of specialized formulas designed for specific tasks and materials. Knowing which one to grab can make all the difference.
Gorilla Glue Waterproof (Clear)
This is similar to the original but dries clear, making it great for visible repairs where aesthetics matter. It’s also exceptionally waterproof, suitable for outdoor projects or items that will be exposed to moisture.
Gorilla Wood Glue
This offering from Gorilla Glue is specifically formulated for wood. It offers excellent bond strength, is water-resistant (though not as fully waterproof as the clear formula), and dries a natural tan color that blends well with most wood species. It also requires a bit less moisture to activate than the original.
Gorilla Super Glue (Ethyl Cyanoacrylate)
This is what most people think of as “super glue.” It sets very quickly, often in seconds, and requires no moisture to cure. It’s ideal for small, non-porous repairs where speed is essential, but it doesn’t expand and isn’t great for filling gaps. Be extremely careful, as it bonds skin almost instantly! You can learn more about cyanoacrylates from resources like the American Chemical Society.
Gorilla Heavy Duty Construction Adhesive
This is a powerful, flexible adhesive designed for demanding applications like mounting heavy objects or subfloors. It’s designed to bridge gaps and has a much longer cure time, allowing for adjustments.
Gorilla Epoxy
Epoxy comes in two parts that you mix together. This creates a very strong, rigid bond that is resistant to chemicals and extreme temperatures. It’s excellent for metal, glass, ceramic, concrete, and some plastics, but it’s not flexible.
Tips and Tricks for Genius Gorilla Glue Usage
As your woodworking mentor, I’ve learned a few tricks over the years that can elevate your Gorilla Glue game. These aren’t strictly necessary, but they can help you achieve even better results and avoid common frustrations.
- Less is More: Seriously, apply only what you need. That expansion can create a mess if you use too much.
- Always Clamp: I cannot stress this enough. Clamping ensures the surfaces stay perfectly aligned and provides the necessary pressure for the glue to bond effectively.
- Work in a Well-Ventilated Area: Gorilla Glue has fumes, especially when curing. Good airflow is a must.
- Speed is Key for Alignment: Once you join the pieces, you have a small window to adjust. Be ready to position them accurately.
- Don’t Rush Curing: Patience is a virtue here. Waiting the full 24 hours for maximum strength is often worth it for critical projects.
- Managing the Foam: If too much glue foams out, don’t panic. You can often trim it level with a sharp chisel or utility knife once it’s pretty firm, or sand it down once fully cured.
- For Non-Porosity Nuances: If you’re unsure about how porous a material is, doing a small test piece is always a good idea.
Troubleshooting Common Gorilla Glue Problems
Even with the best intentions, sometimes things don’t go perfectly. Here are a few common issues and how to solve them.
Problem: Glue Didn’t Foam or Bond Well
Possible Causes & Solutions:
- Not enough moisture: For non-porous surfaces, ensure you applied water or activator. For porous surfaces, try slightly more moisture next time.
- Too much moisture: If the surface was dripping wet, it can sometimes dilute the glue. Ensure it’s damp, not soaked on the next attempt.
- Incorrect glue type: Make sure you used the right Gorilla Glue for the materials.
- Surface contamination: Re-clean the surfaces thoroughly.
Problem: Glue Dripped Everywhere
Possible Causes & Solutions:
- Too much glue applied: Next time, use less.
- Inadequate clamping: Ensure your clamps are holding the pieces tightly.
- Not working on a protected surface: Always use newspaper or a drop cloth.
Clean up uncured glue immediately with a damp cloth and rubbing alcohol or acetone. Cured glue is much harder to remove.
Problem: Glue Stuck to My Fingers!
Possible Causes & Solutions:
- Not wearing gloves: This is the easiest fix. Always wear protective gloves!
- If glue is still wet: Try rubbing alcohol or acetone (use with caution and ventilation) to dissolve it.
- If glue is cured: This is tough. Gently try to peel or roll it off your skin, or soak in warm, soapy water. It will eventually wear off, but it’s not pleasant.
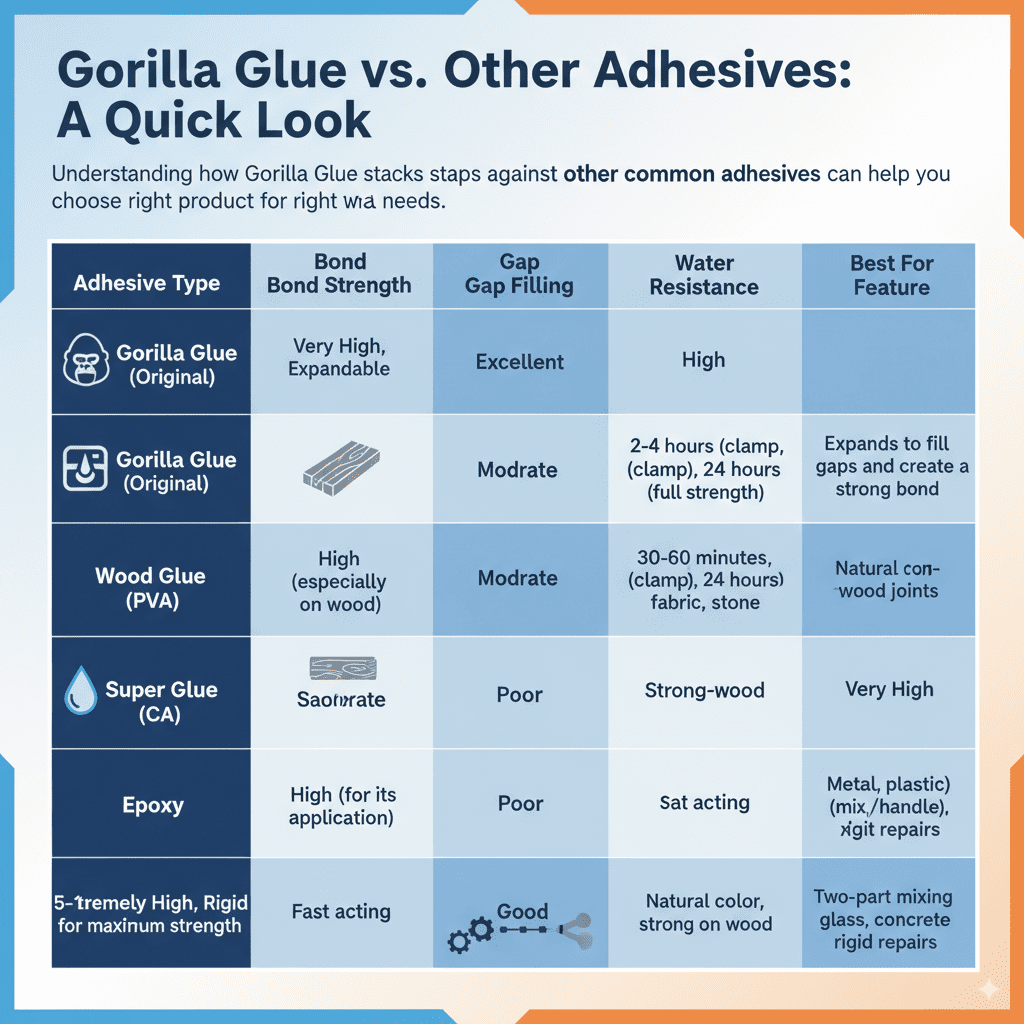
Gorilla Glue vs. Other Adhesives: A Quick Look
Understanding how Gorilla Glue stacks up against other common adhesives can help you choose the right product for your needs.
| Adhesive Type | Gorilla Glue (Original) | Wood Glue (PVA) | Super Glue (CA) | Epoxy |
|---|---|---|---|---|
| Bond Strength | Very High, Expandable | High (especially on wood) | High (for its application) | Extremely High, Rigid |
| Gap Filling | Excellent | Moderate | Poor | Good |
| Water Resistance | High | Moderate | Poor | Very High |
| Cure Time | 2-4 hours (clamp), 24 hours (full strength) | 30-60 minutes (clamp), 24 hours (full strength) | Seconds to minutes | 5-10 minutes (mix/apply), 1-2 hours (handle), 24 hours (full strength) |
| Best For | Wood, metal, ceramic, foam, fabric, stone | Wood-to-wood joints | Small, non-porous, quick fixes | Metal, plastic, glass, concrete, rigid repairs |
| Key Feature | Expands to fill gaps and create a super strong bond | Natural color, strong on wood | Fast acting | Two-part mixing for maximum strength |
Frequently Asked Questions About Using Gorilla Glue
Here are some common questions beginners have when starting with Gorilla Glue.
Q1: Can I use Gorilla Glue on all plastics?
A: Generally, yes, but it’s important to check. It bonds well with many plastics like acrylic, polycarbonate, and PVC. However, it generally does not bond well with polyethylene (like plastic bags or toys), polypropylene, or PTFE (Teflon). If you’re unsure, test on an inconspicuous area first.
Q2: How long does it take for Gorilla Glue to fully cure?
A: While you can often unclamp pieces after 2-4 hours, Gorilla Glue typically needs a full 24 hours to reach its maximum bond strength. The exact time can depend on temperature, humidity, and how much glue you used.
Q3: What’s the best way to clean up Gorilla Glue?
A: For uncured glue, use a damp cloth with rubbing alcohol or acetone (ensure good ventilation). For cured glue, you’ll likely need to carefully scrape it off with a chisel or blade, or sand it away.
Q4: Does Gorilla Glue work on foam?
A: Yes, Original Gorilla Glue is safe for use on foam products like Styrofoam®. However, it will expand, so use it sparingly. Other types of foam might react differently. Always test first.
Q5: Can I paint or stain over Gorilla Glue?
A: Yes, Gorilla Glue can be painted or stained once it has fully cured. However, the glue itself won’t take stain in the same way wood does, so the cured glue line might be visible if you’re staining. Sanding the cured glue can help it accept paint or stain better.
Q6: Is Gorilla Glue waterproof?
A: Original Gorilla Glue is water-resistant and can withstand occasional moisture exposure. For applications that will be fully submerged or in constant contact with water, it’s best to use Gorilla Glue Waterproof Clear or a dedicated waterproof epoxy.
Conclusion: Build with Confidence!
You’ve now got the essential knowledge to tackle any project with Gorilla Glue! Remember the key steps: prepare your surfaces meticulously, apply the glue sparingly, add a touch of moisture (if needed), join and clamp firmly, and give it ample time to cure. By understanding the unique properties of Gorilla Glue and following these straightforward guidelines, you’re well on your way to creating strong, durable, and beautiful projects.
Don’t be afraid to experiment with the different formulas for specific tasks. Whether you’re fixing a beloved chair, building a sturdy shelf, or undertaking a more complex woodworking project, Gorilla Glue is an invaluable tool in your DIY arsenal. Like any skill, practice makes perfect. So grab that tube, get to your workbench, and build with confidence. I can’t wait to see what you create! Happy building!