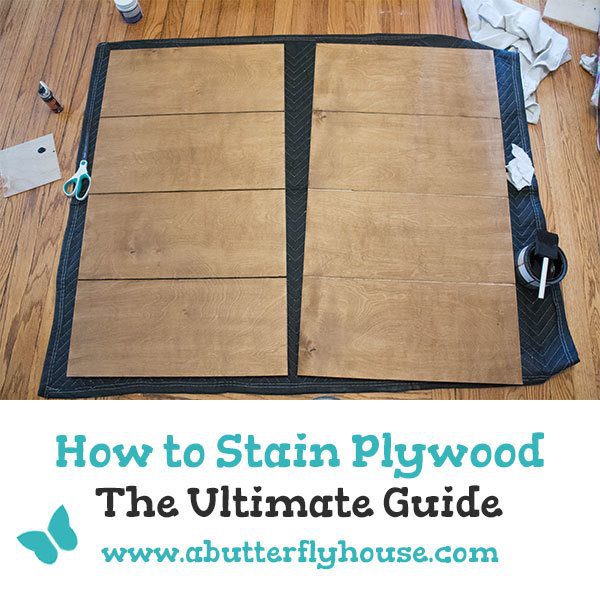
How to Fill Gaps in Plywood Walls (Small Cracks to 6-Inch Gaps)
Flexible caulk or wood filler seals plywood wall gaps up to about 1/4 inch, but wider seams need backer rod, furring strips, or a patch backed on a stud. Skip that and rigid filler pops loose within a season as the panels expand and contract with humidity. This guide covers matching filler to gap size, prepping the surface, and sealing seams so they hold for good.
Insert your Affiliate Disclosure reusable block here.
Quick Answer
Match the filler to the gap: paintable acrylic caulk for hairline cracks, wood filler or spackle up to about 1/4 inch, flexible caulk or backer rod from 1/4 inch to 1 inch, and a furring strip or plywood patch screwed into a stud for anything wider. Rigid filler alone cracks out of gaps over 1/4 inch as the panels move.

Tools and Materials Needed
Best Flexible Filler Pick
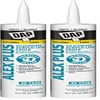
DAP Alex Plus Acrylic Latex Caulk with Silicone (2-Pack)
A flexible, paintable caulk that covers the hairline-to-1/4-inch range most plywood wall gaps actually fall into.
- Best for: hairline cracks up to about 1/4-inch seams
- Why we picked it: stays flexible through seasonal movement instead of cracking like a rigid filler
- Main drawback: not rated for gaps over roughly 1/4 inch — don’t stretch it past that
Compare more gap-filling options
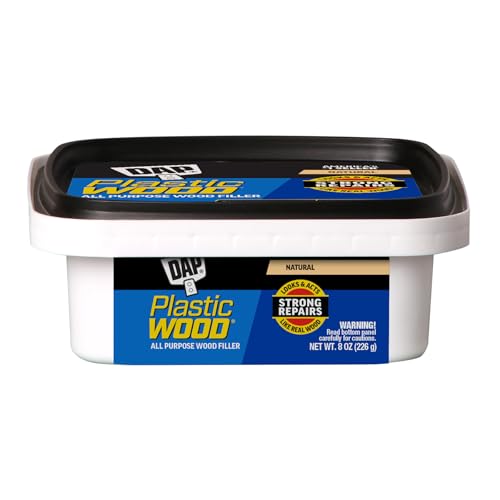
 Option 1 DAP Plastic Wood Latex Wood Filler
|
 Option 2 3M Bondo Wood Filler + Hardener
|
 Option 3 Hyde Tools Flexible Putty Knife
|
As an Amazon Associate we earn from qualifying purchases.
A few basic tools handle most plywood wall gaps: a measuring tape to check gap width, a utility knife, sandpaper in a couple of grits, and a putty knife for rigid fillers. For anything you’re sealing rather than packing, add a caulking gun — flexible caulk comes in a tube, not a tub.
Which filler you buy depends on gap size, covered in detail below. Wood filler and spackle are rigid once cured and work best on small, stable gaps. Caulk stays flexible and is the safer choice anywhere the plywood moves with the seasons.
| Tool/Material | Purpose |
|---|---|
| Measuring Tape | Measure gap width to pick the right product |
| Utility Knife | Trim old caulk or cut filler to size |
| Sandpaper | Smooth surfaces after filling |
| Putty Knife | Apply rigid filler or spackle evenly |
| Caulking Gun | Apply flexible caulk into seams |
| Paintbrush | Touch up paint after filling |
Is Every Gap in Plywood a Problem? APA’s 1/8-Inch Rule
Not every seam you can see is a defect. APA – The Engineered Wood Association recommends leaving a 1/8-inch space between plywood panel edges during installation — gauged with a standard 10d box nail — so panels have room to expand without buckling. Plywood is a natural wood product, and it shrinks and swells slightly as humidity changes through the seasons. That built-in gap is what keeps a tightly-butted wall from bowing outward in summer.
📊 APA’s official spacing guidance: leave 1/8 inch between plywood panel edges, gauged with a 10d box nail. — Source: APA – The Engineered Wood Association, Builder Tips Form M300
A gap close to 1/8 inch that doesn’t let light or a draft through usually doesn’t need filling at all — it’s doing its job. The gaps worth fixing are the wider ones: from a rushed install, panels that have shrunk with age, or settling. How you fix those depends entirely on how wide they’ve gotten.
What Filler Should You Use for Each Gap Size?
Measure the gap before buying anything. Width is what decides whether flexible caulk, a rigid filler, or a physical patch will actually hold — get this wrong and even a well-applied filler pops back out within a season.
| Gap Size | Best Fix | Why |
|---|---|---|
| Hairline / under 1/16″ | Paintable acrylic caulk | Thin bead flexes with seasonal movement, disappears under paint |
| 1/16″ – 1/4″ | Wood filler or spackle | Fills solid without much shrinkage; sand smooth once cured |
| 1/4″ – 1″ | Flexible polyurethane caulk, or backer rod plus caulk | Bridges the gap without cracking as panels expand and contract |
| Over 1″ | Furring strip, wood strip, or plywood patch fastened to a stud | Filler alone can’t bridge it and will fail within months |
Rigid fillers — wood filler, epoxy, spackle — look great the day you apply them, but they only belong in gaps at or under about 1/4 inch. Past that width, the plywood’s normal seasonal movement flexes more than a rigid patch can absorb, and it cracks loose at the edges. Anything wider needs a flexible sealant or, once you’re past an inch, something physical bridging the gap rather than just filling it.
Preparation Before You Start
Clean the surface of the plywood wall with a damp cloth to remove dust and dirt — filler and caulk both bond poorly to a dusty seam. Make sure the area is well-ventilated; open a window or door before you start.
Wear safety goggles and a dust mask, especially when sanding, and keep kids and pets out of the workspace while fumes are settling. Gather every tool and product you’ll need before you start so the job runs in one pass.
Filling Small Gaps: Step-by-Step
For gaps up to about 1/4 inch, wood filler or caulk gets the job done. Follow these steps for a clean, seamless result:
- Clean the gap: Brush out dust and debris from the seam.
- Apply the product: Apply the chosen filler or caulk using a putty knife or caulking gun.
- Smooth it: Smooth the surface for a clean, flush finish.
- Let it cure: Allow the product to dry or cure completely before sanding.
- Sand: Sand the area lightly for a seamless look.
Addressing Larger Gaps
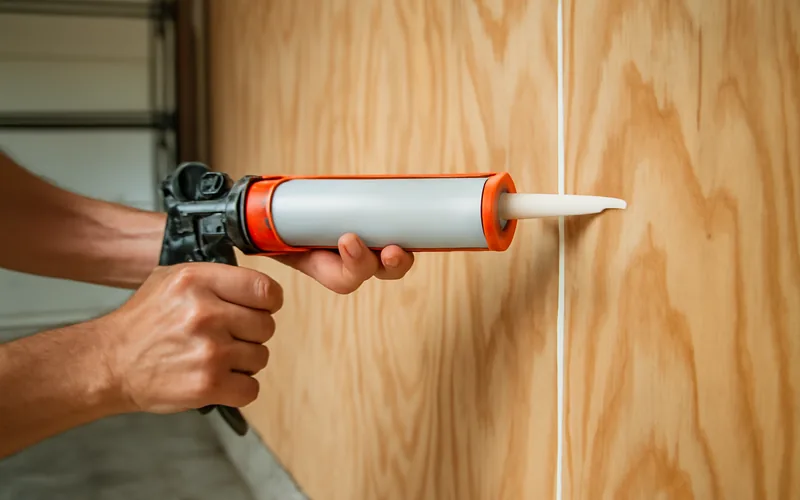
Larger gaps in plywood walls — roughly 1/4 inch to an inch — call for a flexible polyurethane caulk, backed with foam backer rod if the gap is deep. Past about an inch, skip filler altogether and bridge the gap with a furring strip, wood strip, or a plywood patch instead; it gives a stronger, more natural-looking result than trying to pack a wide void with paste.
Whatever spans the gap, make sure it lands on a wall stud. An unsupported strip or patch flexes independently from the framing behind it, and the sealant along its edges fails within a few months even when the material itself is fine. Secure it with wood glue or screws driven into the stud, not just into the plywood face.
“We check a gap with a putty knife before picking a product — if the blade slips in past the first knuckle, no caulk gun is closing that alone. That’s furring-strip territory.”
Once the strip, patch, or wide bead of caulk has cured, sand the surface and paint or stain to match the rest of the wall.
Sanding for a Smooth Finish
Work through grits in order: coarse grit to knock down rough excess filler, medium grit to level the surface, then fine grit for the final smooth pass.
- Sand in the same direction as the wood grain.
- Use even pressure across the sandpaper.
- Use a sanding block on flat sections for a consistent surface.
- Clear dust off the sandpaper often so it keeps cutting.
- Check your progress by hand frequently rather than relying on sight alone.
Painting and Sealing
Test your paint color on a small patched area first — filler and the surrounding plywood can absorb paint differently, and a full repaint of plywood walls is worth planning for if the patches are extensive. Let caulk cure fully — most flexible caulks need 24 to 72 hours — before you paint over it; painting too soon can crack the bead or leave a dull, uneven finish.
Apply a quality sealant evenly once painting is done, and let it dry completely. Estimate coverage before you buy so you’re not short mid-job, and check for any gaps you missed before calling the wall finished.
Maintenance Tips
Check seams and joints a couple of times a year for new gaps, especially after the first full heating and cooling season, when plywood does most of its moving. Watch for moisture staining, which shows up before a gap becomes visible.
Keep plywood walls clean and dry, and reapply sealant every few years in areas exposed to humidity swings, like garages and unfinished basements. A dehumidifier helps stabilize humidity in spaces prone to warping or new gaps opening up.
Common Mistakes When Filling Plywood Wall Gaps
- Using rigid filler past 1/4 inch. It looks fine on day one, then cracks out by the next season as the panels move.
- Filling every visible seam on sight. Normal 1/8-inch install spacing doesn’t need filling — packing it solid removes the room panels need to expand.
- Skipping the stud when bridging a wide gap. An unsupported patch flexes on its own and the seal around it fails first.
- Painting over caulk before it’s cured. Most flexible caulks need 24–72 hours; paint applied too soon cracks or dulls.
- Not cleaning the gap first. Filler and caulk bond poorly to dust and debris, and the repair loosens early.
Frequently Asked Questions
How Do You Fill Gaps in Plywood Walls?
Clean the gap, then apply wood filler or caulk with a putty knife or caulking gun depending on the product. Smooth it while it’s workable, let it cure fully, then sand it flush for a seamless finish.
What Materials Are Best for Plywood Wall Gaps?
Wood filler or spackle for gaps up to about 1/4 inch, flexible caulk for gaps up to roughly an inch, and a furring strip or plywood patch fastened to a stud for anything wider. Match the product to the width, not the location.
Is a Small Gap Between Plywood Sheets Normal?
Yes. APA – The Engineered Wood Association recommends a 1/8-inch gap between panel edges at installation so the plywood has room to expand. If a gap is close to that width and isn’t letting in light or a draft, it’s likely doing its job rather than signaling a problem.
Will Wood Filler Crack in a Plywood Wall Gap Over Time?
It can, if the gap is wider than about 1/4 inch. Wood filler cures rigid, and plywood keeps expanding and contracting slightly with humidity — past that width, the movement outpaces what a rigid filler can flex with, and it cracks loose at the edges. Switch to a flexible caulk for wider seams.
Can You Use Joint Compound Instead of Wood Filler on Plywood Walls?
Yes, for cosmetic seams and minor imperfections — see our guide on using joint compound on plywood walls for how it compares to joint compound on plywood more generally. It sands smoother than most wood fillers but is more rigid, so keep it to the same sub-1/4-inch gaps rather than wider structural seams.
Can I Use Paint to Fill Plywood Gaps?
Paint alone can hide the thinnest hairline gaps but isn’t a substitute for filler. Fill the gap with the right product first, let it cure, then paint over the repair for a finish that actually holds.
How Do I Prepare Plywood Before Filling Gaps?
Wipe the surface down with a damp cloth to clear dust and debris, then inspect for any larger holes or cracks nearby. Lightly sand rough edges around the gap so the filler or caulk has a clean surface to bond to.
Conclusion
Match the filler to the actual gap size and most plywood wall seams are a short job: caulk or wood filler under a quarter inch, a stud-backed strip for anything wider. Skip the guesswork of over-filling normal 1/8-inch install gaps, and confirm any patch lands on a stud — that’s what keeps the repair from reopening next season.
Sponsored / affiliate links. As an Amazon Associate I earn from qualifying purchases. I may earn additional commission from eligible campaigns.