How to Bring Out the Natural Color of Wood (5 Methods Compared)
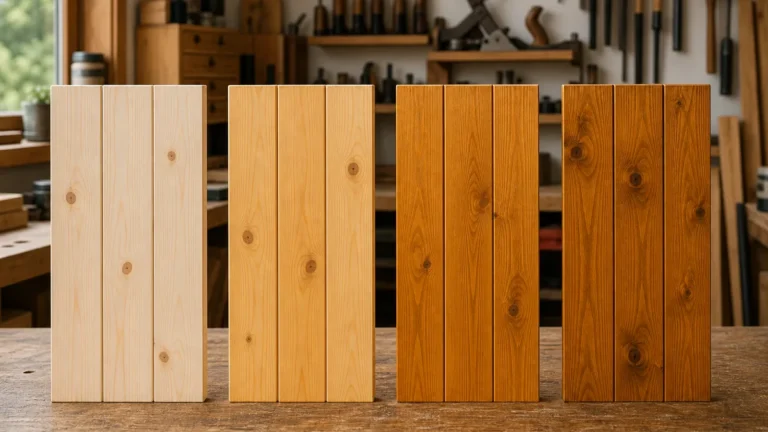
A clear finish, natural oil, or wax reveals wood’s own color — a colored stain does not, since stain adds pigment on top of it. Choose wrong and you either bury the grain under a heavy topcoat, or watch straight tung oil amber several shades darker within a year. See our full wood finishing guide for how these methods fit alongside stains and sealers generally. This guide compares Danish oil, tung oil, wax, and water-based sealer by color stability, plus the sanding grit and pre-stain conditioner blotch-prone woods like pine and cherry actually need.
Quick Answer
Sand with the grain through 120, 180, then 220 grit, wipe with a tack cloth, then apply Danish oil for the best balance of color-stability and protection. Use straight wax if you want the closest match to raw wood, or a water-based sealer if you want zero color shift at all. Skip colored stain entirely — it changes the wood’s color instead of revealing it.
What You Need
Best All-Around Pick
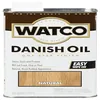
Watco Danish Oil Wood Finish, Natural
A penetrating oil/varnish blend that reveals the wood’s own tone without heavy ambering, and resists yellowing better than pure tung oil.
- Best for: furniture and cabinetry where you want color stability plus real protection
- Why we picked it: best balance of the 4 methods below — more durable than wax, more color-stable than straight tung oil
- Main drawback: still adds a slight amber tint on application, so it’s not a zero-color-change option
Compare more natural-finish options
 Option 1 Hope’s 100% Pure Tung Oil
|
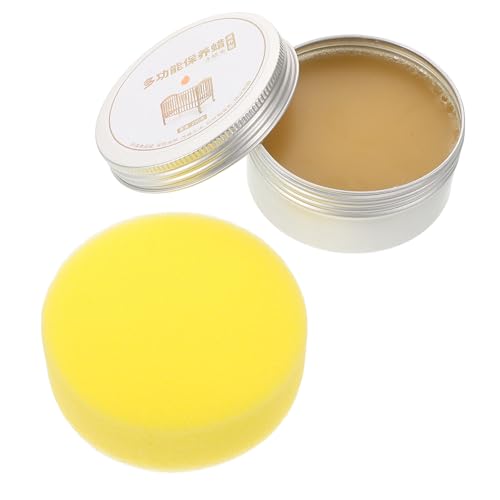
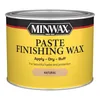 Option 2 Minwax Paste Finishing Wax, Natural
|
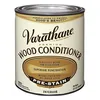 Option 3 Varathane Premium Wood Conditioner
|
As an Amazon Associate we earn from qualifying purchases.
- 120, 180, and 220-grit sandpaper (or a random orbital sander with matching discs)
- Tack cloth or a lint-free rag dampened with mineral spirits
- Pre-stain wood conditioner (only needed for blotch-prone species — see below)
- Your chosen finish: Danish oil, tung oil, paste wax, or a water-based clear sealer
- Foam brush or 100% cotton rag for application
- Nitrile gloves and a metal container of water (oily rags can self-combust as they dry — never bunch them in a trash can)
What Actually Reveals Wood’s Natural Color (vs. What Changes It)
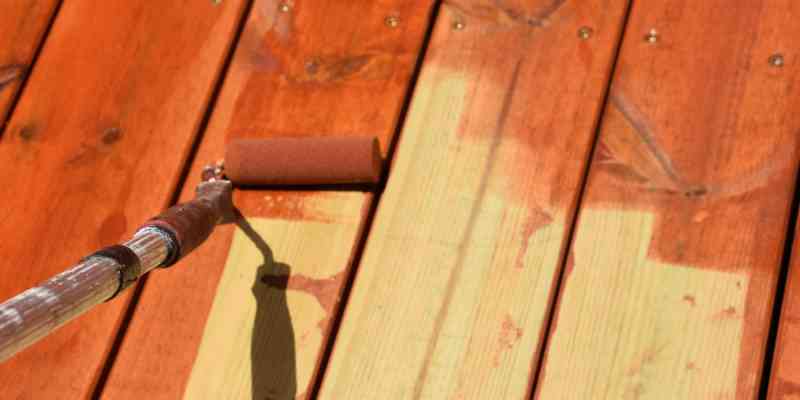
Revealing wood’s natural color means removing what’s hiding it — dust, old wax, UV-dulled fibers, mill glaze — and then sealing the bare surface with something that stays clear or nearly clear. Changing the color means adding pigment or dye on top of the wood, which is what stain does. The two goals get mixed up constantly, including in a lot of finishing advice online, because both start with the same sanding step.
If the goal is the wood’s own color, cross stain off the list. Every stain, even a “natural” or “clear” labeled one, either tints the wood or leaves a film that shifts how light bounces off it. What’s left are four real options: a water-based clear sealer, wax, Danish oil, and pure tung oil (if the actual goal is a different shade entirely, see how to change the color of wood instead) — each of which affects the wood’s color differently over time, not just on day one.
Sand the Surface the Right Way First
Start at 120 grit to knock down mill marks, old finish residue, and surface grime, working in long strokes with the grain — never across it, since cross-grain scratches show up as pale streaks once a clear finish darkens the surrounding wood. Move to 180, then finish at 220. Stopping at 120 leaves the surface too rough to take an even finish; going past 220 on softwoods can burnish the fibers and make them resist the finish instead of absorbing it.
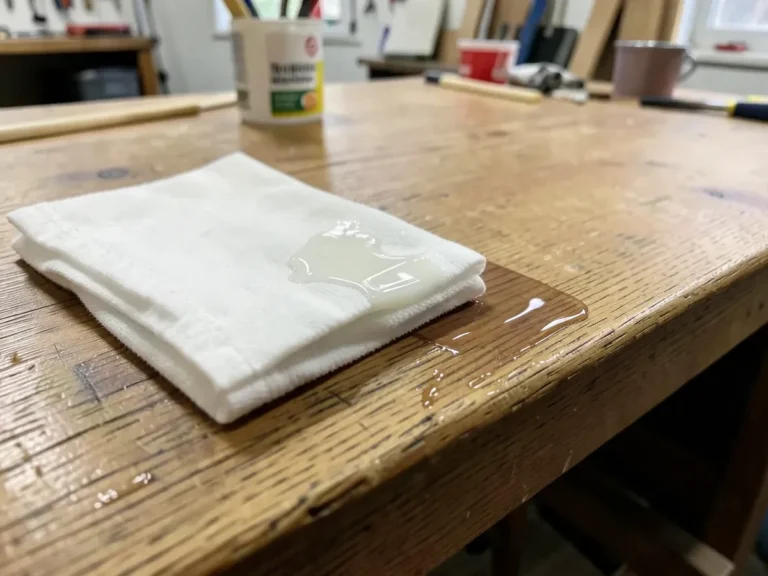
Wipe the dust off with a tack cloth or a rag lightly dampened with mineral spirits between every grit change, not just at the end. Dust left behind gets pushed into the grain by the next sanding pass and shows up as a faint gray cast once the finish goes on.
Compare the 4 Ways to Reveal Wood’s Natural Color
Every one of these keeps the wood’s own color instead of adding pigment — but they don’t behave the same way over time. This is the comparison none of the top-ranking pages on this topic actually run side by side:
| Method | On Application | Long-Term Color Shift | Reapply Every | Best For |
|---|---|---|---|---|
| Water-based clear sealer | Little to no color change | Minimal — resists yellowing longest | 3–7 years | Keeping the newest, truest wood tone |
| Paste wax | Slight warm tint while wet, fades as it dries | Minimal | 3–6 months | Truest raw-wood look, light-use pieces |
| Danish oil | Slight amber, satin-to-semi-gloss sheen | Low — resists further yellowing | 6–12 months | Balance of color stability and protection |
| Pure tung oil | Warm amber, matte sheen | Highest — keeps deepening with age and UV | 6–12 months | Pieces meant to develop a rich patina over years |
📊 Pure tung oil needs 3–6 thin coats to properly saturate the wood, versus 1–2 coats for Danish oil or a water-based sealer. — Source: Furniture Clinic wood-finishing product comparisons, 2026
Pre-Stain Conditioner: When Blotch-Prone Woods Need It First
Pre-stain wood conditioner is a thin, fast-drying liquid that partially seals open-pored softwoods so they absorb oil or finish evenly instead of soaking it up unevenly. Skip it on the wrong wood and the result is blotchy, mismatched patches even though the finish itself is applied correctly.
Which Woods Actually Need It?
- Needs it: pine, cherry, birch, maple, alder — tight, irregular grain that absorbs finish unevenly
- Usually doesn’t: oak, walnut, mahogany, ash — open, consistent grain that takes finish evenly on its own
Brush or wipe the conditioner on, let it sit 5–15 minutes (check the can — times vary by brand), and apply your chosen finish within 2 hours while the wood is still receptive to it. Waiting too long defeats the purpose, since the conditioner fully cures and stops helping absorption evenly. Deciding between oils specifically? See tung oil versus teak oil.
Does Sunlight Really Bring Out Wood’s Color?
Yes, to a real and measurable degree — it’s just not a shortcut you can rush. Raw or freshly oiled wood exposed to indirect sunlight oxidizes at the surface, which is the same chemical process that ambers tung oil and darkens cherry over time. This pairs well with proper prep work — see our guide on how to bring out wood grain texture for the sanding and brushing techniques that work alongside color. A few days of even, indirect light (never direct sun, which can bleach and crack the surface unevenly) deepens and evens out the tone before a final coat locks it in.
“In the shop, wiping a bit of straight wax or mineral spirits onto a scrap end is the fastest way to preview what a raw board will actually look like finished — it shows the wet-look color shift almost every clear finish produces, without committing a full coat to the whole piece.”
Common Mistakes That Dull the Result
- Sanding across the grain instead of with it: cross-grain scratches trap finish and show up as pale lines once the surrounding wood darkens.
- Applying too much product at once: excess oil or wax pools, dries tacky, and dulls the sheen instead of deepening the color.
- Skipping the scrap test: every wood species and even different boards from the same tree take a finish slightly differently — test first, always.
- Over-sanding past 220 grit on softwood: this burnishes the surface fibers so they resist the finish instead of absorbing it evenly.
- Storing oily rags in a pile or a trash can: the oxidation that darkens tung and Danish oil also generates real heat — lay rags flat outside to dry, or submerge them in water, before disposal.
How to Maintain the Color Once It’s Right
Dust weekly with a soft, dry cloth — grit left on the surface acts like fine sandpaper every time something slides across it, and slowly dulls the sheen. For deeper cleaning, use a barely damp cloth with mild soap and dry immediately; standing water is what actually causes the gray blotching people blame on “aging.”
Reapplication schedule depends entirely on which method was used — see the comparison table above. Wax needs the most frequent attention (every 3–6 months); a water-based sealer needs the least (3–7 years). Always sand very lightly with 220 grit before a fresh coat so the new layer bonds instead of sitting on top as a hazy film. Curious whether a specific product darkens wood instead of just protecting it? See does mineral oil darken wood.
Step-by-Step: Reveal the Natural Color
- Clean the surface: wipe off dust, grime, and any old wax with a barely damp cloth, then let it dry fully.
- Sand with the grain: work through 120, 180, and 220 grit in long strokes, never across the grain.
- Wipe away dust: use a tack cloth or a rag dampened with mineral spirits between every grit change.
- Test on scrap or a hidden spot: apply your chosen finish to an inconspicuous area first and let it dry fully before committing.
- Apply pre-stain conditioner if needed: only for blotch-prone species like pine, cherry, or birch; skip it on oak or walnut.
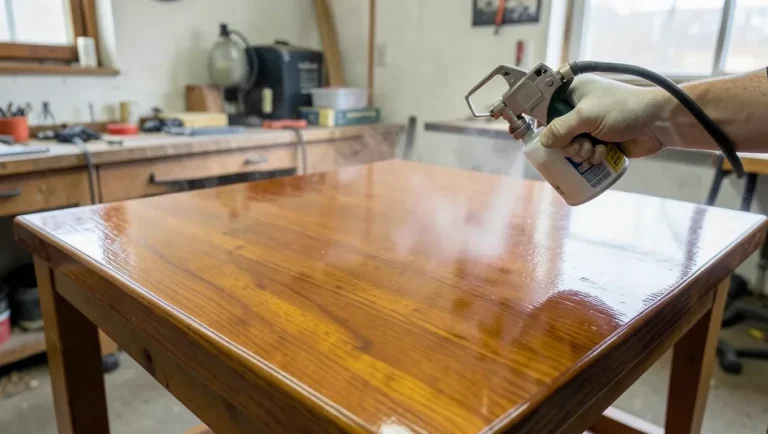
- Apply the finish: Danish oil, tung oil, wax, or a water-based sealer, following that product’s coat count and dry time.
- Let it cure, then set a reapplication reminder: based on the method chosen (see the maintenance section above).
Frequently Asked Questions
Does staining wood bring out its natural color?
No — staining changes the wood’s color by adding pigment or dye on top of it, rather than revealing what’s already there. If the goal is the wood’s own color, use a clear finish, oil, or wax instead of any stain, even one labeled “natural” or “clear.”
What’s the best oil to bring out wood’s natural color?
Danish oil gives the best balance for most projects — it resists further yellowing better than pure tung oil while still adding real protection. Choose pure tung oil instead if you want the wood to keep deepening into a warm amber patina over the coming years.
Will tung oil darken wood over time?
Yes. Pure tung oil ambers on application and continues to deepen with age and UV exposure, more than any of the other three methods in this guide. Danish oil, wax, and water-based sealer all hold their color far more consistently over time.
Can I seal wood without changing its color at all?
A water-based clear sealer comes closest to zero color change of any protective finish, though it will still look faintly wet or satin compared to bare, unsealed wood. True zero change only happens with no finish at all, which leaves the wood unprotected from moisture and staining.
Do I need to sand before applying oil or wax to bare wood?
Yes, always. Sanding through 120, 180, and 220 grit removes mill glaze, old finish residue, and surface dulling that block the finish from soaking in evenly — skipping it leads to a patchy, dull result no matter which finish you choose.
How often should I reapply the finish to maintain the color?
It depends on the method: wax needs reapplication every 3–6 months, Danish oil and tung oil every 6–12 months, and a water-based sealer every 3–7 years. High-traffic or sun-exposed pieces need the shorter end of each range.
Conclusion
Revealing wood’s natural color comes down to two decisions: sand it properly, then pick a clear finish instead of a stain. Danish oil is the safest default for most furniture and cabinetry, wax gets you closest to the raw look, tung oil earns its keep on pieces meant to age into a deep patina, and a water-based sealer holds the newest tone the longest. Match the method to how the piece will actually be used, and it will look right for years, not just on the day you finish it.
Sponsored / affiliate links. As an Amazon Associate I earn from qualifying purchases. I may earn additional commission from eligible campaigns.