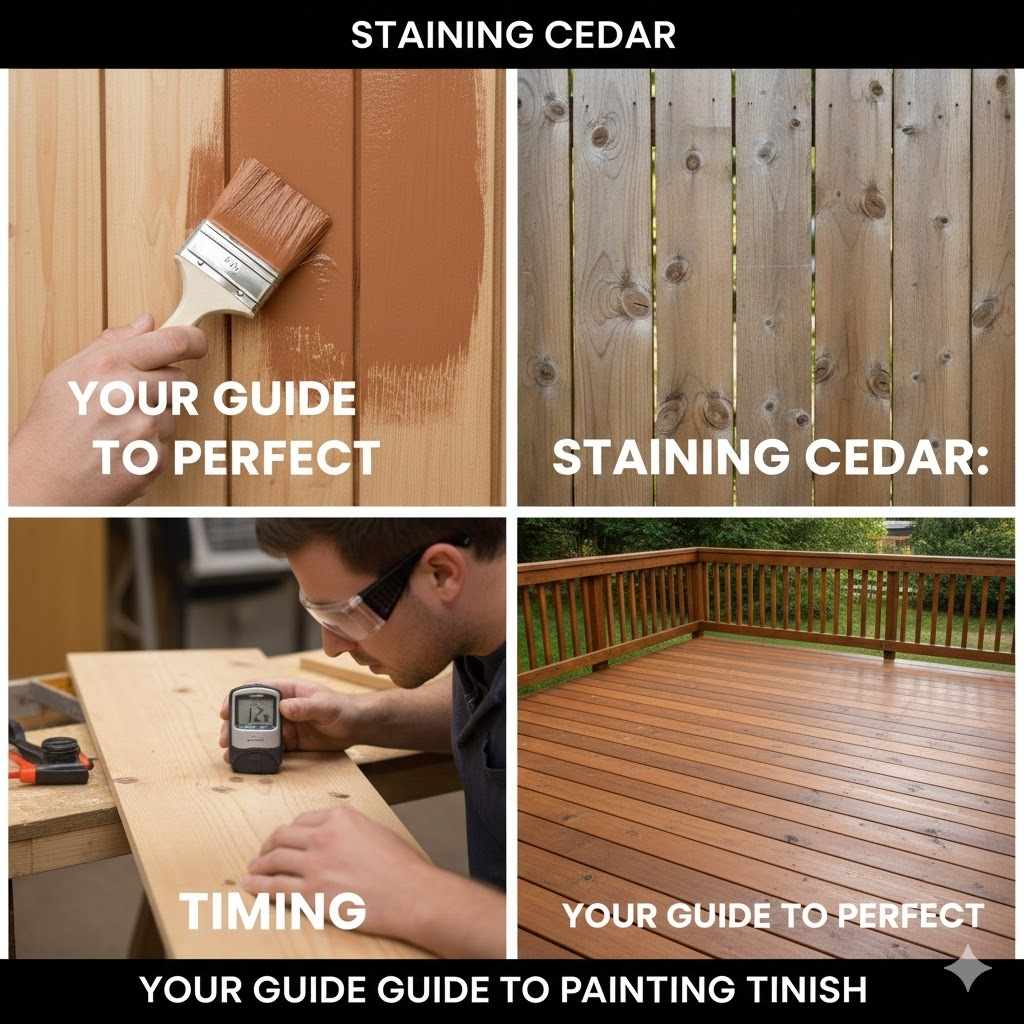
Staining Cedar: Your Guide to Perfect Timing
So, you want to know Can You Stain Cedar Right Away? Timing Guide? It’s a question many people ask when working with this beautiful wood. Figuring out when to stain cedar can seem tricky at first. Don’t worry, though! It doesn’t need to be hard. This guide will make everything easy, step by step, so you can get great results. We’ll explore the perfect time to stain and what to do before and after. Let’s begin!
The Right Time to Stain Cedar
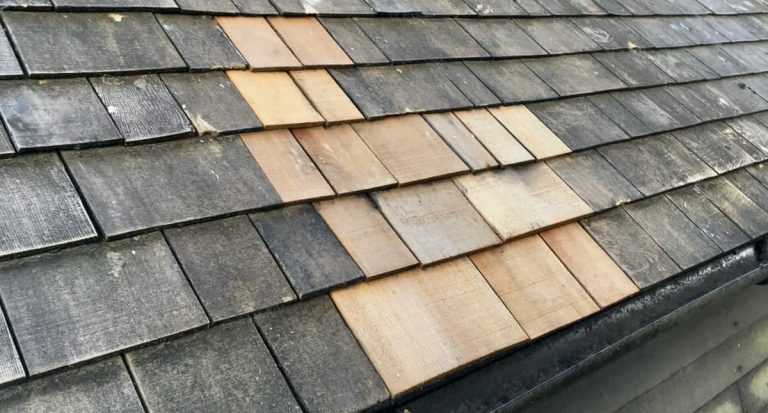
One of the biggest questions people have is: “When can I stain cedar?” The answer isn’t always simple, as it depends on several factors. Freshly cut cedar often has a high moisture content. This means it has a lot of water inside. Staining too soon can trap the moisture, leading to problems. It is key to prepare your wood well before applying any stain. Moisture, sunlight, and type of cedar all make a difference.
Moisture Content Matters
Moisture content is how much water is in the wood. It’s a big factor in when you can stain. When cedar is freshly cut, it’s full of water. You need to let it dry out a bit. The best time to stain is when the moisture content is low enough. If it is too wet, the stain will not soak in properly. You can buy a moisture meter to check your wood’s moisture. This tool tells you exactly how wet the wood is.
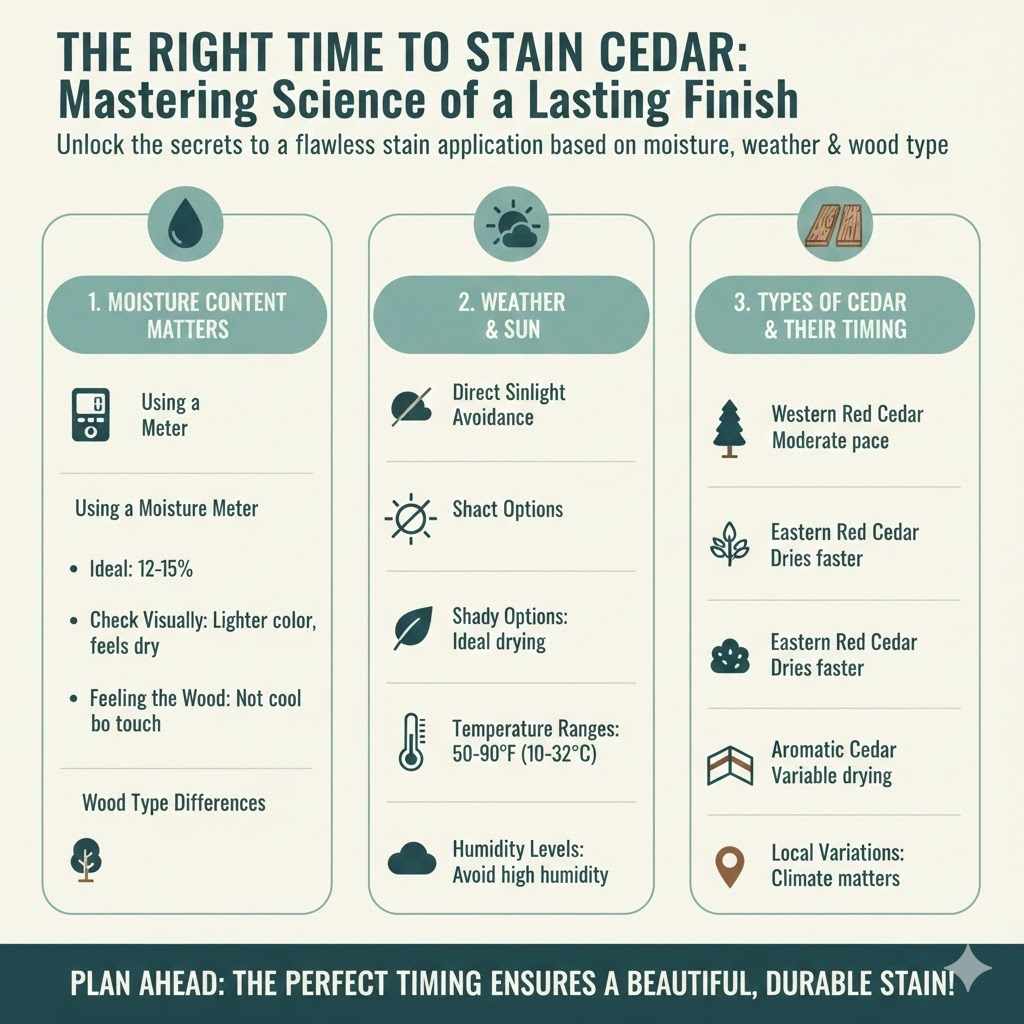
- Using a Moisture Meter: A moisture meter will give you a reading. The ideal moisture content for staining cedar is around 12-15%.
- Checking Visually: Look for signs of drying, such as color changes. The wood might appear lighter as it dries.
- Feeling the Wood: Does the wood feel cool to the touch? If so, it might still have too much moisture.
- Wood Type Differences: Different types of cedar can have varying drying times. Consider the specific type you’re using.
Knowing the moisture content prevents problems later. It helps you avoid things like the stain peeling or blistering. The right moisture level means your stain will look great and last longer. You can usually find a moisture meter at any hardware store.
Considering Weather and the Sun
Weather and the sun play a vital role. Sunlight and heat help cedar dry faster. So, working on a sunny day can be helpful. However, avoid staining in direct, scorching sunlight. It can cause the stain to dry too quickly. This can lead to uneven coloring. The best conditions are usually warm with mild sunlight or shade.
- Direct Sunlight Avoidance: Direct sun can cause uneven drying.
- Shady Options: Staining in a shaded area can provide ideal drying conditions.
- Temperature Ranges: Most stains work best in temperatures between 50-90°F (10-32°C).
- Humidity Levels: Very high humidity can slow down drying.
Keep an eye on the forecast. A dry day with gentle sun is the best. The goal is even drying. It makes your stain look its best and helps it last. By watching the weather, you can set yourself up for staining success.
Types of Cedar and Their Timing
Different types of cedar vary in drying times. Western red cedar is a very common choice. It dries at a moderate pace. Eastern red cedar is another popular option. It tends to dry a bit faster. Knowing your cedar type helps with your timing.
- Western Red Cedar: Commonly used, dries at a moderate pace.
- Eastern Red Cedar: Usually dries more quickly.
- Aromatic Cedar: Often used for its scent; drying times may vary.
- Local Variations: The climate where the cedar is located can influence the drying rate.
If you’re unsure about the type of cedar, ask your lumber supplier. They can provide specific advice. This information will help you plan your project. Always keep the type of cedar in mind, as it affects the overall staining process.
Preparation Before Staining Cedar
Proper preparation is key to a beautiful finish. This step is just as key as the timing. Before you even think about staining, you must prep the wood. It means making sure the wood surface is clean, smooth, and ready. Take your time with this part. It will make a huge difference in the final look.
Cleaning the Cedar Surface
Start by cleaning the cedar. This removes dirt, dust, and any old finishes. You want a clean surface for the stain to stick to. A clean surface allows for the stain to penetrate and bond properly. This leads to a better finish and longer-lasting results. Skip this step at your own risk. It will impact the final product.
- Sweeping or Vacuuming: Remove loose debris.
- Using a Wood Cleaner: Apply a wood cleaner designed for cedar.
- Pressure Washing (With Caution): Use low pressure to avoid damaging the wood.
- Rinsing Thoroughly: Remove all traces of the cleaner.
A clean surface ensures the stain adheres evenly. Think of it like washing your car. If you don’t wash it, the wax won’t stick well. Clean cedar helps the stain work the way it is supposed to. This makes your project look professional and beautiful. After cleaning, let the wood dry completely before you do anything else.
Sanding the Cedar
Sanding is another important step. Sanding smooths the surface. It opens up the wood’s pores, allowing the stain to absorb better. Sanding improves how the stain looks and how well it lasts. It also gets rid of splinters or rough spots. This gives the wood a great feel.
- Choosing the Right Grit: Use medium-grit sandpaper (around 80-120 grit) for the initial sanding.
- Sanding with the Grain: Always sand in the direction of the wood grain.
- Removing Sanding Dust: Wipe away dust after sanding.
- Consider a Second Pass: A final light sanding with finer grit can give a smoother finish.
Sanding is a step you can’t skip. It is the key to a professional-looking project. Make sure you sand the wood evenly. Use a sanding block or power sander. It is very important to remove all the sanding dust. Otherwise, it will mess with how the stain absorbs.
Choosing the Right Stain
Pick the correct stain for cedar. Many options are available. Consider the look you want, the location, and the type of cedar. There are oil-based, water-based, and other stain options to pick from. Each has different features. The correct stain protects and enhances the wood’s natural beauty.
- Oil-Based Stains: These penetrate the wood well and provide good protection.
- Water-Based Stains: Easy to clean up and often have lower VOCs.
- Exterior vs. Interior Stains: Make sure you choose a stain designed for the use of your project.
- Transparency and Color: Decide on the level of transparency and the color.
Take your time picking out the stain. Read the labels and product reviews. Ask for recommendations at your local hardware store. The right stain is essential for achieving the look and protection you want. It also impacts how long your cedar lasts. Selecting the best stain for cedar is key.
Applying the Stain
After prepping the wood, it’s time to apply the stain. This is where your work comes together. Applying the stain correctly ensures a beautiful and long-lasting finish. Take your time, and follow these steps for the best results. A well-applied stain protects and enhances the natural beauty of the cedar.
Using the Right Tools
The right tools make staining easier and give you a better result. You can choose from brushes, pads, or sprayers. The best choice depends on the size of your project and your comfort level. Using the right tools will make your job more efficient. It also helps you get a smooth, even finish. Proper tools are key to a successful staining project.
- Brushes: Best for smaller projects.
- Staining Pads: Great for flat surfaces.
- Sprayers: Ideal for larger areas.
- Protective Gear: Gloves and eye protection are very important.
You can find all these tools at your local hardware store. Make sure you use good-quality tools. They will last longer and give you better results. Always clean your tools after using them. This makes them last longer and protects them for future projects.
Applying the Stain Evenly
Even application is essential. You want to avoid drips, runs, or uneven coloring. Applying the stain evenly ensures a consistent look. It also helps with the stain’s protective qualities. The way you apply the stain affects the final result. It also affects the appearance of your project. An even coat makes the cedar look more beautiful.
- Following the Grain: Apply stain in the direction of the wood grain.
- Thin Coats: Apply thin, even coats. Multiple thin coats are better than one thick coat.
- Avoiding Overlap: Prevent overlap marks by working in small sections.
- Wiping Excess: Wipe away any excess stain after a few minutes.
Take your time when applying the stain. Check your work as you go. Make sure everything looks even and consistent. This attention to detail will result in a professional-looking finish. Even application is an important step. It creates a beautiful and durable cedar finish.
Allowing Proper Drying Time
Give the stain enough time to dry. Drying time varies depending on the type of stain and the weather. Check the stain manufacturer’s instructions for the best drying time. Allow the stain to dry completely between coats. This step is a must for the stain to bond to the wood properly. Waiting for the stain to dry gives your project a professional look.
- Check the Label: Follow the manufacturer’s recommendations.
- Weather Conditions: Hotter, drier weather may speed up drying.
- Touch Test: Wait until the surface is dry to the touch before applying a second coat.
- Avoid Usage During Drying: Don’t walk on or use the stained surface until it is fully cured.
Proper drying is key. It ensures the stain hardens and protects the wood. It also prevents the stain from smudging or being damaged. Drying is an important part of the staining process. By waiting, you ensure a durable, beautiful finish. Taking the time to wait will deliver excellent results.
After Staining Cedar: Maintenance and Protection
After staining, taking care of your cedar is very important. This helps protect the wood. It also ensures your staining looks its best for a long time. Regular maintenance can significantly extend the life of your stain. It also makes your cedar look beautiful for many years. It is best to treat the wood properly for the best results.
Periodic Cleaning
Cleaning your cedar regularly helps remove dirt and grime. It also keeps your project looking great. Regular cleaning prevents buildup. This allows the stain to do its job. It also helps the wood breathe, which extends the life of the stain. The correct cleaning routine is key. It keeps your cedar looking its best over time.
- Gentle Soaps: Use mild soap and water for cleaning.
- Soft Brushes: Avoid harsh scrubbing that can damage the stain.
- Rinsing Thoroughly: Make sure to rinse off all soap residue.
- Regular Inspections: Inspect your cedar regularly for any signs of damage or wear.
Regular cleaning is simple. It makes a big difference in maintaining your stain. By doing this, you keep your cedar looking good. It also helps the stain protect the wood for many years. Regular cleaning is a small effort that yields long-term results.
Dealing with Weathering
Over time, cedar will weather. Exposure to the sun and rain can cause fading or damage. By dealing with weathering, you can protect your cedar. You can maintain the look and performance of your stain. Taking care of your cedar during different weather conditions will ensure its longevity. It also keeps your cedar looking great.
- Sun Protection: Consider using a stain with UV protection.
- Rain and Moisture: Make sure water drains away from the cedar.
- Annual Inspections: Check for any cracks or damage.
- Applying a Topcoat: Consider an additional coat of stain or a clear sealant.
Regular inspections and preventative measures are essential. They help address any problems quickly. This prevents more significant damage. You can protect your cedar from the elements. This guarantees your staining remains in great condition. Remember, preventative care is essential.
Recoating as Needed
Over time, you will need to re-stain your cedar. This helps maintain the protection and look of your wood. When you see signs of wear, it is time to reapply the stain. Recoating your cedar regularly can extend its life. It also keeps it looking fresh and beautiful. Following these steps helps guarantee you always have a great looking project.
- Assess the Condition: Inspect the cedar for fading, cracking, or peeling.
- Surface Preparation: Clean and lightly sand the surface before recoating.
- Applying a New Coat: Apply a new coat of stain, following the original instructions.
- Maintenance Schedule: Plan for regular maintenance and recoating to extend the lifespan of your finish.
Recoating protects your cedar. It also preserves its beauty. Keeping up with this schedule ensures your project stays in great shape. You’ll get the best results by following these simple steps. Make recoating a part of your cedar maintenance routine.

FAQ Section
Question: When is the best time of year to stain cedar?
Answer: The ideal time is during the warmer months, when the weather is dry and the temperatures are between 50-90°F (10-32°C). Avoid very hot or humid days.
Question: Can I stain cedar that has been previously stained?
Answer: Yes, but you must clean the surface and lightly sand it first. This is crucial for the new stain to adhere properly. Always prep the surface well.
Question: How long does it take for cedar to dry before staining?
Answer: The drying time varies, but a general rule is to wait until the wood’s moisture content is between 12-15%. You can test this with a moisture meter. Sometimes, it takes a few days. Sometimes, it takes weeks, or months.
Question: Do I need to prime cedar before staining?
Answer: Usually, no. Most cedar stains are designed to penetrate and protect the wood without a primer. However, always check the stain manufacturer’s instructions for any specific recommendations.
Question: How often should I re-stain cedar?
Answer: The re-staining frequency depends on weather conditions. It also depends on the type of stain. As a general rule, inspect your cedar annually and re-stain as needed, typically every 2-5 years.
Final Thoughts
So, we’ve explored the ins and outs of Can You Stain Cedar Right Away? Timing Guide. From checking the moisture content of the wood to considering weather, preparation, and application, each step plays a key role. Remember to prepare the wood, choose the right stain, and apply it evenly for the best outcomes. By taking care of your cedar after staining, you’ll extend its life and preserve its beauty. Following these guidelines helps you complete projects with skill. Now, you’re ready to get started. Get out there and start staining!