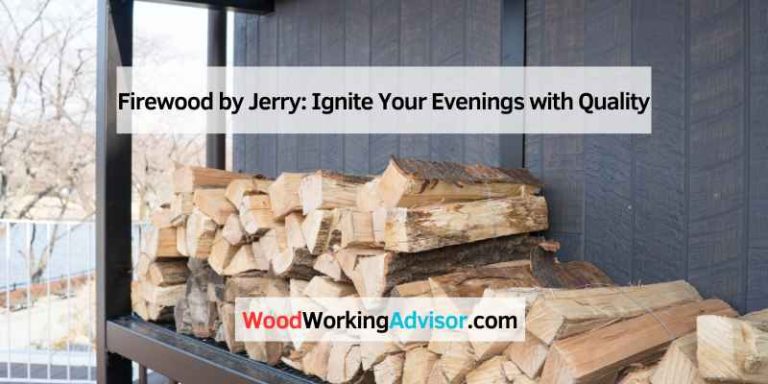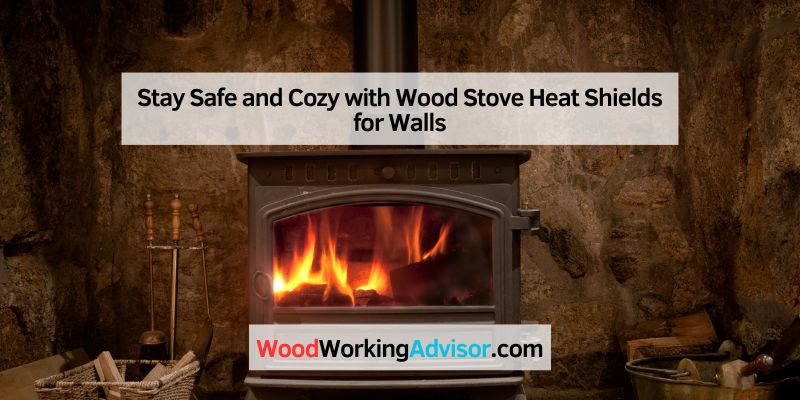
Stay Safe and Cozy with Wood Stove Heat Shields for Walls
I love the warm glow of my wood stove on a chilly night. But when I installed it, I learned that wood stove heat shields for walls are a must to keep my home safe. This article will show you what heat shields are, why they matter, and how to make or install one. Whether you’re new to wood stoves or a pro, you’ll find easy tips and ideas here.
What Are Wood Stove Heat Shields for Walls?
A heat shield is a protective barrier. It stops heat from your wood stove from burning your walls. Made from materials like metal or cement board, it keeps your home safe. Without one, your walls could get too hot and catch fire.
Heat shields also let you place your stove closer to walls. This saves space in small rooms, like my tiny cabin where every inch counts.
Why You Need a Heat Shield
Wood stoves get very hot—sometimes over 200°C! This heat can damage walls, especially if they’re made of wood or drywall. A heat shield acts like a superhero, blocking heat and preventing fires.
It also reduces the “clearance” distance—the space needed between your stove and walls. For example, a stove might need 36 inches of clearance without a shield, but only 12 inches with one.
Types of Heat Shields for Walls
There are different types of heat shields. Each has pros and cons. Here’s a quick look:
- Sheet Metal: Affordable and easy to find. It conducts heat well but can look plain.
- Cement Board: Fireproof and sturdy. It’s heavier and needs strong mounting.
- Vitreous Enamel: Stylish and heat-resistant up to 650°C. It’s more expensive but looks great.
I used sheet metal for my cabin because it was cheap and simple to install.
Table 1: Comparing Heat Shield Materials
| Material | Cost | Pros | Cons |
|---|---|---|---|
| Sheet Metal | Low | Cheap, easy to install | Plain look |
| Cement Board | Medium | Very fireproof, durable | Heavy, needs support |
| Vitreous Enamel | High | Stylish, heat-resistant | Expensive |
| Caption: Choose a material based on your budget and style. |
Step-by-Step Guide to Make a DIY Heat Shield
You can build your own heat shield! Here’s how I made mine with sheet metal.
- Measure Your Space: Check your stove’s manual for clearance needs (e.g., 18 inches). Measure the wall area behind the stove.
- Choose Materials: Get 24-gauge sheet metal (or thicker) and 1-inch spacers (metal or ceramic).
- Cut the Metal: Cut the sheet to cover 20 inches above the stove and 18 inches beyond each side.
- Install Spacers: Attach spacers to the wall with screws, keeping a 1-inch gap for air.
- Mount the Shield: Screw the metal to the spacers, leaving openings at the top and bottom for airflow.
- Check Safety: Ensure no flammable items block the air gap.
This project cost me about $50 and took an afternoon. Always check local building codes before starting.
Visual Idea 1: Diagram of Air Gap
A simple drawing showing a 1-inch air gap between the shield and wall, with arrows for airflow, would help beginners understand proper spacing.
Safety Tips and Common Mistakes to Avoid
Safety is super important with wood stoves. Here are tips to keep your home safe:
- Keep Air Flowing: The 1-inch gap behind the shield must stay open. Blocked air can cause overheating.
- Use Fireproof Materials: Never use wood or plastic for shields—they can burn.
- Check Clearances: Follow your stove’s manual for exact distances to walls.
Common Mistakes:
- Using thin metal (less than 24-gauge) that warps from heat.
- Blocking the air gap with decorations or furniture.
- Ignoring local codes, which can lead to fines or unsafe setups.
I once forgot to leave an air gap at the bottom of my shield. Luckily, I caught it before any damage happened!
Personal Insights from My Experience
When I installed my wood stove, I wanted a shield that looked good and saved space. I chose sheet metal but painted it to match my cabin’s rustic vibe. It cost less than $100 and made my stove setup safer and cozier.
My top tip? Talk to your local fire marshal or chimney pro before starting. They can share rules specific to your area. Also, consider a stylish shield like vitreous enamel if you want your stove to be a room’s centerpiece.
Table 2: Cost of DIY vs. Pre-Made Heat Shields
| Type | Cost Range | Time to Install | Looks |
|---|---|---|---|
| DIY Sheet Metal | $50-$100 | 3-4 hours | Basic, can paint |
| Pre-Made Shield | $150-$300 | 1-2 hours | Stylish, polished |
| Caption: DIY shields save money but take more time. |
Benefits and Drawbacks of Heat Shields
Benefits:
- Safety: Protects walls from heat and fire risks.
- Space-Saving: Reduces clearance needs, perfect for small homes.
- Efficiency: Reflects heat into the room, warming it better.
Drawbacks:
- Cost: Pre-made shields can be pricey ($150-$300).
- Installation: DIY shields take time and effort.
- Look: Some materials, like plain metal, aren’t very pretty.
I found that a heat shield made my small cabin feel bigger by letting me move the stove closer to the wall.
Visual Idea 2: Photo of a Stylish Setup
A picture of a vitreous enamel shield behind a wood stove, with a cozy cabin vibe, would inspire readers to make their setup both safe and beautiful.
Other Options to Protect Your Walls
If a heat shield isn’t right for you, try these:
- Brick or Stone Walls: These are A1 fire-rated and don’t need a shield.
- Insulated Flue Pipes: These reduce heat from the stovepipe.
- Professional Installation: A pro can ensure your stove meets all safety rules.
I considered a brick wall but chose a shield for easier installation and lower cost.
Table 3: Clearance Requirements With and Without Shields
Conclusion
Wood stove heat shields for walls keep your home safe and cozy. They protect walls, save space, and can even look stylish. Whether you build a DIY shield or buy one, always prioritize safety and check local codes. Try making a simple shield for your stove—it’s easier than you think! Share your setup or questions in the comments. Stay warm and safe!
Frequently Asked Questions
What Is a Wood Stove Heat Shield for Walls?
A heat shield is a fireproof barrier that protects walls from a wood stove’s heat. It’s usually made of metal or cement board and needs a 1-inch air gap to work. This keeps your home safe from fire risks and lets you place the stove closer to walls.
Can I Make My Own Heat Shield?
Yes, you can! Use 24-gauge sheet metal or cement board, cut to size, and mount it with 1-inch spacers for airflow. It’s a budget-friendly project (about $50-$100) but check your stove’s manual and local codes first. My DIY shield saved me money and worked great.
How Much Space Does a Heat Shield Save?
A heat shield can reduce clearance from 36 inches to as little as 12 inches for air-cooled shields. This depends on your stove and local codes. Always check the manual or ask a pro to be sure. It made my small cabin feel much roomier!
Are Heat Shields Safe for All Stoves?
Most stoves can use heat shields, but check your stove’s manual. Some stoves have built-in shields, while others need specific types. Always use fireproof materials and follow safety rules to avoid fire risks like pyrolysis (hidden wall charring).
What Materials Are Best for Heat Shields?
Sheet metal, cement board, and vitreous enamel are top choices. Metal is cheap and easy to install. Cement board is sturdy but heavy. Vitreous enamel looks great but costs more. I used painted sheet metal for a budget-friendly, custom look.
Do Heat Shields Make Stoves More Efficient?
Yes! Heat shields reflect heat into the room instead of the wall, warming your space better. My cabin felt cozier after I added a shield. Just ensure the air gap stays open for safety and best performance.
Where Can I Learn More About Stove Safety?
Check your stove’s manual or visit trusted sites like the National Fire Protection Association (NFPA) at nfpa.org or HETAS at hetas.co.uk. Your local fire marshal can also share safety tips specific to your area.