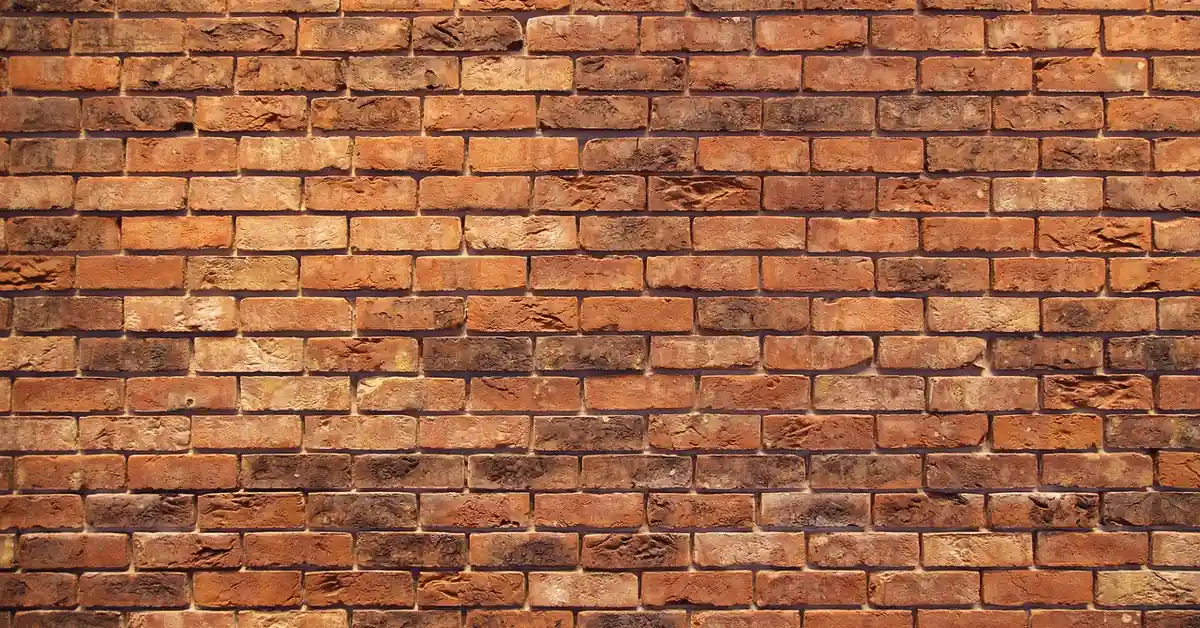
How to Attach Plywood to a Brick Wall: Screws vs Furring Strips
Plywood attaches to brick with concrete screws driven through pilot holes, or over 1×2 furring strips for a flatter mounting surface — direct-to-brick suits shelving and cleats, furring suits drywall or paneling. Skip the pilot hole and Tapcon-style screws snap off in the brick instead of biting in. This guide covers 3/16-inch versus 1/4-inch screw sizing, when furring strips beat direct mounting, and the fastener spacing that keeps sheets from bowing.
Tools and Materials Needed
Best Concrete Screw Pick
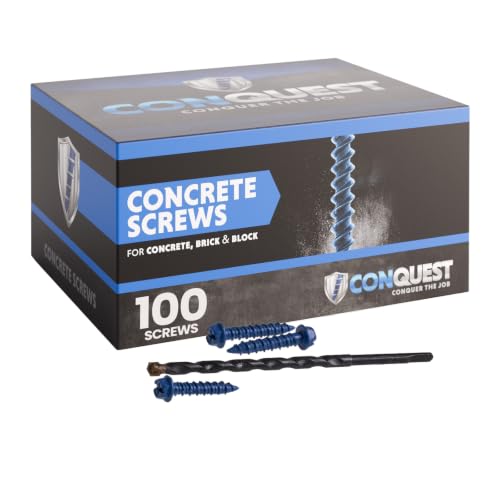
Tapcon 3/16 x 2-1/4" Star Head Concrete Screws, 75 PCS
The standard 3/16-inch size for mounting plywood directly to brick or block with a matching 5/32-inch pilot hole.
- Best for: Direct-to-brick plywood mounting on shelving, cleats, and light structural panels
- Why we picked it: ICC-ES recognized for masonry, star-drive head resists cam-out mid-hole
- Main drawback: Needs a hammer drill and the correct 5/32-inch bit — standard drills struggle in dense brick
Compare more plywood-to-brick fastening options
 Option 1 Concrete Screw Kit with Drill Bit & Hex Socket
|
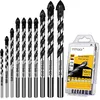 Option 2 10-Piece Masonry Drill Bit Set, 1/8"–1/2"
|
 Option 3 Loctite PL Premium Polyurethane Construction Adhesive
|
As an Amazon Associate we earn from qualifying purchases.
Gather these before you start — running back to the hardware store mid-project usually means the wrong-length screw gets used out of impatience.
- Hammer drill or rotary hammer with a carbide masonry bit (rated for brick/mortar)
- Concrete screws (3/16-inch or 1/4-inch diameter, length matched to plywood thickness plus 1.25 inches of embedment)
- 1×2 or 1×3 furring strips if you are building a flat mounting frame instead of drilling direct
- Level and tape measure
- Circular saw or jigsaw for cutting plywood to size
- Wire brush and shop vacuum for cleaning mortar dust out of drilled holes
- Safety glasses, dust mask, and hearing protection
Preparation Steps
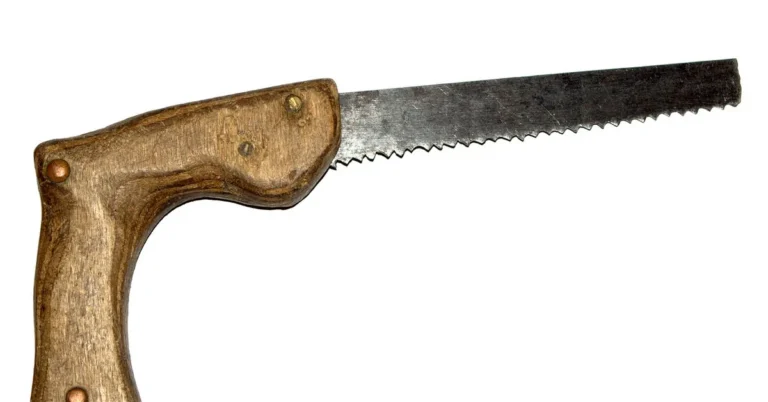
Measure the mounting area and mark your plywood with a pencil before cutting — a circular saw or jigsaw handles straight cuts cleanly; wear safety glasses while cutting.
Clean the brick with a wire brush and vacuum out loose mortar dust, then wipe with a damp cloth and let the wall dry fully. Dust left in the joint is the single most common reason a concrete screw spins without gripping — the threads need clean brick to bite into, not a layer of grit.
Concrete Screw Sizing: 3/16-Inch vs 1/4-Inch
Concrete screws come in two working diameters, and each needs a specific pilot bit — using the wrong bit is why screws either spin freely or snap off flush with the brick.
| Screw Diameter | Required Pilot Hole | Best For |
|---|---|---|
| 3/16 inch | 5/32 inch masonry bit | Standard plywood sheets, shelving cleats, furring strips |
| 1/4 inch | 3/16 inch masonry bit | Heavier loads, thicker plywood, structural framing connections |
Drive screws every 12 to 16 inches in a staggered grid rather than a straight line down the sheet edge — this spreads the load evenly and keeps a full 4×8 sheet from bowing away from the wall between fasteners. Never drive a screw directly into a mortar joint; mortar is softer than brick and will not hold threads long-term.
Furring Strips vs Direct-to-Brick Mounting
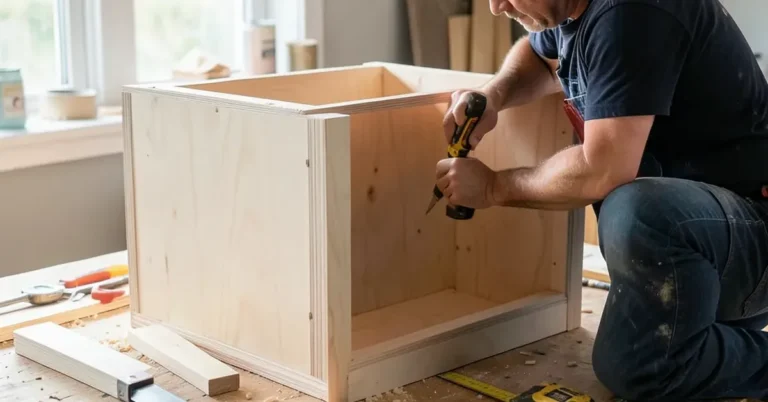
Direct mounting is faster, but a furring strip frame (1×2 or 1×3 strips screwed to the brick first, then plywood screwed to the strips) is usually the better choice whenever the wall is uneven or the project needs insulation or drywall behind it.
| Method | Pros | Cons | Best For |
|---|---|---|---|
| Direct-to-brick | Fewer materials, faster install, maximum shear strength | Telegraphs every bump in an uneven wall, no room for insulation | Shelving, cleats, small panels on flat brick |
| Furring strip frame | Creates a flat plane, allows insulation or wiring behind it, forgiving of wall imperfections | Extra material and labor, screws sit proud on narrow strips | Full wall paneling, drywall over brick, basement finishing |
To build a furring frame, screw 1×2 strips flat against the brick every 16 inches on center using the same 3/16-inch sizing above, check each strip with a level as you go, then screw the plywood into the strips with standard 1-inch wood screws spaced 10 to 12 inches apart. If you would rather skip drilling into the brick entirely, our guide to attaching wood to brick without drilling covers adhesive-anchor and clip systems for that approach.
Drilling Into Brick: Step-by-Step
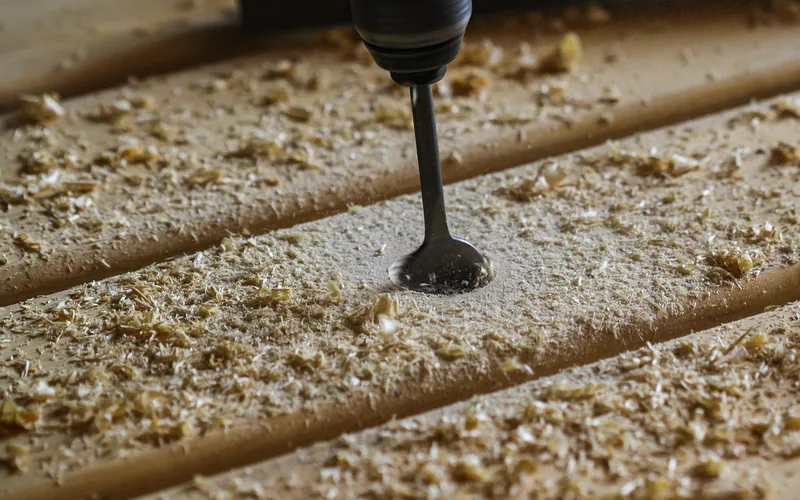
- Mark the hole locations: Hold the plywood in place, level it, and mark through the sheet onto the brick at each fastener point.
- Fit the correct masonry bit: Match the bit to your screw diameter (5/32 inch for 3/16-inch screws, 3/16 inch for 1/4-inch screws) and chuck it into a hammer drill.
- Drill at a 90-degree angle: Keep the bit perpendicular to the wall and drill in short bursts, backing the bit out every few seconds to clear dust.
- Drill past the screw length: Go about 1/4 inch deeper than the screw will penetrate so dust in the hole bottom does not stop the screw from seating fully.
- Vacuum each hole: Leftover dust is the main reason screws spin instead of grip — blow or vacuum every hole clean before driving the screw.
Mounting the Plywood
Hold the plywood against the wall, check it with a level, and confirm your marked holes line up before driving a single screw. Start at one corner and work across the sheet, driving each concrete screw until it seats snugly — stop as soon as it stops turning easily; over-tightening strips the hole and the screw loses its grip.
For extra hold on heavier panels, run a bead of construction adhesive across the back of the plywood before setting it against the wall, then drive the screws while the adhesive is still wet. This backs up the mechanical fasteners rather than replacing them.
Finishing Touches
Sealing the edges of the plywood after mounting protects against moisture wicking in from the brick, which stays cooler and holds more humidity than interior drywall. Sand the edges lightly first so the sealant or caulk adheres evenly, then apply a bead along every exposed edge.
If the plywood will be visible rather than covered, two thin coats of exterior-rated polyurethane or varnish protect the face without trapping moisture underneath. Let each coat dry fully before the next — a rushed second coat is the most common reason finishes turn cloudy.
Common Mistakes to Avoid
- Skipping the pilot hole: Concrete screws are hardened, but brick is harder in spots (aggregate, old mortar) — without a pilot hole the screw overheats and snaps.
- Driving into a mortar joint: Mortar crumbles under a screw’s threads over time. Always target the brick face, offset from joints.
- Using drywall screws instead of concrete screws: Standard drywall or wood screws are not hardened enough to bite masonry and will strip the hole on the first try.
- Leaving dust in the hole: Un-vacuumed dust cushions the threads and stops the screw from seating — it looks tight but pulls out under load within weeks.
- Ignoring moisture behind exterior installations: Brick wicks ground moisture upward; add a vapor gap or treated furring strips for any exterior application to prevent rot.
“The pilot hole size is where most DIY plywood-to-brick jobs go wrong — a 3/16-inch screw needs a 5/32-inch hole, not the 3/16-inch hole that feels like it should match. Drill the hole even slightly oversized and the screw spins forever without ever gripping.”
This project sits inside our broader plywood hub, which covers sheet sizes, current pricing, and other plywood techniques if you need more background before you start. If you are still deciding on thickness, see our guide on standard plywood sheet dimensions, and if the sheet needs to be joined from smaller pieces first, our guide to joining plywood together covers that step.
Frequently Asked Questions
How do you attach plywood to a brick wall?
Mark the plywood’s position, drill pilot holes with a masonry bit sized to your screw (5/32 inch for 3/16-inch screws, 3/16 inch for 1/4-inch screws), then drive concrete screws through the plywood into the brick every 12 to 16 inches. Level the sheet before tightening the first two screws so the rest line up straight.
What size screw do I need for plywood on brick?
3/16-inch diameter concrete screws handle most plywood mounting, including shelving, cleats, and furring strips. Move up to 1/4-inch screws for heavier structural loads or thicker plywood where extra shear strength matters.
Can I use adhesive instead of screws?
Adhesive alone is not recommended for anything load-bearing; construction adhesive works best as a supplement to screws, not a replacement. For a screw-free approach, adhesive anchor systems and furring strip frames built around adhesive are covered in our guide to attaching wood to brick without drilling.
How thick should the plywood be?
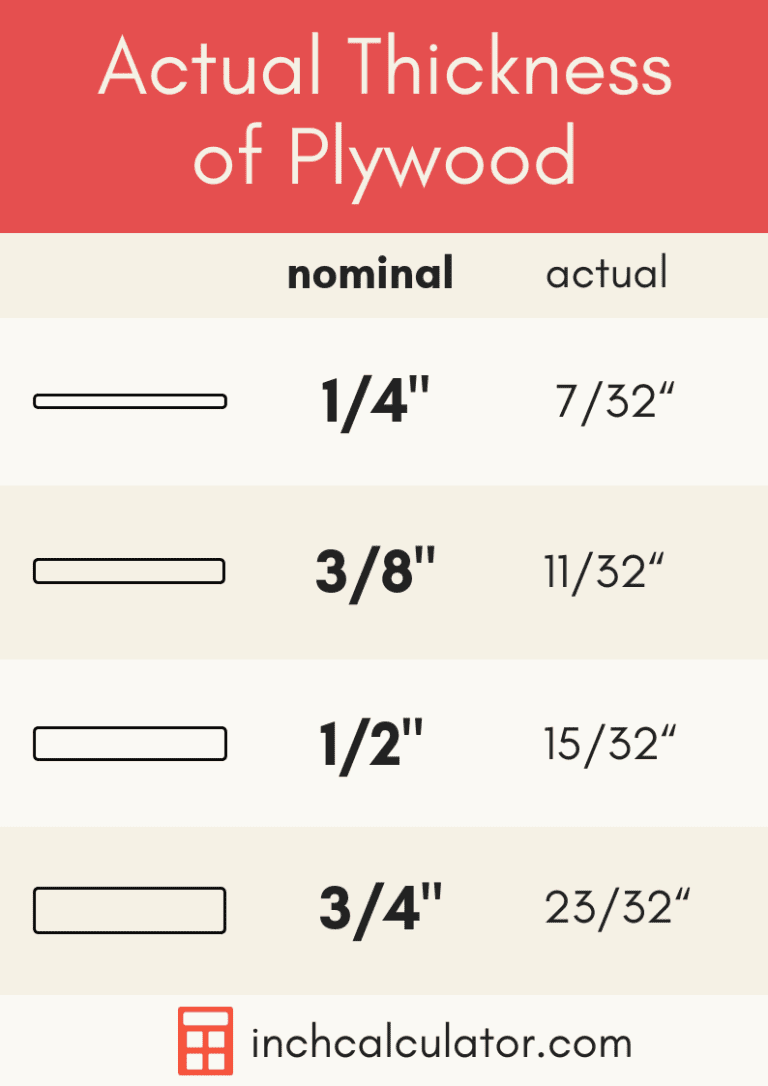
Three-quarter-inch plywood is standard for structural or shelving applications where the panel needs to carry weight. Half-inch plywood is enough for decorative paneling or non-load-bearing wall coverage.
Do I need furring strips, or can I mount plywood directly to brick?
Direct mounting works fine on a flat, sound brick wall for shelving or small panels. Furring strips are worth the extra step whenever the wall is uneven, you need insulation behind the plywood, or you are covering a full wall rather than a single panel.
Conclusion
Match your concrete screw diameter to the right pilot bit, space fasteners 12 to 16 inches apart, and choose furring strips over direct mounting whenever the brick is uneven or the project needs a flat plane behind it. Get the pilot hole right and the rest of the job holds for decades.
Sponsored / affiliate links. As an Amazon Associate I earn from qualifying purchases. I may earn additional commission from eligible campaigns.