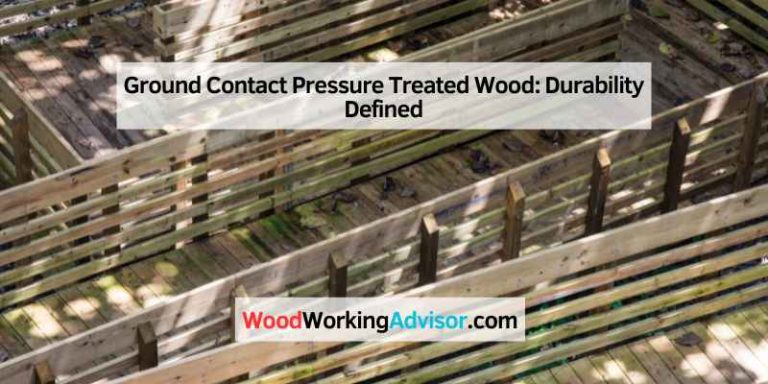
My Journey with 4 x 4 Pressure Treated Wood Posts
I still remember my first DIY fence project. I picked up a stack of 4 x 4 pressure treated wood posts from my local hardware store, excited to build something sturdy. This article will guide you through everything about these posts. You’ll learn what they are, how to use them, and tips to make your projects shine. Whether you’re new to DIY or a seasoned builder, I’ll keep it simple and fun!
What Is a 4 x 4 Pressure Treated Wood Post?
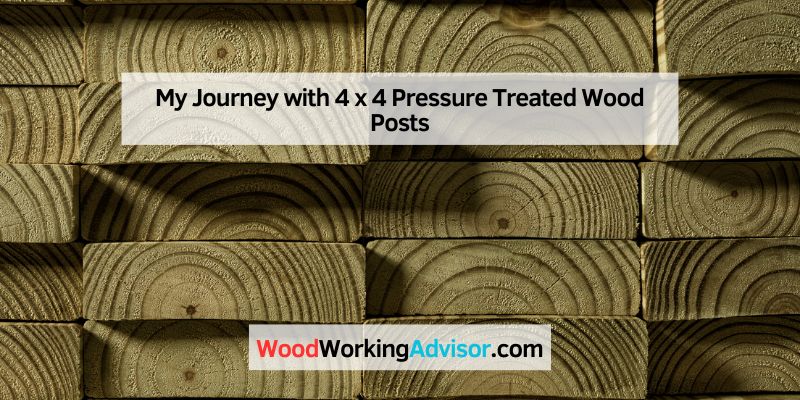
A 4 x 4 pressure treated wood post is a square piece of wood. It measures 4 inches by 4 inches. “Pressure treated” means the wood is soaked in chemicals. This makes it resist bugs, rot, and water. These posts are great for outdoor projects. Think fences, decks, or garden beds. They last longer than untreated wood. I’ve used them for years, and they hold up well.
Why Use 4 x 4 Pressure Treated Wood Posts?
These posts are strong and durable. They’re perfect for outdoor use because they fight decay. I built a fence with them, and it’s still standing after five years. They’re also affordable. You can find them at stores like Home Depot or Lowe’s. But they can be heavy, and some may warp over time. Always check for straight posts at the store.
Common Projects for 4 x 4 Posts
You can use 4 x 4 pressure treated wood posts for many projects. Here are some ideas:
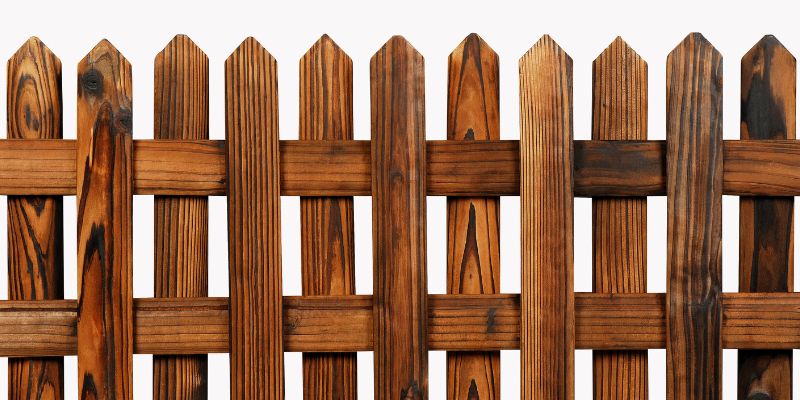
- Fences: Build a sturdy backyard fence.
- Deck Posts: Support a deck or porch.
- Garden Beds: Create raised beds for plants.
I once made a small pergola with these posts. It’s now a cozy spot for family dinners. Pick a project that fits your space and skills.
Step-by-Step Guide to Build a Fence
Building a fence with 4 x 4 pressure treated wood posts is fun. Follow these steps:
- Plan Your Fence: Measure your yard. Mark where posts will go.
- Gather Tools: You need a shovel, level, concrete mix, and screws.
- Dig Holes: Make holes 2 feet deep for each post.
- Set Posts: Place a post in each hole. Fill with concrete.
- Check Level: Use a level to keep posts straight.
- Attach Rails: Screw horizontal rails to posts.
- Add Pickets: Nail or screw pickets to rails.
I built my fence in a weekend. It felt so rewarding!
Tools and Materials You Need
Here’s what you’ll need for most projects:
- Tools: Shovel, post hole digger, level, drill, saw.
- Materials: 4 x 4 posts, concrete mix, screws, paint or stain.
I recommend a cordless drill for ease. Buy posts rated for ground contact if they’ll touch soil. Check out Lowe’s for affordable options.
Benefits and Drawbacks
Benefits:
- Resists rot and bugs.
- Affordable for DIY projects.
- Easy to find at stores.
Drawbacks: - Heavy to carry.
- May twist or warp.
- Needs maintenance like sealing.
I learned to seal my posts yearly. It keeps them looking new.
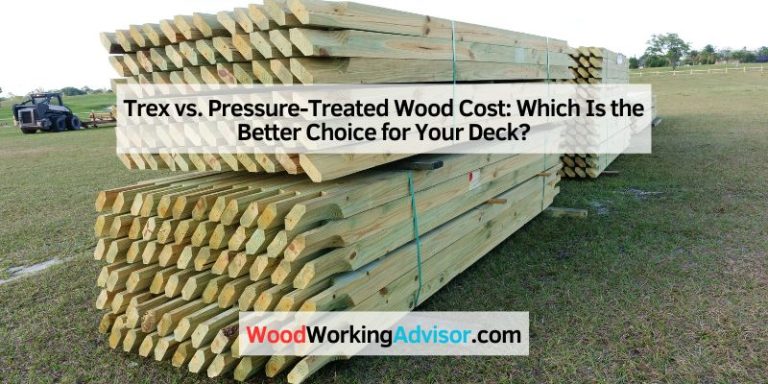
Comparing 4 x 4 Posts to Alternatives
You can use other materials instead of 4 x 4 pressure treated wood posts. Here’s a comparison:
| Material | Cost | Durability | Ease of Use |
|---|---|---|---|
| Pressure Treated Wood | $1-2 per foot | Lasts 15-20 years | Easy to cut, install |
| Cedar Wood | $3-5 per foot | Lasts 10-15 years | Lightweight, natural look |
| Metal Posts | $5-10 per foot | Lasts 20+ years | Harder to cut, rust risk |
This table helped me choose wood over metal for my budget. Wood is easier to work with, too.
Tips to Pick the Best Posts
Choosing good posts saves time and money. Here’s how:
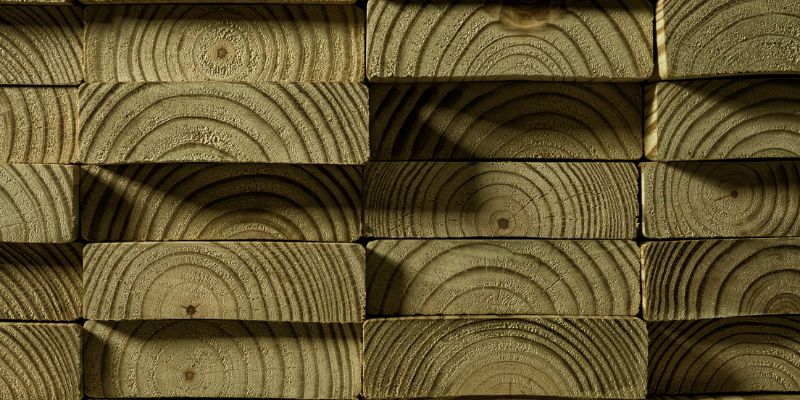
- Check for Straightness: Hold the post up. Look down its length.
- Avoid Pith Centers: Look at the end. Avoid posts with a “bulls-eye” center.
- Pick Ground Contact: Ensure posts are rated for ground use.
I once bought a warped post by mistake. It made my fence wobbly. Always inspect first. Family Handyman has great tips on this.
Common Mistakes to Avoid
Don’t make these errors:
- Skipping Concrete: Posts need concrete for stability.
- Not Treating Cuts: Seal cut ends with wood preservative.
- Ignoring Maintenance: Stain or seal posts every year.
I forgot to seal a cut end once. The post started rotting fast. Use a preservative like Copper Green.
Maintenance Tips for Long-Lasting Posts
Keep your posts strong with these tips:
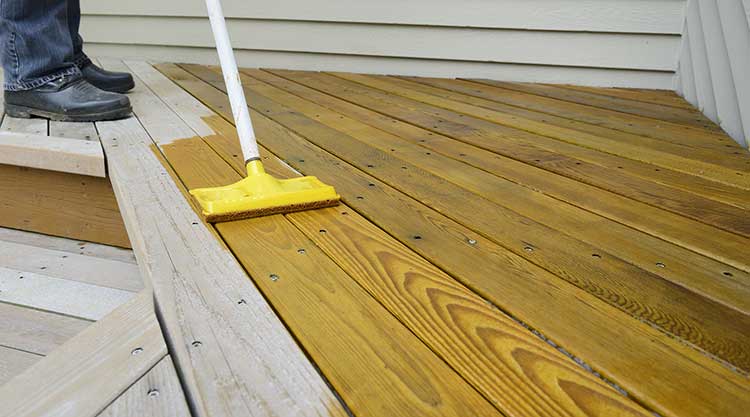
- Seal Regularly: Apply a waterproof sealant yearly.
- Check for Damage: Look for cracks or rot.
- Clean Dirt: Wash posts to prevent mold.
I seal my fence posts every spring. They still look brand new. A good sealant costs about $20 at Home Depot.
Cost-Saving Ideas
Save money with these tricks:
- Buy in bulk for discounts.
- Reuse old posts if they’re still good.
- Shop sales at hardware stores.
I saved $50 buying posts during a sale. Check store flyers often.
Safety Tips for Working with Posts
Stay safe while building:
- Wear gloves to avoid splinters.
- Use goggles when cutting wood.
- Lift posts carefully to avoid strain.
I got a splinter once. Now I always wear gloves. Safety first!
Comparing Post Lengths
| Length | Best For | Average Cost |
|---|---|---|
| 8 feet | Fences, short posts | $10-15 |
| 10 feet | Decks, tall fences | $15-20 |
| 12 feet | Pergolas, large projects | $20-25 |
This table helped me pick 10-foot posts for my deck. Longer posts give flexibility.
Visual Ideas for Your Projects
Imagine these visuals to help:
- A diagram showing how to set a post in concrete.
- A photo of a finished fence with 4 x 4 posts.
- A sketch of a raised garden bed layout.
These would make steps clearer. I wish I had them for my first project.
Conclusion
4 x 4 pressure treated wood posts are perfect for DIY projects. They’re strong, affordable, and easy to use. From fences to garden beds, they make outdoor spaces shine. Try building something small first, like a garden box. Share your projects with friends or on social media. Have fun creating with these posts! What will you build next?
Frequently Asked Questions
What does pressure treated mean?
Pressure treated means wood is soaked in chemicals. This stops rot, bugs, and water damage. It’s great for outdoor posts. Always choose ground-contact posts for projects touching soil. They last 15-20 years with care.
Can I paint or stain 4 x 4 posts?
Yes, you can paint or stain them. Wait a few weeks for the wood to dry. Test with water: if it beads, wait longer. If it soaks in, it’s ready. Use outdoor paint or stain for best results.
How long do 4 x 4 posts last?
With proper care, they last 15-20 years. Seal them yearly and check for damage. Ground-contact posts are best for soil. My fence posts are five years old and still strong.
Can I cut 4 x 4 posts?
Yes, you can cut them with a saw. Always seal cut ends with a wood preservative. This prevents rot where the wood is exposed. I learned this after one post started decaying.
Are 4 x 4 posts safe for gardens?
Yes, they’re safe for raised garden beds. Modern treatments are less toxic. Use ground-contact posts for durability. Line the bed with plastic if you’re worried about chemicals.
How deep should I bury 4 x 4 posts?
Bury posts 2 feet deep for stability. Use concrete to hold them in place. I made my fence posts shallow once, and they wobbled. Deep holes make a big difference.
Where can I buy 4 x 4 posts?
Buy them at Home Depot, Lowe’s, or local lumber yards. Check for sales to save money. Online stores like Tractor Supply also have them. Always inspect for straightness.