How to Fill Cracks in Pressure Treated Wood: Filler or Epoxy
Fill cracks in pressure treated wood with exterior-grade wood filler for hairline surface checks under 1/4 inch, or two-part epoxy for splits that run all the way through the board.
Left unsealed, a crack that traps rainwater can rot a deck post or railing from the inside within one to two seasons.
This guide covers how to tell crack types apart, prep the wood, apply filler or epoxy the right way, and seal the repair so it holds up outdoors.
Introduction To Pressure Treated Wood
Best Exterior Wood Filler Pick
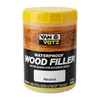
Van Votz Waterproof Wood Filler (Half-Pint) – $25.99
This guide notes that regular wood filler is not ideal for pressure-treated wood and can fail outdoors – this filler is built specifically for exterior use on treated lumber.
- Best for: Hairline surface cracks and checks on outdoor pressure-treated lumber
- Why we picked it: Formulated for exterior wood, matching this guide’s advice to skip indoor-only fillers on treated lumber
- Main drawback: Half-pint size suits small-to-medium repairs, not large structural cracks
Compare more wood crack filler options
 Option 1 3M Bondo Wood Filler with Hardener – $22.10
|
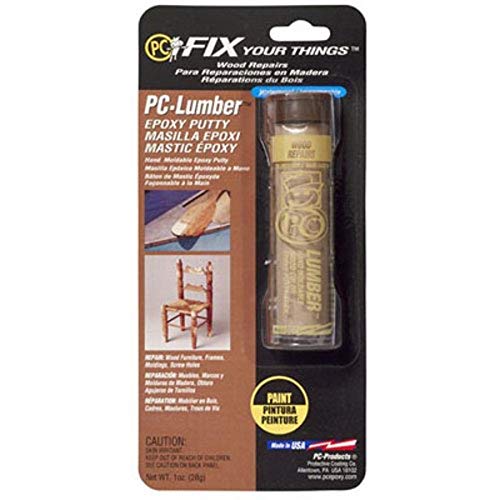
 Option 2 2-Part Epoxy Wood Putty Filler – $19.99
|
 Option 3 Gorilla All Purpose Wood Filler – $9.39
|
As an Amazon Associate we earn from qualifying purchases.
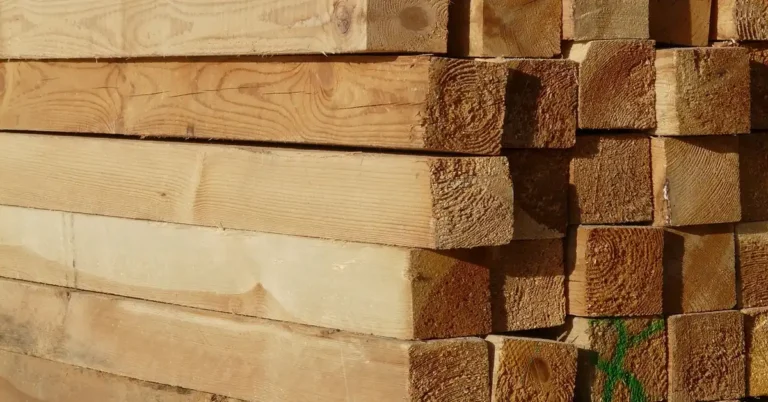
Pressure treated wood is designed to resist decay and insects. It is commonly used for outdoor projects. This wood is treated with chemicals under high pressure. These chemicals help it last longer than untreated wood.
Common issues can arise with pressure treated wood. Cracks often develop due to weather changes. Humidity and temperature can cause the wood to expand and contract. This can lead to splitting or warping over time. Regular maintenance is important to keep it strong.
Filling cracks is crucial for preserving the wood’s integrity. Choose a suitable wood filler for the best results. Make sure the filler is compatible with pressure treated wood.
Identifying Cracks In Pressure Treated Wood
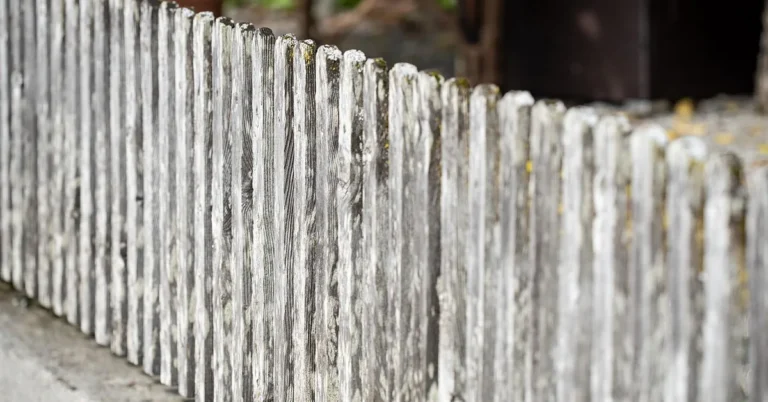
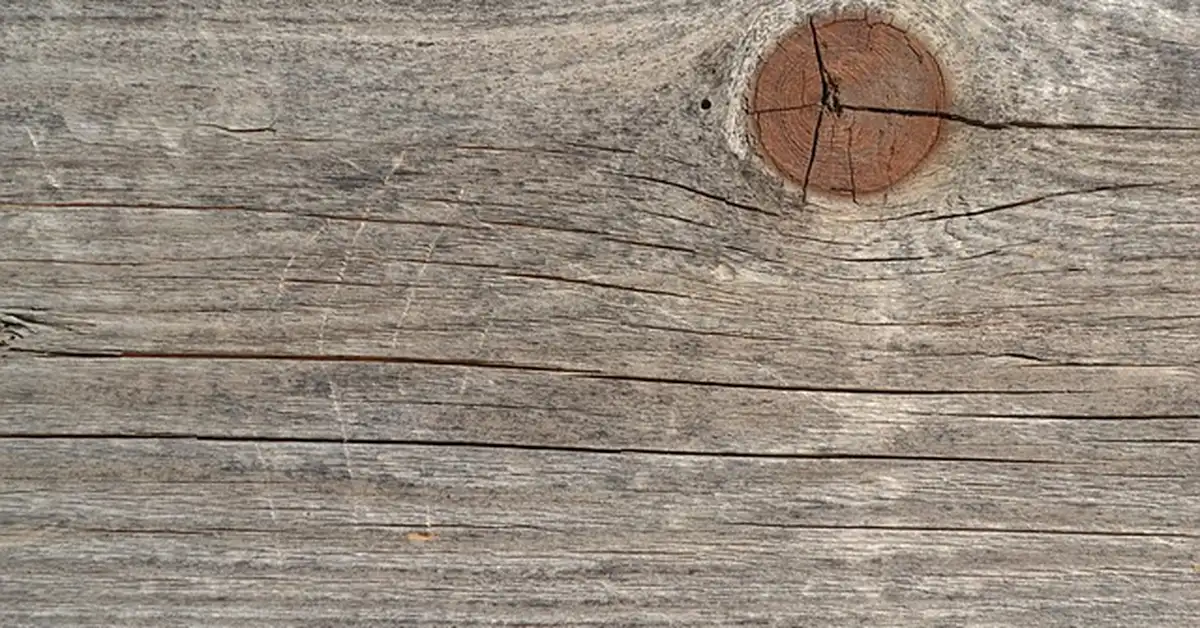
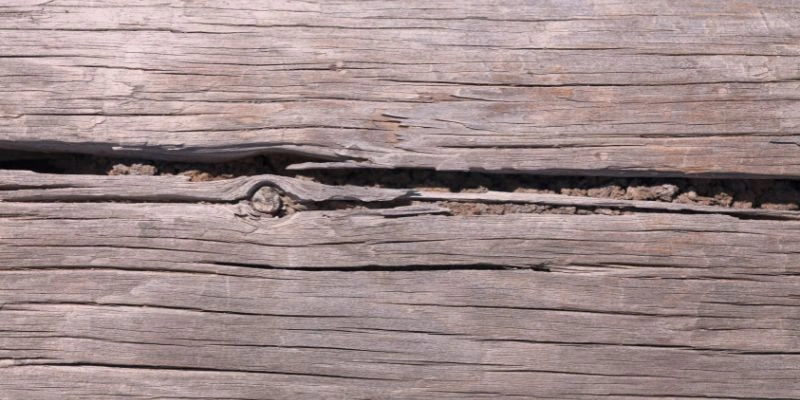
Cracks in pressure treated wood can be common. Recognizing the types of cracks is essential. There are three main types: surface cracks, checks, and splits. Surface cracks are small and often shallow. Checks are deeper and run along the grain. Splits go all the way through the wood.
Understanding the causes of cracking is also important. Moisture loss is a major reason. Wood dries out as it ages. This drying can cause the wood to shrink. Changes in temperature can also lead to cracks. It’s best to monitor the wood regularly for these issues.
Preparation Before Repair
Start by cleaning the surface of the wood. Use a stiff brush to remove dirt and debris. A pressure washer can help clear stubborn grime. Allow the wood to dry completely before proceeding.
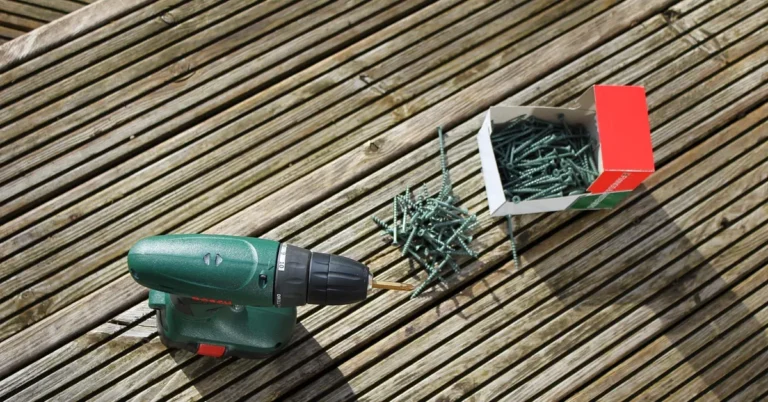
Gather the necessary tools and materials for the repair. You will need wood filler, a putty knife, and sandpaper. A paintbrush may also be useful. Make sure to wear gloves to protect your hands.
Check for any additional damage that needs fixing. Inspect the area carefully before applying any filler. A well-prepared surface ensures a better repair.
Diy Crack Repair Methods
To repair cracks in pressure treated wood, wood filler is a great option. Start by cleaning the area around the crack. Apply the filler with a putty knife. Make sure to press it deep into the crack. Smooth the surface with the knife. Allow it to dry as per the instructions.
For deeper cracks, epoxy works well. Mix the epoxy according to the package instructions. Apply it into the crack using a small brush. Fill the crack completely and smooth the surface. Epoxy sets hard, making it very durable. Sand it down after it dries for a smooth finish.
Professional Solutions For Severe Damage
Severe damage to pressure treated wood often requires expert help. Signs include large cracks, deep splits, or rot. Calling a professional ensures proper assessment and repair.
Professionals can provide several important services:
| Service | Description |
|---|---|
| Assessment | Experts evaluate the extent of damage. |
| Repair | They fill cracks with appropriate materials. |
| Maintenance | They offer tips to prevent future issues. |
Expect high-quality repairs and expert advice. Professionals use the best materials for long-lasting results.
Finishing Touches
Start with sanding the area around the cracks. Use a medium-grit sandpaper for best results. Sanding helps create a smooth finish and prepares the wood for sealant. Be sure to remove all dust after sanding.
Next, apply a sealant to protect the wood. Choose a sealant designed for pressure-treated wood. This will help prevent moisture from entering the cracks. Follow the instructions on the sealant label for the best outcome.
Let the sealant dry completely before using the wood. A good sealant will extend the life of the wood and keep it looking great.
Maintenance Tips To Prevent Future Cracks
Regular inspections of pressure treated wood are essential. Check for cracks and damage often. Look for signs of moisture or pests that may cause issues. Early detection helps prevent bigger problems.
Proper wood care is crucial for longevity. Clean the wood surface to remove dirt and debris. Use a sealant to protect against moisture. Reapply sealant every few years to maintain protection. Always follow the manufacturer’s instructions for best results.
Frequently Asked Questions
How Do You Identify Cracks In Pressure-treated Wood?
To identify cracks in pressure-treated wood, inspect it regularly. Look for visible splits or gaps along the grain. Pay attention to areas exposed to weather. Use your fingers to feel for roughness or uneven surfaces. Early detection can help prevent further damage and maintain your wood’s integrity.
What Materials Are Needed To Fill Wood Cracks?
To fill cracks in pressure-treated wood, you’ll need wood filler or epoxy. Sandpaper is essential for surface preparation. A putty knife helps apply the filler smoothly. Consider using a sealant for added protection. Ensure all materials are suitable for outdoor use and compatible with pressure-treated wood.
Can You Use Regular Wood Filler On Pressure-treated Wood?
Regular wood filler is not ideal for pressure-treated wood. It may not adhere well or withstand outdoor conditions. Instead, opt for a product specifically designed for outdoor use. This ensures durability and effective bonding. Always read product labels for compatibility to achieve the best results.
How Long Does It Take For Wood Filler To Dry?
Drying time for wood filler varies by product. Generally, it takes 30 minutes to several hours to dry. Factors like humidity and temperature can influence this time. Always check the manufacturer’s instructions for specific guidance. Ensure the filler is completely dry before sanding or sealing.
Conclusion
Filling cracks in pressure-treated wood is essential for maintenance and longevity. Use the right products for effective sealing. Regular inspections will help you catch issues early. By following these steps, you can protect your investment and enhance the beauty of your outdoor spaces.
Keep your wood in top condition for years to come.
Sponsored / affiliate links. As an Amazon Associate I earn from qualifying purchases. I may earn additional commission from eligible campaigns.
![VAN VOTZ Waterproof Wood Filler [Half-Pint, Cedar] - Exterior Grade Wood Repair in 18 Paintable and Stainable Colors. Strong Adhesion and Durability for Outdoor Wood in All Weather Conditions.](https://m.media-amazon.com/images/I/41DeZztOsTL._SL500_.jpg)