How to Clean Pressure Treated Wood before Staining: Expert Tips
Clean pressure-treated wood with a mild deck cleaner and a soft brush, then let it fully dry and cure before staining – and check the water-bead test first, since most PT wood needs 60-90 days after installation before it will actually accept stain. That waiting period is the detail most cleaning guides skip entirely, and skipping it is the single biggest reason a fresh stain job on new PT lumber peels or looks blotchy within a season.
Check If The Wood Is Actually Ready For Stain First
Best Deck Cleaner
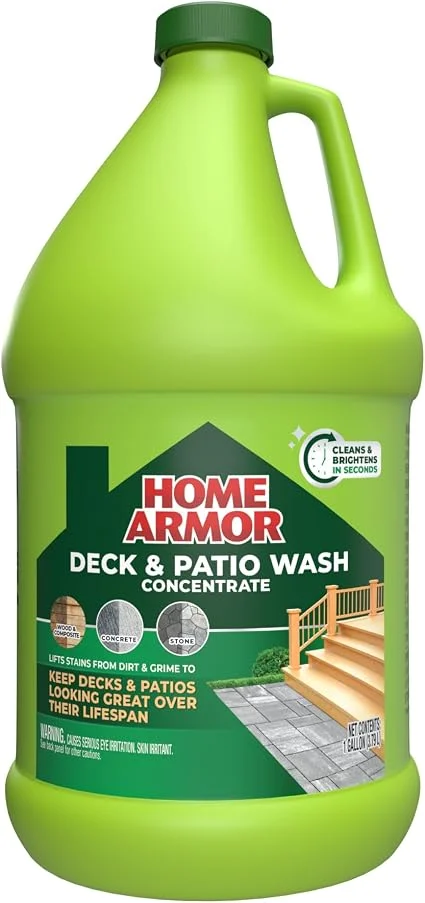 |
Home Armor Deck & Patio Wash, 1 Gal – $15.97 Lifts dirt and grime from pressure-treated wood without a pressure washer’s risk of gouging the grain.
|
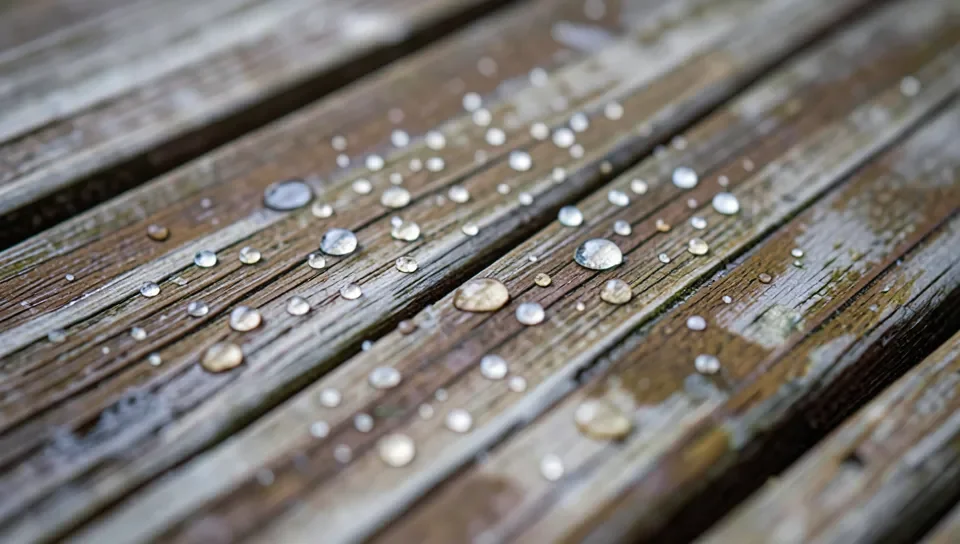
Modern pressure-treated lumber (ACQ or MCA treated, the copper-based formulas that replaced older CCA/arsenic treatment in 2003) leaves the mill still saturated with the water-based treatment solution. Staining it too early traps that moisture under the finish, and the stain will bubble, peel, or never bond at all. Before you even think about cleaning, run the water-bead test: sprinkle a few drops of water on the wood surface.
- Water beads up and sits on the surface: the wood is still too wet inside – wait longer, typically several more weeks.
- Water soaks in within a minute or two: the wood has dried enough to accept stain.
- For lumber installed fresh from a home center, this usually means waiting 60-90 days in warm weather, longer in humid or cool climates.
What You Need To Clean It
- A stiff-bristle deck brush or scrub brush (not a wire brush, which can shred the wood fibers)
- A mild deck cleaner or dish soap and water for light dirt; an oxygen-bleach or oxalic-acid deck cleaner for grey, weathered wood or mildew stains
- A garden hose with a spray nozzle – skip the pressure washer, or use it on the lowest setting from at least 12 inches away, since high pressure gouges the soft grain of PT lumber and creates a fuzzy surface that won’t stain evenly
- Gloves and eye protection, especially when using an oxygen-bleach cleaner
- A plastic tarp to protect nearby plants from runoff
Step-By-Step Cleaning Process
- Clear debris: Sweep off leaves, dirt, and loose material with a broom first.
- Wet the surface: Rinse with the hose before applying any cleaner so it doesn’t soak in too fast and dry in streaks.
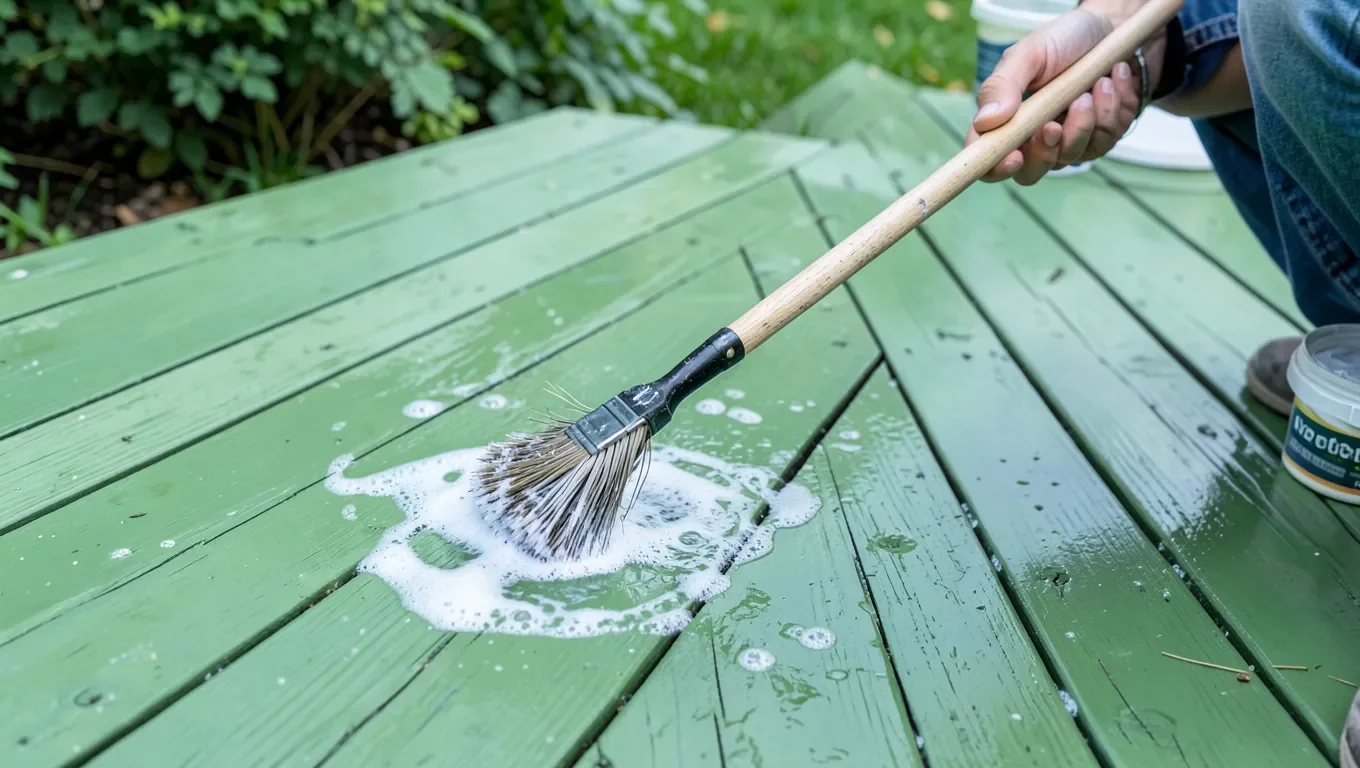
- Apply cleaner: Work the cleaner in with the deck brush, scrubbing along the grain, not across it, to avoid raising the fibers unevenly.
- Target grey or mildewed spots: Weathered grey patches and mildew need an oxygen-bleach or oxalic-acid cleaner specifically – plain soap and water won’t remove the grey oxidation layer (called “mill glaze” when it’s from milling, or UV greying when it’s weathering).
- Rinse thoroughly: Any cleaner residue left behind can interfere with stain absorption.
- Let it dry fully: Minimum 48 hours in good weather before staining – longer if it rained during or right after cleaning.
Inspect And Repair Before You Stain
Once the wood is clean and dry, check it over for cracks, splinters, and popped nails or screws. Fill small cracks and gouges with an exterior wood filler rated for outdoor use, sand any rough or splintered spots smooth, and re-set any raised fasteners. Staining over damage doesn’t hide it – it just seals it in place, and small problems left unaddressed now become bigger repairs later.
Choosing A Stain For Pressure-Treated Wood
Semi-transparent or solid-color stains formulated for exterior/PT lumber perform best, since they’re designed to flex with the wood’s higher moisture movement compared to kiln-dried lumber. Oil-based stains penetrate deeper and typically last longer on PT wood, while water-based stains dry faster and clean up easier – either works as long as the wood has actually finished curing (see the water-bead test above). Always test your chosen stain on a hidden section first, since PT wood’s copper-based treatment can shift how a color reads compared to the same stain on untreated lumber.
Frequently Asked Questions
How Do You Prep Pressure-Treated Wood For Stain?
Clean it with a mild deck cleaner and a stiff brush, rinse thoroughly, and let it dry at least 48 hours. Before staining, confirm the wood has finished curing with the water-bead test – if water beads on the surface instead of soaking in within a minute or two, wait longer (often 60-90 days from installation) before staining.
What Should Never Be Done With Pressure-Treated Wood?
Never burn it – the treatment chemicals become toxic when burned. Don’t use it for cutting boards, countertops, or anything touching food directly. Don’t compost or mulch it, and avoid working with it in enclosed, unventilated spaces since the sawdust can irritate lungs.
What Is The Best Way To Clean Pressure-Treated Wood Before Staining?
A mild deck cleaner (or dish soap and water for light dirt) with a stiff-bristle brush, scrubbing along the grain. For grey, weathered, or mildewed wood, an oxygen-bleach or oxalic-acid deck cleaner removes the discoloration that plain soap and water can’t. Avoid pressure washers on the high setting – they gouge the soft grain.
How Long Should Pressure-Treated Wood Dry Before Staining?
New PT lumber typically needs 60-90 days after installation to fully cure before it will accept stain, longer in humid or cool climates. After cleaning, let the wood dry at least 48 hours before applying stain. The water-bead test is the most reliable way to confirm readiness rather than guessing by the calendar alone.
Conclusion
Cleaning pressure-treated wood before staining is straightforward – a mild cleaner, a stiff brush, and a thorough rinse. The step most guides skip is confirming the wood is actually cured enough to take stain in the first place. Run the water-bead test, clean it properly, let it dry fully, and your stain job will bond and last instead of peeling within a season.
Sponsored / affiliate links. As an Amazon Associate I earn from qualifying purchases. I may earn additional commission from eligible campaigns.