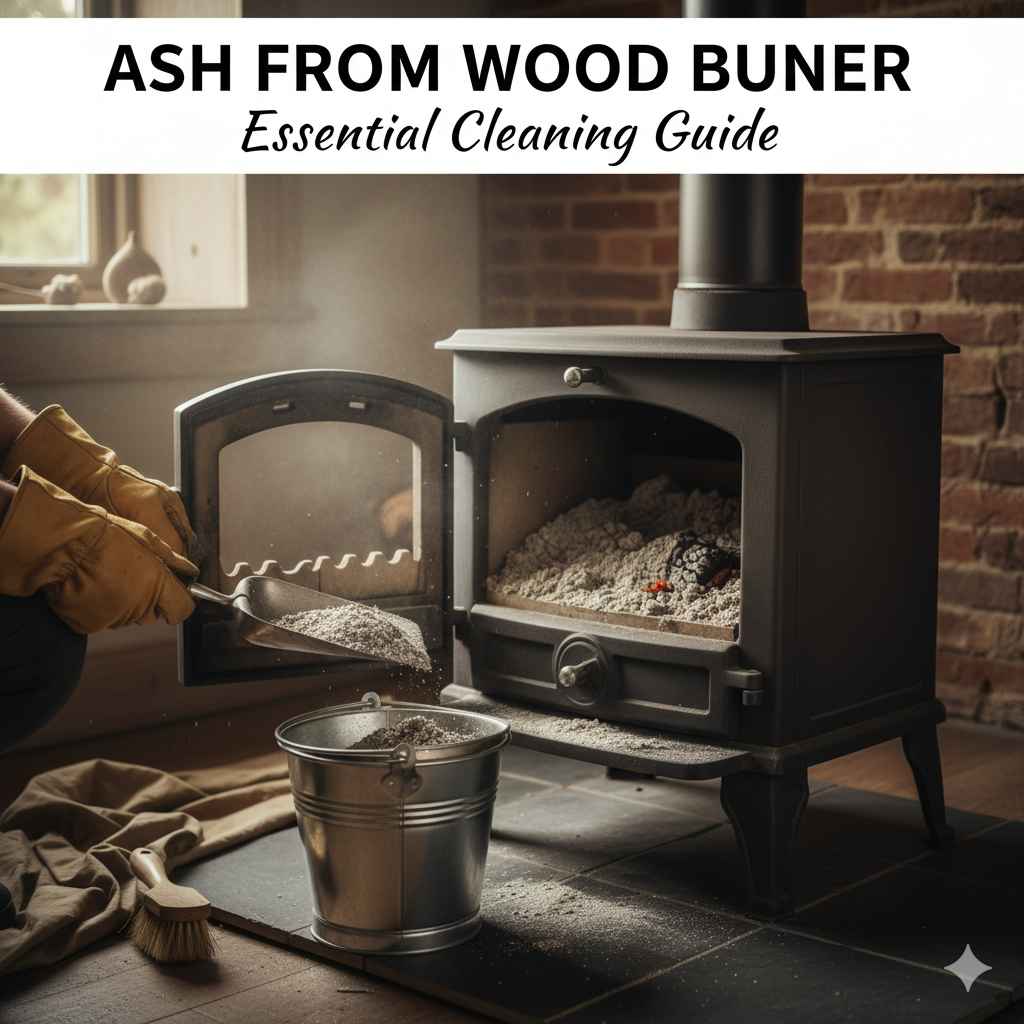
Ash From Wood Burner: Essential Cleaning Guide
Cleaning ash from your wood burner is straightforward! Safely remove cold ash using recommended tools, dispose of it properly to prevent re-ignition, and maintain your appliance for efficient, safe heating. This guide covers everything a beginner needs to know.
Hello there! I’m Md Meraj, and I know that feeling of cozy warmth a wood burner brings on a chilly day. But with that comfort comes a bit of tidying up. Dealing with the ash might seem like a messy chore, but with the right steps, it’s totally manageable. We’ll walk through how to keep your wood burner clean and working its best, so you can enjoy that lovely fire worry-free. Let’s get your hearth sparkling!
Why Cleaning Your Wood Burner Ash is So Important
Keeping ash levels in check isn’t just about appearances; it’s crucial for the safety and efficiency of your wood burner. Too much ash can actually block the airflow your fire needs to burn cleanly and effectively. This means a less efficient burn, more smoke, and potentially a buildup of creosote in your chimney – which is a fire hazard. Regular cleaning ensures your wood burner heats your home well and keeps your chimney safe. Think of it as giving your stove a healthy breath!
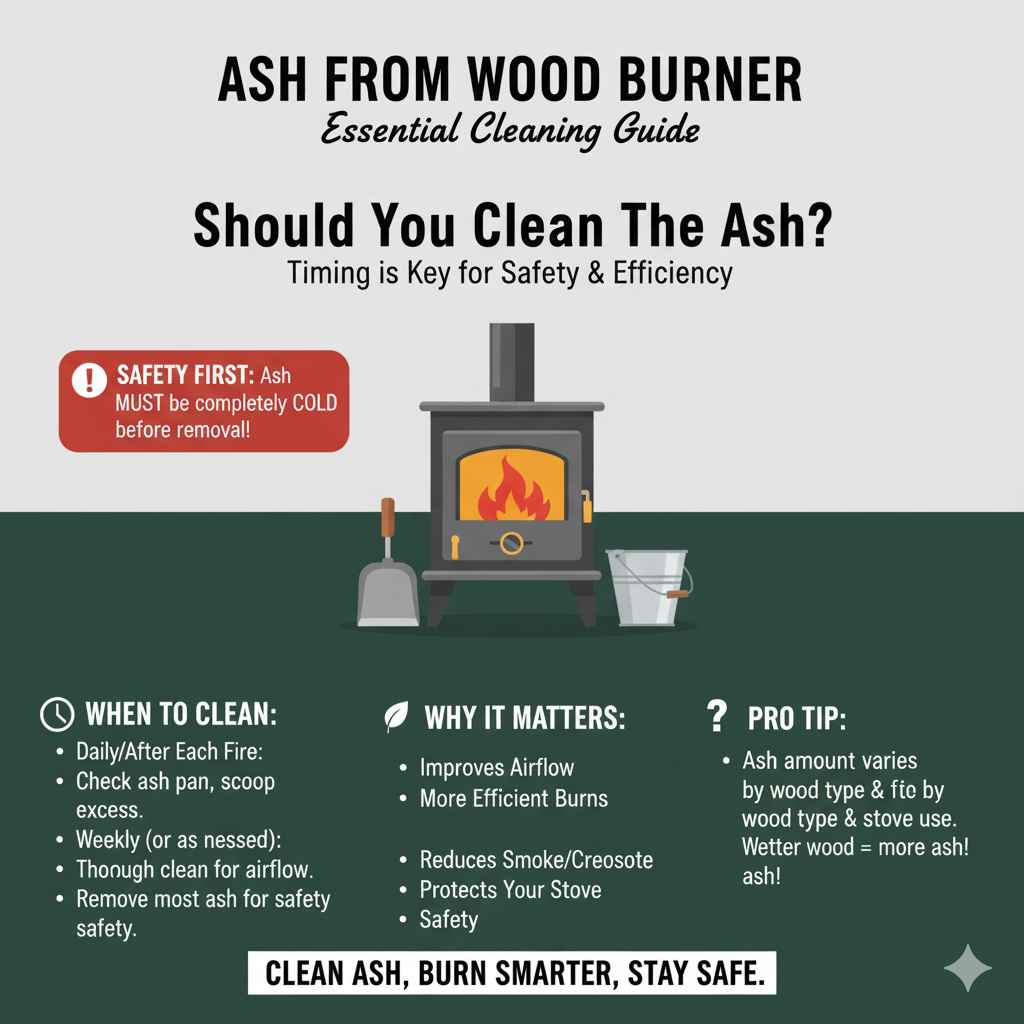
When Should You Clean the Ash?
Timing is key when it comes to ash removal. The golden rule for safety is to always ensure the ash is completely cold. This is the most critical part of the entire process. Never attempt to remove ash that is still hot or smoldering.
Here’s a simple guide on when to clean:
- Daily/After Each Fire: It’s good practice to check the ash pan after the fire has completely died down and cooled. If the ash is deep, scoop out excess to maintain good airflow for the next burn. Sometimes, this just means a quick scrape if you’ve had a small fire.
- Weekly (or as needed): If you use your wood burner regularly, a more thorough cleaning once a week is a good idea. This ensures the grate and ash pan are clear, allowing the stove to perform at its best.
- Before Extended Breaks: If you’re going away for a few days or longer, it’s best to remove most of the ash to prevent any potential issues.
Remember, the amount of ash produced depends on the fuel you burn and how often you use your stove. Wetter wood or less efficient burning can create more ash.
Essential Tools for Safe Ash Removal
Having the right tools makes the job much easier and safer. You don’t need a whole workshop full of gear; just a few key items will do the trick. These are designed to handle ash safely and minimize mess.
Here’s what you’ll want to have ready:
- Ash Bucket with Lid: This is a must-have! Look for a metal bucket specifically designed for ash. It should have a tight-fitting lid to contain any dust and embers and be made of fire-resistant material. Many have carrying handles for convenience.
- Ash Shovel or Scoop: A small, sturdy metal shovel or specialized ash scoop is perfect for gathering the ash from the firebox and ash pan.
- Wire Brush: A stiff wire brush is useful for brushing ash from the stove’s internal components, like the grate, and for cleaning the glass if needed.
- Heat-Resistant Gloves: Even if you’re sure the ash is cold, wearing heat-resistant gloves adds an extra layer of safety and keeps your hands clean.
- Dustpan and Brush (for Spills): A sturdy dustpan and brush for any stray ash that might fall on the hearth or floor.
- Optional: Ash Vacuum (Shop Vac): For a cleaner experience, an ash vacuum (often called an ash-Ŏ-vac or shop vac with a special filter) is a great investment. These are designed to suck up fine ash without blowing dust into the air and have fireproof components. Ensure it’s rated for ash and fine dust.
Using these tools correctly will make the cleaning process efficient and much less dusty!
Step-by-Step Guide: Cleaning Your Wood Burner Ash
Let’s break down the process into simple, manageable steps. Follow these carefully, and you’ll have your wood burner clean and ready for its next cozy fire.
Step 1: Ensure the Fire is Completely Out and Cold
This is the absolute most important step. Do not skip or rush this. Wait until all the embers have died down completely, and the ash feels cool to the touch with the back of your hand (be cautious, use the back of your hand held a few inches away to test for residual heat). This can take many hours, sometimes even overnight, depending on how much wood you burned.
Step 2: Protect Your Hearth Area
Lay down some newspaper or a dust sheet on your hearth or the floor in front of the wood burner. This will catch any stray ash that might fall during the cleaning process, making cleanup much easier.
Step 3: Open the Door Carefully
Slowly open the wood burner door. Be prepared for a little bit of ash dust to escape. If you’re using a dust mask, now is a good time to put it on, especially if you’re sensitive to dust.
Step 4: Remove Large Debris and Cooled Ash
Using your ash shovel or scoop, carefully remove any large, unburnt pieces of wood. Then, start scooping the cooled ash from the bottom of the firebox. It’s often best to shovel this into your designated metal ash bucket as you go.
Step 5: Clean the Grate and Internal Parts
If your wood burner has a grate, use your wire brush to dislodge any ash or debris stuck in it. Push this ash down into the ash pan or shovel it directly into your ash bucket. Sometimes, you can use a tool to lift the grate slightly to get underneath it properly.
Step 6: Empty the Ash Pan
Most wood burners have a removable ash pan located beneath the grate. Carefully slide this out. Be prepared for it to be full of ash. Take it to your ash bucket and empty its contents. If the pan is very full, you might need to do some of the scooping from Step 4 directly into the ash pan, then empty the pan.
Step 7: Clean the Glass (Optional but Recommended)
If the glass on your wood burner door is sooty, you can clean it. A common and effective method is to use the damp ash itself! Dip a crumpled piece of newspaper or a damp cloth into the fine ash in your ash bucket and use it to gently rub the inside of the glass. Follow up with a clean, damp cloth and then a dry cloth. For stubborn marks, you might need a specific stove glass cleaner. This helps you see your beautiful fire better!
Step 8: Final Sweep
Once the ash is removed, use your dustpan and brush to sweep up any stray ash from the hearth or the dust sheets you laid down. Make sure the area around the stove is clean.
Step 9: Secure the Ash Bucket
Place the lid securely on your ash bucket. Take the bucket outside immediately to a safe, designated disposal location (more on this in the next section).
Step 10: Close the Door
Close the door of your wood burner. You’re all done with the cleaning!
Remember, safety first! Always prioritize ensuring the ash is cold before you start.
Safe Ash Disposal: What to Do Next
Disposing of wood burner ash incorrectly is one of the most common causes of accidental fires after a stove has been used. It’s vital to get this right.
Where to Dispose of Ash
The most important thing is to keep ash away from anything combustible until you are absolutely certain it is cold. Even a tiny ember can re-ignite.
- Ideal Location: Outdoors, Away from Structures: The best place to store ash temporarily is in a metal ash bucket (with a lid) placed on a non-combustible surface (like concrete or gravel) well away from your house, shed, garage, or any wooden structures.
- On the Ground: If you don’t have a suitable surface, you can place the bucket on bare earth or gravel.
- Avoid: Compost Bins and Wheelie Bins: Do NOT put hot or even potentially warm ash into your regular household bins or compost bins. The heat can cause fires. Some gardeners advocate for cooled ash in compost, but this carries significant risk if not handled with extreme caution and knowledge. Stick to safer methods for beginners.
How Long to Wait Before Disposal
This is where patience is key. For absolute certainty, it’s recommended to leave ash in a sealed metal bucket outdoors for at least 5-7 days before considering it fully cold and safe for final disposal. Even after this period, it’s a good idea to stir it carefully with a metal rake or shovel to check for any hidden warmth or smoldering pockets. Sometimes, people will bury it deeply in their garden once they are certain it’s cold, or mix it with soil/gravel to ensure it remains inert.
A fantastic resource for chimney and fireplace safety, which indirectly relates to ash management, can be found on the National Fire Protection Association (NFPA) website. While they focus on fireplaces and chimneys, their safety recommendations are paramount for all solid fuel burning appliances.
Can Ash Be Recycled or Reused?
Once you are 100% certain the ash is cold and inert, it can have some uses:
- Garden Fertilizer: Wood ash is a source of potassium and calcium, which can benefit some plants. However, it’s alkaline, so it’s best used sparingly and not on acid-loving plants like blueberries or azaleas. It can help raise soil pH. Always research the pH needs of your soil and plants before adding ash.
- Pest Deterrent: Some gardeners find a ring of ash around vulnerable plants can deter slugs and snails.
- De-icing: In a pinch, cold ash can provide some traction on icy paths, similar to sand.
Remember, these uses are only safe and appropriate for ash that has been thoroughly cooled and stored appropriately.
Understanding Creosote and How Ash Cleaning Helps
Creosote is a flammable byproduct of burning wood. It’s like soot, but stickier and tar-like. When wood doesn’t burn completely because of poor airflow (often due to too much ash), more creosote is produced. This creosote can build up inside your chimney liner.
When creosote ignites, it causes a chimney fire, which is extremely dangerous. Regular cleaning of your wood burner, which includes ensuring proper airflow by removing excess ash, helps your stove burn more efficiently. A more efficient burn means less creosote production.
Think of it this way: A clean stove burns cleaner wood fuel. Cleaner wood fuel produces less creosote. Less creosote means a safer chimney. So, while you’re cleaning out the ash, you are also contributing to chimney safety!
Here’s a quick comparison:
| Factor | Wood Burner with Excessive Ash | Wood Burner with Clean Ash Pan |
|---|---|---|
| Airflow | Restricted | Optimal |
| Fuel Burn Efficiency | Low | High |
| Creosote Buildup | Increased risk | Reduced risk |
| Overall Safety | Compromised | Enhanced |
For more in-depth information on chimney safety and maintenance, including creosote, you can refer to resources like those provided by the Chimney Safety Institute of America (CSIA).
Troubleshooting Common Ash Cleaning Issues
Even with the best intentions, a few common issues can pop up. Here’s how to handle them:
- Ash is Still Warm: Be patient! If you touch the ash and feel any warmth, even slight, re-lid the stove door and wait longer. Rushing this step is dangerous. You can try to fan the coals with a poker to help them cool, but only if ventilation is good and you are certain it’s not an active ember.
- Excessive Dust: If you’re getting a lot of dust when scooping, dampen the ash very slightly with a spray bottle of water before scooping. Be careful not to make it wet, just a fine mist. An ash vacuum also dramatically reduces dust. Wearing a mask will help too.
- Stuck Grate: If the grate is firmly stuck with ash or clinker (molten residue), don’t force it excessively. Try using your wire brush to clear as much ash as possible around the edges. Sometimes, a few gentle taps with a rubber mallet (or wooden block and hammer) can help loosen it. If it remains stubbornly stuck, you might need to consult your stove’s manual or a professional sweep.
- Ash Pan Handle is Hot: This usually means the ash is not as cold as you thought. Stop, close the stove door, and wait longer. If the handle feels hot even when the ash seems cold, it might be a sign of unusual buildup or a manufacturing issue.
The key is to be methodical. If something seems wrong, the safest approach is always to wait longer or seek advice.
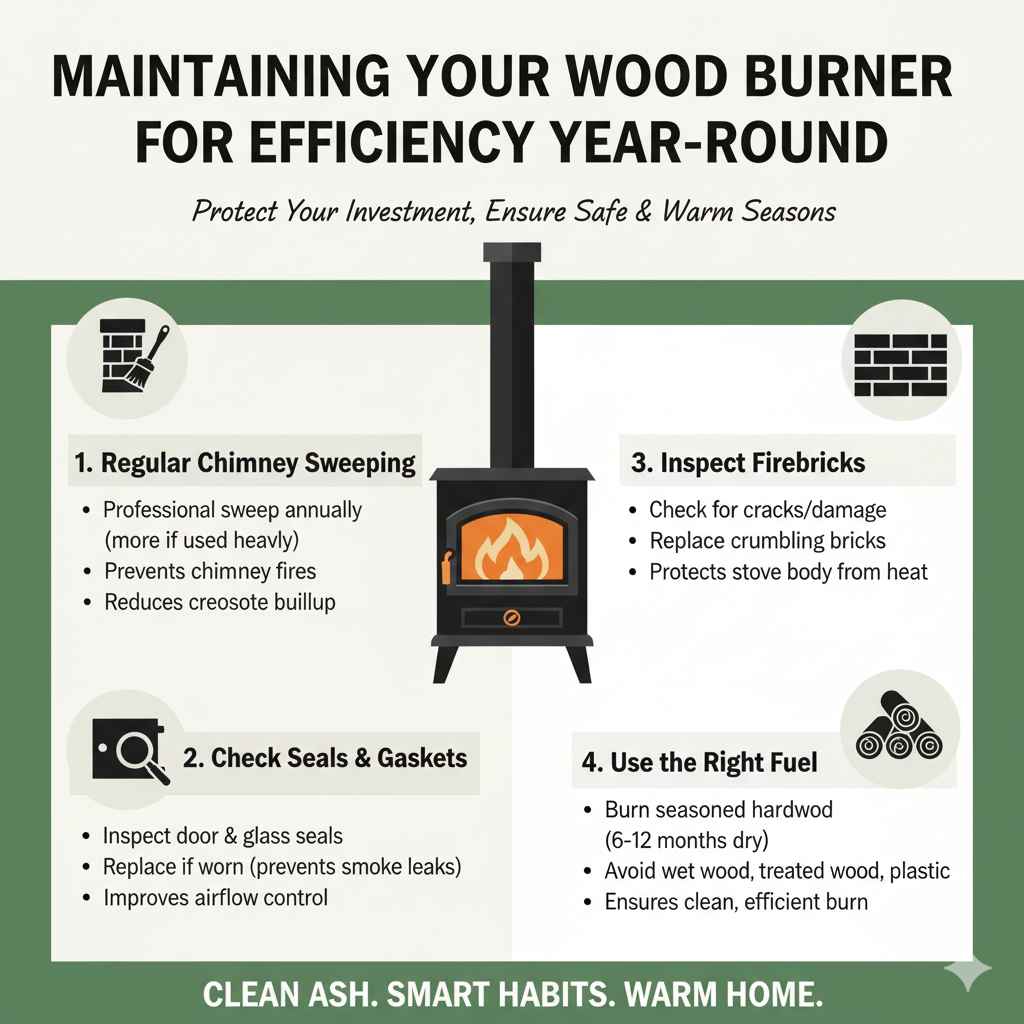
Maintaining Your Wood Burner for Efficiency Year-Round
Cleaning the ash is a big part of keeping your wood burner in top shape, but a few other maintenance habits will ensure it runs efficiently and safely for years to come:
Regular Chimney Sweeping
This is non-negotiable. Get your chimney professionally swept at least once a year, or more often if you use your stove heavily. A professional sweep can spot potential issues like blockages or damage that you might miss. This is the best defense against chimney fires. They can also advise on creosote buildup.
Checking Seals and Gaskets
The door and glass seals on your wood burner are important for controlling airflow. Over time, they can wear out. If you notice smoke leaking from the door seals when the stove is operating, or if the door doesn’t close tightly, it’s time to replace them. You can often buy replacement gasket rope and adhesive from stove suppliers.
Inspecting the Firebricks
The firebricks inside your stove protect the metal body from intense heat. Check them occasionally for cracks or significant damage. Minor hairline cracks are usually okay, but larger or crumbling bricks should be replaced to protect your stove.
You can find great resources on wood stove maintenance, including how to check these components, on websites dedicated to home heating and safety. Websites like Hearth.com offer forums and guides from experienced users and professionals.
Using the Right Fuel
Always burn seasoned hardwood. This means wood that has been dried for at least 6-12 months. Wet or unseasoned wood burns inefficiently, produces more smoke and creosote, and leaves more ash behind. Avoid burning treated wood, plastic, or garbage, as this can damage your stove and release toxic fumes.
By incorporating these maintenance practices along with regular ash cleaning, you ensure your wood burner is a safe, efficient, and reliable source of heat for your home.
Frequently Asked Questions About Wood Burner Ash
Q1: How do I know if the ash is definitely cold?
A: The best way is to wait several hours, ideally overnight, after the fire has died. Before touching, cautiously hold the back of your hand a few inches from the ash bed. If you feel any warmth, wait longer. Never assume it’s cold; always test carefully.
Q2: Can I use a regular vacuum cleaner to clean ash?
A: No, absolutely not. A regular household vacuum cleaner is not designed for ash. Fine ash can clog the filter, potentially damage the motor, and more importantly, cause a fire hazard if any hot embers are present. Use a dedicated ash vacuum or manual tools like an ash shovel and bucket.