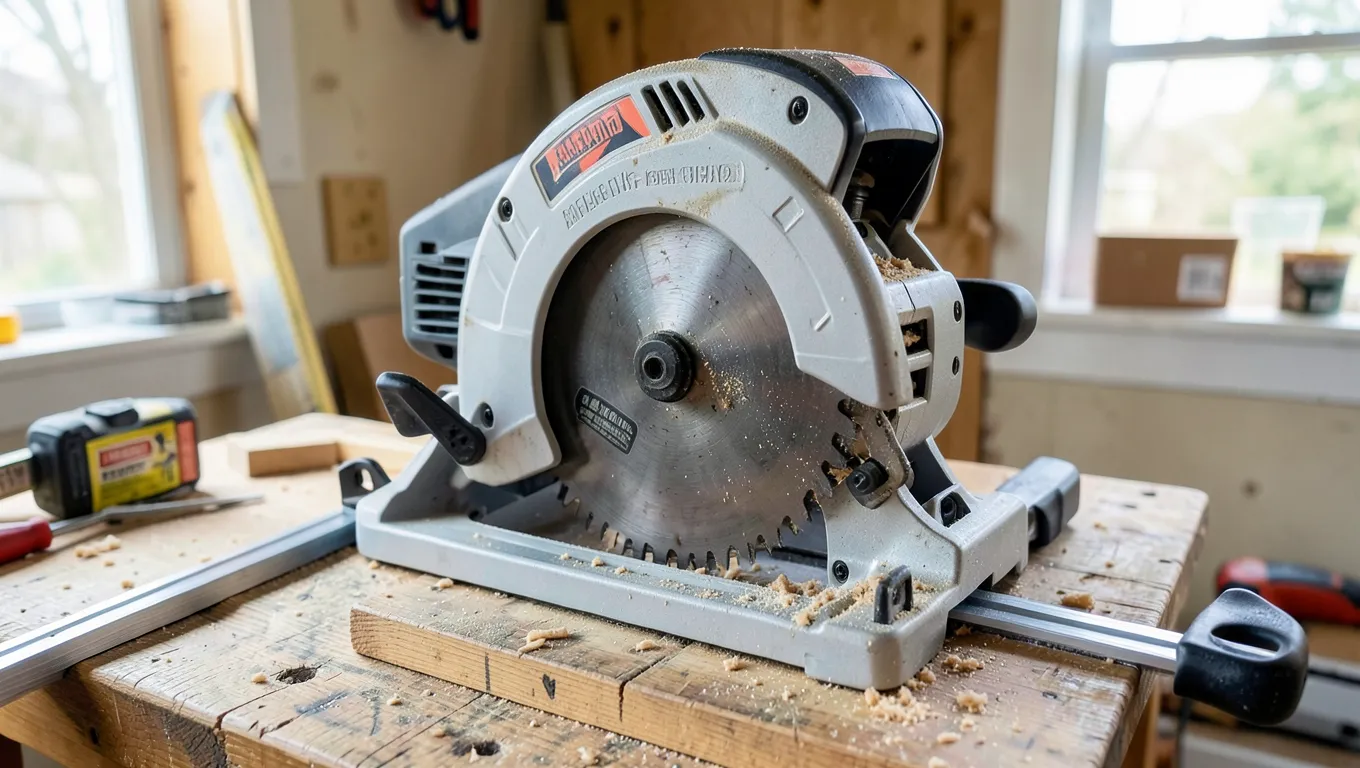
Admiral 12 Miter Saw Parts: Full Replacement Guide
Finding the right Admiral 12″ miter saw parts comes down to one thing first: knowing exactly which model you own. Admiral saws share a similar body across a few different variants, but a sliding model and a fixed model use different blade guards, fence hardware, and even different arbor sizes in some years. Get the model number wrong and the part you order simply won’t bolt on.
Admiral 12 Miter Saw Parts Replacement Explained
Most-Replaced Part, Upgraded
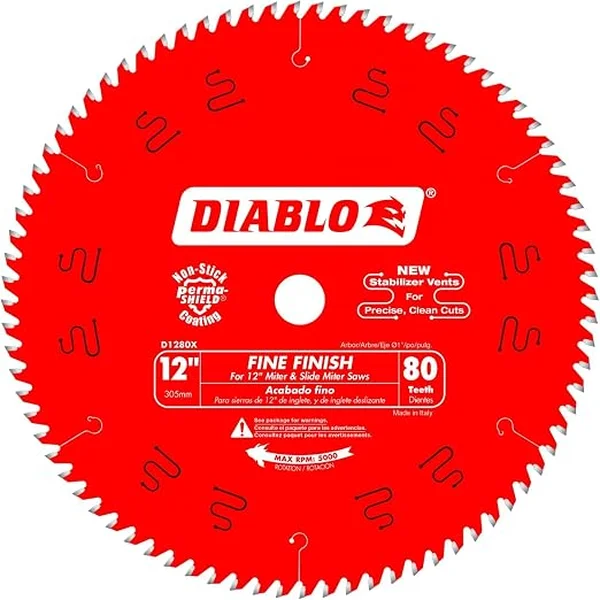 |
Diablo D1280X 12″ 80-Tooth Fine Finish Blade – $59.97 The blade is the single most commonly replaced part on any 12″ miter saw, including the Admiral – this is a real upgrade over the stock 24-40 tooth blade most saws ship with.
|
This section covers how to identify the exact replacement parts your saw needs and where to actually buy them, so you’re not left guessing whether a part will fit once it arrives.
Identifying Your Admiral 12 Miter Saw Model
The model and serial number sticker is usually on the base near the motor housing, or sometimes on the underside of the table. It lists a model number (letters and numbers together) and often a separate serial number below it. Write both down before you order anything – a sliding compound model and a fixed compound model in the same 12″ line frequently use different blade guards, different fence extension hardware, and sometimes a different bevel-lock mechanism, even though the saws look nearly identical from across the shop.
If the sticker has worn off or is illegible, check your original box, receipt, or owner’s manual – the model number is printed on all three. As a last resort, measure the arbor bore and blade diameter directly and take that measurement with you when buying a blade; most 12″ miter saws use a 1″ arbor, but a small number of older or budget models use 5/8″.
Where to Buy Admiral 12 Miter Saw Parts
Generic wear parts – blades, motor brushes, drive belts – are widely available from Amazon, home-improvement stores, and tool-parts specialty retailers, and don’t need to come from the original manufacturer. Saw-specific parts like the fence assembly, trunnion, or blade guard are harder to source generically; check the retailer that sold the saw first (Admiral is most commonly sold through big-box retailers), since they often stock or can order OEM replacement parts that aftermarket sellers don’t carry.
Whichever route you take, compare the exact part number or dimensions against your saw’s spec, not just the product title – “12 inch miter saw blade” listings vary in arbor size, tooth count, and plate thickness, and a wrong arbor size simply won’t fit onto the shaft.
Example Scenario
- Find the model number sticker on your Admiral 12 miter saw.
- Write down the full model number and any serial numbers.
- Search online for “Admiral 12 miter saw replacement parts” plus your exact model number.
- Compare arbor size, blade diameter, and tooth count against your saw’s original part.
- Confirm the seller’s return policy before buying, in case the part still doesn’t fit.
Common Admiral 12 Miter Saw Replacement Parts
Four parts account for the vast majority of replacements on any 12″ miter saw: the blade, the motor brushes, the drive belt (on belt-driven models – many direct-drive miter saws don’t have one), and the blade guard hardware. Knowing what each one does helps you diagnose which part actually needs replacing instead of guessing.
Blade Replacement
The saw blade is the most frequently replaced part on the saw, simply because it’s a consumable – carbide teeth dull with use, and hitting a hidden nail or a piece of hardened material can chip a tooth instantly. A dull blade shows up as burn marks on the cut edge, more resistance pushing the material through, and a rougher cut surface than the blade produced when new.
Motor Brushes
Motor brushes are small carbon blocks that carry electricity to the spinning armature. They wear down gradually with every hour of use, and once they get too short, the motor starts running erratically, loses power, or won’t start at all. Visible sparking through the brush access caps, or a burning smell, both point to worn brushes. Replacing them is a simple job: most saws have small round access caps on the motor housing that unscrew or pop off by hand, giving direct access to swap the old brush for a new one.
Drive Belts
On belt-driven miter saws, the belt transfers the motor’s rotation to the blade arbor. Rubber belts stretch, crack, or develop a shiny “glazed” surface over years of use, and a glazed belt slips under load even when it looks intact. Slipping shows up as reduced cutting power and a squealing sound as the belt spins against the pulley without fully gripping. Getting the exact belt length and width right matters here – a slightly-too-long belt will run loose and slip regardless of tension adjustment.
Admiral 12 Miter Saw Parts Installation Steps
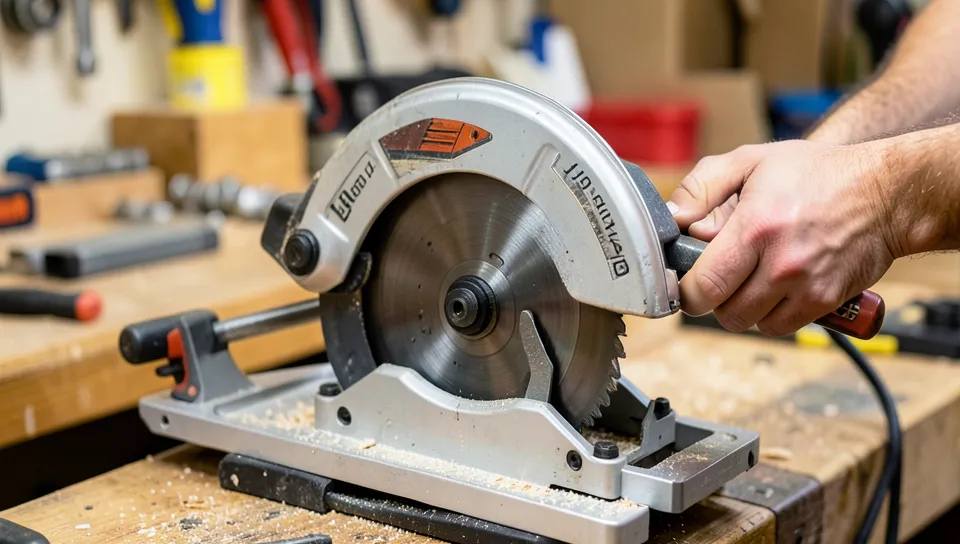
The steps below cover safety first, then walk through the three most common part swaps – blade, motor brushes, and drive belt – in the order most DIYers actually need them.
Safety First When Replacing Parts
Unplug the saw before touching any part of it – not just switched off, physically unplugged, since a stray bump of the trigger with the blade guard removed can cause a serious injury. Wear cut-resistant gloves when handling a blade (the teeth stay sharp whether the saw is running or not), and reinstall the blade guard exactly as it came off before running the saw again. If you’re working near the motor housing, treat any exposed wiring as live until you’ve confirmed the plug is out and stays out.
Step-by-Step Installation Process General Guide
Every part swap on this saw follows the same basic pattern: unplug the saw, identify and remove the worn part, install the new one in the same orientation, and test at low load before trusting it with a real cut. The three most common swaps – blade, brushes, and belt – each have their own specific steps below.
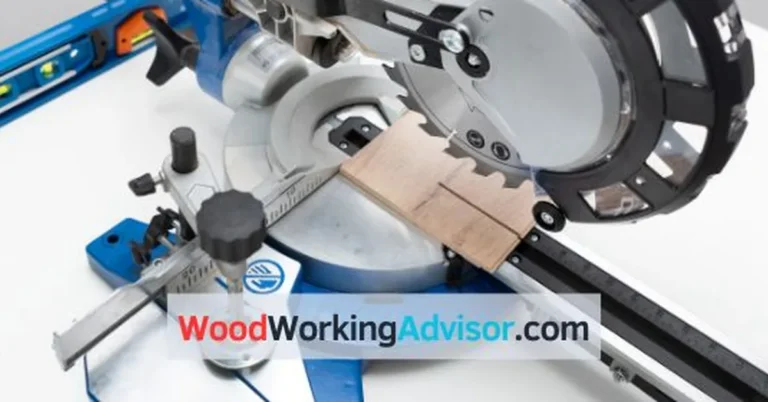
Replacing a Saw Blade
- Unplug the miter saw.
- Locate the blade lock or arbor lock button on the saw.
- Press and hold the lock button to keep the arbor from spinning.
- Use the wrench included with the saw to loosen the arbor nut. Most miter saw arbor nuts are reverse-threaded, meaning you turn clockwise to loosen, not counterclockwise.
- Remove the old blade, noting which way the teeth point relative to the saw’s rotation.
- Wipe down the arbor shaft and the flange washers – built-up resin and dust here causes the new blade to seat slightly off-flat.
- Mount the new blade with the teeth pointing the same direction as the old one.
- Reinstall the outer flange washer and arbor nut, hand-tight first.
- Hold the blade lock again and tighten the arbor nut firmly with the wrench.
- Reinstall the blade guard, then plug in and test at low speed with no material, watching for wobble.
Replacing Motor Brushes
- Unplug the miter saw.
- Locate the brush access caps on the motor housing – small round plastic or metal caps, usually opposite each other.
- Unscrew or pop off the caps with a screwdriver or pliers.
- Slide out the old brush, noting the spring orientation behind it.
- Insert the new brush the same way, spring seated the same direction.
- Screw or snap the caps back into place.
- Plug in and run the saw with no load for a few minutes so the new brushes seat against the commutator.
Replacing a Drive Belt
- Unplug the miter saw.
- Remove the belt access cover, usually held by two to four screws.
- Note exactly how the old belt routes around both pulleys before removing it.
- Release any spring tensioner, then slip the old belt off.
- Seat the new belt on the motor pulley first, then work it onto the arbor pulley.
- Re-engage the tensioner so the belt has firm, even tension with no excess slack.
- Reinstall the access cover, plug in, and test at low speed before cutting.
Troubleshooting Common Issues After Replacement
A part swap doesn’t always fix the problem on the first try. The two most common post-replacement complaints are a saw that won’t start and a saw that still cuts poorly – both usually trace back to something other than the part you just installed.
When the Saw Won’t Start
First, check the obvious: is it actually plugged into a live outlet, and is the trigger lock (if the saw has one) disengaged? If motor brushes were just replaced, confirm both are seated fully and the access caps are threaded in tight – a brush that isn’t making full contact will prevent the motor from starting at all, not just run it weakly. If the saw has a thermal overload switch, let it cool for 15-20 minutes before trying again.
Uneven or Rough Cuts
If cuts are still rough after a fresh blade, check that the arbor nut is actually torqued down – a loose blade vibrates and tears the cut edge instead of slicing it. Confirm the blade itself sits flat with no bend or chip. Beyond the blade, check that it’s perfectly perpendicular to the table (90 degrees) and square to the fence; even a degree or two of misalignment shows up as a visibly rough or angled cut. If the belt or motor was recently serviced, confirm the blade is reaching full speed – a slipping belt or a motor not fully seated causes the blade to bog down in hardwood specifically, since softer woods mask the power loss.
Maintaining Your Admiral 12 Miter Saw
Routine maintenance is what keeps you from needing most of these replacement parts in the first place. It costs a few minutes after each use, and it’s cheaper than any part on this list.
A saw that’s cleaned, lubricated, and periodically checked for alignment holds its factory accuracy far longer than one left to accumulate sawdust in the trunnion and bevel mechanisms. It’s a small habit that pays off on every project where a clean, square cut actually matters.
Cleaning and Lubrication Best Practices
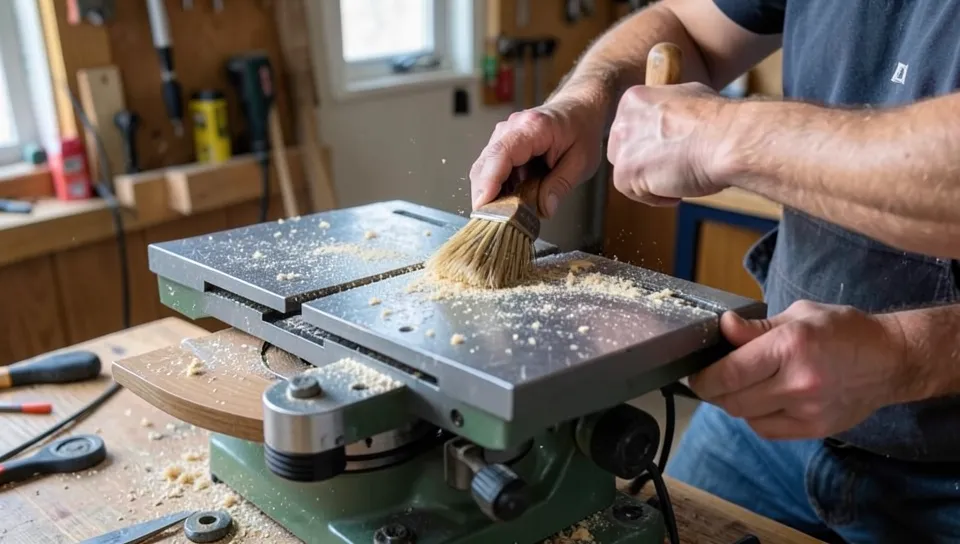
After each use, blow or brush sawdust off the blade, motor housing vents, and around the bevel and miter adjustment mechanisms – packed sawdust here is the single biggest cause of stiff, inaccurate angle adjustments over time. Check your owner’s manual before applying any lubricant; a light machine oil on pivot points and slide rails is typical, but over-lubricating just attracts more dust and makes the problem worse, not better.
On a sliding miter saw specifically, the sliding rails need their own attention – dust buildup here makes the head feel stiff or gritty as it slides. A wipe-down followed by a thin film of light oil on the rails restores smooth movement in a couple of minutes.
Blade Alignment and Calibration
Miter and bevel settings drift out of true with normal use, or after a single hard bump. Checking calibration takes under ten minutes and should happen any time your cuts stop matching the saw’s angle markings.
- Checking the 90-Degree Cut: Unplug the saw, then hold a reliable combination square against the blade and the table. The blade should sit flush against both edges of the square with no gap. If it doesn’t, adjust the rear trunnion bolts per your owner’s manual.
- Calibrating Miter Angles: Set the saw to 0 degrees miter, then use an angle finder to check the blade against the fence. Adjust the miter lock or limit screw until it reads exactly 90 degrees.
- Calibrating Bevel Angles: Set the saw to 0 degrees bevel, check the blade against the table with the angle finder, and adjust the bevel stop screw until it reads exactly 90 degrees.
Storage and Protection
Store the saw somewhere clean and dry, ideally in its original box or a dedicated tool bag, which keeps dust out and protects it from impact during moves. Lock the head down in its lowest position before storage or transport so the sliding rails and bevel mechanism aren’t loaded in an awkward position. A light coat of rust inhibitor on exposed metal – the table surface and rails especially – matters most if the saw will sit in a garage or shed with humidity swings, since bare metal there rusts noticeably within a season.
Frequently Asked Questions
Question: Where can I find the model number on my Admiral 12 miter saw?
Answer: The model number is usually found on a sticker attached to the main body of the saw. Look on the base, motor housing, or side of the unit for this identifying label.
Question: Do I need special tools to replace Admiral 12 miter saw parts?
Answer: Typically, basic tools like screwdrivers, wrenches, and Allen keys are sufficient for most common part replacements on Admiral 12 miter saws. Your saw’s manual will specify any unique tool requirements.
Question: How often should I replace the motor brushes on my Admiral 12 miter saw?
Answer: Motor brushes wear down with use and need replacement when they become significantly short, often indicated by reduced motor power or sparking. There isn’t a fixed time interval; it depends on how much you use the saw.
Question: Can I use a generic blade on my Admiral 12 miter saw?
Answer: Yes, as long as the arbor size and blade diameter match your saw. Most 12″ miter saws use a 1″ arbor, but always check yours before buying rather than assuming.
Question: What should I do if my Admiral 12 miter saw is making strange noises after a part replacement?
Answer: Strange noises usually mean improper installation or a misaligned part. Double-check that the new part is securely fastened and correctly oriented, and confirm no debris is interfering with moving components.
Wrap Up
Most Admiral 12 miter saw parts issues come down to three things: a worn blade, worn motor brushes, or a saw that’s drifted out of calibration from dust buildup. Identify your exact model first, match arbor size and part specs carefully, and you’ll get a fit-right part on the first order instead of the second.
Keep the saw clean and check its 90-degree calibration every few months, and you’ll replace parts far less often than a saw that’s never maintained between repairs.
Sponsored / affiliate links. As an Amazon Associate I earn from qualifying purchases. I may earn additional commission from eligible campaigns.