Cedar Stump Ideas: 15 Creative Ways to Reuse a Leftover Stump
A freshly cut cedar stump is one of the few pieces of “yard waste” actually worth keeping. Unlike a pine or maple stump, which starts softening within a season or two, a cedar stump can sit outdoors for years before it needs replacing — which is exactly why it makes such a good base for a garden project instead of a grinding job.
Below are 15 ideas organized by project type, plus the specific reason cedar behaves differently from other stumps once you start sealing, carving, or building on top of it. If you’re planning to leave the stump outside permanently, read the wood-science section first — it changes how you should prep the wood before you start any of the other projects.
Why Cedar Stumps Outlast Other Species Outdoors
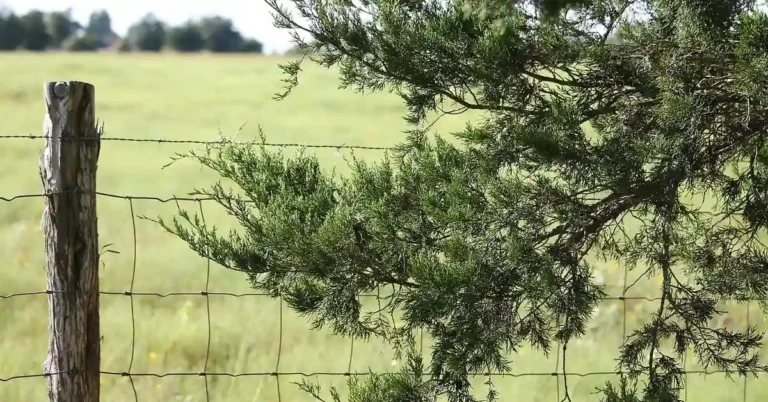
Cedar heartwood — the darker, denser wood at the center of the stump — contains natural compounds called thujaplicins, along with cedar’s characteristic oils. These extractives act as a built-in fungicide and insect deterrent, which is the actual reason cedar fence posts and stumps resist rot for 15–20 years in the ground while an untreated pine post fails in 3–5. It isn’t just “cedar is tough wood” — it’s a specific chemical property of the heartwood itself.
That matters for project planning in two ways most stump-idea articles skip. First, the outer sapwood ring (the lighter-colored band just under the bark) has almost none of these extractives — it rots and attracts insects at close to the same rate as any other softwood. If your stump still has bark and sapwood intact, that outer 1/2–1 inch is the part that will fail first, regardless of what you build on top of it. Second, those same oils that repel insects and fungus mean a cedar stump is a poor choice for an insect hotel or a moss-and-fern miniature garden — two ideas that show up on almost every other “stump ideas” list. Beneficial insects and moisture-loving moss both struggle to establish on cedar precisely because of the compounds that make it durable. Save those two projects for a maple or oak stump instead, and use cedar for the projects below, where its rot resistance is the whole point.
Best Sealer For Outdoor Stump Projects
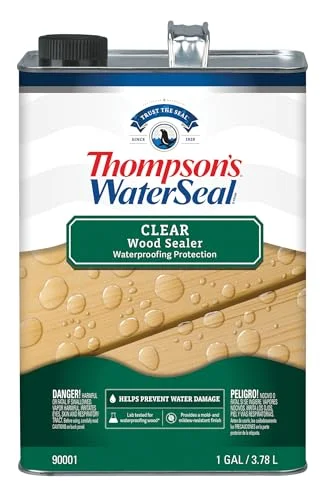 |
Thompson’s WaterSeal Clear Wood Sealer, 1 Gallon – $19.94 A penetrating clear sealer for the sapwood ring and end grain on any of the stump projects above — the two spots cedar’s natural resistance doesn’t fully cover.
|
Seating and Furniture Ideas
Furniture is the most common use for a cedar stump because the wood is already dense enough to bear weight without extra bracing. These three approaches need the least additional material.
1. Rustic Stump Stool or Chair
Cut the stump to a standard seat height of 17–19 inches. Sand the top surface with 80-grit, then 150-grit, to remove splinters, and round over the top edge with a router or rasp so it doesn’t catch clothing. Leave the bark on the sides for the rustic look, or strip it for a cleaner, more finished appearance — bark that’s already loosening will fall off within a year regardless, so remove it now if you want a uniform surface.
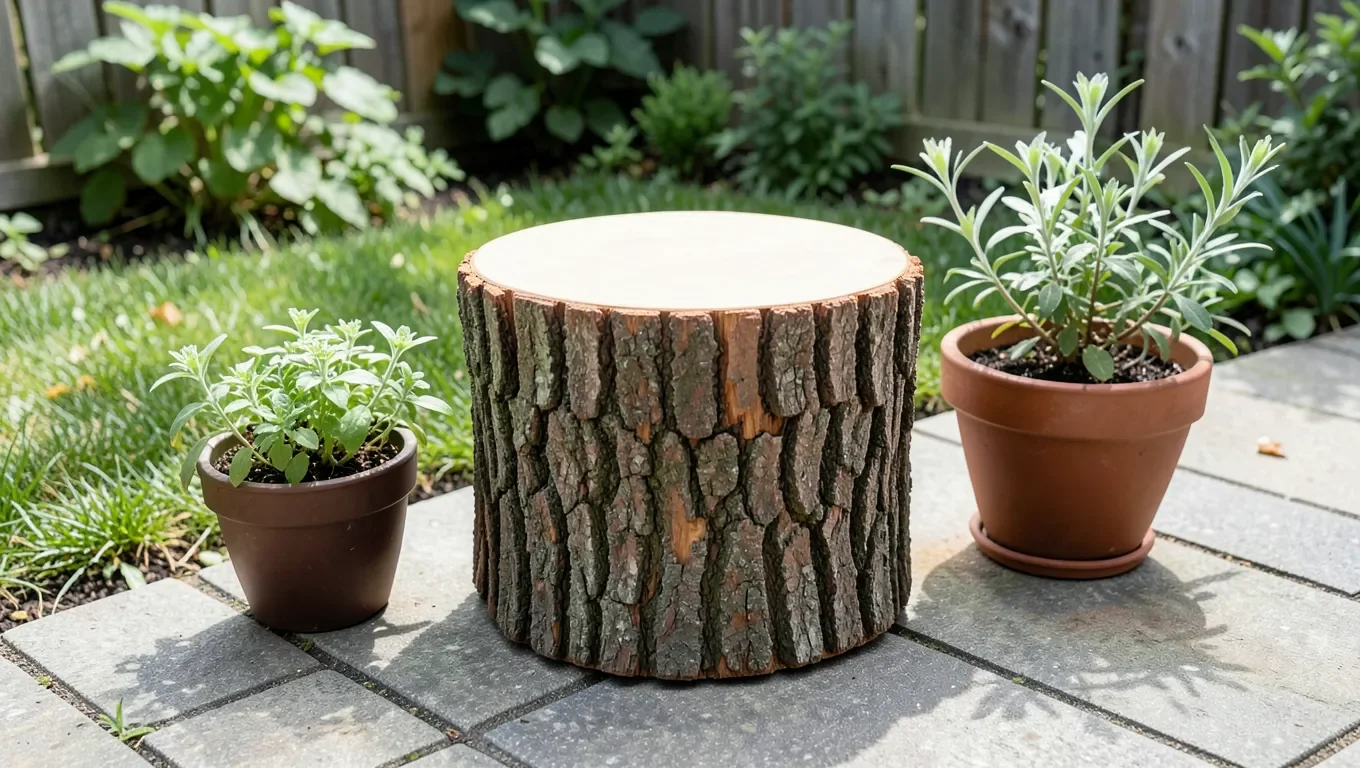
2. Live-Edge Side Table
A stump 14–18 inches in diameter works well as a side table next to an outdoor chair or bench. Level the top with a hand plane or belt sander if the cut wasn’t square. A slice of tempered glass cut to the stump’s exact top shape protects the wood from cup rings and gives you a flatter surface for drinks without hiding the grain.
3. Bench Ring Around a Larger Stump
For a stump too wide to use as a single seat, build a circular or hexagonal bench frame around it using pressure-treated 2x6s, with the stump itself acting as a center table. This works especially well over a stump you can’t fully remove — the bench hides the stump’s rougher lower section while still using the flat top as a shared surface.
Garden and Planting Features
A hollowed cedar stump makes a longer-lasting planter than a wood barrel or crate because the same rot resistance that protects a fence post also protects the planter walls from the near-constant moisture that potting soil holds against them.
4. Hollowed Stump Planter
Use a chainsaw or a large spade bit to hollow the center to at least 8 inches deep. Drill two or three 3/4-inch drainage holes through the bottom — without them, water pools against the heartwood and the extractives can’t prevent long-term saturation damage. Line the cavity with landscape fabric before adding soil so roots don’t sit directly against bare wood.
5. Tiered Succulent Display
If the stump has natural cracks or a stepped cut from limb removal, use those existing pockets as planting spots for drought-tolerant succulents instead of hollowing the whole top. Succulents need almost no supplemental water, which keeps this option low-maintenance and avoids the standing-moisture issue that comes with a full planter conversion.
6. Stepping-Stone or Path Marker
Cross-cut sections of a wide cedar trunk (2–3 inches thick) into rounds and set them into a mulched path as stepping stones. Bury each round so only 1/2 inch sits above grade, and set a few inches of gravel underneath for drainage — standing water under a buried round is the one scenario where even cedar’s natural resistance won’t prevent rot indefinitely.
Artistic and Decorative Touches
Cedar’s straight, tight grain and relative softness compared to oak or maple make it one of the more forgiving woods for hand carving, which is why it shows up so often in chainsaw-carved yard art.
7. Chainsaw or Hand-Carved Sculpture
Simple animal silhouettes, mushrooms, and geometric totems are the most common beginner carving projects because they don’t require undercuts. If you want the full range of carving techniques and tool recommendations, our tree stump carving guide walks through 25 designs by skill level.
8. Painted Stump Art
Exterior acrylic or chalk paint over a primed, sanded surface holds up well on cedar because the wood doesn’t move (expand/contract) as much as denser hardwoods do with humidity swings, so painted surfaces crack less over time. Two thin coats outperform one thick coat, and a UV-resistant clear topcoat roughly doubles the color’s lifespan in direct sun.
9. Mosaic-Topped Stump
Set glass or ceramic tile into thin-set mortar directly on a leveled stump top, then grout once the mortar cures. Seal the grout line where it meets the wood with exterior silicone caulk — that seam is the one spot where water reliably gets trapped against end grain on a mosaic top.
Functional Additions for the Yard
Beyond seating and decor, a cedar stump can take on a genuinely practical role in the yard.
10. Fire Pit Surround Base
A stump can anchor a fire pit seating area, but keep it at least 3 feet from the actual fire ring and never as the base the fire sits on — cedar’s oils that make it rot-resistant also make it burn readily. Use the stump as one of several seats around the pit, not as a surface near open flame.
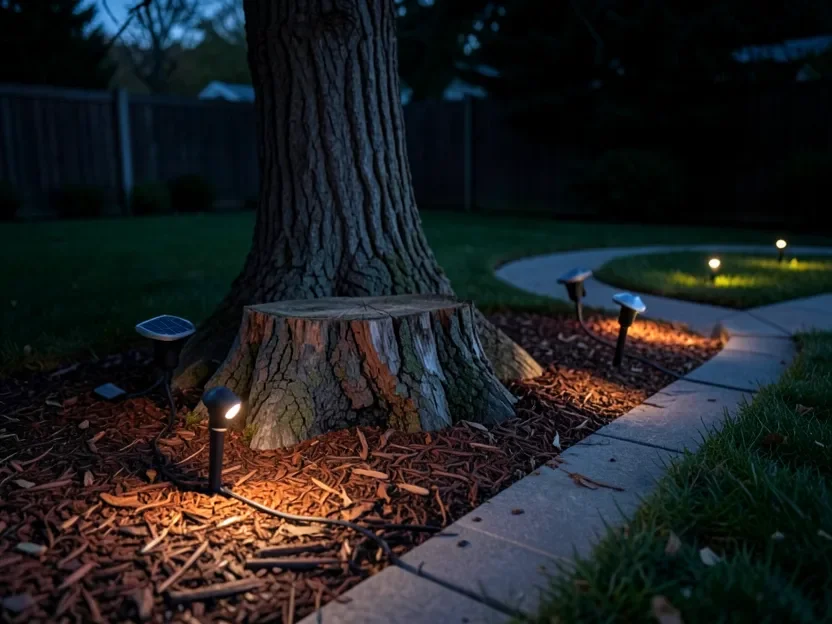
11. Solar Path Lighting
Drill a hole sized to a solar light’s stake or housing directly into the stump top, and set the fixture with exterior epoxy for a stake-free look along a path or bed edge. Solar units avoid running wire outdoors entirely, which is the main reason they’re the default choice for this kind of stump lighting.
12. Garden Tool or Pot Shelf
Screw a pressure-treated shelf bracket or a scrap board directly into the stump’s side to hold small pots, gloves, or hand tools near a garden bed. Pilot-drill before driving screws into cedar — it splits more easily along the grain than denser hardwoods when screwed without a pilot hole.
13. Birdbath Basin
Carve or router out a shallow basin (2–3 inches deep) in the stump top and seal the basin interior with a food-safe, waterproof sealant rated for surfaces animals will contact. Change the water every 2–3 days regardless of the sealant — standing water breeds mosquitoes faster than the sealant breaks down.
Sealing and Long-Term Care for Cedar Stumps
Because the sapwood and heartwood behave so differently, a cedar stump needs a slightly different sealing approach than most “seal your wood project” advice assumes.
Seal the Sapwood Ring First
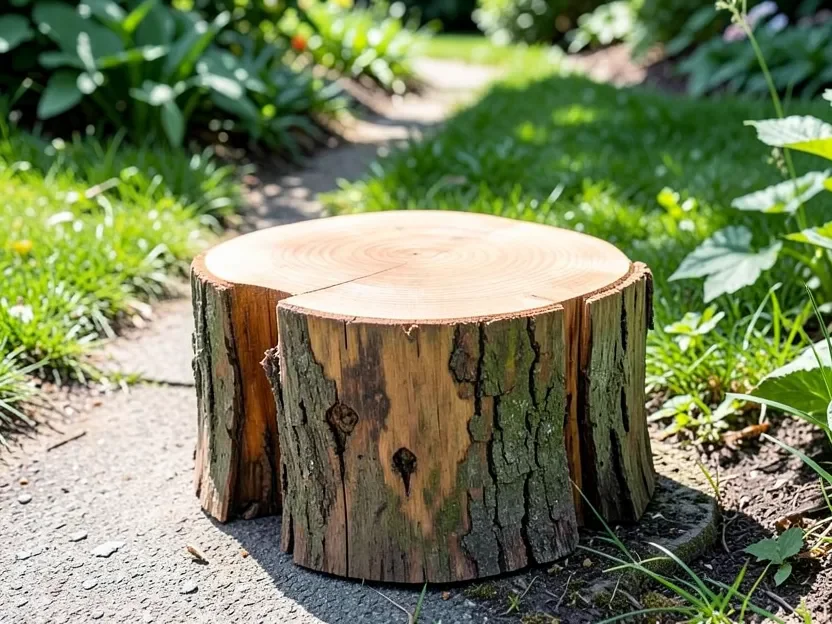
If any lighter-colored sapwood or bark remains around the outer edge, prioritize that area — it’s the part without natural rot resistance and the first place decay will start. A clear penetrating sealer applied there every 12 months does more good than reapplying sealer to the already-resistant heartwood at the same interval.
End Grain Needs Extra Coats
The cut top of a stump is almost entirely end grain, which absorbs water at several times the rate of the side grain. Apply two to three coats of sealer to the top surface specifically, letting each coat dry fully, even if the sides only get one coat. This single step prevents most of the surface checking (cracking) that stumps develop in their first year outdoors.
Elevate It Off Bare Soil
Ground contact defeats cedar’s natural resistance faster than any other factor, since soil moisture wicks upward continuously. A layer of gravel or a paver base under the stump cuts that moisture contact dramatically and is worth doing before you invest time in any of the projects above.
For a full step-by-step walkthrough of the sealing process itself, see our guide to sealing a wood stump.
Frequently Asked Questions
What can I make from a cedar stump?
A cedar stump can become a stool, side table, hollowed planter, carved sculpture, painted or mosaic-topped accent piece, fire pit seat, solar-lit path marker, or a birdbath basin. Cedar’s natural rot resistance makes it a better long-term choice for any of these than most other stump species.
Why does cedar resist rot better than other stumps?
Cedar heartwood contains natural compounds called thujaplicins along with aromatic oils that act as a built-in fungicide and insect deterrent. This is a chemical property of the heartwood itself, not just general wood density — which is why cedar fence posts commonly last 15–20 years in the ground versus 3–5 for untreated pine.
How do I seal a cedar stump for outdoor use?
Prioritize any remaining sapwood or bark first, since it lacks cedar’s natural resistance. Apply two to three coats of a penetrating outdoor wood sealer to the cut top specifically, since end grain absorbs far more water than the sides, and elevate the stump off bare soil to cut off ground moisture.
Is a cedar stump good for an insect hotel or moss garden?
Not ideally. The same natural oils that make cedar rot- and insect-resistant also make it harder for beneficial insects and moisture-loving moss to establish on it. A maple, oak, or other hardwood stump works better for those two specific projects.
Conclusion
Cedar’s natural rot and insect resistance means the stump in your yard is worth more as a project than as mulch. Start by checking how much sapwood and bark remain, since that outer ring needs sealing attention the heartwood doesn’t, and then pick whichever project above fits the stump’s size and your patio’s layout — a small stump works better as lighting or a planter, while a wide, flat-topped one is better suited to seating or a fire pit surround.
Sponsored / affiliate links. As an Amazon Associate I earn from qualifying purchases. I may earn additional commission from eligible campaigns.