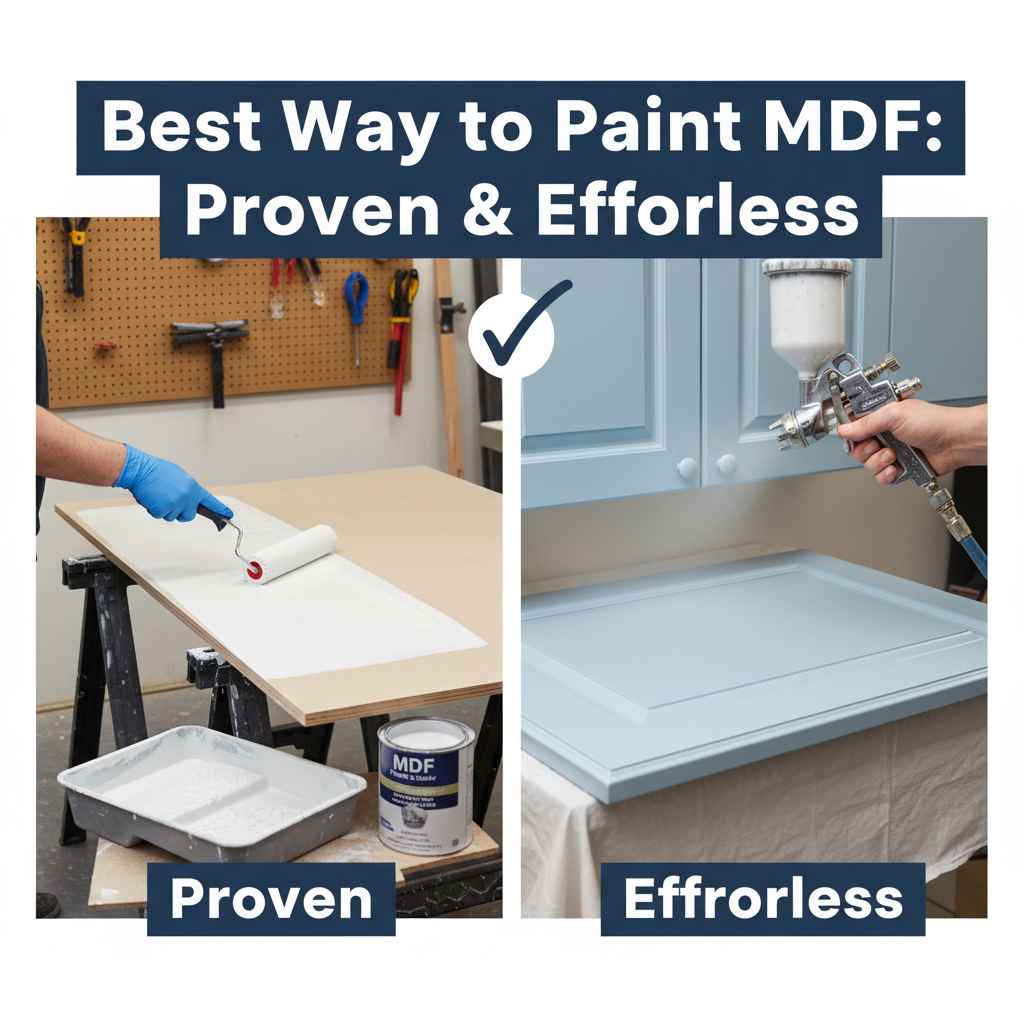
Best Way to Paint MDF: Proven & Effortless
Painting MDF has never been easier! This guide reveals the simple, step-by-step process for achieving a smooth, professional finish on your MDF projects. You’ll learn the essential prep, the right paint types, and foolproof techniques that guarantee stunning results, even for beginners. Get ready to transform your DIY creations with confidence!
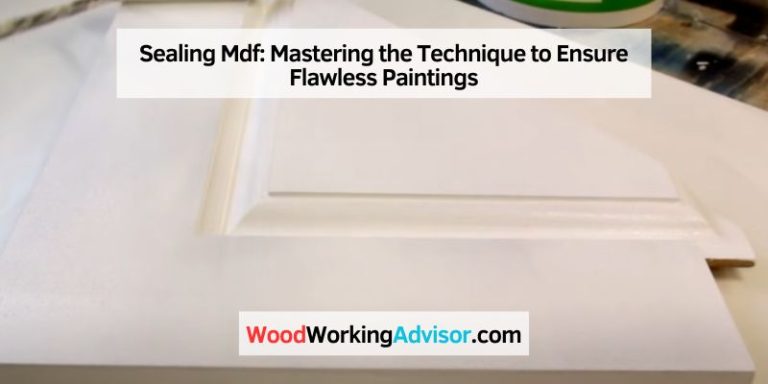
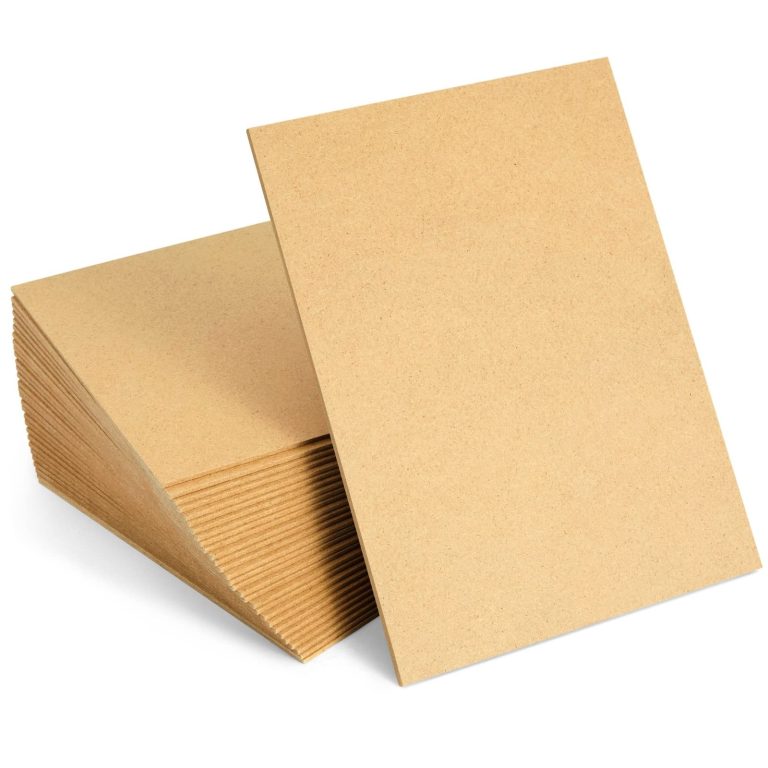
MDF, or Medium-Density Fiberboard, is a fantastic material for DIY projects. It’s affordable, smooth, and easy to cut. However, getting a perfect paint finish on it can sometimes be a little tricky. Many people find MDF drinks up paint like a sponge, leading to uneven coverage and a less-than-perfect look. Don’t worry, though! With the right preparation and a few simple tips, you can achieve a beautiful, professional paint job on your MDF that will make your projects shine. We’ll walk you through it step-by-step, making it easy for anyone to get amazing results.
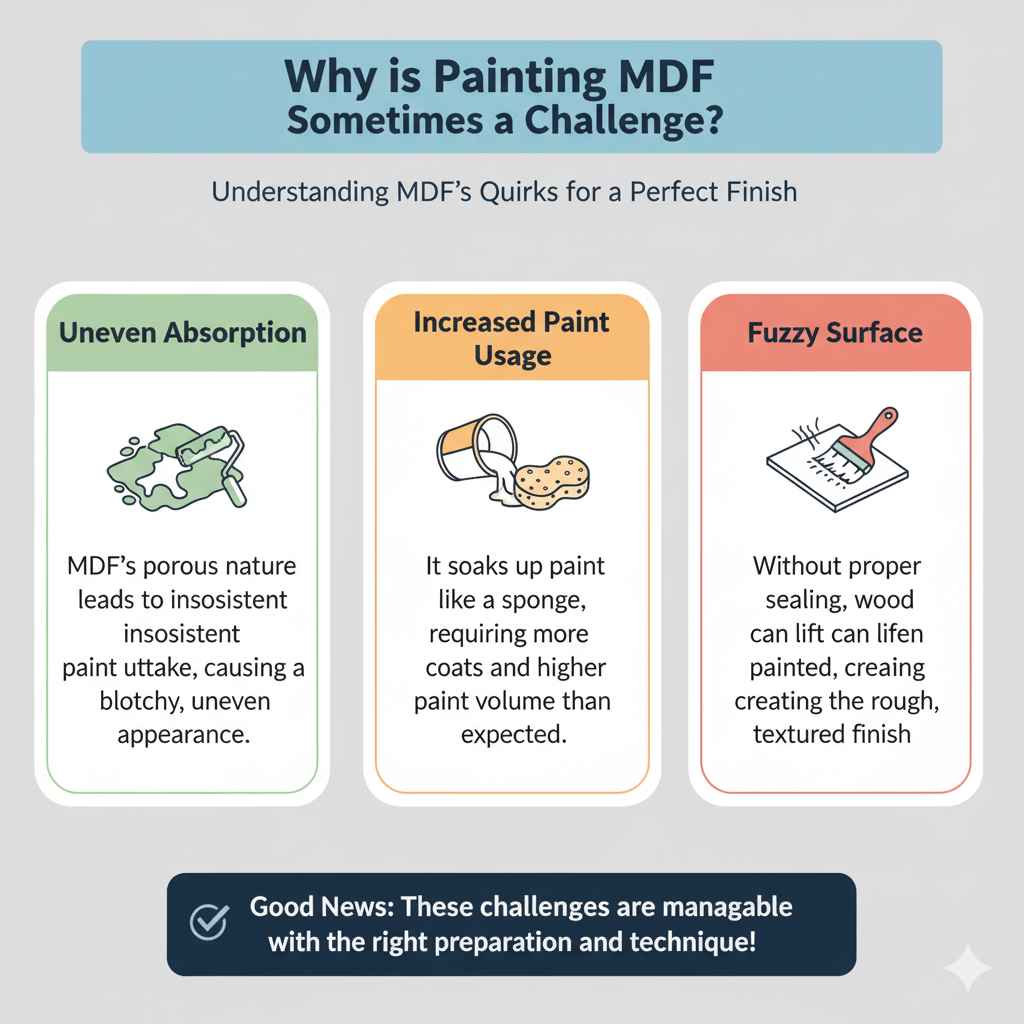
Why is Painting MDF Sometimes a Challenge?
Before we dive into the how-to, let’s briefly touch on why MDF can be a bit stubborn when it comes to paint. MDF is made from wood fibers, resin, and wax, pressed together under heat and pressure. This process creates a dense, smooth surface, which is great for many things, but its absorbency is its main quirk. The porous nature of MDF means it can soak up paint quickly, especially water-based paints. This can lead to:
Uneven Absorption: Some areas might get more paint than others, resulting in a patchy look.
Increased Paint Usage: You might find yourself using far more paint than you anticipated.
Fuzzy Surface: If not prepared correctly, the fibers can lift when painted, creating a rough texture.
The good news is that these challenges are completely manageable with the right approach. We’re going to cover everything you need to know to overcome them.
What You’ll Need: Your MDF Painting Toolkit
Gathering your supplies beforehand makes the painting process smooth and enjoyable. Here’s a list of what you’ll typically need for painting MDF:
Essential Tools and Materials:
- MDF Project: Your pre-cut and assembled MDF piece.
- Sandpaper: A medium-grit (around 120-150) and a fine-grit (around 220) sandpaper. Sanding blocks can be helpful.
- Primer: A good quality MDF primer or a shellac-based primer is highly recommended.
- Paint: Your chosen topcoat paint. Acrylic latex or oil-based paints work well.
- Brushes: High-quality synthetic brushes for water-based paints and natural bristle brushes for oil-based paints.
- Rollers: Small foam rollers or short-nap rollers are ideal for smooth surfaces.
- Paint Tray/Container
- Cleaner: Mild soap and water, or a tack cloth.
- Orbital Sander (Optional): For larger areas, an orbital sander can speed up the sanding process.
- Dust Mask: Always protect your lungs when sanding!
- Safety Glasses: To protect your eyes from dust and paint splatters.
- Drop Cloth: To protect your workspace.
Step-by-Step Guide to Painting MDF for a Flawless Finish
Painting MDF doesn’t have to be complicated. Follow these steps, and you’ll be well on your way to a beautiful, durable finish that looks like it came from a professional.
Step 1: Surface Preparation is Key!
This is arguably the MOST important step for a great paint job on MDF. Skipping this will lead to a less-than-ideal finish.
- Clean the Surface: Ensure your MDF is free from dust, dirt, and any grease. A damp cloth with a little mild soap should do the trick. Let it dry completely.
- Fill Any Gaps or Holes: If you have any screw holes or small imperfections, fill them with wood filler. Let it dry completely according to the product instructions.
- Initial Sanding: Once the filler is dry, lightly sand down any raised areas so they are flush with the MDF surface. Then, give your entire MDF project a light sanding with medium-grit sandpaper (120-150 grit). This smooths out any rough spots and helps the primer and paint adhere better.
- Remove Dust: Thoroughly wipe down the surface with a damp cloth or a tack cloth to remove all sanding dust. Dust is the enemy of a smooth paint finish!
Step 2: Prime, Prime, Prime!
Primer is your best friend when painting MDF. It seals the surface, prevents excessive paint absorption, and provides a uniform base for your topcoat.
- Choose the Right Primer: A high-quality MDF primer or a shellac-based primer is ideal. Shellac primers are excellent at sealing in any tannins or resins that might bleed through, and they dry very quickly. You can also use a good water-based or oil-based primer. Look for primers specifically designed for “hard to paint surfaces” or “MDF.”
- Apply the First Coat: Using a brush or roller, apply a thin, even coat of primer. Work in one direction, and try to avoid leaving thick drips or brush marks. If using a roller, a small foam roller will give the smoothest finish.
- Let it Dry: Allow the primer to dry completely according to the manufacturer’s instructions. This is crucial for the primer to do its job effectively.
- Light Sanding: Once the primer is dry, lightly sand the entire surface with fine-grit sandpaper (220 grit). This will knock down any raised fibers or imperfections from the primer. Wipe away all dust again with a damp cloth or tack cloth.
Step 3: Apply Your Topcoat Paint
Now for the fun part – color!
- Choose Your Paint: High-quality acrylic latex paints (like those used for walls) or oil-based enamels are excellent choices for MDF. Acrylics are easy to clean up and come in a vast range of colors. Oil-based paints offer a very durable and hard finish, but they require mineral spirits for cleanup and can yellow over time.
- Stir Your Paint: Always stir your paint thoroughly before and during use to ensure the color is consistent.
- Apply the First Coat of Paint: Use your chosen brush or roller to apply a thin, even coat of paint. Again, thin coats are better than thick ones. If you’re using a brush, use long, smooth strokes. For a roller, use light pressure.
- Drying Time: Allow the first coat of paint to dry completely. Check the paint can for recommended drying times, but it’s often best to wait at least 2-4 hours, or even longer for oil-based paints.
- Light Sanding (Optional but Recommended): After the first coat is dry, a very light sanding with your fine-grit sandpaper (220 grit) can help create an even smoother finish. Wipe away dust.
- Apply Subsequent Coats: Apply thin, even coats of paint, allowing each coat to dry completely. Most projects will require at least two to three coats of paint to achieve full coverage and a rich color.
Step 4: Finishing Touches
Once you’ve applied your final coat of paint and it’s dry to the touch, there are a couple of things to consider.
- Curing Time: While your paint might feel dry within hours, it takes days, and sometimes even weeks, for paint to fully “cure” and reach its maximum hardness. Be gentle with your painted MDF during this time to avoid scratches or dents.
- Edge Painting: Remember to paint the edges of your MDF as thoroughly as the faces. The edges are often more absorbent and can show unpainted areas if not treated well.
Tips for Different Paint Types on MDF
While the basic steps remain the same, here are a few considerations for popular paint types:
Using Water-Based Paints (Acrylic Latex)
Pros: Easy cleanup with soap and water, low odor, quick drying times, flexible finish.
Cons: Can sometimes show brush marks more easily if not applied carefully.
Tips: Use synthetic brushes or foam rollers for a smooth finish. Apply thin, even coats. A good primer is essential.
Using Oil-Based Paints (Enamels)
Pros: Extremely durable and hard finish, excellent leveling properties (fewer brush marks).
Cons: Strong fumes, requires mineral spirits for cleanup, longer drying times, can yellow over time, especially lighter colors.
Tips: Use natural bristle brushes. Stir thoroughly. Ensure excellent ventilation. Prime well.
Using Spray Paint
Pros: Can provide a very smooth, factory-like finish, good for intricate designs.
Cons: Requires a well-ventilated area or spray booth, can be more expensive, risk of drips if not applied correctly.
Tips: Always practice on scrap material first. Apply in thin, even coats, keeping the can moving. Read instructions carefully regarding distance and drying times. A high-quality primer is still essential.
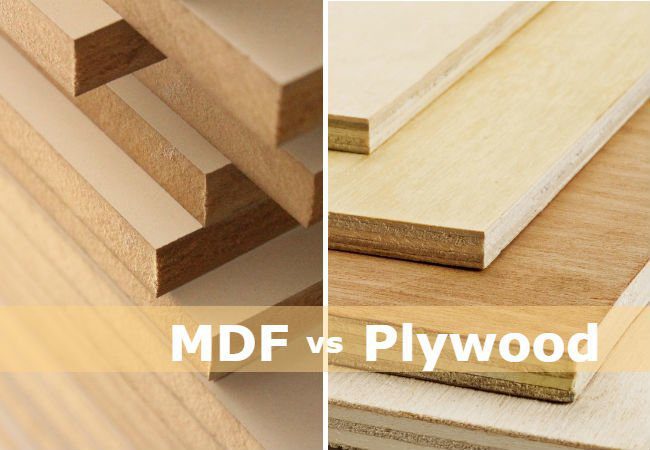
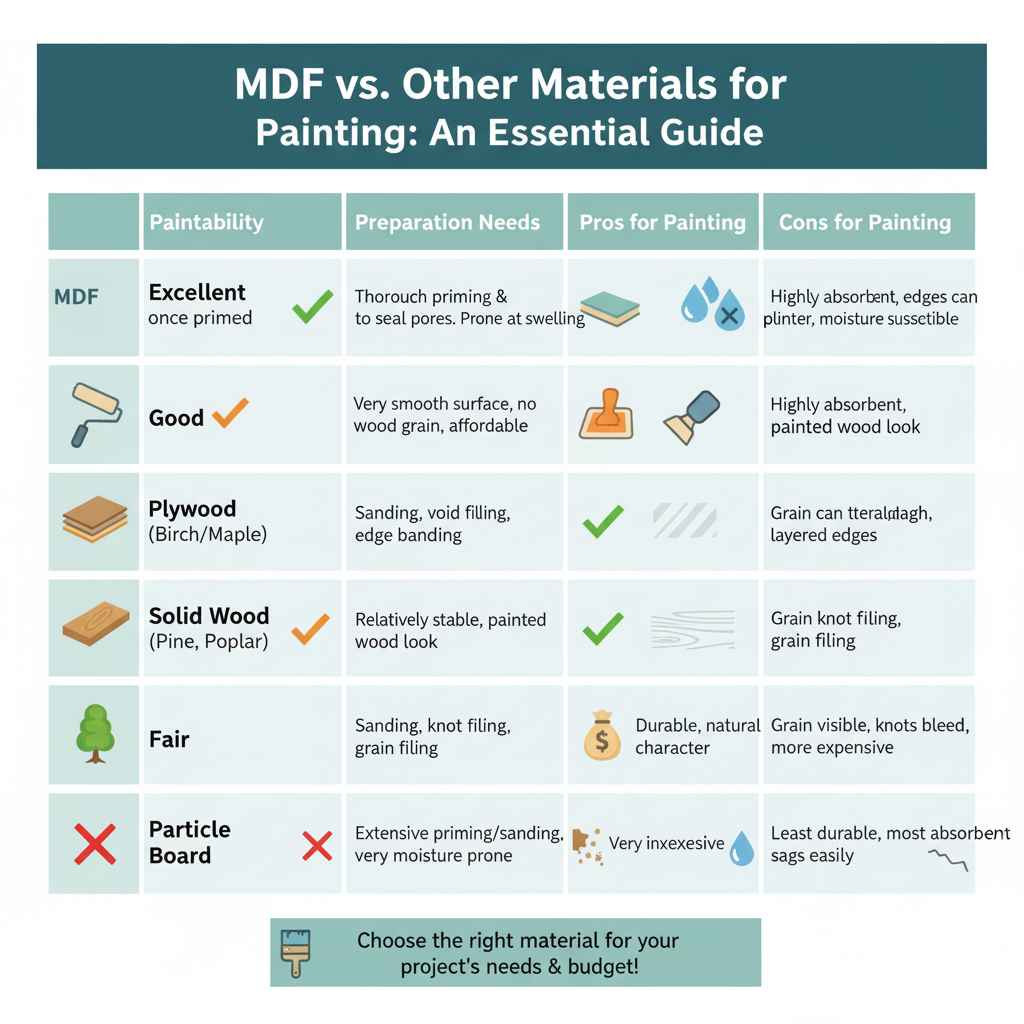
MDF vs. Other Materials for Painting
Many DIYers choose MDF for its smooth surface and affordability. Here’s how it stacks up for painting against other common materials:
| Material | Paintability | Preparation Needs | Pros for Painting | Cons for Painting |
|---|---|---|---|---|
| MDF | Excellent once primed | Requires thorough priming and sanding to seal pores. Prone to swelling if exposed to moisture. | Very smooth surface, no wood grain to worry about, affordable. | Highly absorbent, edges can splinter if not handled carefully, susceptible to moisture damage. |
| Plywood (Birch/Maple) | Good | May require sanding to smooth veneer, filling of any voids or edge banding. | Relatively stable, can give a painted wood look without grain issues. | Grain can sometimes telegraph through thin paint if not primed well. Edges can be layered and less smooth. |
| Solid Wood (Pine, Poplar) | Good to Excellent | Sanding, filling knots/imperfections, grain filling potentially needed for very smooth finishes. | Durable, natural material with character. | Wood grain can be visible or telegraph through paint, knots can bleed through if not sealed properly, can be more expensive. |
| Particle Board | Fair | Requires extensive priming and sanding, very prone to moisture damage. | Very inexpensive. | Least durable, most absorbent, prone to sagging, edges are very rough. Generally not recommended for projects requiring a high-quality paint finish. |
Frequently Asked Questions About Painting MDF
Do you still have questions? Here are answers to some common queries about painting MDF that beginners often ask.
Q1: Do I really need to prime MDF?
A: Yes, priming MDF is essential! MDF is very porous and will absorb paint unevenly if you don’t prime it. Primer seals the surface, ensuring your paint applies smoothly and you use less paint overall. A good primer creates a uniform base for your topcoat.
Q2: What’s the best type of primer for MDF?
A: For MDF, a shellac-based primer is often considered the best. It seals exceptionally well and dries quickly. High-quality water-based or oil-based primers designed for MDF or “hard to paint surfaces” also work very well. Always aim for a primer that provides good coverage and seals the pores.
Q3: Can I use regular house paint on MDF?
A: Yes, you can! High-quality acrylic latex paints (like those used for walls) or oil-based enamels work well. Just be sure to prime the MDF first. The key is the preparation and the quality of the paint you choose. Look for paints that offer good durability and coverage.
Q4: How many coats of paint do I need on MDF?
A: Typically, you’ll need at least two to three coats of your topcoat paint. After priming, the first coat of paint will help you see any areas you might have missed or that still look a bit patchy. Subsequent coats build coverage and color depth. Always apply in thin, even layers.
Q5: How can I avoid brush marks on painted MDF?
A: To minimize brush marks:
- Use a high-quality brush appropriate for your paint type (synthetic for water-based, natural for oil-based).
- Apply paint in thin, even coats, using smooth, consistent strokes in one direction.
- Don’t overload your brush.
- Consider using a foam roller for larger, flat surfaces, as they often leave a smoother finish.
- Lightly sanding between coats (with fine-grit paper) and wiping away dust can also help create a smoother surface.
Q6: What if my MDF paint looks streaky?
A: Streaky paint usually means the surface is still too absorbent, or the coats were applied unevenly. Ensure you’ve used an effective primer and apply your paint in thin, consistent layers. Allow each coat to dry fully before applying the next. A final light sanding after the first topcoat, followed by wiping away dust, can often fix streaky issues.
Conclusion
Painting MDF is a straightforward process when you understand the importance of preparation and priming. By following these steps – cleaning, sanding, priming thoroughly, and applying thin, even coats of your chosen paint – you can achieve a beautiful, durable, and professional-looking finish on any of your DIY projects. Remember, patience is key; allowing each layer to dry properly will make all the difference. With this guide, you have the knowledge to transform MDF into stunning furniture, decorative elements, or anything else your creative heart desires. So, gather your supplies, put on your creative hat, and enjoy the rewarding process of painting MDF like a pro! Happy building and painting!