Best Way to Stain a Wood Fence: Expert Tips for Lasting Beauty
Are you tired of watching your wood fence lose its color and charm year after year? You want your fence to look fresh, last longer, and add beauty to your outdoor space—but figuring out the best way to stain it can feel overwhelming.
What if there was a simple, step-by-step method that anyone could follow to bring out the rich, natural tones of your wood while protecting it from weather damage? Keep reading, because by the end of this article, you’ll know exactly how to stain your wood fence like a pro, saving time and avoiding costly mistakes.
Your fence deserves to look its best—and you’re just a few easy steps away from making that happen.
Choosing The Right Stain
Choosing the right stain is key to a beautiful and long-lasting wood fence. The right stain protects the wood from weather damage and keeps it looking fresh. It also highlights the natural beauty of the wood grain. Picking the right stain can seem tricky. Knowing the types of stains and what to consider makes the job easier.
Types Of Wood Stains
There are three main types of wood stains: transparent, semi-transparent, and solid. Transparent stains let the wood grain show fully. They offer light protection and suit new wood. Semi-transparent stains add some color but still show grain texture. Solid stains cover the wood completely, hiding grain details. They provide the most protection. Choose a type based on how much wood texture you want to see.
Factors To Consider
Think about the climate and sun exposure. Strong sunlight fades stains faster. Moist areas need stains that resist mold and mildew. Consider the wood type too. Softwoods absorb stain differently from hardwoods. Also, check if you want a stain that is easy to apply or one that lasts longer. Maintenance needs matter. Some stains require reapplication every year. Others can last several years.
Color Selection Tips
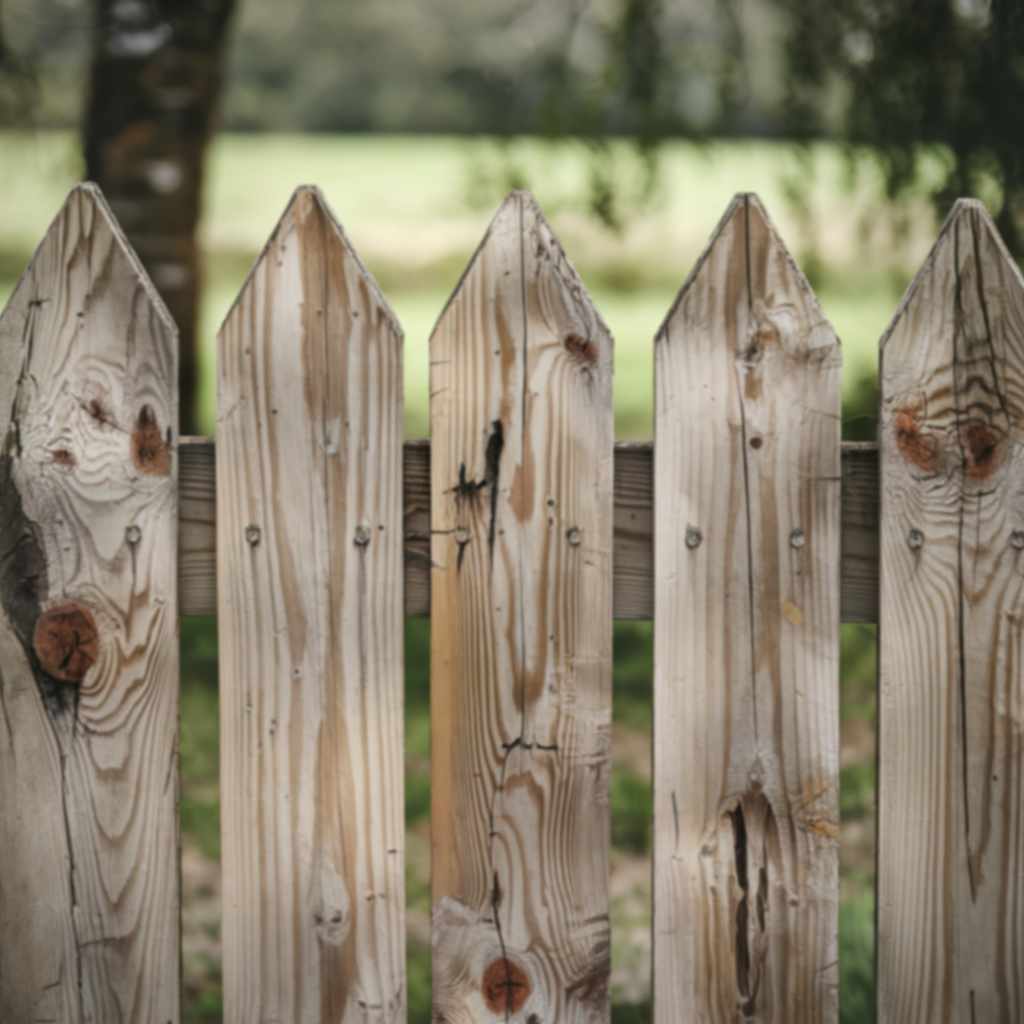
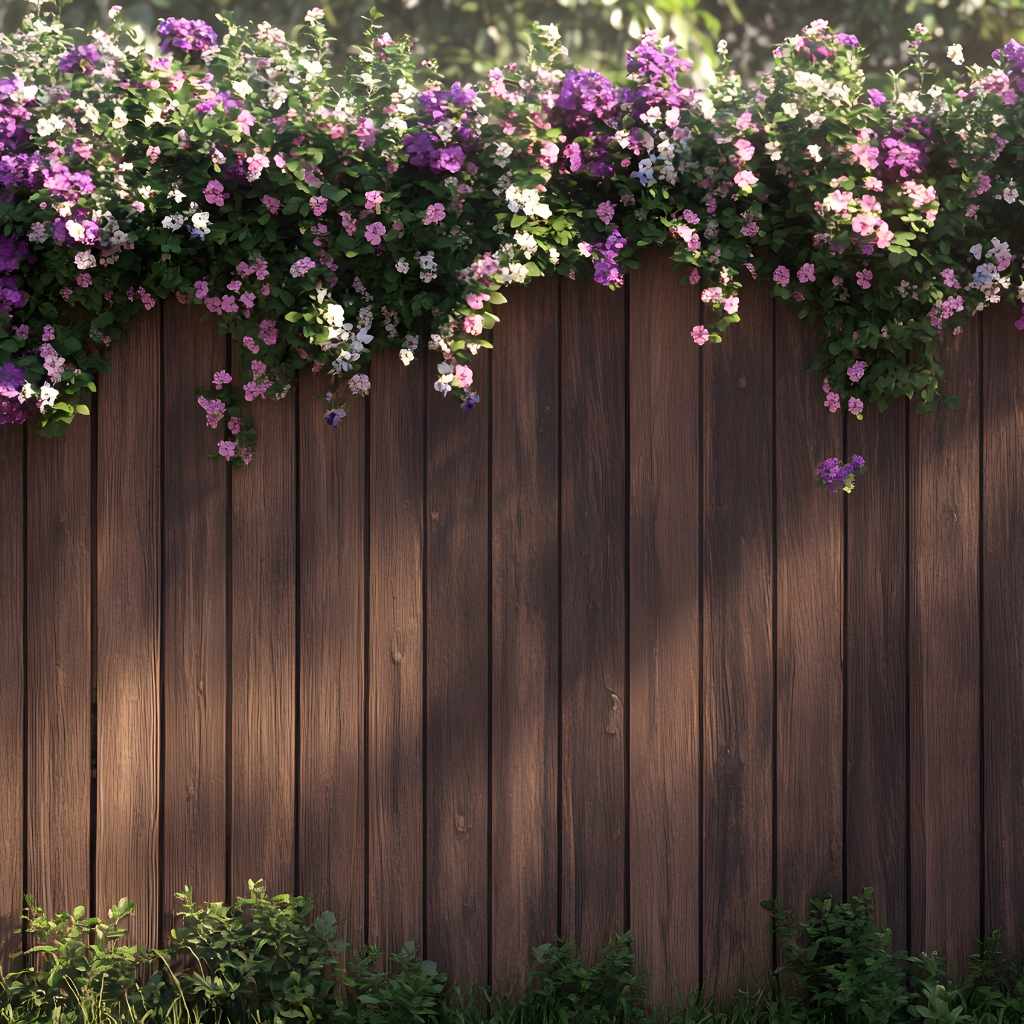
Pick colors that match your home and garden. Light colors can make small yards feel bigger. Dark colors hide dirt but may show scratches. Natural wood tones look classic and timeless. Test color samples on a small wood area first. Watch how the color changes in daylight. Choose a shade that complements your outdoor space well.
Preparing The Fence
Preparing your wood fence is the first step to a long-lasting stain job. Proper preparation helps the stain stick well and look even. It also protects the wood from damage and wear. Spend time cleaning, fixing, and sanding before applying any stain. This makes the fence ready and smooth for the best results.
Cleaning And Repairing
Start by removing dirt, dust, and old stain from the fence. Use a stiff brush and soapy water to scrub the wood. Rinse with clean water and let it dry completely. Check for loose nails, broken boards, or cracks. Fix these issues by hammering nails back or replacing damaged pieces. A clean and sound fence holds stain better and lasts longer.
Sanding Techniques
Sanding smooths the wood and removes rough spots. Use medium-grit sandpaper to sand the entire surface evenly. Focus on splinters and old stain patches. Sanding opens wood pores, helping the stain soak in nicely. Always sand along the grain of the wood. Wipe off dust with a cloth after sanding to keep the surface clean.
Protecting Surrounding Areas
Cover plants, grass, and nearby surfaces with plastic sheets or drop cloths. This prevents stain from spilling or splashing onto areas you don’t want to stain. Use painter’s tape to protect edges and posts. Keeping the area safe avoids extra cleanup and damage. It also keeps your yard looking neat during the staining process.
Applying The Stain
Applying stain to a wood fence gives it a fresh, beautiful look. It also protects the wood from weather damage. Proper application helps the stain soak into the wood evenly. This ensures the fence stays strong and attractive for years. Follow clear steps and use the right tools for the best result.
Tools And Materials Needed
- Wood stain suitable for outdoor use
- Paintbrush or stain applicator pad
- Paint sprayer (optional)
- Drop cloth or plastic sheeting
- Sandpaper (medium grit)
- Gloves and safety glasses
- Clean rags or cloths
- Bucket of water for cleanup
Step-by-step Application
- Clean the fence surface to remove dirt and dust.
- Lightly sand rough spots to smooth the wood.
- Lay down a drop cloth to protect the ground.
- Stir the stain well before use.
- Apply the stain starting from the top of the fence.
- Use long, even strokes following the wood grain.
- Cover each board fully without leaving gaps.
- Wipe off excess stain with a clean rag after a few minutes.
- Let the first coat dry completely before applying a second one.
- Apply a second coat for deeper color and better protection.
Tips For Even Coverage
- Work on one section at a time to keep the stain wet.
- Use consistent pressure on your brush or applicator.
- Avoid overloading the brush to prevent drips and blotches.
- Keep a wet edge to blend strokes smoothly.
- Check your work in different light to spot missed areas.
- Do not rush; slow and steady gives better results.
- Wear gloves to keep your hands clean and avoid smudges.
Drying And Curing
Drying and curing are key steps after staining a wood fence. They help the stain stick well and protect the wood. Proper drying stops dust and dirt from sticking to the surface. Curing makes the stain strong and long-lasting. Both need attention to get the best results.
Ideal Weather Conditions
Choose a day with mild temperature and no rain. The best temperature is between 50°F and 85°F. Avoid very hot or cold weather. Low humidity helps the stain dry faster. Wind can cause dust to stick on the wet stain. Pick a calm day for best results.
Drying Time Guidelines
Let the fence dry for at least 24 hours after staining. Some stains may need 48 hours to dry fully. Avoid touching or using the fence during this time. Check the product label for exact drying times. Proper drying helps the stain soak into the wood.
Avoiding Common Mistakes
Do not stain when rain is expected soon. Avoid staining in direct sunlight to prevent quick drying. Do not apply a second coat too soon. This can cause peeling or uneven color. Keep pets and children away until the fence is dry.
Maintenance For Longevity
Maintaining a wood fence stain is key to keeping your fence strong and beautiful. Regular care helps the wood resist weather damage and wear. It also saves money by avoiding costly repairs or full restaining too soon. Small efforts over time make a big difference in the fence’s life.
Regular Cleaning
Clean your fence at least once a year. Remove dirt, dust, and mildew using a soft brush or a gentle power wash. Avoid harsh chemicals that can damage the wood or strip the stain. Cleaning lets the stain last longer and keeps the wood healthy.
Touch-up Strategies
Check your fence for spots where the stain is fading or peeling. Use a small brush to touch up these areas. Match the original stain color for a smooth look. Touch-ups prevent wood from drying out and protect it from water and sun damage.
When To Reapply Stain
Plan to restain your fence every 2 to 3 years. Signs like color fading, water soaking into the wood, or rough texture mean it’s time. Restaining protects the wood deeper and keeps your fence looking fresh and strong for years.
Frequently Asked Questions
What Is The Best Stain Type For A Wood Fence?
Oil-based stains penetrate deeply and offer long-lasting protection. They enhance wood grain and resist weather damage better than water-based options. Choose semi-transparent oil-based stains for a natural look and maximum durability on wood fences.
How Often Should You Stain A Wood Fence?
Stain your wood fence every 2 to 3 years. This schedule maintains protection against UV rays, moisture, and mildew. Inspect your fence annually and reapply stain when it starts to fade or peel to keep it looking fresh and protected.
Can I Stain A Wood Fence Without Sanding?
Lightly sanding is recommended but not always necessary. Remove dirt and debris with a power washer or brush before staining. If the fence is weathered or peeling, sanding ensures better stain adhesion and a smoother finish.
How Long Does It Take For Fence Stain To Dry?
Fence stain typically dries within 24 to 48 hours. Drying time depends on temperature, humidity, and stain type. Avoid applying stain before rain or in direct sunlight to ensure even drying and optimal results.
Conclusion
Staining a wood fence protects it from weather and decay. Choose the right stain and apply it evenly for best results. Clean and dry wood helps the stain last longer. Regular maintenance keeps your fence looking fresh and strong. Enjoy the beauty and durability of your stained fence for years.
Simple steps make a big difference in fence care. Try these tips to keep your wood fence in great shape.