Can You Mix Wood Stains? Yes, If They Match
Yes, you can mix wood stains — but only within the same base system: oil-based stain with oil-based, water-based with water-based, never the two together. Combining incompatible types leaves a tacky film that can take days to cure, or never cures at all. This guide covers which stains are actually safe to combine, Minwax’s own documented mixing ratios, matching undertones, and how to test a custom blend before it goes on your project.
Quick Answer
Wood stains can be mixed together as long as both are the same type — oil-based with oil-based, or water-based with water-based. Stick to stains with similar (warm or cool) undertones, start with a 4:1 ratio of your base color to your accent color, and always test the blend on scrap wood from the same species before applying it to your project.
Which Wood Stains Can You Mix Together?
Best Pick for Custom Stain Mixing
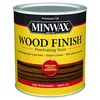
Minwax Wood Finish Interior Oil-Based Stain, Honey, 1 Quart
A quart-sized, warm-undertone oil-based stain — the right size for testing mixing ratios before committing to a gallon.
- Best for: a base color to build a custom mix from
- Why we picked it: quart size keeps test batches affordable while you dial in a ratio
- Main drawback: oil-based, so it can’t be mixed with any water-based stain
Compare more stain-mixing supplies
 Option 1 Varathane Premium Wood Conditioner, Quart
|
 Option 2 Minwax Gel Stain for Interior Wood, Quart, Mahogany
|
 Option 3 30-Piece Wood Stain Color Sample Variety Pack
|
As an Amazon Associate we earn from qualifying purchases.
Wood stain is a wood-coloring product made of pigment or dye suspended in a solvent, and that solvent is what decides whether two stains can be blended. Only mix stains that share the same base — the solvent is what determines compatibility, not the brand or the color on the label.
- Oil-based with oil-based: safe, and the most forgiving combination — the long open time gives you more room to blend before it sets.
- Water-based with water-based: safe, but water-based stains dry fast, so mix your full batch before you start applying.
- Gel stain with gel stain: safe if both are the same brand’s gel line; gel consistency varies enough between manufacturers that a cross-brand mix can separate.
- Oil-based with water-based: never combine these — the two solvents don’t emulsify, so the mixture separates in the can and cures unevenly (or not at all) on the wood.
- Different brands, same base: generally fine — two oil-based stains from different manufacturers will usually blend, but test a small batch first since pigment loads vary by brand.
For the full picture on prepping, sealing, and choosing sheen once your custom color is decided, see our complete wood finishing guide.
Match Undertones Before You Mix
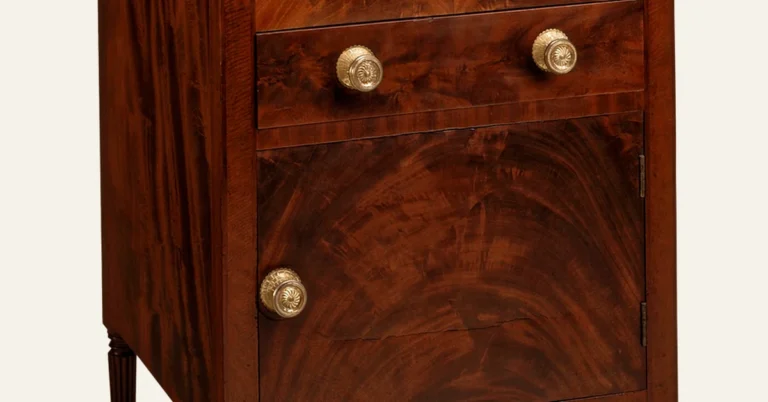
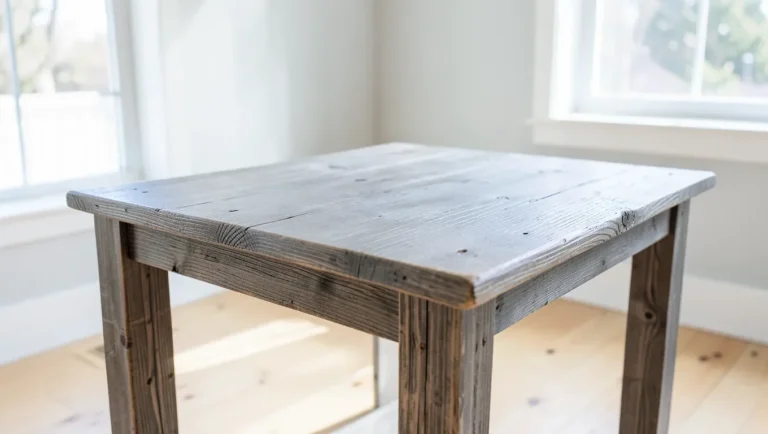
Every wood stain color leans warm or cool underneath its main hue, and mixing across that line is the most common reason a custom blend turns muddy. Warm undertones — red, orange, and yellow, the family that includes cherry, honey, and golden oak — blend cleanly with each other. Cool undertones — gray, blue, and green, the family behind driftwood and weathered-gray finishes — also blend well together. Cross a warm stain with a cool one and the pigments fight each other, usually producing a flat, grayish-brown that matches neither original color.
Not sure which family a color falls into? Check it against a stain color chart before you open the cans — most manufacturer charts group shades by undertone for exactly this reason.
How Much of Each Stain? Documented Mixing Ratios
Most articles on this topic tell you to “experiment until it looks right” without giving you a starting point. Minwax actually publishes ratios for its own Signature Mix intermixing technique — here are four of their documented combinations, plus the general starting ratio to use with any two stains:
| Base Color | Accent Color | Ratio | Result |
|---|---|---|---|
| Golden Oak | Vintage Blue | 2:1 | Muted slate-brown |
| Silvered Gray | True Black | 3:1 | Deep charcoal-gray |
| Early American | Navy | 3:1 | Deep denim-brown |
| Any base color | Any accent color | 4:1 (starting point) | Subtle shift toward the accent |
📊 Professional finishers rarely combine more than 3 pigment hues in one custom mix — beyond that, the color becomes hard to reproduce consistently between batches. — Source: WoodWeb finishing knowledge base
If you’re not working from a documented ratio, start with a quarter-cup of your accent stain per cup of base stain (a 4:1 ratio), stir thoroughly, and record exactly how much of each you used. Add more accent color a tablespoon at a time — it’s much easier to deepen a mix than to lighten one that’s gone too dark.
How to Mix and Apply a Custom Stain Blend
- Confirm the base: check both cans’ labels for “oil-based” or “water-based” — never proceed if they don’t match.
- Sand and clean the wood: sand to 220-grit and wipe off dust; stain mixed for one wood species can look different on another, so prep the actual project wood before testing.
- Measure your base stain: pour one cup of your primary color into a clean glass or plastic container.
- Add the accent stain gradually: start with a quarter-cup (a 4:1 ratio) of the second color, stirring thoroughly between additions.
- Record the ratio: write down exactly how much of each stain you used so you can replicate the mix in a larger batch.
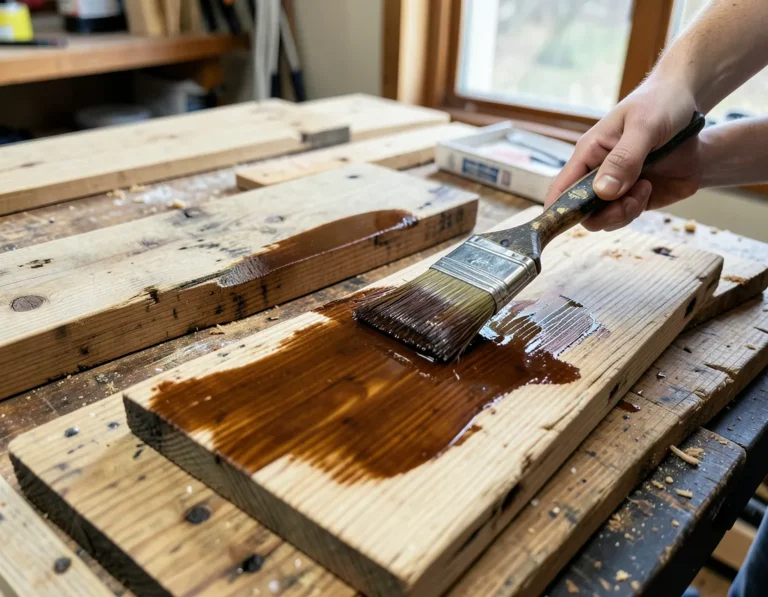
- Test on scrap wood: apply the mixture to a scrap piece of the same species and let it dry completely — color shifts as it cures, so don’t judge it wet.
- Adjust and repeat if needed: if the color is too light, add more accent stain a tablespoon at a time; if it’s too dark, mix a fresh batch with less accent rather than trying to lighten an existing mix.
- Apply and seal: once the test matches your target, apply the full batch and seal it with a clear topcoat once it’s fully dry.
Common Mistakes When Mixing Wood Stains
- Mixing oil and water-based stains — the single most common failure; the mixture separates and won’t cure evenly.
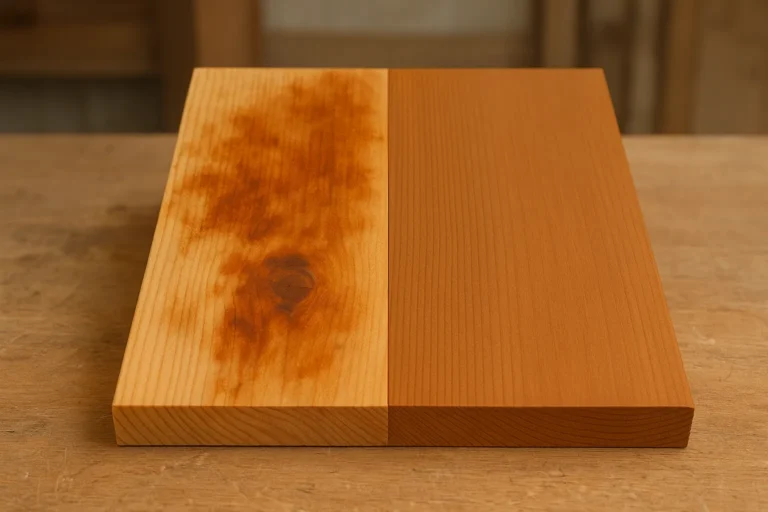
- Skipping the scrap-wood test — the same mix looks different on pine than on oak because grain and porosity absorb color differently.
- Not recording ratios — a great custom color is useless if you run out mid-project and can’t reproduce it.
- Judging color while the stain is still wet — most stains dry noticeably lighter or shift undertone as the solvent evaporates.
- Combining more than 3 colors — each additional hue makes the result harder to see clearly and nearly impossible to replicate.
“Try to achieve the desired color match with no more than three color hues — beyond that, the mix becomes difficult to reproduce consistently from batch to batch.”
Frequently Asked Questions
Can you mix different brands of wood stain together?
Yes, in most cases — as long as both products use the same base solvent (oil-based with oil-based, or water-based with water-based). Pigment loads vary between manufacturers, so mix a small test batch before combining a full can of one brand with a full can of another.
Can you mix oil-based and water-based wood stain?
No. Oil and water don’t emulsify, so the two stains separate in the container and cure unevenly — often leaving a tacky, uneven film on the wood. Check the label on both cans before mixing anything.
Does mixing wood stains change the drying time?
It can. If you mix a fast-drying water-based stain into an oil-based one (which you shouldn’t do for compatibility reasons anyway), or combine two oil-based stains with different solvent ratios, the blend may dry slower than either stain alone. Always test-dry a sample batch before timing a full project around it.
Can you mix wood stain with polyurethane?
Some products, like Minwax PolyShades, are formulated to combine stain and polyurethane in one step, but you generally should not mix a separate can of stain into a can of polyurethane yourself. See our full guide on mixing stain with polyurethane for the compatibility rules.
Conclusion
Mixing wood stains works well when you stay within one base system, match undertones, and test on scrap wood before committing to a full project. Start with a documented ratio like Minwax’s 4:1 rule, write down what you used, and adjust in small steps — a custom color you can’t reproduce isn’t much of a win if the project needs a second coat six months from now.
Sponsored / affiliate links. As an Amazon Associate I earn from qualifying purchases. I may earn additional commission from eligible campaigns.