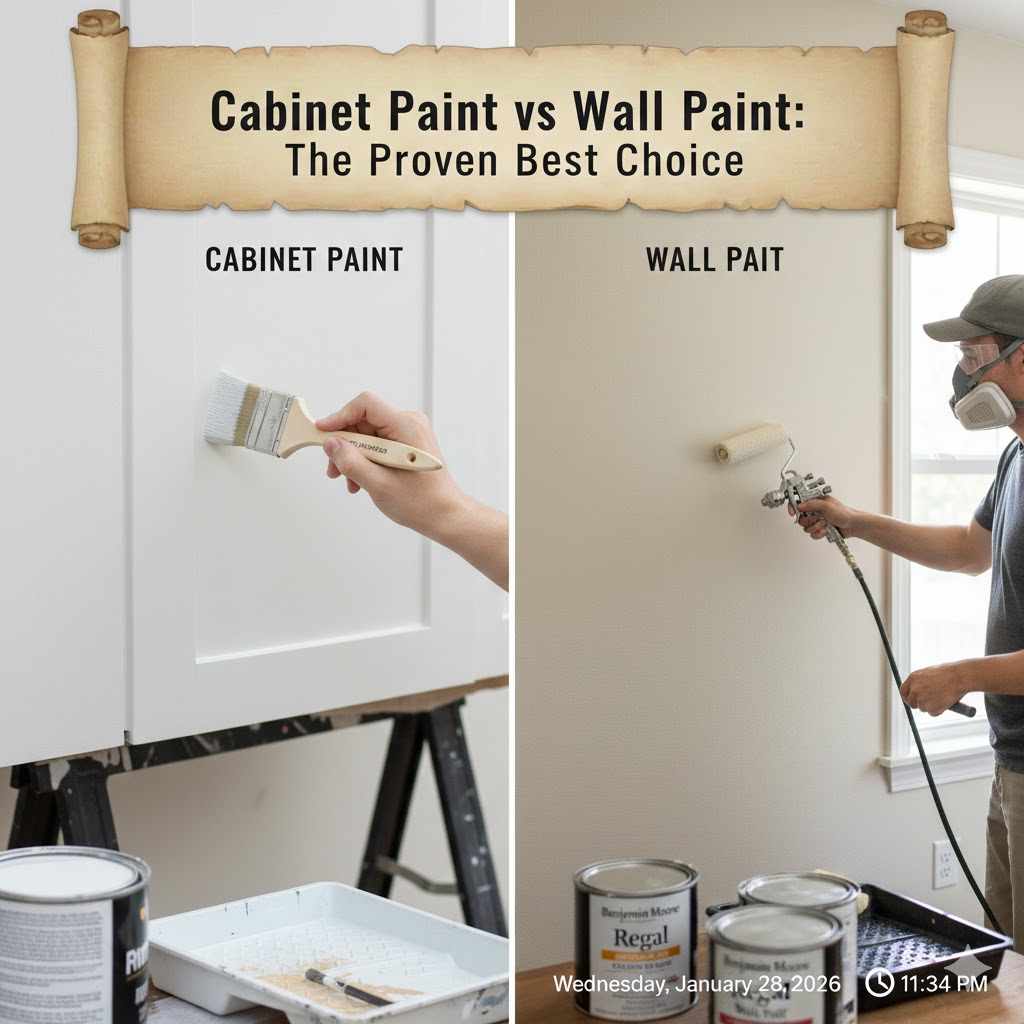
Cabinet Paint vs Wall Paint: The Proven Best Choice
For a durable, factory-smooth finish that withstands daily use, always choose a high-quality alkyd enamel cabinet paint over standard wall paint. Cabinet paint is specifically designed to cure into a hard, scrubbable shell that resists chipping, stains, and moisture, ensuring your hard work lasts for years. Wall paint will quickly fail on high-touch surfaces.
Hello, fellow makers! Md Meraj here, your friendly guide in the workshop. I’ve seen it countless times: you’ve decided to refresh your kitchen, but you’re standing in the paint aisle feeling overwhelmed. You have leftover wall paint from your last project, and you’re wondering, “Can I just use this on my cabinets?” It’s a common question, and I’m here to tell you that reaching for the right can of paint is the single most important decision you’ll make for this project.
Using the wrong paint can turn a rewarding weekend project into a frustrating cycle of chipping, peeling, and repainting. But don’t worry! We’re going to break it all down together. In this guide, I’ll walk you through the real differences between cabinet paint and wall paint, show you why one is the clear winner, and give you the confidence to get that beautiful, durable finish you deserve. Let’s get started.
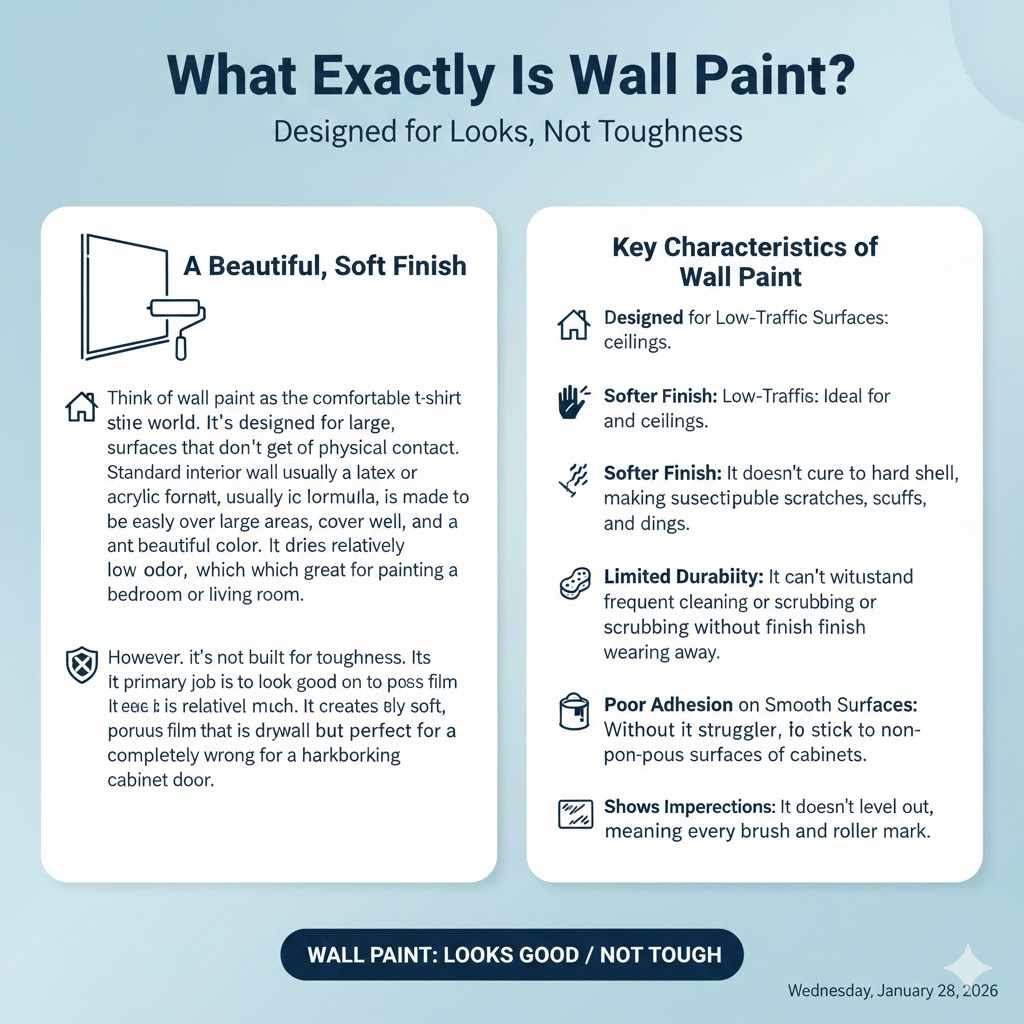
What Exactly Is Wall Paint?
Think of wall paint as the comfortable t-shirt of the paint world. It’s designed for large, vertical surfaces that don’t get a lot of physical contact. Standard interior wall paint, usually a latex or acrylic formula, is made to be easy to apply over large areas, cover well, and provide a beautiful color. It dries relatively quickly and has low odor, which is great for painting a bedroom or living room.
However, it’s not built for toughness. Its primary job is to look good on a surface that isn’t touched much. It creates a relatively soft, porous film that is perfect for drywall but completely wrong for a hardworking cabinet door.
Key Characteristics of Wall Paint:
- Designed for Low-Traffic Surfaces: Ideal for walls and ceilings.
- Softer Finish: It doesn’t cure to a hard shell, making it susceptible to scratches, scuffs, and dings.
- Limited Durability: It can’t withstand frequent cleaning or scrubbing without the finish wearing away.
- Poor Adhesion on Smooth Surfaces: Without the right primer, it struggles to stick to the non-porous surfaces of cabinets.
- Shows Imperfections: It doesn’t level out, meaning it will show every brush and roller mark.
The Champion of Durability: What Is Cabinet Paint?
Now, let’s talk about cabinet paint. If wall paint is a t-shirt, cabinet paint is a suit of armor. It is technically an enamel, specifically formulated to create an ultra-durable, hard-wearing finish on surfaces that see a lot of action, like cabinets, doors, and trim.
Modern cabinet paints, especially the water-based alkyd enamels I recommend, combine the best of both worlds. They offer the toughness and smooth finish of traditional oil-based paints but with the easy water cleanup and low odor of latex paints. The key feature of a good cabinet paint is its ability to self-level. This magical quality means that as the paint dries, it smooths itself out, minimizing brush strokes and creating that flawless, factory-like finish we all want.
Key Characteristics of Cabinet Paint:
- Built for High-Touch Surfaces: Perfect for kitchen cabinets, bathroom vanities, and furniture.
- Hard, Cured Finish: It dries into a rigid shell that resists chipping, scratching, and staining.
- Excellent Adhesion: Formulated to bond tightly to wood, laminate, and properly prepared surfaces.
- Self-Leveling Properties: Smooths out brush and roller marks for a professional-looking finish.
- Scrubbable and Easy to Clean: You can wipe away grease and grime without damaging the paint.
The Main Event: Cabinet Paint vs. Wall Paint Showdown
When you put these two types of paint head-to-head for a cabinet project, the winner becomes crystal clear. It’s not just about color; it’s about performance, longevity, and protecting your hard work. Let’s break down the crucial differences.
| Feature | Cabinet Paint (Alkyd Enamel) | Wall Paint (Standard Latex) |
|---|---|---|
| Durability | Extremely high. Cures to a hard, furniture-grade finish that resists chipping and scratches. | Low. The finish remains soft and is easily damaged by daily use, bumps, and cleaning. |
| Finish Quality | Excellent. Self-leveling properties create a smooth, professional look with minimal brush marks. | Poor. Shows brush and roller texture, resulting in an uneven, amateurish finish on cabinets. |
| Adhesion | Superior. Formulated to bond strongly to wood, MDF, and even laminate with proper priming. | Weak. Prone to peeling and flaking on smooth cabinet surfaces, even with primer. |
| Cleanability | Excellent. Can be scrubbed repeatedly without damaging the paint film. Resists stains from grease and food. | Poor to fair. The finish can be damaged or worn away with frequent or aggressive cleaning. |
| Cost | Higher per gallon ($50-$90). However, a little goes a long way. | Lower per gallon ($30-$60). A false economy, as it will require re-doing. |
| Best For | Cabinets, trim, doors, furniture, and any high-touch wood surfaces. | Interior walls and ceilings in low-traffic areas. |
Why Durability Is Non-Negotiable
Imagine your kitchen cabinets. They are opened and closed dozens of times a day. They get bumped by pots and pans, splattered with sauce, and wiped down constantly. Wall paint simply isn’t engineered for this kind of abuse. Within weeks, you would likely see chipping around the knobs, scratches from fingernails, and stains that won’t come out.
Cabinet paint, on the other hand, is built for exactly this environment. Its hard-curing formula creates a protective barrier. It’s a choice you make once for a finish that lasts for years, not months.
The Secret to a Flawless Finish: Self-Leveling
Have you ever seen a DIY paint job that just screams “DIY”? Often, the culprit is the texture left behind by brushes and rollers. Wall paint holds that texture as it dries.
Cabinet paint is different. Its self-leveling chemistry allows the paint to relax and flatten as it dries, erasing those pesky marks. This is how professionals get that impossibly smooth finish, and it’s a feature you can’t get from standard wall paint.
Choosing the Right Cabinet Paint: Your Best Options
Okay, so we’ve established that cabinet paint is the only way to go. But which one? The technology has come a long way, and you have some fantastic, beginner-friendly options.
1. Water-Based Alkyd Enamel (My Top Recommendation)
This is the hero product for DIYers. It gives you the super-durable, hard finish of an old-school oil-based paint but with the benefits of water-based technology. This means easy cleanup with soap and water, less smell, and lower Volatile Organic Compounds (VOCs), which is better for your indoor air quality.
- Pros: Excellent durability, smooth finish, easy cleanup, low odor.
- Cons: Can be more expensive, takes longer to fully cure.
- Popular Choices: Benjamin Moore ADVANCE, Sherwin-Williams Emerald Urethane Trim Enamel.
2. Oil-Based Alkyd Enamel
This is the traditional choice known for its incredible durability and beautiful finish. However, it comes with significant drawbacks for a home DIY project. It has a very strong smell, requires mineral spirits for cleanup, and takes a long time to dry. Due to environmental regulations, these are becoming harder to find.
- Pros: Extremely tough, great leveling.
- Cons: High VOCs (strong smell), difficult cleanup, long dry time, can yellow over time.
3. Urethane-Reinforced Enamel
This is another fantastic water-based option that is even more durable than a standard alkyd. The urethane component adds extra resistance to scratches and chemicals, making it a top-tier choice for the hardest-working kitchens.
- Pros: The highest level of durability available in a water-based formula.
- Cons: Often the most expensive option.
Your Step-by-Step Guide to a Perfect Cabinet Finish
Choosing the right paint is half the battle; the other half is preparation. You can have the best paint in the world, but without good prep, it won’t perform. Here’s a simple, foolproof process to follow.
Step 1: Prep is Everything (Don’t Skip This!)
- Remove Doors and Hardware: Take off all doors, drawers, hinges, and handles. Label everything with painter’s tape (e.g., “Top Left Door”) so it all goes back in the right place.
- Clean Thoroughly: This is the most critical step. Kitchen cabinets are covered in a thin layer of grease and grime, even if you can’t see it. Clean every surface with a good degreaser like TSP (Trisodium Phosphate) substitute. Follow the directions and rinse well.
- Fill and Repair: Use wood filler to patch any dings, dents, or old hardware holes. Let it dry completely.
Step 2: Sand for Adhesion
You’re not sanding to remove the old finish, you’re just scuffing it up to give the new primer something to grip. A light sanding with 120- to 180-grit sandpaper is perfect. The goal is to remove the shine from the old finish. After sanding, wipe away all the dust with a tack cloth or a damp microfiber rag.
Step 3: The Power of Primer
Primer ensures your paint sticks properly and provides a uniform base for your color. For cabinets, especially if they are glossy, dark wood, or laminate, a high-adhesion, stain-blocking primer is a must. It prevents tannins from dark wood from bleeding through and ensures your topcoat looks even and beautiful.
Apply one thin, even coat of primer with a high-quality brush or a small foam roller. Let it dry completely according to the can’s instructions.
Step 4: Time to Paint
Now for the fun part! Stir your cabinet paint thoroughly. Apply your first coat in a thin, even layer. Don’t try to get full coverage in one coat—that’s how you get drips and an uneven finish. Two thin coats are always better than one thick one.
- For flat areas, use a high-density foam roller for a spray-like finish.
- For detailed areas, use a high-quality angled brush.
Let the first coat dry according to the manufacturer’s directions. This could be anywhere from 4 to 16 hours. Once it’s dry, lightly sand with 220-grit sandpaper to knock down any imperfections, wipe clean, and apply your second and final coat.
Step 5: The Hardest Part—Patience!
Your painted cabinets may feel dry to the touch in a few hours, but they are not fully cured. Curing is the chemical process where the paint hardens into its final, durable shell. This can take anywhere from 7 to 30 days, depending on the paint and the conditions. You can carefully re-install your doors after a day or two, but be very gentle with them for the first few weeks. Avoid harsh cleaning or bumping them during this time.

Frequently Asked Questions (FAQ)
Can I really not use wall paint on cabinets, even with a good primer?
It’s a definite no from me. While a good primer helps with adhesion, it doesn’t change the fundamental nature of the wall paint itself. The topcoat will still be soft, easy to scratch, and unable to withstand the daily wear and tear that cabinets endure. It will fail, and you’ll be re-doing the project much sooner than you’d like.
Is cabinet paint harder to apply than wall paint?
Not at all! In fact, many people find modern cabinet paints easier to work with because of their self-leveling properties. The key isn’t difficulty, but patience. Cabinet painting requires more steps (cleaning, sanding, priming) and longer wait times between coats, but the application itself is very straightforward for a beginner.
What’s the best finish or sheen for kitchen cabinets?
Satin or semi-gloss are the two best choices. Satin has a slight sheen that is durable and easy to clean without being overly shiny. Semi-gloss is even more durable and reflective, making it great for high-traffic kitchens, but it can highlight imperfections more than satin. I generally recommend satin for most homeowners.
How long does cabinet paint take to fully cure?
This is crucial. While paint may be dry to the touch in hours, a full cure takes time. For most water-based alkyd enamels, you should allow at least 7 days for a decent cure and up to 30 days for the paint to reach maximum hardness. Be gentle with your cabinets during this period.
Do I absolutely have to sand my cabinets before painting?
Yes. Don’t skip this step! Sanding (or “scuffing”) creates microscopic grooves on the surface that give the primer something to mechanically bite into. It is one of the most important steps for ensuring a long-lasting finish. A product called “liquid sandpaper” or deglosser can also work, but a light physical sanding is foolproof.
Is spraying better than brushing for cabinets?
Spraying can produce a perfect, factory-grade finish. However, it requires expensive equipment, a dedicated space, and a lot of skill to avoid drips and runs. For a DIYer, using a high-quality brush and a mini foam roller can give you results that are 95% as good with much less hassle and cost.
How much will it cost to paint my kitchen cabinets with proper paint?
While a gallon of premium cabinet paint might cost around $70-$90, you’ll likely only need one gallon for an average-sized kitchen. When you add in sandpaper, primer, brushes, and rollers, you can expect to spend between $150 and $250. This is a tiny fraction of the thousands you would spend on new cabinets.
The Final Verdict: Your Path to a Beautiful Kitchen
When it comes to the battle of cabinet paint vs. wall paint, the choice is not just a preference—it’s a necessity. Choosing a dedicated cabinet enamel is the only way to guarantee a finish that is tough enough to handle daily life in your home’s busiest rooms. It’s an investment in your time, your effort, and the final look of your space.
I know taking on a cabinet painting project can feel daunting, but it is one of the most rewarding DIY upgrades you can do. By using the right materials and following the right steps, you can achieve a truly professional-quality result that you’ll be proud of for years to come. You have the knowledge now, so grab that sander, pick a beautiful color of cabinet paint, and get ready to transform your home. You’ve got this!