How to Refinish Kitchen Cabinets Without Sanding: Degrease First
You don’t need to sand your kitchen cabinets to repaint them, but skipping sanding only works if you replace it with the right substitute step, and for kitchen cabinets specifically, that step isn’t the deglosser most general guides lead with. It’s degreasing. Cooking oil and airborne grease settle into cabinet finishes near the stove and range hood, and no deglosser or primer will bond to a greasy surface no matter how many coats you apply.
Below is the full no-sand process in the order that actually holds up on kitchen cabinets: degrease, deglaze, prime, paint. Follow it in that order and a coat of cabinet-grade enamel will outlast the “light sanding” most homeowners already dread doing anyway.
The Kitchen-Specific Step Most No-Sand Guides Skip
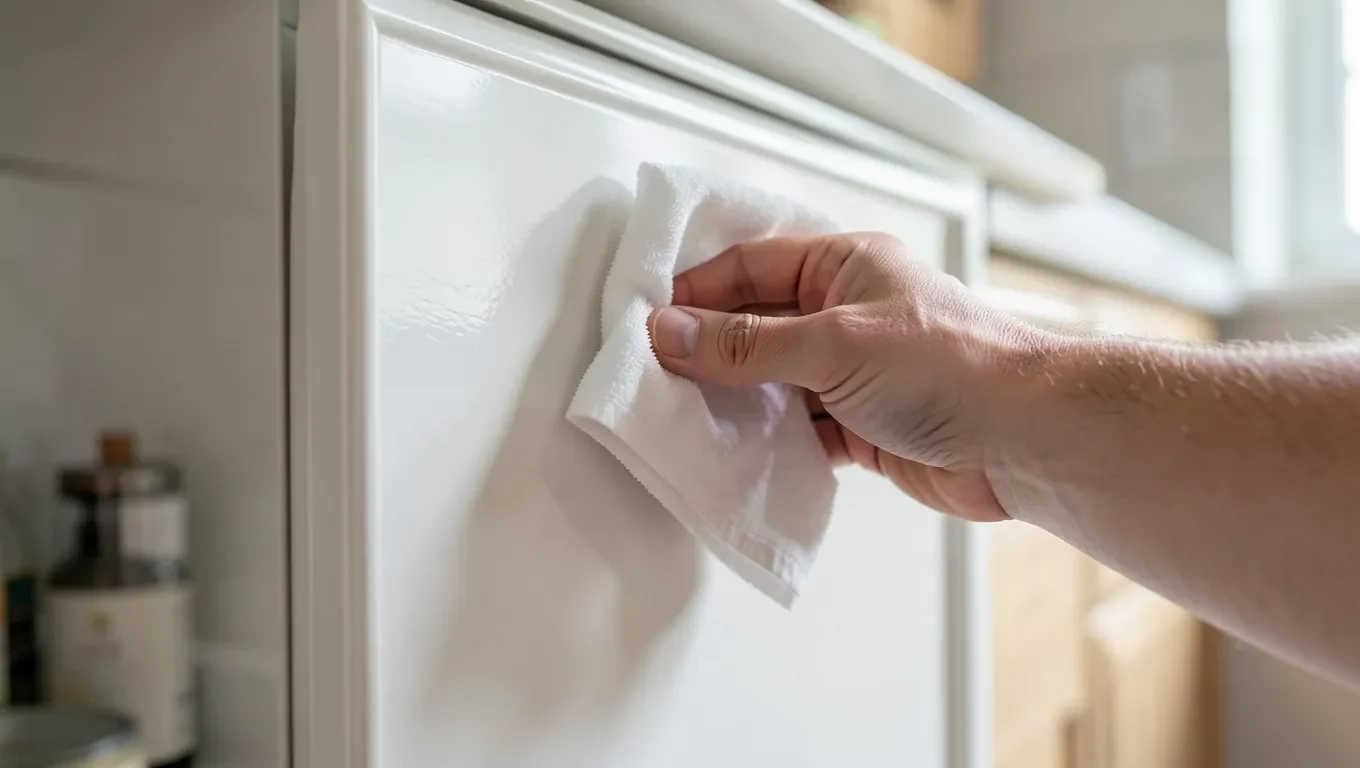
Most “how to refinish cabinets without sanding” articles are written for furniture and apply the same steps to a kitchen: clean, deglosser, primer, paint. That order works fine on a dresser or a bookshelf. It fails more often on kitchen cabinets because kitchens have a contaminant furniture doesn’t: airborne cooking grease. Every time you fry, sear, or roast, a thin film of aerosolized oil settles on nearby surfaces, and cabinet doors above and beside the range absorb the most of it. A quick wipe with a damp rag spreads that film around instead of removing it, and a liquid deglosser applied over greasy wood etches the grease film, not the finish underneath.
The fix is a real degreasing pass with a dedicated cleaner before the deglosser ever comes out, and it’s the one step that separates a paint job that peels at the hinges within a year from one that lasts.
Best For Degreasing Before Painting
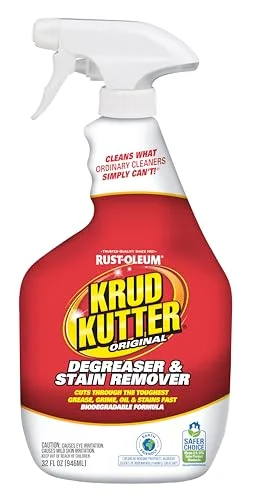 |
Krud Kutter Original Cleaner Degreaser, 32 oz – $7.97 A water-based degreaser strong enough to cut cooked-on kitchen grease without leaving a residue that could interfere with the deglosser or primer coat that goes on next.
|
What You’ll Need
A degreasing cleaner, a liquid deglosser, a bonding primer rated for glossy surfaces, and a cabinet-grade enamel paint are the four products that actually replace sanding. Beyond that: microfiber cloths, a bucket, painter’s tape, drop cloths, a screwdriver for pulling doors and hardware, a foam roller plus a 2½-inch angled brush, and a well-ventilated space to let doors dry flat. Fine sandpaper (220-grit) is worth keeping on hand for the occasional chip or drip, but it stays in the drawer for spot-fixes only, not full-surface sanding.
Step 1: Degrease Every Surface First
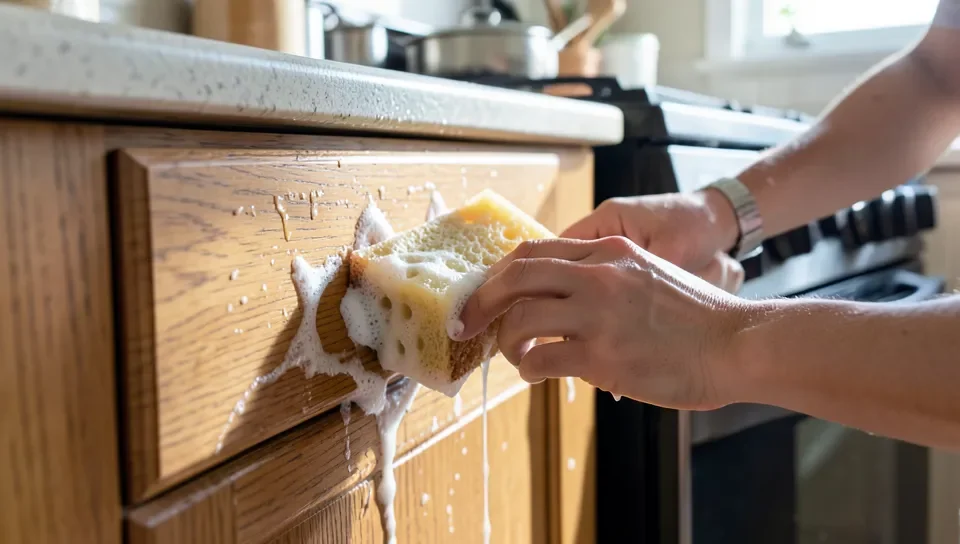
Remove all doors and drawer fronts and pull the hardware, labeling each piece with painter’s tape so it goes back where it came from. Spray the degreaser directly onto cabinet boxes, doors, and drawer fronts, focusing extra passes on anything within a few feet of the range. Let it sit for the few minutes the label calls for so it has time to break the grease down, then wipe with a clean microfiber cloth and rinse with a second cloth dampened in plain water to lift any residue the degreaser itself leaves behind. Dry everything completely; a deglosser applied over damp wood won’t bond evenly.
Step 2: Apply a Liquid Deglosser (Your Sanding Substitute)
Once the cabinets are dry and grease-free, wipe on a liquid deglosser with a clean rag, working in small sections. A deglosser works by chemically etching the top layer of the existing finish on a microscopic level, roughing it up just enough for primer to grip, the same job sandpaper does mechanically. Let it work for the few minutes the label specifies, then wipe off the residue with a fresh rag before it dries on the surface. Give the cabinets at least an hour to dry before moving on. Skip this step and even a good bonding primer can peel off the old finish in sheets within months.
Step 3: Fill, Caulk, and Spot-Repair
Fill dents, dings, and old hardware holes with wood filler, and run a thin bead of paintable caulk along any face-frame seams where doors meet the box. Let filler cure per its label, then knock down high spots with a folded piece of 220-grit paper by hand, not a sander. This is the one place fine sandpaper still earns its keep in a “no-sanding” project: leveling a small patch, not stripping a whole door.
Step 4: Prime With a Bonding Primer
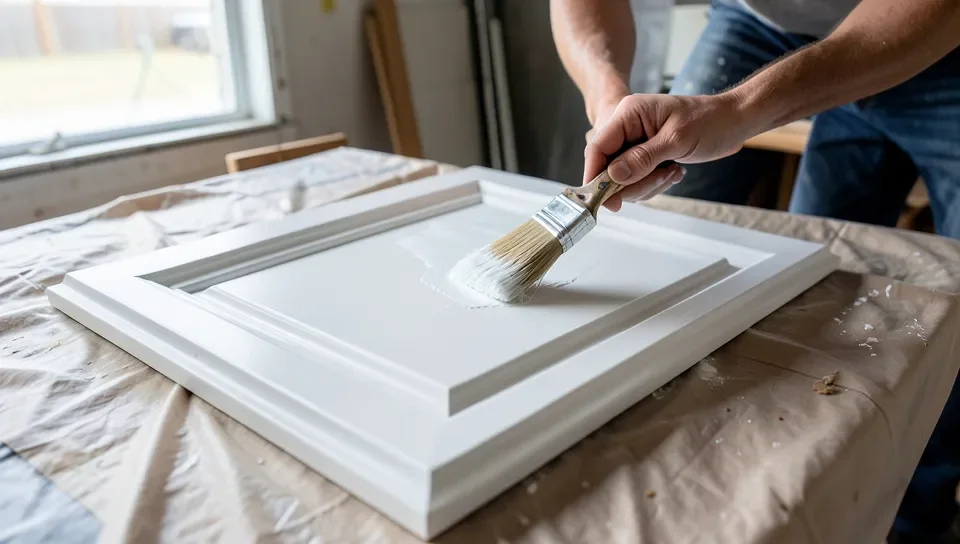
A bonding primer is formulated to stick to slick, previously-finished surfaces the way a standard wall primer can’t. Apply it with a foam roller for flat panel faces and a 2½-inch angled brush to cut in around edges and profiles, working in the direction of the wood grain and smoothing out drips before they set. Let the first coat dry for at least two hours, then apply a second coat and give it another two hours. Two thin coats of bonding primer beat one thick one; a heavy single coat is more likely to sag in corners and show brush marks through the paint.
Step 5: Paint With Cabinet-Grade Enamel
Skip standard wall paint. A cabinet-grade acrylic enamel self-levels as it dries, which hides brush and roller texture far better than flat or eggshell wall paint, and it cures to a harder, more wipeable surface, which matters on doors that get touched with dirty hands every day. Apply thin coats, let each dry fully before recoating (check the can, but most cabinet enamels want 4 to 6 hours between coats and a full 24 to 48 hours before rehanging doors), and plan on two coats minimum for even coverage, especially over a darker primer or a color change.
Step 6: Reinstall Hardware and Let It Cure
Cabinet paint feels dry to the touch well before it’s actually cured. Most cabinet-grade enamels reach handling hardness in a day or two but need one to three weeks to fully cure to their final hardness, depending on the product and your room’s humidity. Rehang doors and reinstall hardware once the paint is dry to the touch, but go easy on wiping the doors down and avoid stacking anything against them for the first couple of weeks while the finish keeps hardening.
How Long This Actually Lasts
Done in this order, a no-sand cabinet repaint holds up about as well as a sanded one, because the deglosser and bonding primer are doing the same adhesion job sandpaper would have done mechanically. Where no-sand jobs actually fail early is almost always the same two causes: grease left under the deglosser, or primer rushed with too little dry time between coats. Neither is a sanding problem, they’re prep and patience problems, which is why the degreasing pass at the start matters more on kitchen cabinets than on any other painted wood surface in the house.
Frequently Asked Questions
Can I refinish kitchen cabinets without sanding?
Yes. Degrease thoroughly, apply a liquid deglosser to etch the old finish, prime with a bonding primer, then paint with a cabinet-grade enamel. The deglosser and primer combination replaces the adhesion job sanding normally does.
What’s the easiest way to refinish kitchen cabinets?
Degrease, deglaze, prime, and paint, in that order, using a foam roller for flat panels and an angled brush for edges. Doing it with the doors off and laid flat on a drop cloth is easier than painting them while still hung.
How do you restore wood cabinets without refinishing them?
If the existing finish is intact and just dull or dirty, clean with mild soap and water, then apply a wood conditioner or furniture oil to restore some shine. Use a matching touch-up pen or wax stick for small scratches. This works for surface dullness only, not for peeling finish or bare wood.
Do I have to sand cabinets before painting them?
No, not if you use a liquid deglosser and a bonding primer instead. Sanding is one way to give paint something to grip; a chemical deglosser followed by a primer built for slick surfaces achieves the same adhesion without the dust. Skipping both the deglosser and a bonding primer, and just painting over a glossy factory finish, is what causes premature peeling.
Why do kitchen cabinets need degreasing before deglossing?
Cooking releases airborne grease that settles on cabinet surfaces, especially near the range. A deglosser etches whatever is on top of the wood, so if that’s a grease film rather than the actual finish, the etching doesn’t reach the surface that needs it, and primer applied on top won’t bond properly either.
Conclusion
The no-sand method works on kitchen cabinets as long as you treat degreasing as its own required step, not a quick wipe folded into cleaning. Degrease, deglaze, prime with two thin coats, then finish with a cabinet-grade enamel, and give the paint its full cure time before loading the doors back up with daily use. Skip the shortcut on any one of those steps and it’s usually the paint that gives up first, not the plan.
While the doors are off, it’s also a good time to check whether your cabinet interiors could use pull-out shelves, add a coat of chalk paint if you want a more matte, vintage finish instead of enamel, or finish the look with crown molding on top of the upper cabinets.
Sponsored / affiliate links. As an Amazon Associate I earn from qualifying purchases. I may earn additional commission from eligible campaigns.