Can You Mix Acrylic Paint With Latex Paint? Yes, Both Are Water-Based
Yes, you can mix acrylic paint with latex paint, because both are water-based and share the same acrylic-polymer chemistry – latex paint is really just a house-paint formulation of acrylic. The one rule that actually matters: never mix a water-based paint with an oil-based one. Beyond that, the main thing most guides skip is how much you can safely add before you start diluting the preservatives and additives the manufacturer engineered into the can.
The usual scenario is a half-empty can of wall paint and a tube of the exact tint you need – mixing them can save a trip to the store, but only if you know the real limits. Here is what actually happens chemically, how much acrylic you can add before it matters, and the step-by-step process for a clean, consistent result.
Understanding Your Paints: What is Acrylic vs. Latex?
Best Acrylic Paint For Tinting Latex
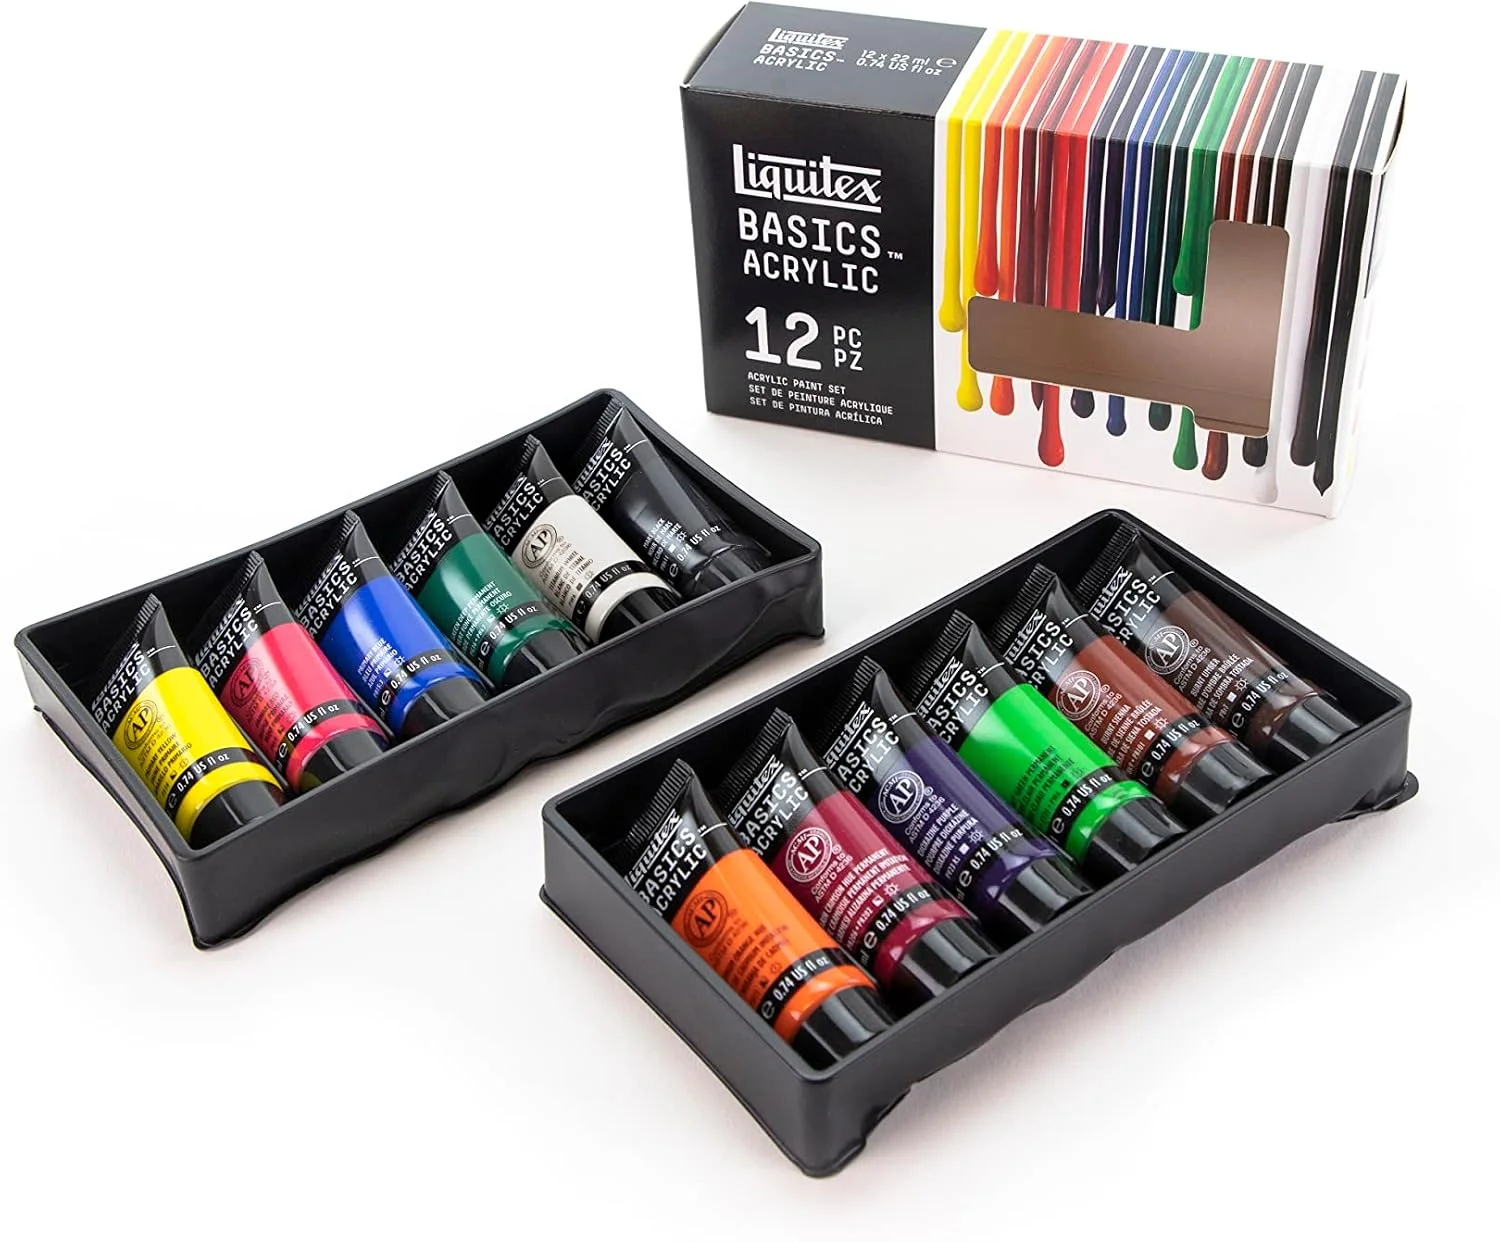 |
Liquitex BASICS Acrylic Paint Set (12 x 22ml Tubes) – $30 For tinting leftover latex wall paint to a custom shade, artist-grade tube acrylic like this gives you concentrated, consistent pigment – a small amount goes a long way at the 10:1 ratio this guide recommends.
|
Before we start mixing, let’s quickly understand what we’re working with. Think of it like cooking—you need to know your ingredients. Both acrylic and latex paints are popular for home projects, but they have slight differences.
What is Latex Paint?
When we talk about latex paint today, we’re usually talking about water-based paint used for walls, ceilings, and trim. The name “latex” is a bit old-fashioned. It originally came from paints that used a rubber latex binder. Modern latex paints don’t use natural rubber anymore. Instead, they use a synthetic polymer binder like acrylic or vinyl-acrylic.
- Water-Based: This is the most important part. It means you can clean your brushes and spills with simple soap and water.
- Common Uses: Painting large surfaces like interior and exterior walls.
- Key Features: It dries relatively quickly, has low odor, and is easy to apply smoothly over large areas.
What is Acrylic Paint?
Acrylic paint is also water-based, but its binder is 100% acrylic polymer. This special binder makes the paint very durable and flexible when it dries. You often find acrylics in small tubes or bottles for art projects, but you can also buy acrylic house paint, which is known for its excellent performance.
- Water-Based: Just like latex, cleanup is a breeze with soap and water.
- Common Uses: Art canvases, crafts, furniture, and high-quality exterior house paint.
- Key Features: It’s known for great adhesion, flexibility (it resists cracking and peeling), and fantastic durability against weather and sunlight.
The main takeaway here is that both standard latex and acrylic paints are water-based. Their chemical similarities are exactly why we can often mix them together successfully.
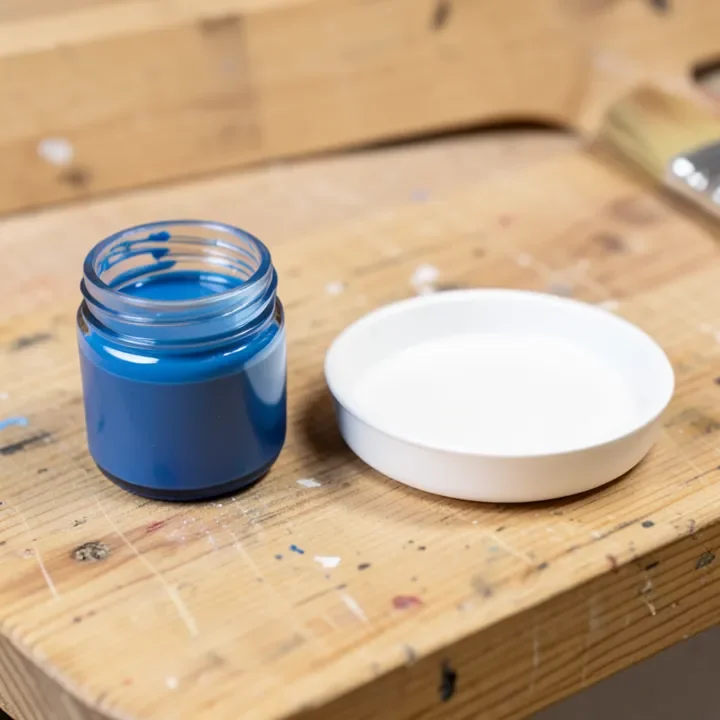
The Answer You’re Looking For: Yes, You Can Mix Them (With a Few Rules)
So, let’s get right to it. Can you mix acrylic paint with latex paint? The answer is a confident yes, as long as you follow one golden rule: only mix water-based paints with other water-based paints.
Because both modern latex and acrylic paints use a water base and similar polymer binders, they are chemically compatible. Think of it like mixing two different brands of milk—they’re both milk, so they’ll blend together just fine.
However, you can never mix a water-based paint with an oil-based paint. They will not combine. Instead, you’ll get a clumpy, separated mess that is impossible to use. Always check the labels on your paint cans. The cleanup instructions are a dead giveaway: if it says “clean up with soap and water,” it’s water-based. If it says “clean up with mineral spirits or turpentine,” it’s oil-based.
Why Would You Want to Mix Acrylic and Latex Paint?
You might be wondering why you’d even want to do this. It turns out there are some very practical and creative reasons!
- Creating Custom Colors: This is the most popular reason. Maybe your wall paint is just a shade too dark or not quite the right hue. Adding a small amount of artist’s acrylic paint can help you achieve that perfect custom color without buying a whole new can.
- Saving Money: Have a bunch of leftover wall paint and some craft paints? Mixing them lets you use up what you already have instead of letting it go to waste. It’s a great way to be resourceful and budget-friendly.
- Improving Durability: Artist-grade acrylics have a higher concentration of acrylic polymers, which makes them very durable. Adding a bit of high-quality acrylic paint to a less expensive latex paint can potentially boost its scuff resistance and adhesion, making it better for high-traffic areas.
- Achieving a Specific Sheen: While it’s best to mix paints with the same finish (e.g., matte with matte), you can sometimes slightly alter the sheen by mixing. For example, adding a small amount of glossy acrylic to a matte latex might give you a subtle satin finish. This requires careful testing!
The Limit Most Guides Don’t Mention
Latex wall paint isn’t just pigment and binder – it also contains mildewcides, biocides, and coalescing agents engineered at a specific concentration for that can’s intended use. Artist-grade acrylic paint doesn’t contain those additives. Add a small amount (the 10:1 ratio below) purely for tinting and this doesn’t matter. But dump in acrylic paint at anything close to a 1:1 ratio, or use it to “stretch” a paint job, and you dilute those additives below their effective concentration – which is part of why paint manufacturers explicitly exclude custom-mixed paint from their product warranties. For a small tint job, that’s a non-issue. For a whole-room repaint where you’re trying to make one can go further by cutting it with craft paint, it is worth knowing you’re now using an unformulated product.
Before You Start: A Quick Comparison
Here’s a simple table to help you visualize the main differences between these two friendly paints.
| Feature | Latex Paint | Acrylic Paint |
|---|---|---|
| Base | Water-based | Water-based |
| Binder | Vinyl-acrylic or Styrene-acrylic | 100% Acrylic Polymer |
| Durability | Good to Very Good | Excellent |
| Flexibility | Good | Excellent (Resists cracking) |
| Common Sheens | Matte, Eggshell, Satin, Semi-Gloss | Matte, Satin, Glossy (often high-gloss) |
| Best For | Interior/Exterior Walls & Ceilings | Art, Crafts, Furniture, Exterior Trim |
| Cost | Generally less expensive | Can be more expensive, especially artist-grade |
How to Mix Acrylic and Latex Paint: Your Step-by-Step Guide
Alright, you’re ready to become a paint-mixing pro. Follow these simple steps for a perfect blend every time. Remember, the key is to be patient and test as you go.
Step 1: Gather Your Supplies
First things first, get your gear together. You won’t need anything fancy.
- Your water-based latex paint
- Your water-based acrylic paint
- A clean mixing container (a bucket or large plastic container works great)
- A sturdy stir stick (a paint-mixing stick or even a simple piece of scrap wood will do)
- A smaller container for your test batch (a plastic cup or old jar)
- A piece of scrap material for testing (drywall, wood, or even thick cardboard)
Step 2: Check Your Labels (The Golden Rule)
I know I’ve said it before, but it’s the most important step! Double-check both your acrylic and latex paint containers to confirm they are water-based. The label should clearly state “water-based,” “acrylic-latex,” or have cleanup instructions that say “clean up with soap and water.” If one is oil-based, stop right there. They won’t mix.
Step 3: Mind the Finish
For the most consistent results, try to mix paints with a similar sheen. For example, mix matte with matte or satin with satin. Mixing a glossy paint with a flat paint can work, but it will create an unpredictable sheen somewhere in between. If you do this, testing is extra important so you know what to expect.
Step 4: Create a Small Test Batch First
Never, ever dump all your paint together at once! Always start with a small test batch. This lets you perfect the color and consistency without risking your entire supply.
- Pour a small amount of your latex paint (your base color) into your small test container.
- Add a tiny bit of the acrylic paint (your tint color). A good rule of thumb is to start with a ratio of 10 parts latex to 1 part acrylic. It’s always easier to add more color than to take it away.
- Stir thoroughly until the color is completely uniform. Scrape the sides and bottom of the container to make sure everything is blended.
Step 5: Test Your Mixture
Now it’s time to see how your new custom color looks. Using a small brush, apply your test mix to your scrap material. Let it dry completely—and I mean completely. Paint colors can change slightly as they dry, a phenomenon known as “color shift.”
Once it’s dry, check three things:
- Color: Is it the shade you were hoping for?
- Finish: Is the sheen consistent and even?
- Adhesion: Does it stick to the surface without peeling or flaking? (Gently scratch it with a fingernail to check.)
If the color isn’t quite right, adjust the ratio in your test batch and try again. Repeat until you’re happy with the result.
Step 6: Mix the Full Batch
Once you’ve perfected your test ratio, it’s time to make the big batch. Pour your latex paint into your large mixing bucket. Slowly add the acrylic paint, following the ratio you determined during your test. For example, if you liked the 10:1 ratio, and you have 10 cups of latex paint, you’ll add 1 cup of acrylic paint.
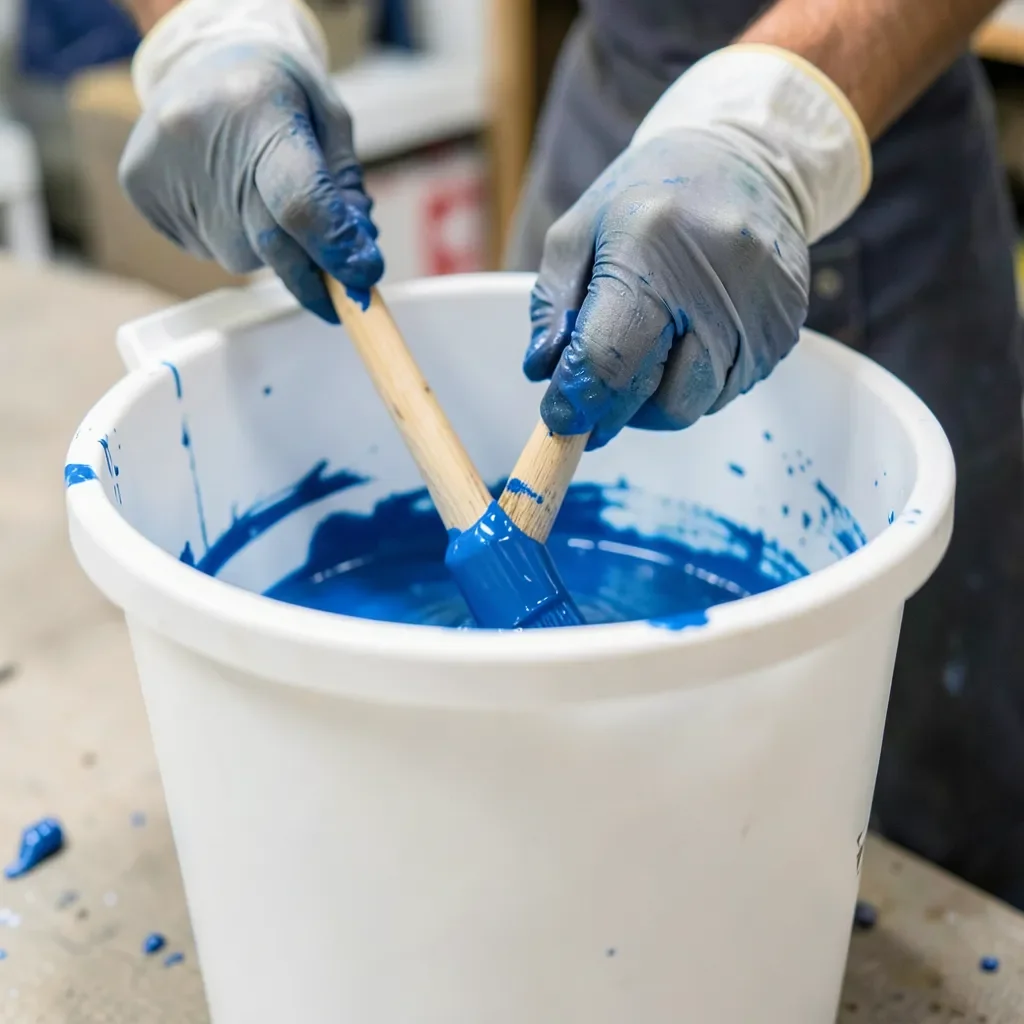
Mix slowly but thoroughly with your stir stick. If you have a large amount, a paint mixer attachment for a power drill works wonders. Stir for at least 2-3 minutes, making sure to scrape the sides and bottom of the bucket for a completely uniform mix.
Step 7: Strain Your Paint (Optional but Recommended)
For the smoothest possible finish, I always recommend straining your mixed paint through a paint strainer. This will catch any small clumps or dried bits that may have formed during mixing, preventing them from ending up on your walls.
And that’s it! Your custom paint is now ready to use. Apply it just as you would any other paint.
Potential Problems and How to Avoid Them
Mixing paints is usually straightforward, but here are a few things to watch out for to ensure your project goes smoothly. Poorly mixed paints can lead to paint failures, which are detailed by experts like the National Park Service in their preservation guides.
- Problem: The paint is clumpy or stringy.
Solution: This usually means one of the paints was old or they weren’t mixed well enough. Always use fresh paint and stir, stir, stir! Straining the paint can also help remove any existing clumps. - Problem: The final color is uneven on the wall.
Solution: The paints were not fully blended. Make sure you mix far more than you think is necessary to get a completely uniform color before you start painting. A drill mixer is your best friend here. - Problem: The paint is too thin.
Solution: Some artist’s acrylics are thinner than house paint. If your mix seems watery, you may have added too much acrylic. Stick to the 10:1 ratio to start, as adding a small amount of acrylic shouldn’t dramatically change the viscosity. - Problem: The paint peels or chips after drying.
Solution: This can happen if the paints were not compatible (like oil and water) or if the surface wasn’t prepared properly. Always make sure you’re mixing water-based with water-based and that your wall is clean, dry, and primed if needed.
Here’s a quick summary table of the do’s and don’ts to keep handy.
| Do’s | Don’ts |
|---|---|
| DO check that both paints are water-based. | DON’T ever mix oil-based and water-based paints. |
| DO start with a small test batch. | DON’T mix a large amount without testing first. |
| DO aim for a ratio of no more than 1 part acrylic to 10 parts latex. | DON’T overpower your base paint with too much tint color. |
| DO mix thoroughly until the color is uniform. | DON’T rush the mixing process. |
| DO test the dried paint for color, sheen, and adhesion. | DON’T assume the wet color will be the final color. |
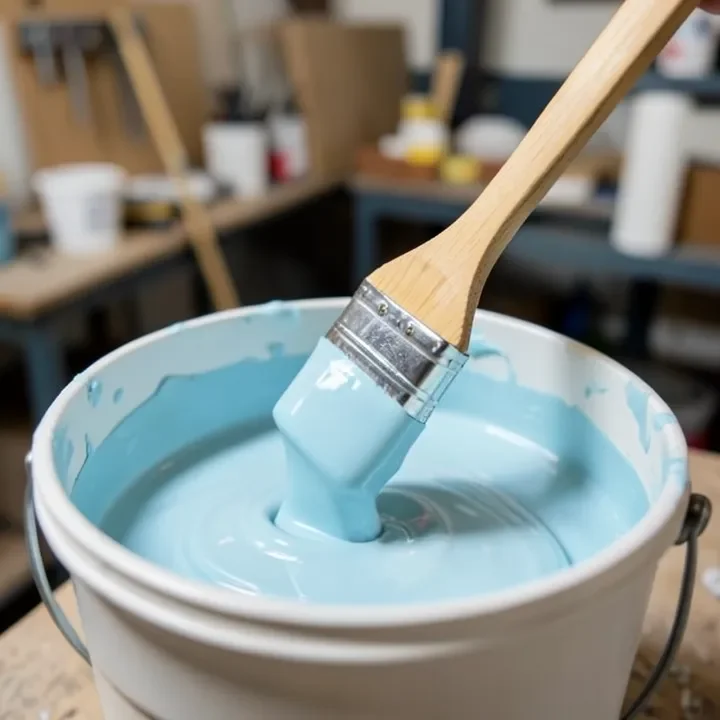
Frequently Asked Questions (FAQ)
Can I mix artist’s acrylic craft paint with interior wall paint?
Yes, absolutely! This is one of the most common uses for mixing. Just make sure your wall paint is a water-based latex. Adding a bit of craft paint is a fantastic way to tint your wall paint to a custom shade.
How much acrylic paint can I add to latex paint?
A safe guideline is to stick to a ratio of about 1 part acrylic paint to 10 parts latex paint. Adding too much acrylic, especially if it’s a very different formula, can sometimes affect the consistency and finish of the base latex paint. For tinting, a little goes a long way.
Will mixing paints affect the drying time?
Generally, it shouldn’t have a major effect if you’re only adding a small amount of acrylic paint. Both paints are water-based and tend to have similar drying times. However, environmental factors like humidity and temperature will always be the biggest influence on how long your paint takes to dry.
Can I use my mixed paint in a paint sprayer?
Yes, you should be able to. However, if your mixed paint seems thicker or has any clumps, you will definitely want to thin it with a little water and strain it before putting it in your sprayer. Always check the manufacturer’s recommendations for your specific paint sprayer model regarding paint viscosity.
What if I mix paints with different sheens, like matte and semi-gloss?
You can do this, but the result will be an unpredictable sheen somewhere in between. For example, mixing matte latex with a semi-gloss acrylic will likely result in a low-sheen or satin-like finish. It’s not a bad thing, but you must test it on a scrap piece first so you know exactly what you’ll be getting on your wall.
Does this work for exterior paint too?
Yes, the same principles apply to exterior paints. You can mix water-based exterior acrylic with water-based exterior latex. Just be sure both products are intended for outdoor use so they have the necessary resistance to weather and UV rays.
Conclusion: Paint with Confidence!
So there you have it! The next time you’re standing in front of two half-empty paint cans, you can feel confident knowing that you can mix acrylic and latex paints together. It’s a simple, effective way to get creative with colors, reduce waste, and save a little money on your projects.
Just remember the golden rules: always check that both paints are water-based, always start with a small test batch, and always mix thoroughly. By following the easy steps we’ve outlined, you’ll be able to create the perfect custom paint for your next project, achieving a beautiful and durable finish you can be proud of.
Happy painting, and as always, feel free to reach out with any questions. Now go make something great!
Sponsored / affiliate links. As an Amazon Associate I earn from qualifying purchases. I may earn additional commission from eligible campaigns.