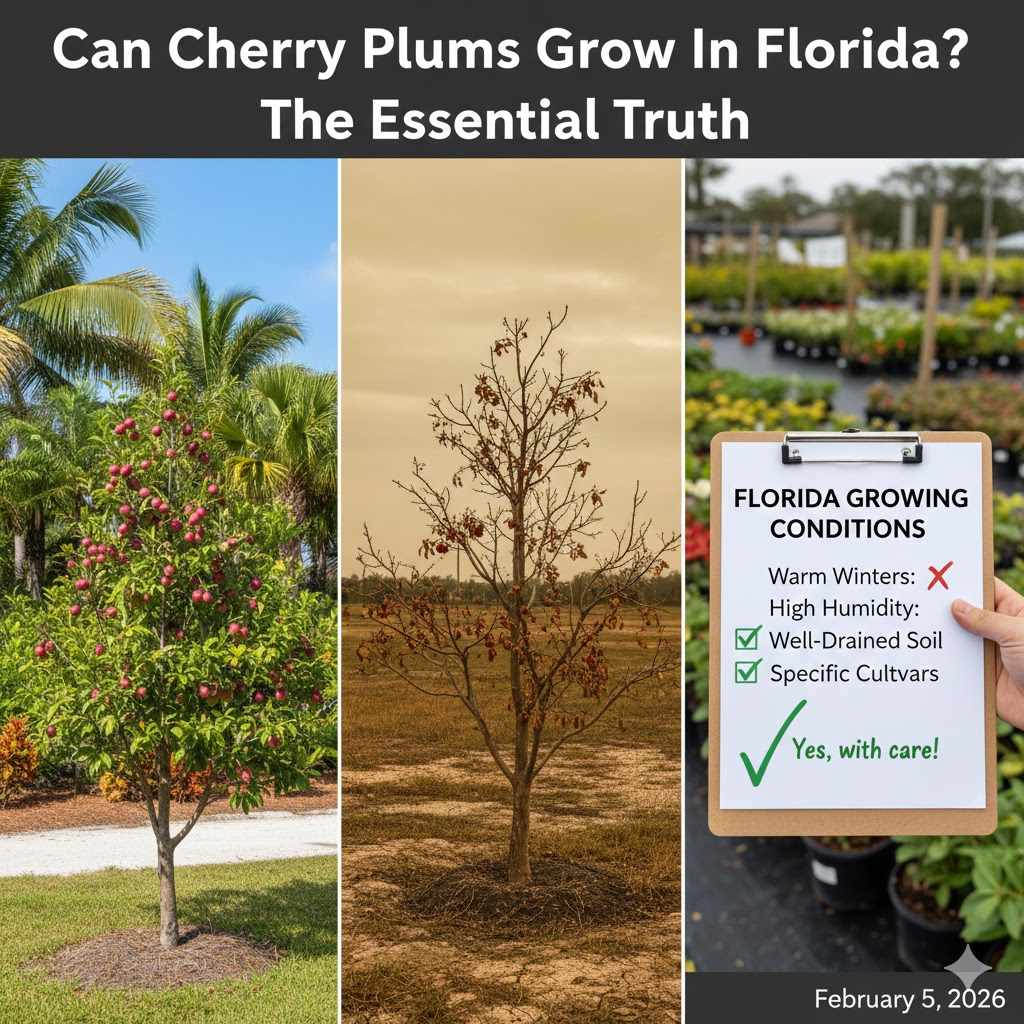
Can Cherry Plums Grow In Florida? The Essential Truth
Yes, you can grow certain types of plums in Florida, but not traditional cherry plums. Success depends entirely on choosing “low-chill” varieties bred for warm climates. These special plums need fewer cold hours to produce fruit, making them perfect for Florida’s mild winters, especially in North and Central Florida.
Have you ever dreamed of picking juicy, sweet plums right from your own backyard? For many Florida gardeners, this seems like a faraway dream. You hear that fruit trees need a cold winter, and well, Florida isn’t exactly known for its snow days. It can feel frustrating when you want to grow something delicious but worry the climate won’t cooperate.
But I’m here to tell you that it’s absolutely possible. You just need the right plant for the right place. We’re going to walk through this together, step by step. We’ll uncover the secret to growing plums in the Sunshine State, find the perfect varieties for your yard, and learn how to care for them. Let’s get started!
When we talk about growing fruit, especially fruits like plums, peaches, and apples, there’s a key concept we need to understand first. It’s called “chill hours,” and it’s the biggest reason why growing certain plants in Florida can be tricky. But don’t worry, it’s a simple idea that will make everything else click into place.
Understanding Chill Hours: The Biggest Hurdle
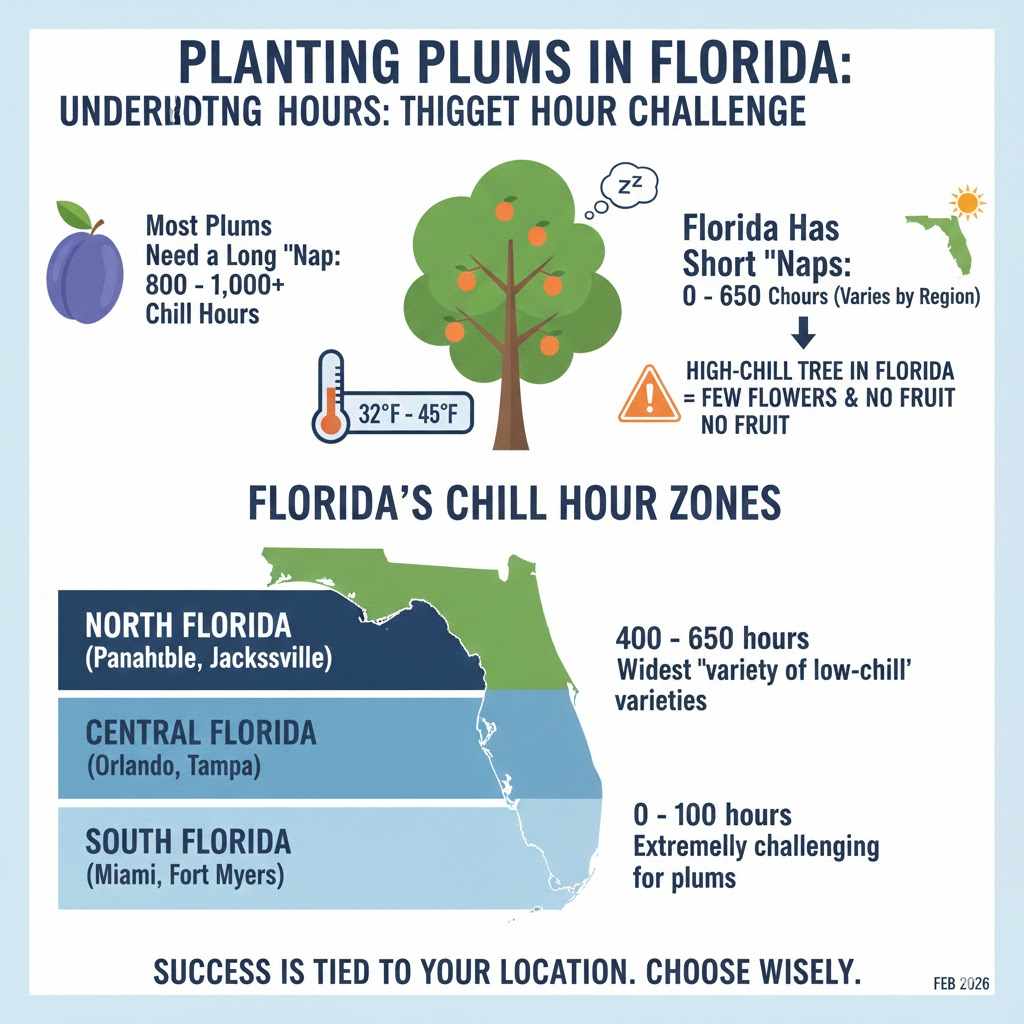
Imagine a fruit tree needs to sleep through the winter to get ready for spring. Chill hours are like the tree’s alarm clock. They are the total number of hours the temperature stays between 32°F and 45°F during the cold season. This cold period tells the tree that winter has passed and it’s time to wake up and produce flowers, and eventually, fruit.
Here’s the challenge:
- Most Plums Need a Long “Nap”: Traditional plum and cherry plum varieties, like the ones grown up north, might need 800, 900, or even over 1,000 chill hours.
- Florida Has Short “Naps”: Florida’s mild winters just don’t provide that many cold hours. Depending on where you live, you might only get a fraction of that.
If you plant a high-chill tree in Florida, it never gets the signal to wake up properly. It might grow leaves, but you’ll likely see very few flowers and little to no fruit. This is why you can’t just pick up any cherry plum tree from a generic garden center and expect it to thrive.
Florida’s Chill Hour Zones
Florida is a long state, and the climate varies quite a bit from the Panhandle to the Keys. Understanding your local chill hours is the first step to success.
| Florida Region | Approximate Annual Chill Hours | Best Suited For |
|---|---|---|
| North Florida (Panhandle, Jacksonville) | 400 – 650 hours | Widest variety of low-chill plums |
| Central Florida (Orlando, Tampa) | 200 – 400 hours | Select “very low-chill” plum varieties |
| South Florida (Miami, Fort Myers) | 0 – 100 hours | Extremely challenging for plums; focus on tropical fruits instead |
As you can see, your success is tied to your location. Gardeners in North Florida have the most options, while those in South Florida will struggle to grow any type of plum.
The Solution: Low-Chill Plum Varieties to the Rescue!
Now for the good news! Plant breeders, many at the University of Florida’s Institute of Food and Agricultural Sciences (UF/IFAS), have worked for decades to develop special plum varieties that don’t need a long winter nap. These are called “low-chill” varieties.
These trees are custom-made for climates like ours. They are satisfied with just a few hundred chill hours, making them perfect for North and Central Florida. So, while a true “cherry plum” (Prunus cerasifera) is not recommended, these fantastic Florida-friendly plums will give you that delicious, homegrown experience you’re looking for.
Top Low-Chill Plum Varieties for Florida
Choosing the right variety is the most important decision you’ll make. Below are some proven winners for Florida gardens. Pay close attention to the chill hours and whether you’ll need a second tree for pollination, as many plum trees need a friend nearby to produce fruit.
| Variety Name | Chill Hours Needed | Pollination | Fruit Details | Best Florida Zone |
|---|---|---|---|---|
| Gulfrose | 400 hours | Needs a pollinator (like Gulfblaze) | Medium-sized, red skin, excellent sweet flavor | North Florida |
| Gulfblaze | 350-400 hours | Needs a pollinator (like Gulfrose) | Medium, dark red skin, firm and sweet | North Florida |
| Gulfbeauty | 250 hours | Partially self-fertile, but does better with a pollinator (like Gulfrose) | Large, purplish-red fruit with a great taste | North & North-Central Florida |
| Scarlet Beauty | 150 hours | Self-fertile (does not need a partner) | Small to medium, bright red fruit. Very reliable producer. | North & Central Florida |
| Excelsior | 300 hours | Self-fertile (does not need a partner) | An older variety, yellow-fleshed with reddish skin | North Florida |
Quick Tip: When you buy your trees, always try to buy two different varieties that bloom at the same time to ensure good cross-pollination, even if a variety is listed as “self-fertile.” More flowers mean more fruit!
How to Plant Your Florida Plum Tree: A Step-by-Step Guide
Alright, you’ve picked your perfect low-chill variety. Now comes the fun part! Planting a tree is a simple project that brings years of reward. Let’s go through it together, one easy step at a time.
Step 1: Choose the Perfect Spot
Your tree’s future home is important. Look for a location that gets at least 6 to 8 hours of direct sunlight per day. Plums love the sun! Also, make sure the soil drains well. To test this, dig a small hole, fill it with water, and see how long it takes to drain. If it’s still full after an hour, the drainage is poor, and you might want to build a small mound to plant the tree on.
Step 2: Get Your Timing Right
The best time to plant a dormant, bare-root tree in Florida is during the cooler months, from late fall to early winter (December to February). This gives the tree time to establish its roots before the hot summer weather arrives. If you buy a potted tree, you have a little more flexibility, but avoiding the peak summer heat is still a good idea.
Step 3: Prepare the Planting Hole
Let’s get digging! A good planting hole sets your tree up for success.
- Dig Wide, Not Deep: Dig a hole that is two to three times wider than the tree’s root ball, but only as deep as the root ball itself. Planting too deep is a common mistake that can harm the tree.
- Improve the Soil: Florida’s soil is often very sandy. To give your tree a better start, mix the soil you dug out with some organic matter, like compost or well-rotted manure. A 50/50 mix is a good starting point. This adds nutrients and helps hold water.
- No Fertilizer in the Hole: Don’t add granular fertilizer directly into the planting hole. This can burn the young, delicate roots. We’ll feed the tree later.
Step 4: Plant Your Tree
It’s time to put your tree in its new home. Be gentle with this step.
- Check the Depth: Place the tree in the center of the hole. Use a shovel handle or a straight stick laid across the hole to check the depth. The top of the root ball should be level with or slightly above the surrounding ground.
- Backfill Gently: Start filling the hole with your amended soil mix. Gently pat down the soil as you go to remove any large air pockets. Don’t stomp on it, as this can compact the soil too much.
- Create a Water Basin: Once the hole is filled, use the leftover soil to build a small circular berm or “donut” around the edge of the planting hole. This little wall will help hold water and direct it right to the roots where it’s needed most.
Step 5: Water Well and Mulch
The final touches are crucial for a happy tree.
First, give your newly planted tree a long, slow drink of water. Fill the water basin you created two or three times, letting the water soak in completely each time. This settles the soil around the roots.
Next, apply a 2- to 3-inch layer of mulch (like pine bark, hay, or oak leaves) around the base of the tree. Be sure to leave a few inches of space right around the trunk—don’t let the mulch touch the bark. Mulch is fantastic in Florida because it:
- Keeps the soil moist.
- Suppresses weeds.
- Keeps the root zone cooler in the summer heat.
Caring For Your Plum Tree in the Sunshine State
You’ve planted your tree—great job! Now, a little bit of ongoing care will ensure it grows strong and healthy, ready to produce delicious fruit for years to come.
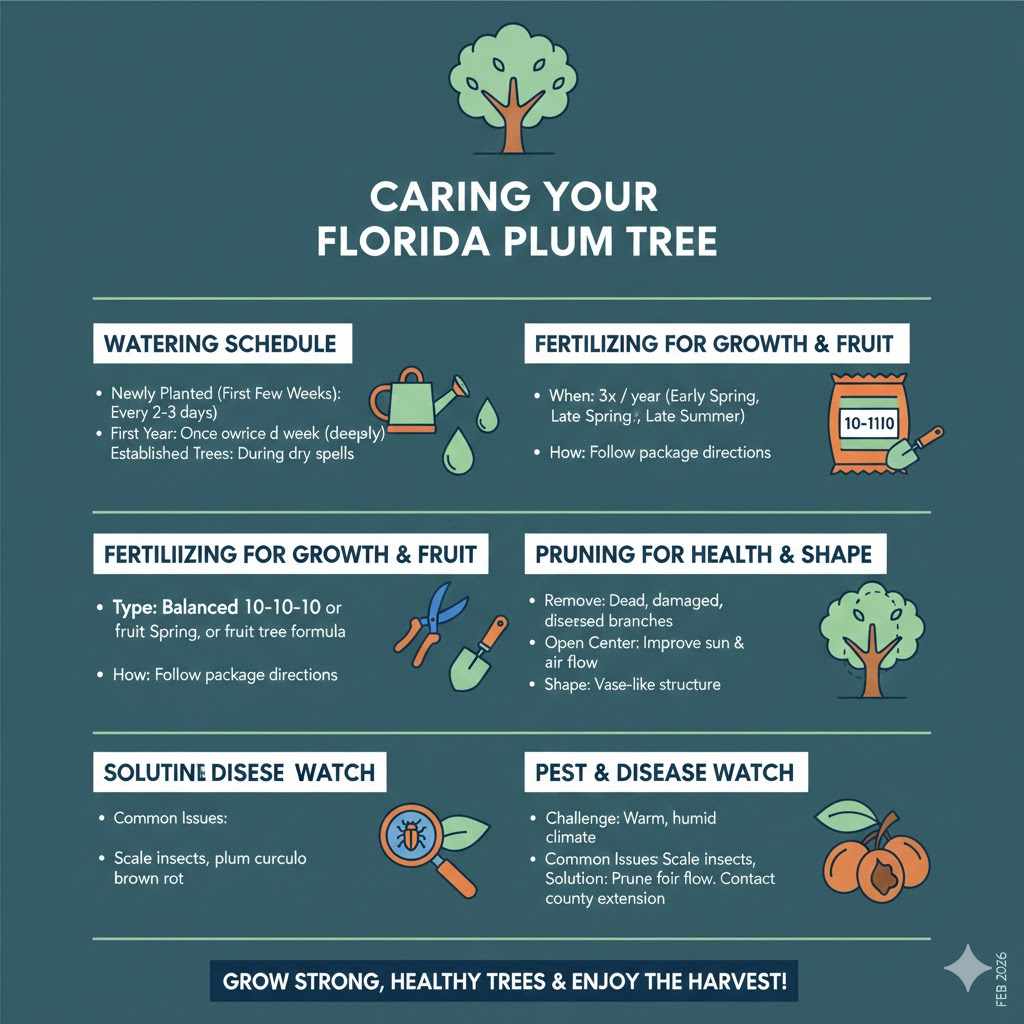
Watering Schedule
For the first year, your tree is working hard to grow a strong root system. It’s relying on you for consistent water.
- Newly Planted (First Few Weeks): Water every 2-3 days unless you get significant rain.
- First Year: After the initial period, water deeply once or twice a week during dry spells.
- Established Trees: Once the tree is established (after a year or two), it will be more drought-tolerant, but will still need extra water during long dry periods, especially when it’s setting fruit.
Fertilizing for Growth and Fruit
Think of fertilizer as food for your tree. Wait about 4-6 weeks after planting before you give it its first meal. Use a balanced fertilizer, like a 10-10-10 or a formulation made specifically for fruit trees. Follow the package directions carefully—it’s always better to use a little less than too much.
A good rule of thumb is to fertilize three times a year: in the early spring as new growth starts, in late spring after the fruit has set, and in the late summer after you’ve harvested.
Pruning for Health and Shape
Pruning might seem intimidating, but it’s really just giving your tree a good haircut. It helps the tree grow strong, allows sunlight and air to reach all the branches (which prevents disease), and makes it easier to harvest the fruit.
The best time to prune plum trees in Florida is in the late winter, just before the new spring growth begins. Your goal is to create an open, vase-like shape.
- Remove any dead, damaged, or diseased branches first.
- Prune any branches that are growing inward toward the center of the tree.
- Cut back branches that are crossing or rubbing against each other.
- Keep the center of the tree open to light and air.
Don’t be afraid to make cuts! It’s better for the tree in the long run.
Pest and Disease Watch
Florida’s warm, humid climate can unfortunately be a welcoming place for pests and diseases. The key is to watch your tree closely so you can catch any problems early.
Common issues include scale insects, plum curculio, and fungal diseases like brown rot. Keeping the tree pruned for good air circulation is your best defense. If you do see a problem, contact your local county extension office. They can help you identify the issue and recommend the safest, most effective treatment.
Frequently Asked Questions (FAQ)
1. Do I really need to plant two different plum trees?
It’s highly recommended. While some varieties like ‘Scarlet Beauty’ are listed as self-fertile, almost all plum trees produce significantly more fruit when a different, compatible variety is planted nearby. Think of it as teamwork! They bloom around the same time and help each other produce a bigger harvest for you.
2. How long does it take for a plum tree to produce fruit in Florida?
With good care, you can expect your low-chill plum tree to start producing a small amount of fruit within 2 to 4 years of planting. The harvest will get larger each year as the tree matures.
3. What’s the biggest mistake beginners make when growing plums in Florida?
The number one mistake is choosing the wrong variety. A gardener in Central Florida might buy a beautiful plum tree that needs 600 chill hours, not realizing it will never get cold enough to fruit. Always, always start with a proven low-chill variety suited for your specific area.
4. Can I grow a plum tree in a large pot or container?
Yes, you can, especially with smaller or semi-dwarf varieties. This is a great option for those with limited space. You will need a very large container (20 gallons or more) with excellent drainage. Keep in mind that potted trees require more frequent watering and fertilizing than trees in the ground.
5. When is the harvest season for plums in Florida?
Most of the low-chill plums developed for Florida are early-ripening varieties. You can typically expect to harvest your delicious homegrown plums in May and June, well before the peak of summer heat and rains.
6. Why are my plum tree’s leaves turning yellow?
Yellow leaves can be a sign of a few different things. The most common causes in Florida’s sandy soil are a lack of nutrients (especially nitrogen or iron) or improper watering (either too much or too little). Check the soil moisture first, then consider applying a balanced, slow-release fruit tree fertilizer if you haven’t recently.
A Rewarding Project for Your Yard
So, can you grow cherry plums in Florida? The essential truth is that while traditional varieties won’t work, you absolutely can grow delicious, juicy plums by choosing the right low-chill varieties. From the Panhandle down to the I-4 corridor, there is a plum tree that can thrive in your backyard.
Growing your own fruit is one of the most rewarding DIY projects you can tackle. It connects you to your food, your yard, and the seasons. It takes a little patience and planning, but the first time you bite into a sun-warmed plum that you grew yourself, you’ll know it was all worth it. With the right tree and a little care, you are well on your way to enjoying a sweet harvest right from your own garden. Happy planting!