Can I Paint Drop Ceiling Tiles? The Proven, Best Way
Yes, you can absolutely paint drop ceiling tiles. The proven, best way involves removing the tiles, cleaning them thoroughly, applying a stain-blocking primer to prevent bleed-through, and finishing with a flat latex or acrylic paint using a roller or sprayer for a smooth, professional-looking finish that instantly updates your space.
Hello there, fellow DIYer! It’s Md Meraj, and today we’re tackling a question I hear all the time: what can I do about my old, stained, or just plain boring drop ceiling? Those ceiling tiles can make a room feel dated. You might think your only option is to replace them, which can be costly and time-consuming. But I have some great news for you. You can give that ceiling a brand-new life with a simple coat of paint!
Painting drop ceiling tiles is one of the most budget-friendly ways to transform a basement, office, or utility room. It’s a project that looks much harder than it is. With the right guidance and a little bit of patience, you can achieve a finish that looks clean, modern, and professional. In this guide, I’ll walk you through everything, step-by-step. We’ll cover the right tools, the best paint to use, and the simple techniques to get it done right.
Why You Should Consider Painting Your Drop Ceiling Tiles
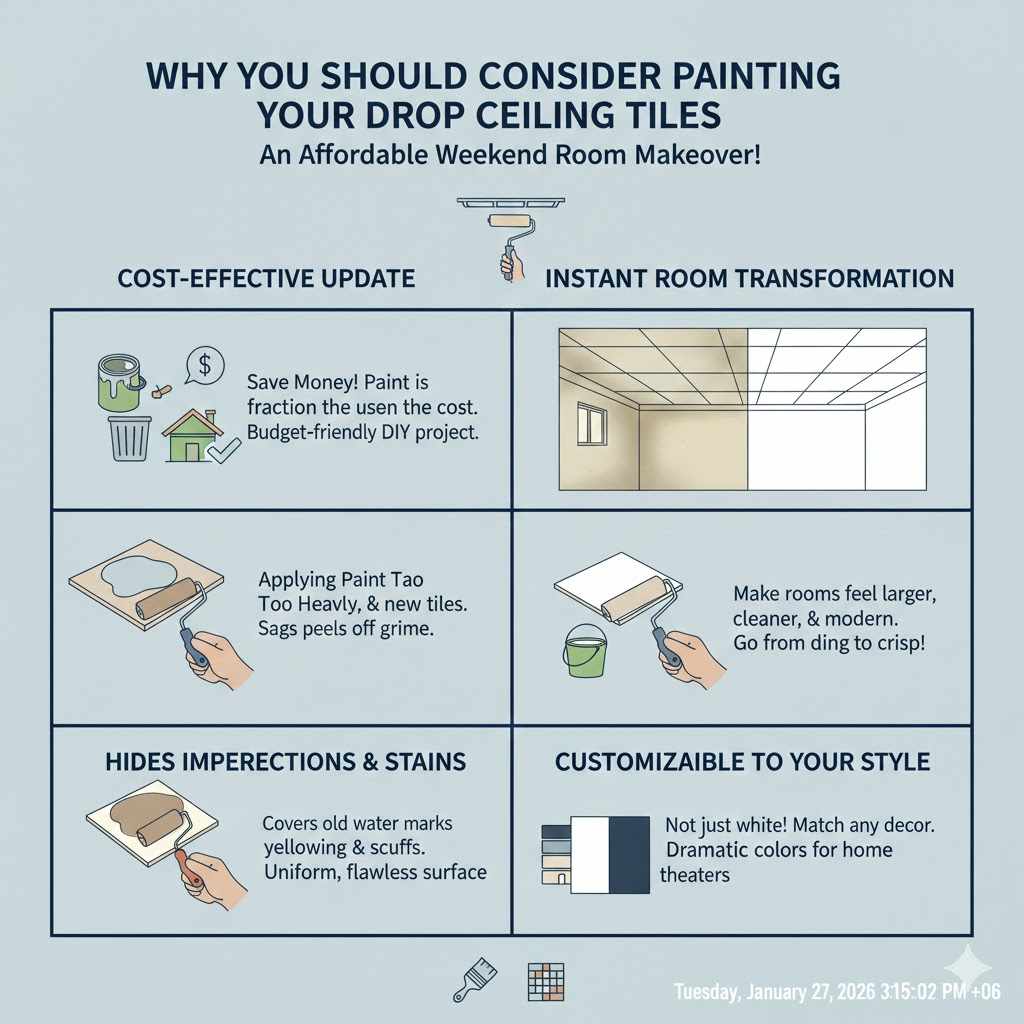
Before we grab our rollers, let’s talk about why this is such a great project. It’s more than just a color change; it’s a full room upgrade that you can do yourself in a weekend. Here are the key benefits:
- It’s Incredibly Cost-Effective: Replacing an entire drop ceiling is expensive. The cost of new tiles adds up quickly. Paint, on the other hand, is a small fraction of that cost, making this a fantastic project for anyone on a budget.
- Instant Room Transformation: A fresh, bright ceiling can make a room feel larger, cleaner, and more modern. You can go from a dingy, yellowed ceiling to a crisp white one, completely changing the atmosphere of the space.
- Hides Imperfections and Stains: Old water spots, yellowing from age, or minor scuffs can make tiles look messy. A quality stain-blocking primer and a coat of paint will cover those blemishes for good, giving you a uniform, flawless surface.
- Customizable to Your Style: While white is the classic choice, you’re not limited to it! You can paint your tiles any color to match your room’s decor. A dark color in a home theater, for example, can create a dramatic, immersive experience.
First, Identify Your Ceiling Tile Type
Not all ceiling tiles are created equal, and knowing what you have is the most important first step. The type of tile determines the best primer and paint to use. Most residential drop ceiling tiles fall into one of two categories.
| Tile Type | How to Identify It | Best Painting Approach |
|---|---|---|
| Porous Fiberboard / Mineral Fiber | These are the most common type. They have a slightly soft, chalky, or papery texture. They are very absorbent and are often labeled as “acoustic” tiles because they help dampen sound. | A stain-blocking, oil-based or shellac-based primer is essential. These tiles soak up paint like a sponge, and a good primer seals the surface and prevents old stains from bleeding through. Flat latex or acrylic paint works best for the topcoat. |
| Non-Porous Fiberglass / Vinyl-Coated | These tiles feel smoother and sometimes have a slight sheen. They are often used in kitchens or bathrooms because they are more resistant to moisture. They don’t absorb liquids easily. | You may still need a bonding primer for best adhesion, especially if the surface is slick. However, a high-quality acrylic paint can sometimes be applied directly after a thorough cleaning. These tiles are less likely to have bleed-through issues. |
If you’re unsure, try this simple test: put a single drop of water on an inconspicuous tile. If it soaks in quickly, you have porous fiberboard tiles. If it beads up and sits on the surface, you likely have non-porous vinyl or fiberglass tiles.
Choosing Your Weapon: Paint Brush vs. Roller vs. Sprayer
How you apply the paint is just as important as the paint you choose. Each method has its pros and cons, but for this project, a couple of options stand out as clear winners for beginners.
| Application Method | Pros | Cons | My Recommendation |
|---|---|---|---|
| Paint Brush |
|
| Not recommended for painting the full tile surface. Only use for tiny touch-ups if absolutely necessary. |
| Foam or Low-Nap Roller |
|
| The best choice for most DIYers. It offers a great balance of speed, control, and a high-quality finish without the steep learning curve of a sprayer. |
| Paint Sprayer (HVLP or Airless) |
|
| An excellent choice if you have a lot of tiles to paint or already own a sprayer. The finish is unmatched, but be prepared for the setup and cleanup. |
Gather Your Tools and Materials
Getting everything ready before you start makes any project go smoother. There’s nothing worse than being halfway done and realizing you’re missing something crucial. Here is your complete checklist.
Tools:
- Safety glasses and a dust mask or respirator
- Drop cloths or plastic sheeting
- Painter’s tape
- Step ladder
- Work gloves
- A soft-bristle brush or shop vacuum with a brush attachment
- Paint tray
- 4-inch to 6-inch low-nap roller or foam roller (a shorter nap prevents overloading the tile with paint)
- (Optional) A paint sprayer
- Sawhorses or a large, clean, protected surface for painting the tiles
Materials:
- Stain-blocking primer (shellac-based like Zinsser B-I-N is excellent for water stains, or an oil-based primer for general use)
- High-quality flat or matte latex or acrylic paint (a ceiling-specific paint is a great choice)
- Mild detergent or cleaner
- Clean cloths or sponges
For personal protective equipment (PPE), always put your safety first. Resources like the Occupational Safety and Health Administration (OSHA) provide great guidelines on choosing and using the right safety gear for painting projects.
The Proven, Best Way: A Step-by-Step Guide to Painting Your Tiles
Alright, you’ve identified your tiles and gathered your supplies. Now comes the fun part! Follow these steps carefully, and I promise you’ll be proud of the result.
Step 1: Safety and Room Prep First!
Your safety and your room are top priority. Start by putting on your safety glasses and dust mask. Ceiling work can rain down dust and debris you don’t want in your eyes or lungs.
Next, prepare the room. Remove as much furniture as possible. For anything left behind, cover it completely with plastic sheeting. Lay drop cloths over the entire floor. Use painter’s tape to protect the tops of your walls where they meet the ceiling grid.
Step 2: Carefully Remove and Inspect the Tiles
Using your step ladder, gently push up on a tile and angle it to remove it from the grid. As you take each tile down, be careful—they can be brittle. Stack them carefully against a wall.
This is the perfect time to inspect each tile. Look for any that are sagging, cracked, or severely water-damaged. Unfortunately, paint is not a fix for structural damage. Any tile that is soft, crumbly, or warped should be replaced. A fresh coat of paint will only make these issues more obvious.
Step 3: Clean the Tiles Thoroughly
Do not skip this step! Dust, cobwebs, and grime will prevent paint and primer from sticking properly. Lay the tiles out on your sawhorses or a protected surface.
Use a shop vacuum with a soft brush attachment to gently remove all loose dust. If there are any greasy spots (common in basements or workshop areas), use a sponge lightly dampened with a mild detergent solution to clean them. Be very careful not to over-saturate the tiles, especially porous fiberboard ones. Let them dry completely before moving on.
Step 4: Prime for a Flawless Finish
Priming is the secret to a professional-looking job. It seals the porous surface, ensures the paint color is true, and most importantly, it blocks old stains from ever reappearing. For tiles with water stains, a shellac-based primer is your best friend. For general-purpose priming, an oil-based primer works great.
Apply a single, thin, even coat of primer to the face of each tile using your low-nap roller or sprayer. Don’t press too hard. A light touch is all you need. Let the primer dry completely according to the manufacturer’s instructions—usually a few hours.
Step 5: Apply the Paint
Now for the transformation! Stir your paint thoroughly. A high-quality, flat latex ceiling paint like Sherwin-Williams ProMar Ceiling Paint is a great choice because its flat finish hides imperfections and minimizes glare.
Using a clean roller, apply a light, even coat of paint over the primed surface. Work in one direction. The goal is to cover the tile without soaking it. A heavy coat can weigh the tile down and reduce its acoustic properties. It’s better to apply two light coats than one heavy one.
If you’re using a sprayer, hold it about 10-12 inches from the surface and move in smooth, overlapping passes. Keep the sprayer moving to prevent drips.
Step 6: Let Them Dry Completely (and Be Patient!)
After the first coat, let the tiles dry completely. This might take 2-4 hours, but check the paint can for specific recoat times. If the coverage looks uneven or you can still see some of the old color, apply a second light coat.
Once you’re happy with the coverage, let the tiles cure for a full 24 hours. This is crucial. Handling them too soon can lead to smudges, fingerprints, and damage. Patience here will pay off.
Step 7: Reinstall Your Beautiful New Tiles
While the tiles are drying, take a look at your ceiling grid. Does it look dingy next to your beautifully painted tiles? You can clean it with a mild degreaser or even paint it with a metal-appropriate spray paint for a fully refreshed look.
Once the tiles are fully cured, it’s time to put them back. Wearing clean gloves will prevent fingerprints. Carefully angle each tile back into place in the grid. Step back and admire your work. You’ve just given your room a major upgrade!
Common Mistakes to Avoid When Painting Ceiling Tiles
This is a beginner-friendly project, but a few common missteps can trip you up. Here’s what to watch out for:
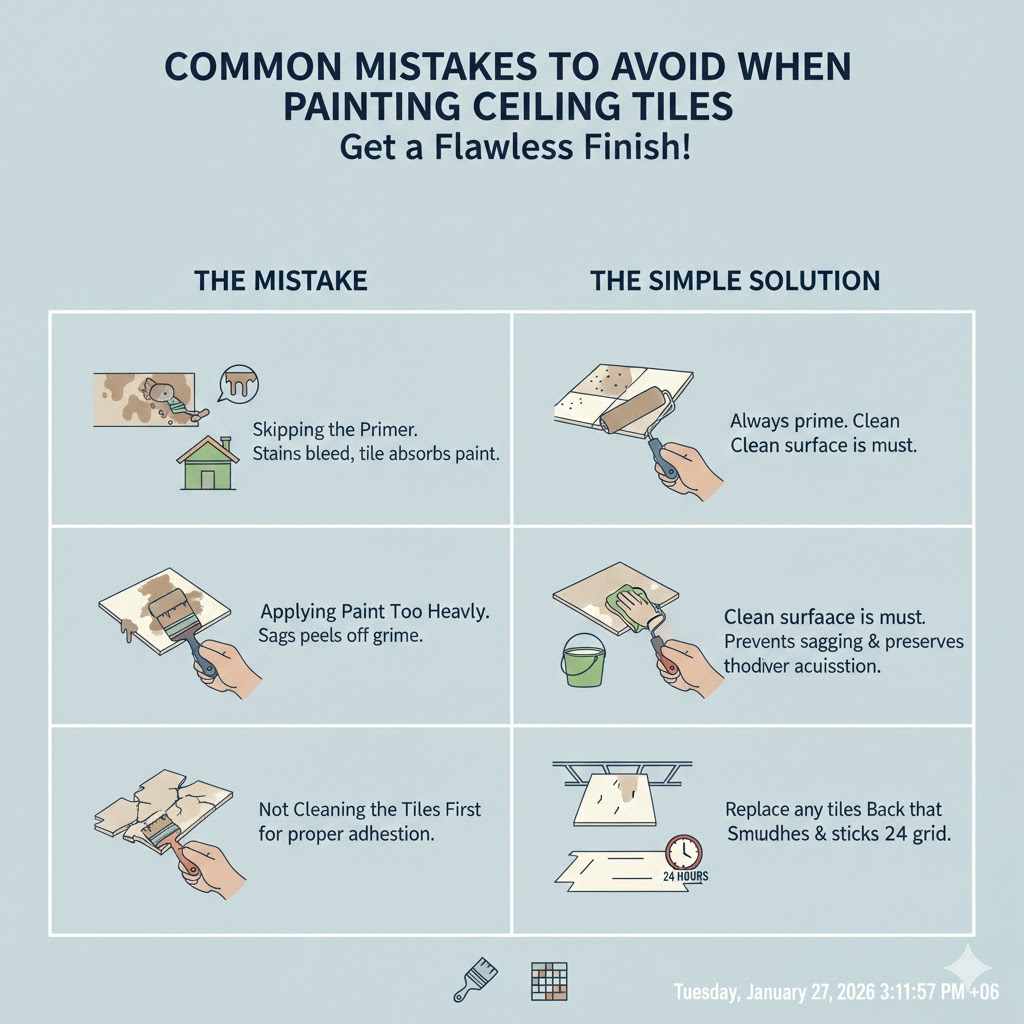
- Skipping the Primer: This is the number one mistake. Without primer, stains will bleed through, and porous tiles will drink up your expensive paint, resulting in a blotchy, uneven finish.
- Applying Paint Too Heavily: Over-saturating a tile with paint can cause it to sag or warp. It can also clog the tiny holes in acoustic tiles, reducing their ability to absorb sound. Always go for thin, even coats.
- Not Cleaning the Tiles First: Painting over dust and grime is a recipe for peeling paint. A clean surface is a must for proper adhesion.
- Painting Damaged Tiles: Paint can’t fix a crumbling or warped tile. It will only highlight the damage. Be sure to replace any tiles that are beyond repair.
- Putting Tiles Back Too Soon: If the paint isn’t fully cured, you risk smudging the finish and having the tiles stick to the grid. Give them at least 24 hours.
Frequently Asked Questions (FAQ)
1. What kind of paint is best for drop ceiling tiles?
The best paint to use is a high-quality flat or matte acrylic latex paint. Ceiling-specific paints are an excellent choice as they are designed to be non-reflective and hide minor imperfections. Always pair it with a good stain-blocking primer for best results.
2. Do I have to take the tiles down to paint them?
Yes, I strongly recommend it. While it might seem easier to paint them in place, you risk getting paint all over the grid, creating a messy look. You’ll also likely get an uneven finish. Taking them down allows you to clean, prime, and paint them properly for a much more professional outcome.
3. Will painting ceiling tiles ruin them or their acoustic properties?
If done correctly, painting will not ruin your tiles. The key is to use thin coats. A heavy application of paint can clog the pores of acoustic tiles and reduce their sound-dampening ability. Using a sprayer or a low-nap roller helps apply a light coat that preserves their function.
4. How do I clean ceiling tiles before painting?
Start by vacuuming them with a soft brush attachment to remove all loose dust and cobwebs. For any stubborn spots or grease, use a sponge that is only slightly damp with a mixture of water and a few drops of mild dish soap. Do not soak the tile. Let it air dry completely before priming.
5. Can I paint over water-stained ceiling tiles?
Absolutely! This is one of the biggest benefits of painting them. The trick is to use a high-quality, stain-blocking primer first. A shellac-based primer, like Zinsser B-I-N, is specifically designed to seal in tough stains like water marks and prevent them from showing through your new paint.
6. How many coats of paint do drop ceiling tiles need?
Generally, you will need one coat of primer and one to two light coats of paint. If you use a good primer, one coat of quality paint is often enough. A second coat will ensure a perfectly even and solid color. It’s always better to apply two light coats than one heavy one.
7. Can I paint the metal grid of my drop ceiling too?
Yes, you can! For a completely seamless look, painting the grid is a great idea. After cleaning it well, you can paint it with a DTM (Direct-to-Metal) paint, using a small foam roller or spray paint formulated for metal. Be sure to protect your walls and floor from overspray if you use a spray can.
Conclusion: A Project Well Worth Your Time
So, can you paint drop ceiling tiles? Not only can you, but you absolutely should if you’re looking for an affordable, high-impact DIY project. It’s a manageable task that can completely change the feel of a room, taking it from dated and dingy to bright and modern in a single weekend. By choosing the right materials, preparing your space properly, and following these simple steps, you can achieve a durable, professional-looking finish you’ll be proud of for years to come.
Remember, the key to success is in the prep work. Take your time cleaning and priming, and be patient during the drying process. The results will speak for themselves. Happy painting, and enjoy your beautifully refreshed space!