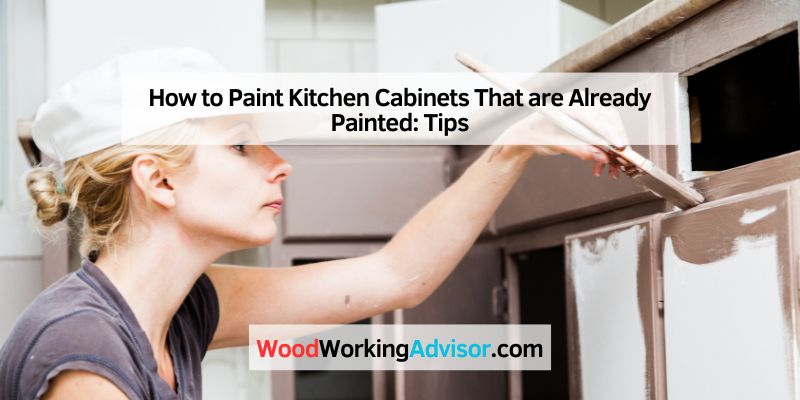
How to Paint Kitchen Cabinets That are Already Painted: Tips
Yes, you can paint over already-painted kitchen cabinets — the key is degreasing and deglossing the old finish first so the new paint actually bonds, since painting straight over a clean-looking but slick surface is the single most common cause of peeling later. A shellac-based or bonding primer built for glossy surfaces solves most adhesion problems even on cabinets you’d rather not fully sand. Below: the real prep steps, which primer to use for your situation, and how long to actually wait before using the cabinets again.
Quick Answer: Clean with a degreaser, scuff-sand or use a liquid deglosser to dull the old sheen, apply a bonding or shellac-based primer, then two thin coats of cabinet-grade paint. Let dry 24 hours before rehanging doors, but wait a full 2-3 weeks before heavy daily use — that’s when paint reaches full cure hardness, not just dry-to-touch.
Preparation Steps
Remove all cabinet hardware — handles, knobs, hinges — and store screws with their matching piece so reassembly is simple. Wipe every surface with a degreaser (kitchen cabinets accumulate cooking grease that plain soap and water often doesn’t fully cut), then dry completely before moving to the next step. Starting from bare or stained wood instead of an old paint job? Follow our step-by-step guide to painting kitchen cabinets, which lists real dry and cure times from paint data sheets.
Deglossing: Sanding vs. Liquid Deglosser
New paint needs a surface with some “tooth” to grip — a slick, glossy old finish is exactly what causes peeling months later. You have two real options here:
- Scuff-sanding with fine-grit (220) sandpaper, sanding with the grain, then wiping away all dust with a damp cloth.
- Liquid deglosser (liquid sandpaper) — a wipe-on product that chemically dulls the old sheen without any sanding dust, especially useful in grooves, corners, and detailed trim where sanding is awkward.
If cabinets still feel slick to the touch after cleaning, don’t assume primer alone will fix it — degloss first. Either method works; liquid deglosser is the faster, dust-free option when you have a lot of detailed trim to cover.
Priming: The Step Most DIYers Skip
Primer is what actually determines whether the new paint sticks long-term, not the topcoat. For cabinets, two primer types handle glossy, previously-painted surfaces best:
| Primer Type | Best For | Notes |
|---|---|---|
| Shellac-based (e.g. Zinsser B-I-N) | Stain-blocking, sealing wood tannins/odors, maximum adhesion on glossy surfaces | Strong odor, needs good ventilation; dries fast |
| Waterborne bonding primer (e.g. INSL-X Stix) | Bonding to slick laminate, melamine, or glossy paint with low odor | Easier cleanup, good for occupied kitchens |
Apply a thin, even coat with a brush in corners and a small roller on flat panels, let it dry fully per the label, then lightly sand before the topcoat goes on.
Choosing the Right Paint
A cabinet-specific acrylic-alkyd enamel gives the most durable, washable finish for kitchen use — regular wall paint doesn’t hold up to the grease, moisture, and daily handling cabinets see. Satin or semi-gloss sheens are easiest to wipe clean; full gloss shows every brush mark and surface imperfection.
Recommended Primers and Prep Products
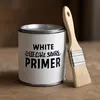 |
Zinsser B-I-N Shellac-Based Primer (Quart) The strongest option for maximum adhesion and stain/odor blocking on glossy previously-painted cabinets. Check on Amazon |
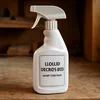
Krud Kutter Gloss-Off Liquid Deglosser |
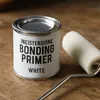
INSL-X Stix Waterborne Bonding Primer (Quart) |
Painting Technique
Use a brush for corners and edges, a foam roller for flat panel faces — rollers give a smoother finish than a brush on large flat areas. Two thin coats look and last better than one thick coat, which is more prone to sagging and chipping. Sand lightly with a fine-grit sanding block between coats for the smoothest final surface.
Drying and Curing: Know the Difference
“Dry to touch” and “fully cured” are not the same thing. Most cabinet paints are dry enough to handle gently within 24 hours, but full cure — the point where the film reaches its maximum hardness and won’t dent or mark easily — takes 2 to 3 weeks for most latex/acrylic cabinet enamels, and longer for oil-based paints. Rehang doors and hardware once dry to the touch, but avoid heavy daily use, wiping with anything abrasive, or stacking items on painted shelves until the full cure window has passed.
Reassembling and Maintaining Your Cabinets
Reattach doors and hardware carefully, checking that each door swings and closes properly before moving to the next. Once everything is back together, clean cabinets going forward with a soft cloth and mild soap and water rather than harsh degreasers — the same grease-cutting chemicals that helped during prep can dull a fresh finish over time. Avoid slamming doors and dragging sharp objects across painted surfaces, and touch up small chips quickly before they spread.
Frequently Asked Questions
How do I prep painted cabinets before repainting?
Clean with a degreaser, then dull the old sheen by scuff-sanding with 220-grit sandpaper or using a liquid deglosser, wipe away all dust or residue, and apply a bonding or shellac-based primer before the topcoat.
Can I paint over glossy cabinets without sanding?
Yes — a liquid deglosser (liquid sandpaper) chemically dulls a glossy finish without generating sanding dust, and combined with a bonding primer designed for slick surfaces, gives paint the grip it needs without physically sanding first.
What type of paint is best for kitchen cabinets?
A cabinet-specific acrylic-alkyd enamel in a satin or semi-gloss sheen holds up best to kitchen grease, moisture, and daily handling, and is easier to wipe clean than a flatter finish.
Do I need to remove cabinet doors before painting?
It’s strongly recommended. Removing doors gives full access to every surface, prevents drips from an awkward angle, and lets you paint edges and corners far more evenly than painting in place. If removing doors isn’t practical, our guide to painting cabinets without removing them covers how to get a clean result in place.
How long should painted cabinets cure before regular use?
Plan on 2 to 3 weeks for most cabinet paints to reach full cure hardness, even though they’ll feel dry to the touch within about 24 hours. Avoid heavy use, abrasive cleaning, or stacking items on painted shelves until that full cure window has passed.
Conclusion
Painting over already-painted cabinets holds up long-term when the prep is right: degrease, degloss (by sanding or liquid deglosser), prime with a bonding or shellac-based product, then two thin coats of cabinet-grade paint. Give it the full 2-3 week cure before treating the cabinets to daily wear, and the finish will actually last.
Sponsored / affiliate links. As an Amazon Associate I earn from qualifying purchases. I may earn additional commission from eligible campaigns.