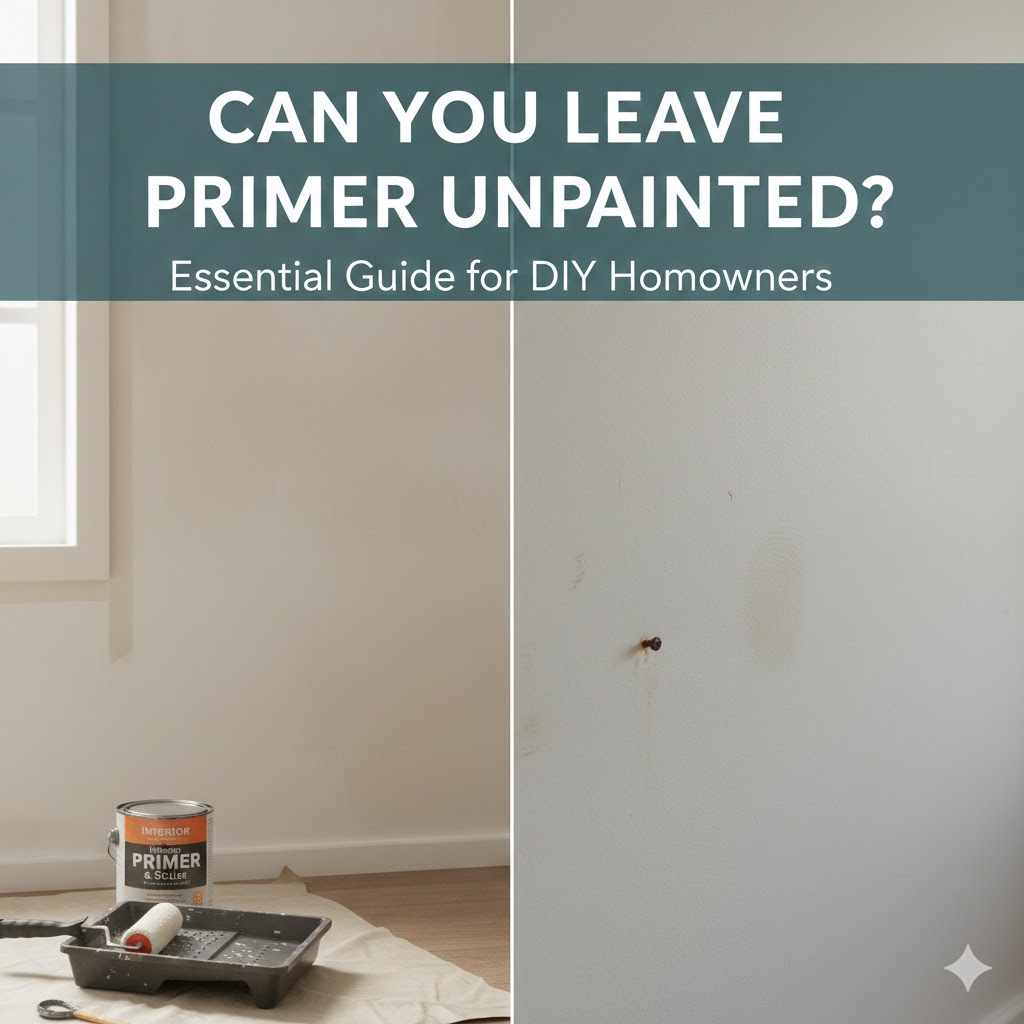
Can You Leave Primer Unpainted? Essential Guide
Yes, you technically can leave primer unpainted temporarily, but it’s rarely recommended for long-term protection. Primer is designed to be a base coat; leaving it exposed risks moisture damage, UV degradation, and poor topcoat adhesion later on. For best results, always topcoat as soon as practical!
Hello there, DIY friend! Welcome to the shop. I’m Meraj, and I’ve seen this question pop up more times than a stubborn knot in pine: “Can you leave primer unpainted?” It’s frustrating when you finish that prep work—sanding, cleaning, priming—and life interrupts before you can add the final color. You wonder if skipping that top coat will matter. It’s a completely normal concern, especially on busy weekends! Don’t worry, we will sort this out simply. Leaving primer exposed can cause real headaches down the road, but knowing how long is okay, and why, makes all the difference. Today, we are going over the ground rules so your hard work lasts for years. Let’s dive in and make sure your projects look professional and last!
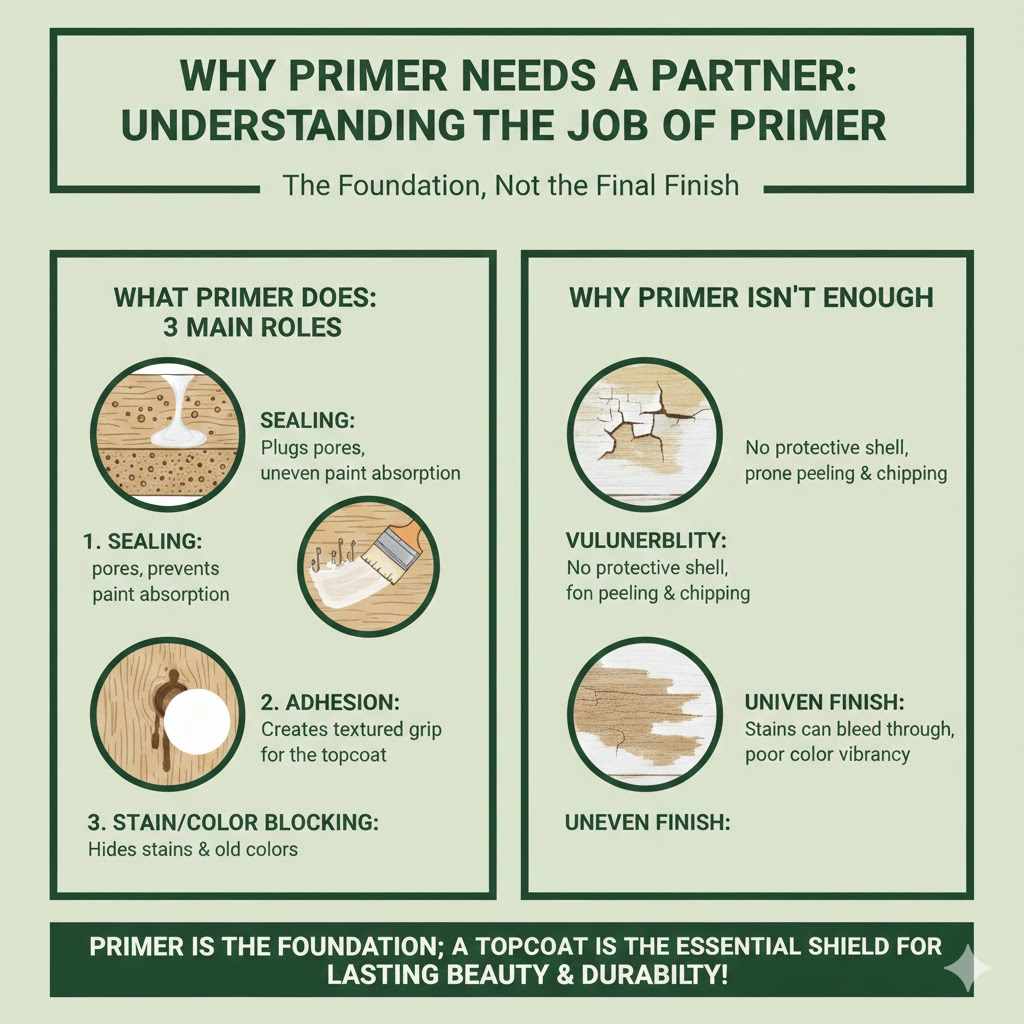
Why Primer Needs a Partner: Understanding the Job of Primer
Before we decide if we can skip the final step, let’s quickly refresh ourselves on what primer actually does. Think of primer as the handshake between your raw material (like bare wood or drywall) and the beautiful paint you want to see. It’s not the finished look; it’s the foundation.
Primers serve three main roles:
- Sealing: It plugs up tiny holes and pores in the surface, preventing the topcoat paint from soaking in unevenly. This is crucial for wood.
- Adhesion: It creates a sticky, perfectly textured surface that the topcoat can grip tightly onto. Without it, paint might peel off easily.
- Stain Blocking/Color Blocking: High-quality primers block stains (like knots bleeding through, water marks, or old pencil marks) from ruining your new color.
When you leave primer exposed, you leave those vital jobs partially unfinished or vulnerable.
The Big Question: Can You Leave Primer Unpainted? (The Short Answer)
Yes, but with very strict time limits.
Primer is not made for the elements or for daily wear and tear. It’s an intermediate step. Think of it like letting your concrete slab cure before building the house walls on it—you can wait a bit, but waiting too long creates problems.
The main danger isn’t that the primer immediately fails, but that its delicate properties start to break down.
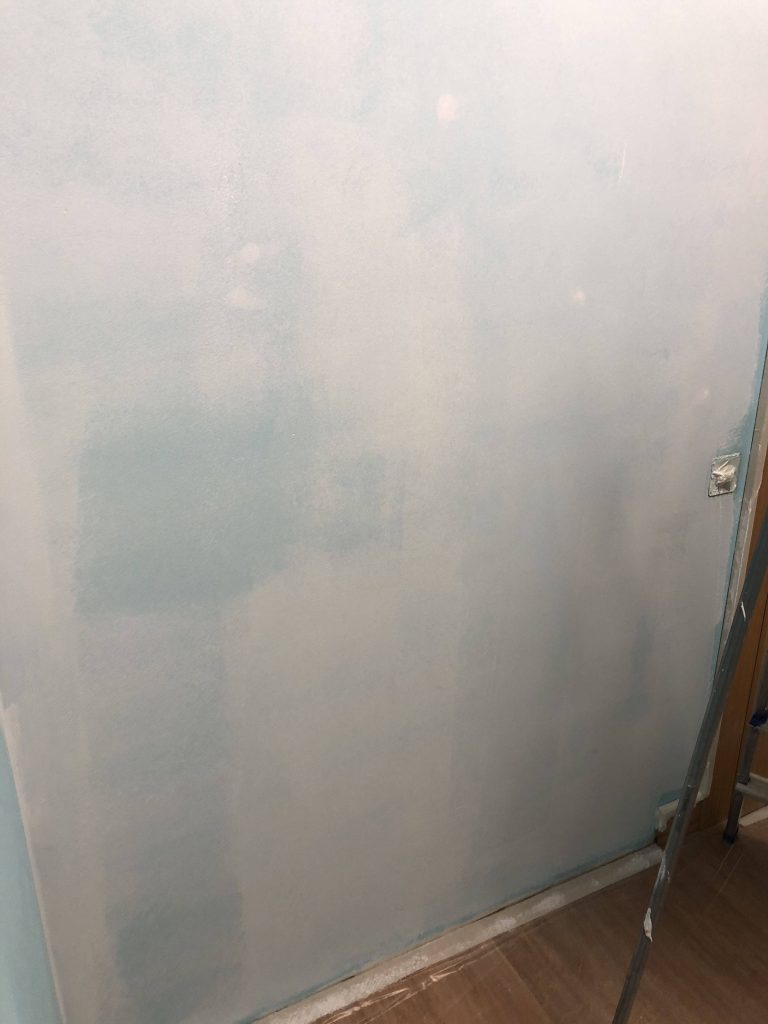
What Happens When Primer Sits Too Long?
Exposure to the environment starts attacking the primer layer in predictable ways.
- Moisture Absorption: Most primers (especially water-based ones) are somewhat porous. If humidity hits them for several days, they can absorb water, weakening their bond to the substrate.
- UV Degradation: Sunlight is harsh! The UV rays break down the chemical binders in the primer. When this happens, the primer chalks or becomes brittle, meaning your expensive topcoat won’t stick well later on.
- Dirt and Dust: An unpainted primer coat is like a giant sticky trap for sawdust, pet hair, and everyday grime. When you finally paint, you trap that dirt right under your finish coat, leading to bumps, imperfections, and poor long-term durability.
- Chalking: If left outside, the binder degrades, leaving a white, powdery residue (chalk) on the surface. This dust has to be cleaned and possibly re-primed, wasting your initial effort.
How Long is Too Long? Timeline Guidelines Based on Primer Type
The “safe” time limit heavily depends on two things: the type of primer you used and the environment it is sitting in. Always check the specific product data sheet (PDS) for your primer, but here are my general guidelines from years in the shop.
| Primer Type | Indoor, Climate-Controlled (Best Case) | Outdoor or Humid Environment (Worst Case) | Mentor’s Advice |
|---|---|---|---|
| Water-Based (Latex/Acrylic) | 2–4 Weeks | 3–7 Days | Recoat within the week if possible. |
| Oil-Based (Alkyd) | 4–6 Weeks | 1–2 Weeks | More durable, but still needs topcoat protection. |
| Shellac-Based (Stain-Blocking) | Indefinite (When Cured) | 2 Weeks Max | These cure very hard and can usually wait the longest indoors. |
As you can see, environments play a huge role. If you are priming outdoor furniture in July, even an oil-based primer should get its topcoat within a few days. For indoor projects in a nice, dry basement, you have a little more breathing room.
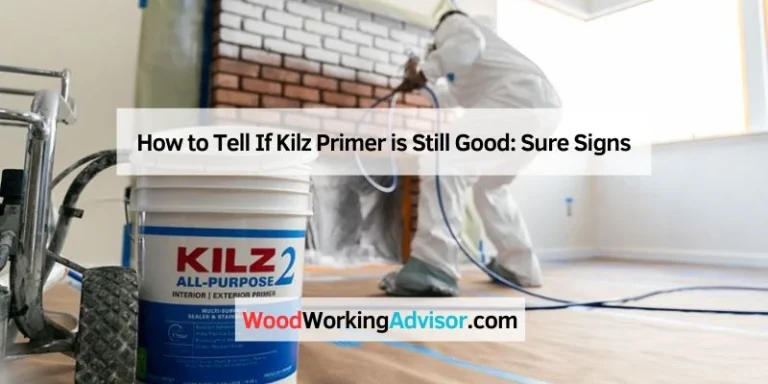
Primer Performance Check: How to Tell If Your Primer Has Gone Bad
So, say you thought two weeks was fine, but it’s now been six. How do you check if that primed surface is still good enough to paint over? Don’t just hope for the best; test it out!
The Fingernail Test (Adhesion Check)
This is the simplest check for durability.
- Gently press your thumbnail firmly into the primed surface.
- Try to push under the edge of the primer coating.
- If the primer is fully bonded and hardened, your nail will just scrape across the surface without lifting any paint.
- If the primer feels slightly tacky, rubs off easily, or you can lift a small chip, the adhesion layer has degraded, and you need to re-prep that area.
The Water Test (Moisture Check)
For pieces that might see any moisture exposure:
- Place a small drop of water on an inconspicuous area of the primed surface.
- Let it sit for about 10 minutes.
- Wipe it away. If the spot looks cloudy, slightly blistered, or the water beaded up strangely, the primer is absorbing too much moisture.
If your surface fails these basic tests, it’s a sign that the protection primer offered has run out, and you need to lightly sand and apply a fresh coat before continuing. A little bit of light sanding (using 180 or 220 grit sandpaper) will help mechanically re-grip the surface.
Safety First: Primer Toxicity and Indoor Exposure
As a woodworker, safety is always step one. While primer is a crucial product, it is full of solvents and volatile organic compounds (VOCs) while it’s curing or wet.
When you leave primer unpainted, especially oil-based varieties, these fumes continue to off-gas until the product is fully cured. If this happens in a poorly ventilated room, you are breathing those chemicals longer than necessary.
Ventilation Best Practices:
- Always work in a well-ventilated area.
- If you are priming something large inside, run fans pointing out of the room to create cross-ventilation.
- Wear appropriate personal protective equipment (PPE) like nitrile gloves and a respirator rated for organic vapors if working indoors for extended periods while the primer cures.
A fully cured, sealed topcoat locks those lingering chemicals away, protecting both the object and the air quality in your home. Remember, manufacturers spend a lot of time ensuring their products meet safety guidelines, but the safest product is one that has finished its curing process and is sealed by its intended final coat. You can check safety data sheets (SDS) from major manufacturers for more detail on specific products you might be using, such as those found through resources like the OSHA Hazard Communication Standard.
Step-by-Step Guide: What to Do If You Must Wait to Paint
Let’s say you primed that bookshelf on Monday, but the color you ordered won’t arrive until next Monday. We can manage this—it just requires a few extra steps to protect your work.
Step 1: Determine Your Environment
Is the piece inside, dry, and cool, or is it sitting in a garage near an open door where humidity swings?
If High Humidity/Outdoor Exposure: Protect it immediately. Cover it with a breathable material like a canvas drop cloth or even a large cardboard box. Do NOT use plastic sheeting tightly wrapped, as this traps moisture underneath.
Step 2: Inspect the Cure
Wait at least 24–48 hours (check your can!). Touch the surface lightly in an inconspicuous spot. Does it feel fully dry and slightly hard, or slightly sticky? Only proceed if it feels fully cured for the product type.
Step 3: Light Scuff Sanding (The Refresh)
This is the most important step if you wait more than a week.
Use fine-grit sandpaper, like 220-grit. The goal here is not to remove the primer, but to knock down any dust, slightly roughen the surface, and remove any fine chalking that may have occurred.
This “scuffing” opens up the primer surface so your new topcoat can grab on tightly. Go over the entire surface lightly and evenly.
Step 4: Clean Thoroughly
Sawdust from sanding must go!
Use a vacuum with a soft brush attachment to remove the bulk of the sanding dust.
Wipe the entire surface down using a tack cloth (these are slightly sticky cloths perfect for grabbing fine particles) or a cloth lightly dampened with mineral spirits (for oil-based primers) or water (for water-based primers). Ensure the surface is completely dust-free before application.
Step 5: Apply the Topcoat Promptly
Once you have cleaned the surface after the waiting period, you need to get that first coat of actual color on there as soon as possible. Aim to finish the entire project (two or three topcoats) within the next 24 hours if weather permits.
Comparing Primer Types for Extended Waiting Times
Different chemistry equals different waiting tolerances. Understanding the backbone of your primer helps you budget your time better.
As an experienced DIYer, I lean toward specific primers when I know I have a scheduling conflict.
Oil-Based (Alkyd) Primers
These generally form a harder shell than latex primers and resist moisture better when uncured. They are great stain blockers but have high VOCs, making them harder to use indoors if you need to wait a long time. They bond incredibly well to old, glossy oil paint surfaces too.
Acrylic/Latex Primers
These are the most beginner-friendly due to low odor and fast cleanup. However, they take longer to fully “set up” against moisture. If you are painting humid cabinets in the summer, you want to topcoat these latex primers very quickly.
Shellac-Based Primers (The Heavy Hitters)
While intimidating for beginners due to their strong odor and quick drying time, these primers (like Zinsser B-I-N) are incredible. They cure rapidly to a hard, non-porous surface. If I have to leave a primed surface for a month, I always use shellac, provided I can handle the ventilation requirements during application.
This comparison helps you select the right primer based on your deadline, not just the material you are painting. Always read the label; some modern “Hybrid” primers have different rules!
Troubleshooting Common Issues When Painting Over Old Primer
What if you discover that the previous painter (or maybe you last year!) left primer unpainted for a very long time? Here are the warning signs and what to do about them:
1. The Surface Looks Chalky or Dusty
This is the primer failing due to UV exposure.
Fix: Use a power washer on a low setting or a stiff scrub brush with TSP (Trisodium Phosphate) substitute, followed by a thorough rinse. Once completely dry, you MUST apply a fresh coat of quality bonding primer over the chalky areas before applying the topcoat. You are essentially sealing in the residue that couldn’t protect itself.
2. The Primer Seems Rubbery or Soft
This usually happens if the primer was applied too thickly or the environment was too cold/humid during the initial curing time, trapping solvents underneath.
Fix: This is a tougher fix. Allow it more time—sometimes weeks in a warm, dry area can cure it out. If it remains soft after a month, you may need to scrape off the worst spots or chemically wash the surface (using specialized removers, if necessary, but try natural curing first). Light sanding won’t work here; it will just create a gummy mess.
3. Previous Primer Looks Discolored (Yellowing/Browning)
If you used a standard white primer and it has turned significantly yellow or brown, it often means there were tannin stains (from wood like cedar or redwood) bleeding through, or it’s oil-based primer aging.
Fix: If it’s a fresh project, lightly sand and apply a specialized shellac or stain-blocking primer over the discoloration, then topcoat. Do not paint over heavy yellowing without sealing it first, as the discoloration will usually bleed right through your topcoat within a year.
To avoid these hassles, sticking close to the recommended recoat window is the cheapest and easiest maintenance plan.
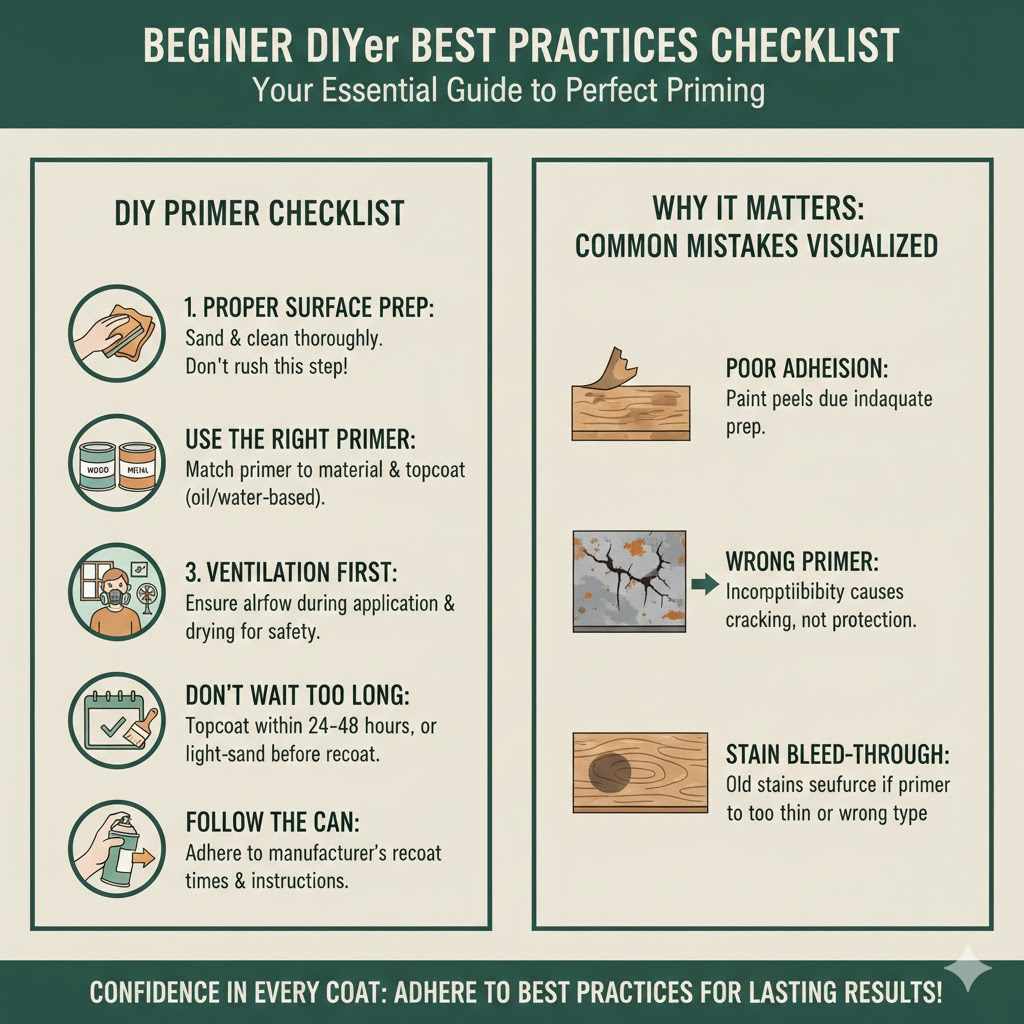
Beginner DIYer Best Practices Checklist
When you are starting out, having a quick checklist keeps you focused and confident. Here is my go-to mental list when working with primers on any project, be it trimming a door frame or building a new planter box.
- Proper Surface Prep: Sand and clean everything until you are sick of it! If you think it’s clean, clean it again. This step matters more than the primer brand.
- Use the Right Primer: Don’t use a drywall primer on rusty metal or exterior wood. Match the primer chemistry (oil/water) to the topcoat paint chemistry you plan to use.
- Ventilation First: Always prioritize safety before curing time. Ensure airflow when applying and while the primer dries.
- Don’t Wait Too Long: Treat the primer step like a necessary stopping point, not a suggested one. If you can’t topcoat the next day, cover it up or prepare for a light sand before the final coat.
- Follow the Can: Manufacturers are professionals. If they say “Recoat within 30 days,” they mean it for optimal adhesion.
This adherence to best practice ensures you get the durability expected of professional craftsmanship, even with beginner tools and skills.
Frequently Asked Questions (FAQ) for Beginners
Here are some common concerns I hear in the workshop regarding exposed primers.
Q1: If I leave primer outside overnight, is that okay?
A: If there is any chance of dew or heavy fog, it is NOT okay. Moisture is primer’s worst enemy when unpainted. If the surface is totally dry, a single night indoors or under a protective cover outside is usually acceptable, but treat it like an emergency stop—plan to paint the next morning.
Q2: Will leaving primer unpainted affect the color of my final paint coat?
A: Yes, significantly. If the primer chalks or absorbs grime, the surface texture changes. Topcoat paints bond unevenly to dirty or chalky primer, which can lead to a dull finish, patchy color, or visible flashing (where parts of the paint look lighter or darker).
Q3: I accidentally painted directly over dusty, uncleaned primer. What now?
A: Unfortunately, paint adheres best to paint or perfectly clean surfaces. Dust trapped under paint acts like a release agent. Your only real fix is usually to scrape or chemically strip the affected area until you reach sound, clean primer or bare material, clean it perfectly, re-prime the patched area, and then repaint.
Q4: Does a fresh coat of primer solve the problem if I waited too long?
A: Yes, a fresh, quality coat of compatible primer will almost always solve the adhesion and sealing issues caused by old, degraded primer. If you waited several months, you should remove the most flaky sections before applying the fresh coat.
Q5: Is clear coat the same as paint? Can I use clear sealant instead of color paint?
A: A clear coat (like polyurethane or clear varnish) is much better than leaving the primer bare, but it is not a substitute for an opaque topcoat color, especially if UV protection is key. Clear coats still let UV rays pass through to degrade the primer over time, although slower than leaving it fully naked. However, for interior projects where color is less critical, a quality clear topcoat will lock the primer in.
Q6: How long do oil-based primers last when just sitting in the can after opening?
A: This isn’t about leaving the applied primer unpainted, but it’s related! Most oil-based primers will solidify or skin over significantly if left unsealed in the can for more than a few months. Always clean the rim, hammer the lid on tightly, and store it upside down briefly before storing. Properly sealed oil-based primers can last for years, sometimes even a decade.
Conclusion: Building Confidence with Finishing Schedules
Finishing a project perfectly often comes down to managing time, not just skill. You asked a fantastic, practical question: “Can you leave primer unpainted?” The simple takeaway is that primer is an essential bridge, not a destination. While the surface won’t instantly crumble if you leave it overnight, exposing it for weeks allows dirt, moisture, and UV light to do irreversible damage to its gripping capabilities.
As your woodworking mentor, my goal is to help you achieve lasting results without frustrating re-dos. If you must pause between priming and painting, take the extra ten minutes to scuff sand, wipe down the surface with a tack cloth, and then immediately get that topcoat on. Protect the time and effort you put into preparation! By respecting the chemistry of your materials and staying within reasonable timeframes, your finished pieces—whether a simple shelf or a custom cabinet—will look fantastic and withstand the test of time. You’ve got this. Now get that final coat applied!