Can You Paint Mahogany Wood? Expert Tips Unveiled
Yes, you can paint mahogany wood. Proper preparation ensures a smooth finish and long-lasting results.
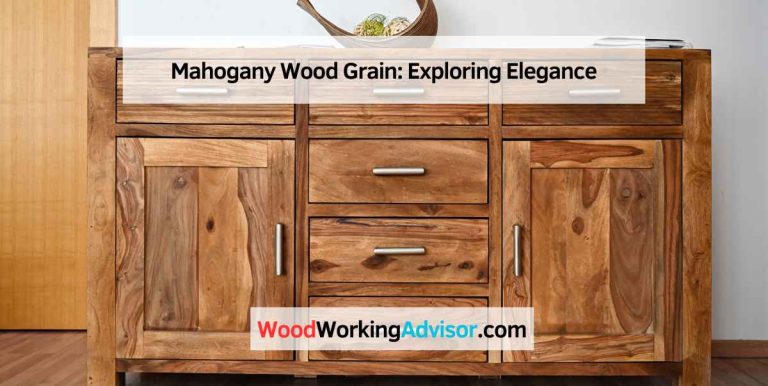
Mahogany is known for its rich color and fine grain, making it a popular choice for furniture and cabinetry. While many appreciate its natural beauty, some may wish to change its appearance with paint. Painting mahogany can enhance your decor, allowing for a more personalized touch.
However, it’s essential to prepare the surface correctly to achieve the best results. Sanding, priming, and selecting the right paint are crucial steps. Understanding these elements will help you transform mahogany wood while preserving its quality. Dive into this guide to learn everything you need to know about painting mahogany wood effectively.
Introduction To Mahogany Wood
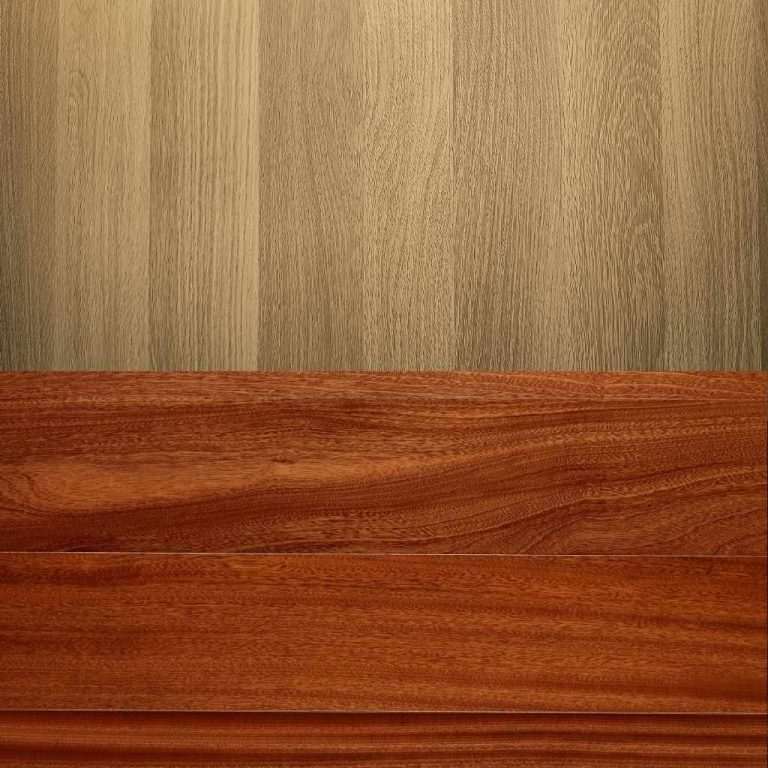
Mahogany wood is a favorite among furniture makers and artisans. Known for its rich color and durability, it brings elegance to any project. Understanding mahogany helps in deciding whether to paint or preserve its natural beauty.
Characteristics Of Mahogany
Mahogany features distinct qualities that make it special:
- Color: Ranges from light pink to deep reddish-brown.
- Grain: Straight grain with a fine, uniform texture.
- Durability: Highly resistant to wear and moisture.
- Workability: Easy to cut, sand, and finish.
- Stability: Less likely to warp or crack over time.
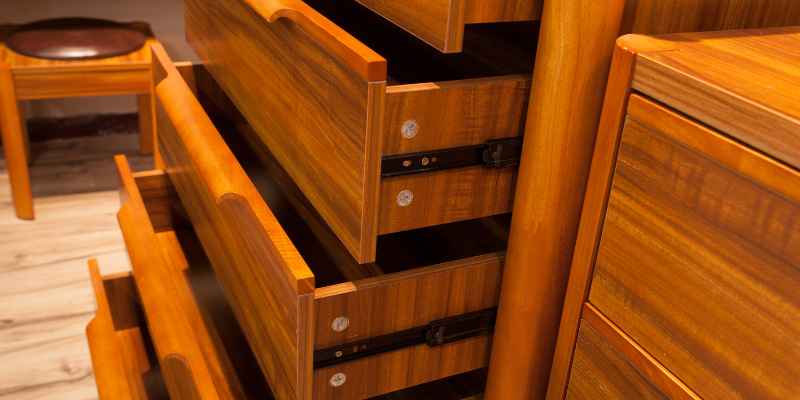
These characteristics make mahogany a preferred choice for high-quality furniture and cabinetry.
Popularity In Woodworking
Mahogany has a long history in woodworking. Its appeal lies in several factors:
- Aesthetic Appeal: Adds warmth and sophistication to any design.
- Versatility: Suitable for various styles, from traditional to modern.
- Investment: Maintains value over time, making it a smart choice.
- Availability: Widely available in various forms, including solid and veneer.
Craftsmen and hobbyists alike appreciate mahogany for its beauty and functionality.
Pre-painting Preparation
Preparing mahogany wood for painting is crucial. Proper preparation ensures a smooth finish. Follow these steps for the best results.
Cleaning The Surface
Cleaning is the first step in preparation. Start by removing dust and dirt.
- Use a soft cloth or rag.
- Mix warm water with a mild soap.
- Dampen the cloth, then wipe the wood.
- Rinse with clean water and dry thoroughly.
Ensure there are no oils or residues. This step allows the paint to adhere properly.
Sanding Techniques
Sanding smooths the surface for better paint adhesion. Use the right technique for best results.
- Choose medium-grit sandpaper (120-150 grit).
- Sand in the direction of the wood grain.
- Apply even pressure to avoid scratches.
- Finish with fine-grit sandpaper (220 grit) for a smooth touch.
Vacuum or wipe away dust after sanding. This prepares the surface for painting.
Proper sanding enhances the final look. It prevents peeling and flaking later.
Selecting The Right Paint
Choosing the right paint for mahogany wood is essential. The type of paint affects the wood’s beauty and durability. Consider both the paint type and color. Make informed choices to ensure a beautiful finish.
Oil-based Vs. Water-based Options
Understanding the differences between oil-based and water-based paints is crucial.
| Type of Paint | Pros | Cons |
|---|---|---|
| Oil-Based |
|
|
| Water-Based |
|
|
Choose oil-based for durability. Water-based is great for quick projects.
Choosing Colors For Mahogany
Selecting the right color enhances mahogany’s natural beauty. Consider these tips:
- Test Samples: Always test paint samples on a small area.
- Consider the Room: Match colors to your room’s decor.
- Neutral Tones: Light grays or whites highlight mahogany.
- Bold Colors: Dark blues or greens create a striking contrast.
Use colors that complement the rich, warm tones of mahogany. This wood looks stunning in various shades.
Priming Strategies
Priming mahogany wood is essential for a successful paint job. It helps the paint adhere better. Proper priming also enhances the final finish. Here are some effective strategies for priming mahogany wood.
Benefits Of Priming
- Improved Adhesion: Primers help paint stick better.
- Even Surface: They create a smooth base for painting.
- Sealing: Primers seal the wood, preventing moisture damage.
- Enhanced Color: They improve the vibrancy of the topcoat.
- Stain Blocking: Primers prevent wood stains from bleeding through.
Best Primers For Mahogany
| Primer Type | Features | Best Use |
|---|---|---|
| Oil-Based Primer | Excellent adhesion, stain-blocking properties | Outdoor projects, high-moisture areas |
| Water-Based Primer | Quick drying, low odor | Indoor projects, easy cleanup |
| Shellac Primer | Fast drying, great for sealing | Stain blocking, problem areas |
Choose the right primer based on your needs. Each type offers unique benefits. Proper priming sets the stage for a beautiful finish.
Paint Application Tips
Painting mahogany wood can be rewarding. Using the right techniques is key. Follow these tips for a smooth finish.
Brush Vs. Spray
Choosing between brush and spray methods can affect your results. Here’s a quick comparison:
| Method | Advantages | Disadvantages |
|---|---|---|
| Brush |
|
|
| Spray |
|
|
Choose the method that suits your project best. A brush works well for details. Spray is great for larger surfaces.
Applying Even Coats
Even coats are essential for a smooth finish. Follow these steps:
- Start with a clean surface. Sand the wood lightly.
- Use a primer made for mahogany. This helps paint adhere.
- Apply the first coat. Use long, even strokes.
- Let it dry completely. Follow the manufacturer’s instructions.
- Sand lightly between coats. This creates a better bond.
- Apply a second coat. Ensure even coverage.
Check for missed spots as you paint. Touch up any uneven areas. This will give you a professional look.
Curing And Drying
Curing and drying are crucial steps when painting mahogany wood. Proper curing ensures the paint adheres well. Drying affects the finish quality. Understanding these processes helps achieve stunning results.
Ideal Conditions
Creating the right conditions helps with curing and drying. Here are the ideal factors:
- Temperature: Keep it between 65°F and 85°F.
- Humidity: Aim for 40% to 60% relative humidity.
- Ventilation: Ensure good air circulation in the area.
These conditions help the paint dry evenly. Avoid extreme temperatures and high humidity. They can lead to poor adhesion and finish.
Timeframe For Drying
The drying time varies based on several factors. Here’s a breakdown:
| Paint Type | Drying Time (Hours) |
|---|---|
| Oil-based Paint | 24-48 |
| Latex Paint | 2-4 |
| Spray Paint | 20-30 |
Keep in mind these are general guidelines. Always check the manufacturer’s instructions for specific drying times.
Allow sufficient time before handling the painted surface. Rushing can damage the finish. Proper curing leads to a beautiful look and durability.
Finishing Touches
After painting mahogany wood, apply the right finishing touches. These steps enhance the look and durability of your project.
Sealing The Paint
Sealing is essential to protect your painted surface. Follow these steps for the best results:
- Choose a clear sealant suitable for painted wood.
- Ensure the paint is fully dry before sealing.
- Apply the sealant with a clean brush.
- Allow the sealant to dry as per the manufacturer’s instructions.
Consider using a spray sealant for a smoother finish. This method can reduce brush strokes.
Maintaining The Finish
Proper maintenance keeps your painted mahogany looking fresh. Here are some tips:
- Dust regularly with a soft cloth.
- Avoid harsh chemicals. Use mild soap and water.
- Reapply sealant every few years to maintain protection.
- Keep the furniture away from direct sunlight.
These steps ensure your painted mahogany remains beautiful and durable. Regular care helps prevent fading and chipping.
Common Mistakes To Avoid
Painting mahogany wood can be rewarding. Avoiding common mistakes will enhance your results. Here are key pitfalls to watch out for.
Over-sanding
Over-sanding can damage the wood. It removes too much of the surface. This leads to uneven paint absorption. Follow these tips to sand correctly:
- Use fine-grit sandpaper (220 grit works well).
- Sand lightly in the direction of the grain.
- Avoid excessive pressure on the wood.
After sanding, always wipe down the surface. This removes dust and debris. A clean surface ensures better paint adhesion.
Rushing The Process
Painting requires time and patience. Rushing can lead to mistakes and a poor finish. Follow these steps to avoid rushing:
- Take your time with surface preparation.
- Allow adequate drying time between coats.
- Don’t skip priming; it helps the paint stick.
Plan your project in advance. Gather all materials before starting. This helps keep the process smooth and enjoyable.
Case Studies
Exploring real-life examples helps understand painting mahogany wood. These case studies highlight successes and challenges faced by DIY enthusiasts. Each project offers valuable insights into techniques and outcomes.
Successful Mahogany Painting Projects
Many homeowners have transformed mahogany pieces with paint. Here are a few successful projects:
- Dining Table Makeover: A dark mahogany table turned bright white. It became a stunning focal point in the dining room.
- Cabinet Revamp: A mahogany cabinet painted navy blue. It added elegance to the living space.
- Outdoor Furniture: Mahogany chairs painted in pastel colors. They brightened up the patio area.
| Project Type | Color Used | Outcome |
|---|---|---|
| Dining Table | Bright White | Stylish and Modern |
| Cabinet | Navy Blue | Elegant and Timeless |
| Outdoor Chairs | Pastel Colors | Vibrant and Cheerful |
Lessons Learned
Each project taught valuable lessons about painting mahogany wood.
- Preparation is Key: Proper sanding and cleaning are essential.
- Choose the Right Paint: Use high-quality paint for best results.
- Sealing Matters: A good sealant protects the finish long-term.
- Test First: Always test paint on a small area first.
These lessons can guide future painting projects. Understanding these factors leads to better outcomes.
Frequently Asked Questions
Can Mahogany Wood Be Painted Successfully?
Yes, mahogany wood can be painted successfully. However, proper preparation is essential. Sanding and priming the surface ensures better paint adhesion. Use high-quality paint for a smooth finish. It’s also advisable to choose a paint color that complements mahogany’s natural beauty.
What Type Of Paint Is Best For Mahogany?
The best paint for mahogany is acrylic or oil-based paint. These types provide durability and a rich finish. Oil-based paints tend to have better adhesion. However, acrylic paints are easier to clean up. Always choose paints designed for wood surfaces for optimal results.
How To Prepare Mahogany Wood For Painting?
To prepare mahogany wood for painting, start by cleaning the surface. Remove dust and grease using a mild cleaner. Next, sand the wood to create a smooth surface. After sanding, apply a primer specifically for wood. This ensures better paint coverage and adhesion.
Is It Necessary To Sand Mahogany Before Painting?
Yes, sanding mahogany is necessary before painting. It helps remove any existing finish and smooths the surface. Sanding also opens up the wood grain, allowing for better paint adhesion. Skipping this step may lead to peeling or uneven paint application over time.
Conclusion
Painting mahogany wood can transform its appearance while preserving its durability. Proper preparation is key for a successful finish. Always choose high-quality paint and primer designed for wood surfaces. With the right techniques, you can achieve a stunning look that enhances your mahogany furniture or decor.
Enjoy your creative journey!