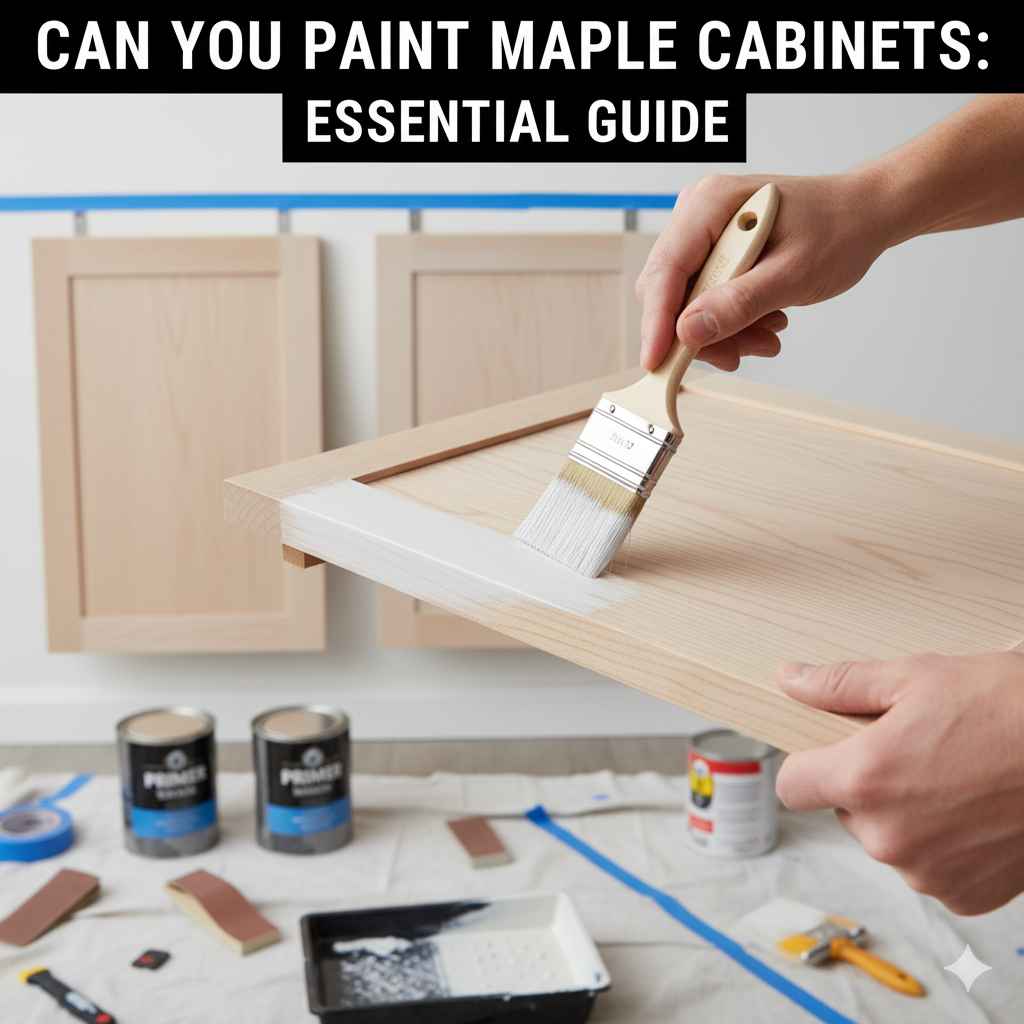
Can You Paint Maple Cabinets: Essential Guide
Yes, you absolutely can paint maple cabinets! With the right preparation and materials, painting maple cabinets is a fantastic DIY project that can refresh your kitchen’s look affordably and beautifully. This guide will walk you through every step to achieve a durable, stunning finish.
Dreaming of a kitchen refresh but hesitant about tackling your maple cabinets? You’re not alone! Many homeowners wonder if maple, a beautiful hardwood, can even be painted. The answer is a resounding yes! Maple cabinets not only accept paint well but can be transformed into a stunning focal point of your kitchen. It might seem daunting, but with a little patience and the right guidance, you too can achieve professional-looking results. This guide is designed for beginners, breaking down the process into simple, manageable steps. We’ll cover everything from cleaning and prepping to painting and sealing, ensuring you feel confident and capable every step of the way. Get ready to give your kitchen a whole new vibe!
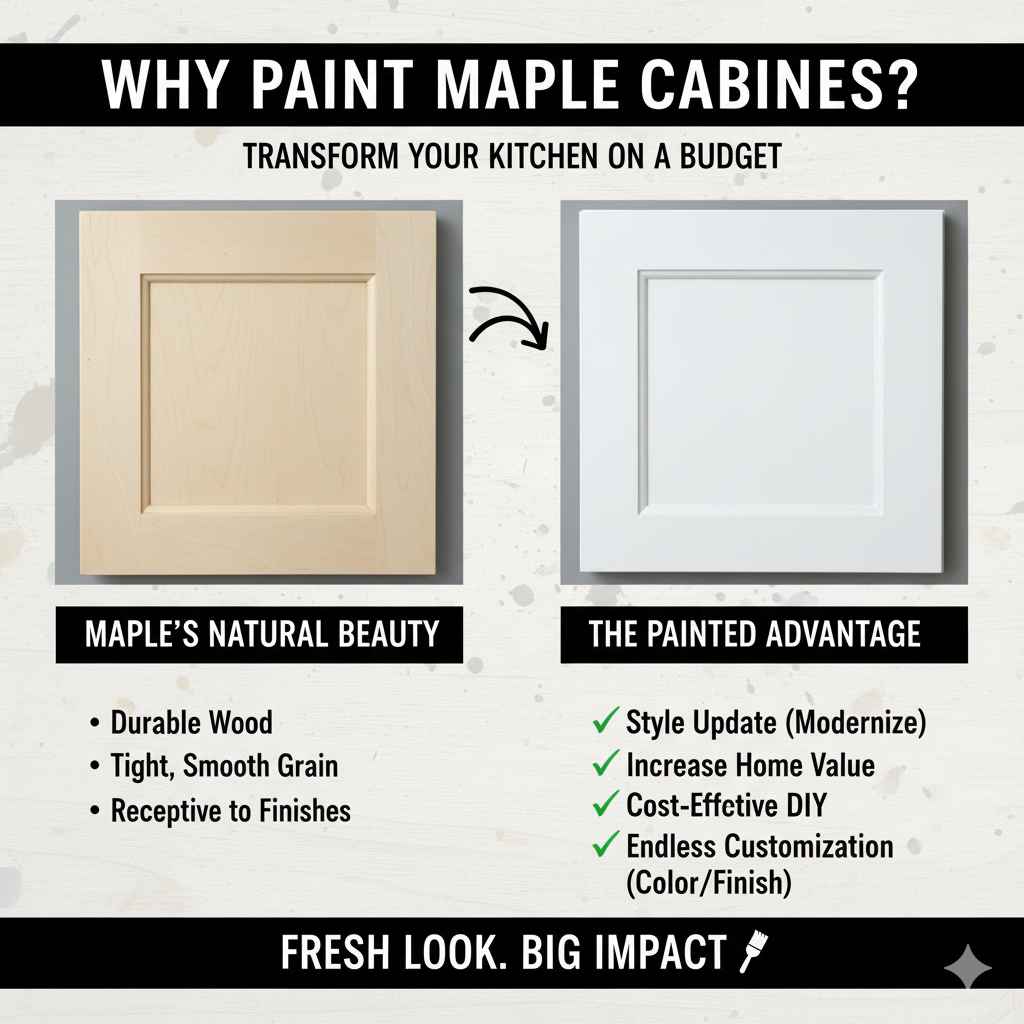
Why Paint Maple Cabinets?
Maple cabinets are a popular choice for kitchens, and for good reason. They are durable, have a beautiful tight grain, and offer a smooth surface that’s generally receptive to finishes. However, over time, even the most beautiful maple can start to feel dated, or perhaps the color just doesn’t match your evolving style. Painting offers a significant visual upgrade without the hefty cost of cabinet replacement. It’s a transformative DIY project that can:
- Update Your Kitchen’s Style: Easily change from a dated honey tone to a crisp white, a modern gray, or even a bold color to match your decor.
- Increase Home Value: A fresh coat of paint can make your kitchen look newer and more appealing to potential buyers.
- Be Cost-Effective: Painting is significantly cheaper than refacing or replacing cabinets.
- Offer Customization: You have complete control over the color and finish, allowing for a truly personalized space.
Can You Paint Maple Cabinets Directly? The Importance of Preparation
While the answer is yes, you can paint maple cabinets, it’s crucial to understand that you cannot just slap paint directly onto them and expect great results. Maple’s dense, non-porous surface and natural oils require specific preparation steps to ensure the paint adheres properly and lasts. Skipping these steps is the most common reason for paint failure on maple, leading to chipping, peeling, and an uneven finish. Think of it like building a house: a strong foundation is key, and for painting, that foundation is proper prep work. Each step is designed to create a surface that paint can grip onto.
The key to a successful paint job on maple is creating a surface that the paint can adhere to. Maple wood is naturally smooth and can be somewhat oily, which can prevent paint from sticking if not addressed. This means thorough cleaning and degreasing are essential. Following this with a good quality primer is non-negotiable. The primer acts as an important bridge between the wood and your topcoat, ensuring adhesion and coverage, especially important for preventing the natural tannins in the wood from bleeding through the paint.
Essential Tools and Materials
Gathering the right tools and materials before you start will make the process much smoother. Here’s a comprehensive list to get you ready:
For Cleaning and Preparation:
- Screwdriver or Drill: To remove cabinet doors and hardware.
- Heavy-Duty Degreaser: Such as TSP (Trisodium Phosphate) substitute or a strong kitchen cleaner.
- Clean cloths or sponges: For cleaning and wiping.
- Sandpaper: Various grits (120-180 grit for initial sanding, 220 grit for final smooth sanding).
- Sanding block or orbital sander: For even sanding.
- Tack cloths: To remove dust after sanding.
- Painter’s tape: High-quality tape for masking areas you don’t want to paint (like the inside of cabinets or appliance fronts).
- Drop cloths: To protect your floors and countertops.
For Priming and Painting:
- High-Quality Primer: Specifically designed for wood and cabinets, ideally a stain-blocking, oil-based, or shellac-based primer. These are engineered to adhere to slick surfaces and block wood tannins.
- Paint: High-quality cabinet paint (alkyd-based or acrylic enamel are good choices for durability and a smooth finish).
- Paint rollers: High-density foam rollers or mohair rollers for a smooth finish.
- Paintbrushes: High-quality angled brushes for cutting in edges and detailed areas.
- Paint tray: For easy roller loading.
- Optional: Paint sprayer: For the smoothest, most professional finish if you have access to one and are comfortable using it. A paint sprayer can be a game-changer but requires practice.
For Finishing:
- Polyurethane or Clear Coat (optional): If you want an extra layer of protection, especially on high-traffic areas.
- New Hardware: Knobs, pulls, or hinges to update the look once painted.
Step-by-Step Guide to Painting Maple Cabinets
Following these steps carefully will help you achieve a beautiful, durable finish on your maple cabinets.
Step 1: Cabinet Removal and Cleaning
This is where the real work begins! Start by removing all cabinet doors and drawer fronts. It’s a good idea to label them with numbers or letters so you know where each piece goes back. Use your screwdriver or drill for this. Don’t forget to remove any hinges, handles, or knobs. Keep them all in a safe place, perhaps in labeled bags.
Next, it’s time for a thorough cleaning. Maple wood can accumulate grease and grime, especially in kitchen environments. Use your degreaser and warm water. Scrub gently to remove all residue. Rinse well with clean water and allow the cabinets to dry completely. This step is critical for paint adhesion; any leftover grease will cause the paint to peel later. For a deep dive into cleaning, resources like EPA’s guidance on safer cleaning products can offer insights into effective yet environmentally conscious methods.
Step 2: Sanding for Adhesion
Even though you’ve cleaned them, maple cabinets need a slightly roughened surface for the primer and paint to grip. Use 120- to 180-grit sandpaper to lightly scuff up the entire surface of the doors, drawer fronts, and cabinet frames. You’re not trying to remove the wood’s finish, just create a dull surface. If you’re using an orbital sander, keep it moving to avoid creating deep scratches. If you’re sanding by hand, use a sanding block for even pressure. Pay attention to any existing gloss or shine; it all needs to go.
After sanding, wipe down all surfaces with a damp cloth to remove any dust. Then, use a tack cloth to pick up any remaining fine dust particles. This is a step you don’t want to skip, as dust will create a gritty texture in your paint job.
Step 3: Repairing Imperfections
Before you prime, take a close look at your cabinets. Fill any small holes or dents with a good quality wood filler. Smooth the dried filler with sandpaper to be flush with the surrounding wood. Wipe away any dust with a tack cloth.
Step 4: Priming – The Crucial Layer
Priming is non-negotiable when painting maple cabinets. Maple can sometimes “bleed” its natural tannins (especially reddish ones) through paint, leaving unsightly yellow or pinkish stains. A high-quality, stain-blocking primer is your best defense. Look for an oil-based or shellac-based primer, as these are superior at blocking tannins and creating a solid base for your paint. Some water-based primers are also formulated for excellent adhesion to slick surfaces and tannin blocking, so check the product descriptions carefully.
Apply a thin, even coat of primer. Use your angled brush for the detailing and edges, and a foam roller for the larger, flat surfaces. Work in the direction of the wood grain. Avoid applying the primer too thickly, as this can lead to drips and an uneven finish. Let the first coat dry completely according to the manufacturer’s instructions. Once dry, lightly sand the primed surface with 220-grit sandpaper. This will knock down any imperfections and create an even smoother surface. Wipe down with a tack cloth again.
Apply a second coat of primer if you notice any areas where the original wood color is still showing through or if the surface doesn’t feel perfectly smooth. Repeat the light sanding and tack cloth wipe-down after the second coat dries.
Step 5: Painting Your Cabinets
Now for the fun part! Choose a high-quality cabinet paint. Alkyd-based paints offer excellent durability and a hard finish, but they can be trickier to work with and have strong fumes. Water-based acrylic enamels are more user-friendly, clean up with water, and have low VOCs (Volatile Organic Compounds), while still providing a durable finish. For the smoothest finish, consider using a paint sprayer if you have one and are comfortable. If not, high-density foam rollers and angled brushes will give you excellent results.
Apply thin, even coats of your chosen paint. Remember, multiple thin coats are always better than one thick coat. Start with the detailed areas using your brush, then use the roller for the larger surfaces. Always paint in the direction of the wood grain. Allow each coat to dry completely, as directed by the paint manufacturer. This is crucial for proper curing and durability.
After the first coat of paint, you might see minor imperfections. Lightly sand any areas that feel rough or uneven with your 220-grit sandpaper. Wipe away dust with a tack cloth. Then, apply your second coat of paint. Depending on the color you’ve chosen and the primer used, you may need a third coat for full, opaque coverage. Repeat the light sanding and tack cloth wipe-down between coats if necessary.
Step 6: Reassembly and Hardware
Once your final coat of paint is fully dry (and ideally has had a day or two to cure a bit before handling), it’s time to reassemble. Carefully reattach your cabinet doors, drawer fronts, hinges, and hardware. If you’re installing new hardware, now is the perfect time. Make sure everything is aligned correctly before tightening screws.
Step 7: Protecting Your New Finish (Optional but Recommended)
While good quality cabinet paint is quite durable, you can add an extra layer of protection, especially on high-traffic areas like drawer fronts or doors that get a lot of use. A water-based polyurethane or clear topcoat can add durability and a consistent sheen. Apply it just like you applied the paint and primer – in thin, even coats, allowing each to dry completely. Be sure to use a product compatible with your paint finish.
Painting vs. Staining Maple Cabinets
While this guide focuses on painting, it’s worth noting the difference between painting and staining maple. Staining enhances the natural wood grain, giving it a richer, deeper tone. However, maple’s tight grain doesn’t always show stain as prominently as woods like oak. Painting, on the other hand, covers the grain and completely changes the cabinet’s color and appearance.
Here’s a quick comparison:
| Feature | Painting Maple Cabinets | Staining Maple Cabinets |
|---|---|---|
| Appearance Change | Complete color transformation; hides wood grain. Variety of color options. | Enhances natural wood grain; offers richer tones. Limited color depth due to tight grain. |
| Preparation Intensity | Requires thorough cleaning, degreasing, sanding, and priming for adhesion. | Requires thorough cleaning and light sanding to remove old finish, but no primer needed. |
| Durability | Can be very durable with proper primer, paint, and optional topcoat. Susceptible to chips and scratches if not well-maintained. | Durable if sealed properly; scratches may show the original wood color. |
| Difficulty for Beginners | Can be more involved due to the multiple steps (cleaning, priming, painting, sealing) but offers significant visual impact. | Generally considered simpler due to fewer steps, but achieving an even stain on maple can be tricky for beginners due to its density. |
| Cost | Can be very affordable, depending on paint and tool choices. | Can also be affordable; stain and sealant are typically less expensive than high-quality paint systems. |
For a dramatic, modern makeover, painting is often the preferred choice. If you love the look of wood and want to enhance its natural beauty without a complete color change, staining might be a better fit. For those looking to completely change the aesthetic and go for clean, solid colors, painting maple is the way to go.
Common Pitfalls to Avoid
Even with the best intentions, some common mistakes can derail your cabinet painting project. Knowing these pitfalls beforehand can help you sidestep them:
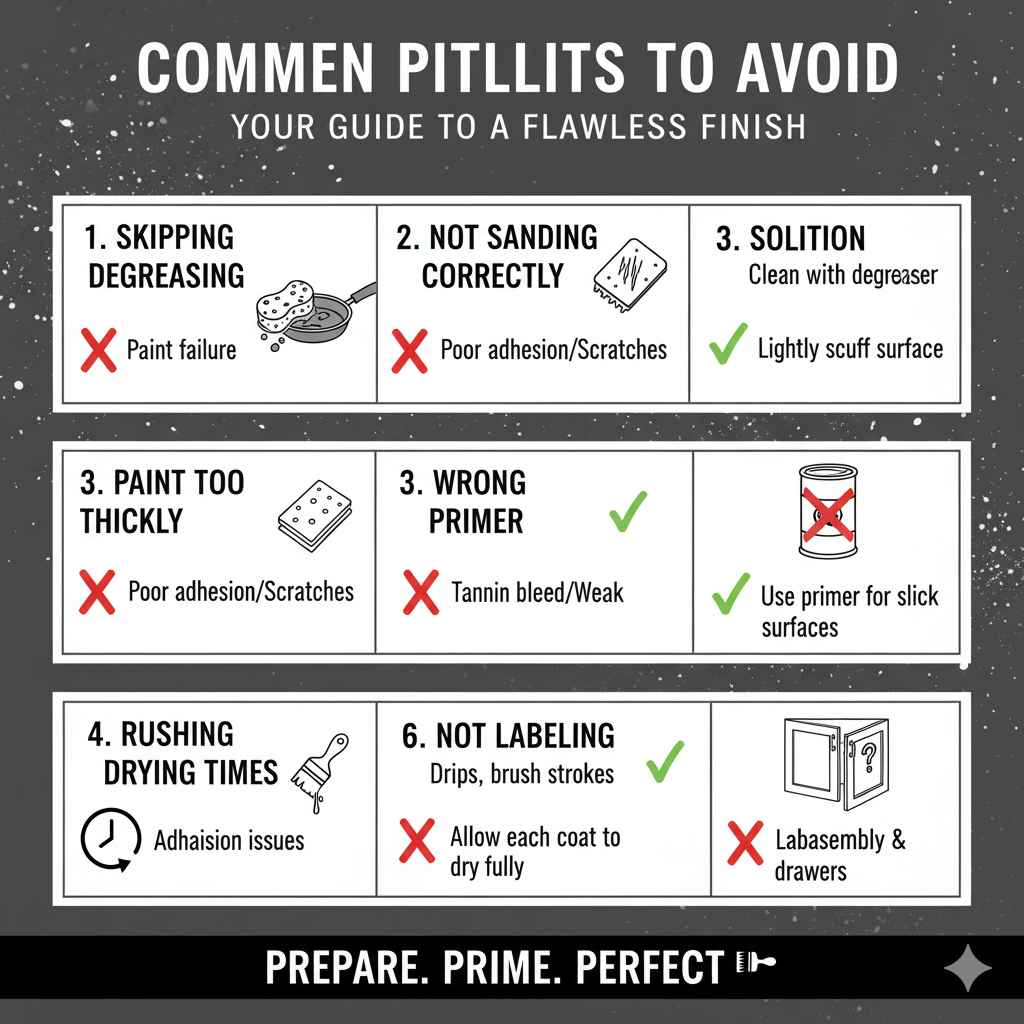
- Skipping Degreasing: This is the #1 reason for paint failure. Kitchen grease is stubborn and must be removed entirely.
- Not Sanding Enough (or Too Much): You need to scuff the surface for adhesion, but not so much that you damage the wood or create deep scratches.
- Using the Wrong Primer: A standard drywall primer won’t cut it. You need a primer specifically designed for slick surfaces and to block wood tannins.
- Applying Paint Too Thickly: This leads to drips, brush strokes, and an uneven finish. Thin, even coats are key.
- Rushing the Drying Times: Allow each coat of primer and paint to dry completely. Impatience here will lead to adhesion problems and a soft finish.
- Not Labeling Doors and Drawers: Reassembling can become a nightmare if you don’t know which door belongs where.
- Painting in a Humid Environment: High humidity can affect drying times and the final finish.
For more detailed advice on preventing common painting mistakes, the Sherwin-Williams website offers valuable tips from professionals.
Frequently Asked Questions (FAQ)
Q1: Will the paint job on maple cabinets last?
Yes, if done correctly with proper preparation, high-quality primer, and durable cabinet paint, your painted maple cabinets can last for many years. The key is the meticulous adhesion achieved through thorough cleaning, sanding, and priming.
Q2: What kind of paint is best for maple cabinets?
High-quality cabinet paints like alkyd-based enamels or durable acrylic/latex enamels are recommended. Look for finishes specifically designed for cabinets, as they offer excellent hardness, washability, and resistance to chipping. A paint sprayer can achieve the smoothest finish, but high-density foam rollers and good brushes work well too.
Q3: Can I paint over the existing finish on maple cabinets?
Yes, you can paint over the existing finish, but you must prepare the surface properly first. This involves thorough cleaning to remove grease and residue, followed by sanding to create a dull, scuffed surface that the primer and paint can adhere to. A good bonding primer is essential.
Q4: Do I need to sand maple cabinets before painting?
Absolutely. Sanding is crucial for creating a surface the paint can stick to. You don’t need to remove the old finish entirely, but you must “de-gloss” it by lightly sanding with 120-180 grit sandpaper. Always follow up with a thorough cleaning and tack cloth to remove dust.
Q5: How many coats of primer and paint will I need?
Typically, one to two coats of a good stain-blocking primer are needed, especially on maple. For paint, you’ll usually need two to three thin coats for full, even coverage and durability. Always allow each coat to dry completely before applying the next.
Q6: Should I remove the cabinet doors for painting?
Yes, it is highly recommended to remove cabinet doors and drawer fronts. This allows you to clean, sand, prime, and paint all surfaces thoroughly and evenly, including edges and the back of the doors if desired. It also provides easier access to cabinet frames. Just remember to label everything for proper reassembly!
Q7: What if my maple cabinets have knots or dark spots?
Maple cabinets typically have a very consistent, tight grain without prominent knots like pine. However, if any blemishes or dark spots are present, they need to be addressed during the preparation phase. Clean them thoroughly, and if they are surface issues, they can often be sanded down.