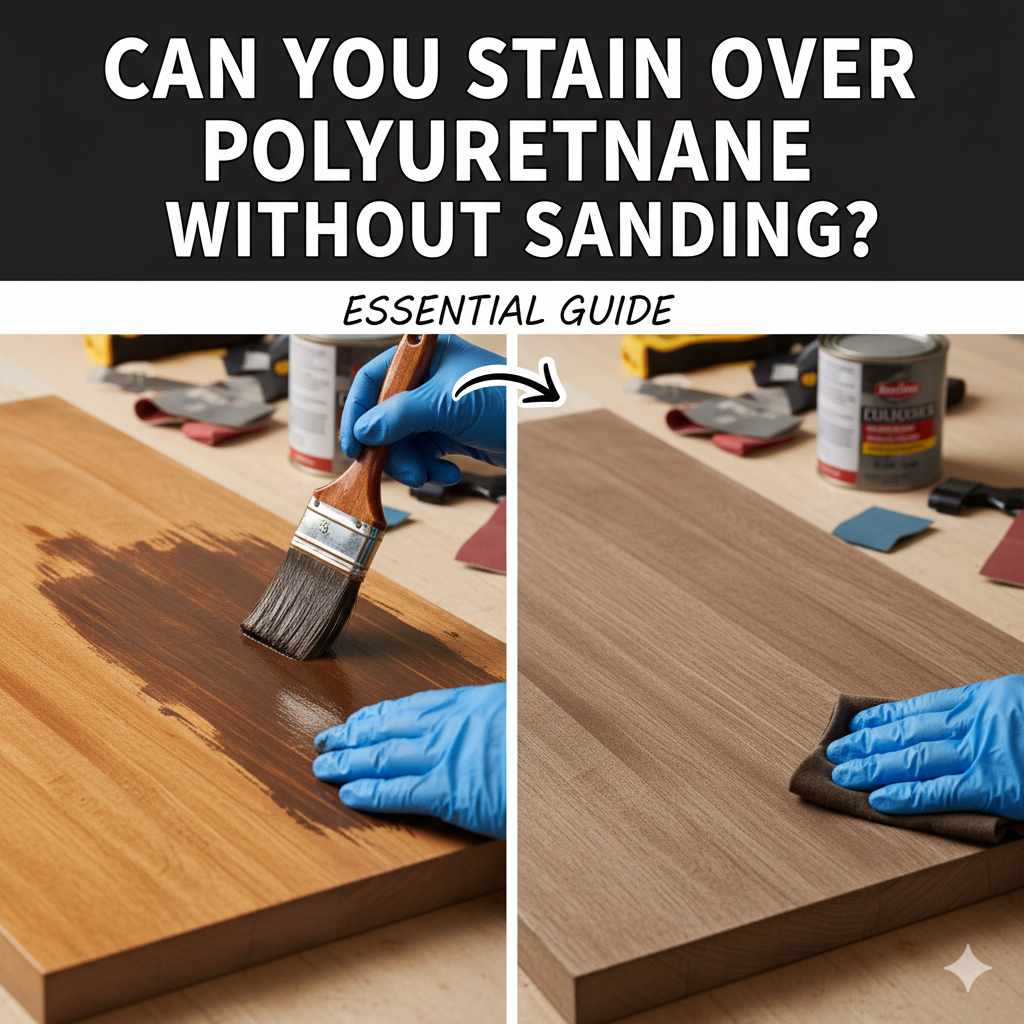
Can You Stain Over Polyurethane Without Sanding? Essential Guide
Yes, you can stain over polyurethane without sanding, but it’s not a simple paint-over. The key is using a specific type of stain designed for this purpose, often called a gel stain or a pre-stain conditioner followed by an oil-based stain. Proper surface preparation is still crucial for good adhesion and a beautiful finish.
Ever look at a piece of furniture, a cabinet, or even a wooden deck, and think, “I wish I could change its color?” You might have considered staining it, only to realize it’s already finished with polyurethane. The thought of painstakingly sanding off that existing protective layer can feel overwhelming, right? Many DIYers, myself included, have been there! The good news is, you often don’t need to sand off all that hard work. This guide will walk you through exactly how to stain over polyurethane without the dreaded sanding marathon, giving your projects a fresh new look with confidence.
Polyurethane is a fantastic protective finish. It’s durable, water-resistant, and comes in various sheens from matte to high gloss. However, its smooth, non-porous surface can be a challenge when you decide it’s time for a color change. Traditional wood stains are designed to penetrate raw wood, so they don’t typically adhere well to a sealed surface. But don’t let that discourage you! We’ll explore the best methods and products to help you achieve a beautiful, new stain color over your existing polyurethane. Get ready to give your wooden pieces a stunning makeover!
Understanding Why Sanding is Usually Necessary
Before we dive into staining over polyurethane without sanding, it’s important to understand why sanding is the traditional go-to method. Polyurethane creates a hard, protective shell over the wood. This shell acts as a barrier, preventing anything from penetrating the wood itself. Traditional wood stains work by soaking into the porous surface of bare wood, imparting color. When applied over a sealed surface like polyurethane, the stain sits on top of the finish rather than soaking in. Most of the time, this leads to:
- Poor Adhesion: The stain might easily scratch or rub off.
- Uneven Color: It can look patchy and blotchy because it’s not penetrating evenly.
- Peeling and Cracking: Over time, the stain can lift away from the polyurethane.
Sanding, even a light scuff sand, creates microscopic scratches on the polyurethane’s surface. These tiny imperfections provide “tooth” for the new finish to grip onto, significantly improving adhesion. However, for those times when you want to avoid the dust and labor of extensive sanding, there are indeed alternatives.
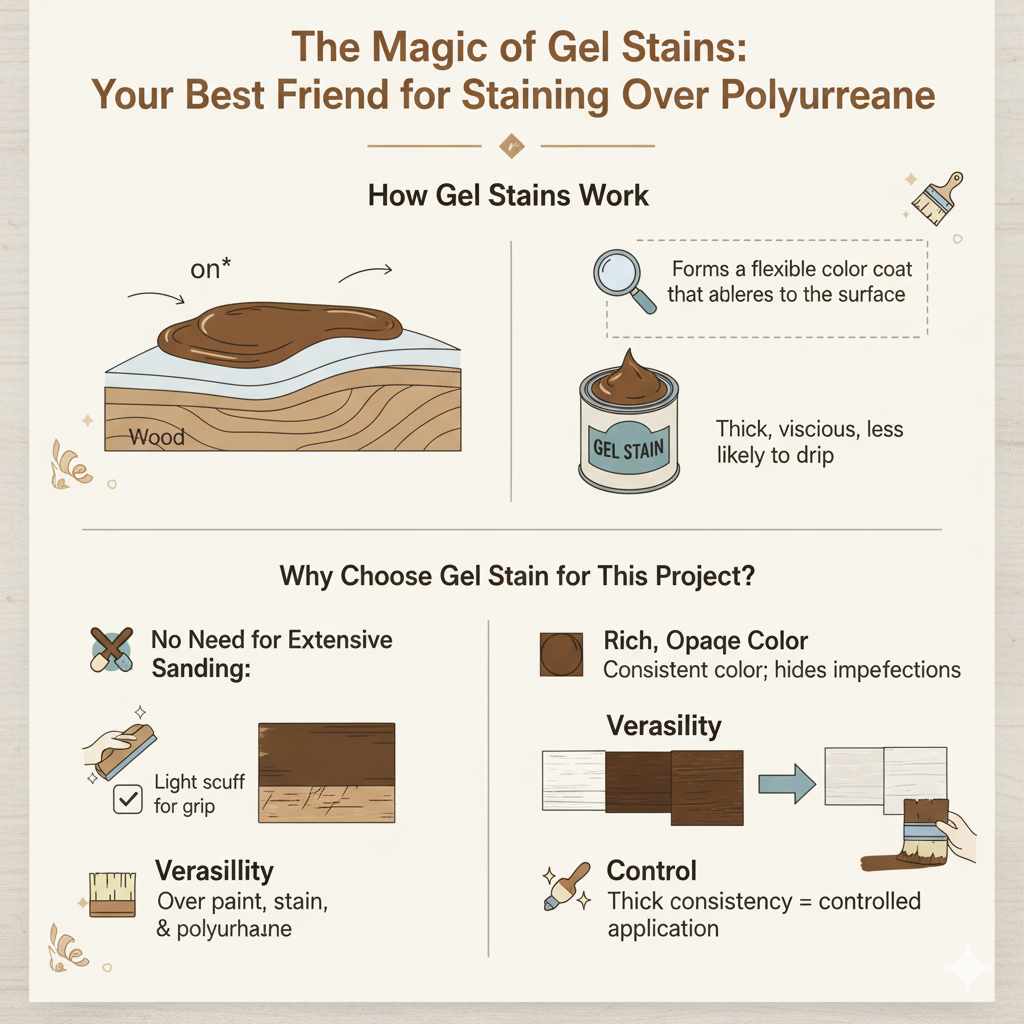
The Magic of Gel Stains: Your Best Friend for Staining Over Polyurethane
When the word “stain” comes up, many people imagine liquid that soaks into wood. Gel stains are different. They are a thicker, more viscous product that sits on the surface. Think of it more like a very thinned-down paint that’s designed to color the existing finish, rather than penetrate raw wood. This unique consistency is what makes them ideal for applying over polyurethane without extensive sanding.
How Gel Stains Work
Gel stains don’t rely on penetrating the wood. Instead, they form a flexible color coat that adheres to the existing polyurethane. Because they are thicker, they are less likely to drip and run, making application easier. They can effectively “re-stain” or “re-tone” a piece of furniture without removing the original finish. This is a game-changer for many DIY projects.
Why Choose Gel Stain for This Project?
- No Need for Extensive Sanding: A light scuff sand is often all you need for grip, not to remove the old finish.
- Rich, Opaque Color: Gel stains provide a more opaque, consistent color than traditional stains, hiding imperfections of the underlying finish if desired.
- Versatility: They can be applied over painted surfaces, previously stained wood, and yes, polyurethane.
- Control: Their thick consistency allows for more controlled application.
Can You Use Other Stains Over Polyurethane? (The Nuances)
While gel stain is the star of the show for stain-over-polyurethane projects, let’s briefly touch on other stain types and why they are typically not recommended without proper preparation.
- Traditional Oil-Based Stains: These are designed to penetrate wood. Applying them directly over polyurethane without a very thorough deglossing (heavy sanding) will almost certainly result in poor adhesion, blotchiness, and eventual failure. They don’t have the body to adhere to a smooth surface.
- Water-Based Stains: Similar to oil-based stains, water-based stains are formulated for wood penetration. They also require a porous surface for proper adhesion and can lead to similar adhesion and finish problems if applied directly over polyurethane.
- “Toner” or “Glaze” Products: These can sometimes be used over existing finishes to alter the color or add depth. However, they are usually applied over a new, clear topcoat or a sealed surface and are not a direct stain replacement for altering a polyurethane-finished piece. They tend to be more translucent than a typical gel stain.
So, while the question is “Can you stain over polyurethane without sanding?”, the most realistic and best-performing answer for a beginner is “Yes, with gel stain.”
Essential Supplies for Your “No-Sand” Staining Project
Gathering the right tools and materials is half the battle when it comes to a successful DIY project. For staining over polyurethane with minimal sanding, you’ll want to have these on hand:
Tools and Materials List
- Gel Stain: Choose your desired color. Brands like General Finishes, Old Masters, and Minwax offer excellent gel stains.
- Synthetic Sponge Applicator or High-Quality Foam Brushes: These are great for applying the gel stain evenly.
- Clean, Lint-Free Cloths: For wiping off excess stain and buffing. Microfiber cloths work well.
- Tack Cloth: Essential for removing any dust before and between coats.
- Light Grit Sandpaper (220-grit or 320-grit): For a very light scuff-sand.
- Sanding Block: To help you sand evenly.
- Mineral Spirits: For cleaning up oil-based gel stains and thinning if necessary (though often not recommended for gel stains).
- Gloves: To protect your hands from stain.
- Safety Glasses: Always protect your eyes!
- Drop Cloths or Newspaper: To protect your work area.
- Optional: Pre-Stain Conditioner (Use with Caution): While the goal is to avoid sanding, some wood pre-conditioners can help improve stain adhesion on certain surfaces. However, their effectiveness over a non-porous polyurethane can be hit or miss, and they don’t replace the need for a surface prep that allows the gel stain to grip. For this method, focus on your prep of the polyurethane itself.
- Optional: Topcoat: If you want to seal in your new gel stain color (highly recommended for durability), you’ll need a compatible topcoat like polyurethane (water-based or oil-based, depending on your gel stain) or a clear acrylic sealer.
Step-by-Step Guide: Staining Over Polyurethane Without Sanding
Let’s get this project started! Follow these simple steps to successfully stain over your existing polyurethane finish.
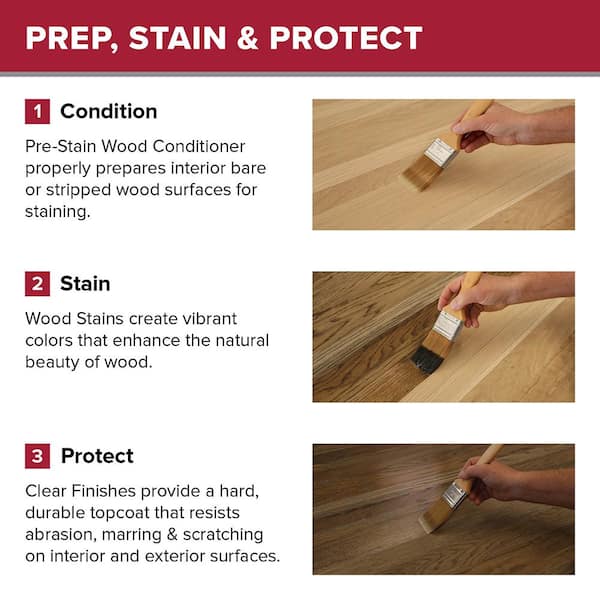
Step 1: Clean the Surface Thoroughly
This is the most critical step. Any dirt, grease, wax, or residue will prevent the gel stain from adhering properly.
- Wipe down the entire piece with a degreasing cleaner like TSP (trisodium phosphate) substitute or a good quality TSP-free cleaner. Follow the product instructions carefully. Be sure to rinse thoroughly with a damp cloth and allow it to dry completely.
- For stubborn grime or if the piece feels greasy, a mineral spirits wipe-down can be effective. Ensure good ventilation and wear gloves. Let it evaporate completely.
Step 2: Lightly Scuff Sand (The “No Sanding” Compromise)
Okay, I know we said “without sanding,” but the reality is that “staining over polyurethane” typically means minimal sanding. This isn’t about removing the old finish; it’s about creating microscopic “grip” for the new stain. This step is non-negotiable for good adhesion.
- Wearing gloves and a dust mask, take your 220-grit or 320-grit sandpaper or a sanding sponge.
- Lightly and evenly sand the entire surface you intend to stain. You are not trying to remove the polyurethane; you’re just dulling the sheen slightly. The surface should feel a little rougher to the touch, not smooth and glossy.
- Pay attention to corners and edges. On detailed carvings, a foam sanding sponge or even a folded piece of sandpaper can help get into crevices.
Step 3: Remove All Dust
Dust is the enemy of a smooth finish. After sanding, you must remove every speck.
- Start by vacuuming the piece, especially if it has nooks and crannies.
- Follow up with a tack cloth. Gently wipe down all surfaces. A tack cloth is sticky and picks up very fine dust particles that vacuuming might miss. Work in one direction.
- Repeat the tack cloth wipe a second time to be absolutely sure.
Step 4: Apply the Gel Stain
Now for the fun part! Apply the gel stain according to the manufacturer’s instructions. General Finishes (a popular brand) generally recommends applying with a foam brush or rag and working it into the surface.
- Stir the gel stain thoroughly. Do not shake it, as this can create bubbles.
- Using a synthetic sponge applicator, high-quality foam brush, or a lint-free rag, apply a liberal but even coat of gel stain. Work in the direction of the wood grain.
- As you apply, you’ll notice the stain sits on the surface rather than soaking in like traditional stain.
Step 5: Wipe Off Excess Stain
This is where you control the color intensity.
- After letting the stain sit for the time recommended by the manufacturer (usually 2-5 minutes), begin wiping off the excess with a clean, lint-free cloth.
- Wipe in the direction of the wood grain. Apply consistent pressure.
- If you want a deeper, richer color, you can apply a second coat after the first coat has dried according to the manufacturer’s instructions. Repeat steps 4 and 5.
Step 6: Allow the Stain to Dry Completely
Patience is key here. Gel stain needs adequate time to dry before you move on to the next step. Drying times can vary based on humidity, temperature, and the thickness of the application. Refer to the product label for the specific drying time recommended by the manufacturer.
This can often take anywhere from 6-24 hours, and sometimes longer. Ensure good ventilation to aid the drying process.
Step 7: Apply a Protective Topcoat (Highly Recommended)
Gel stain provides color, but it isn’t a durable protective finish on its own. You need to seal it to protect your work and ensure longevity.
- Once the gel stain is completely dry, you can apply a clear topcoat.
- Compatibility is Key: Check if your gel stain is oil-based or water-based to choose a compatible topcoat. Most gel stains are oil-based, so an oil-based polyurethane or an oil-based clear coat would be suitable. Some modern gel stains can be top-coated with water-based polyurethanes; always check the product recommendations.
- Apply thin, even coats of your chosen topcoat, allowing each coat to dry thoroughly and lightly sanding with very fine grit sandpaper (320-400 grit) between coats for a smooth finish. Remove dust with a tack cloth after each sanding.
- Apply at least 2-3 coats of topcoat for good protection.
Pros and Cons of Staining Over Polyurethane Without Sanding
Like any DIY method, there are always trade-offs. Understanding these will help you decide if this approach is right for your project.
Pros
- Saves Time and Effort: Significantly reduces the labor associated with removing an old finish.
- Less Mess: Avoids the large amount of dust created by extensive sanding.
- Preserves Underlying Finish: If the original polyurethane is in good condition, this method allows you to keep it intact.
- Accessible for Beginners: Gel stains are generally easier to control and more forgiving than traditional stains.
- Versatile for Color Changes: Great for updating furniture, cabinets, or trim without a complete refinishing.
Cons
- Requires Light Sanding: While not a full sanding, a scuff sand is still necessary for proper adhesion.
- Color Limitations: Gel stains provide more of a colored coating rather than a deep, penetrating wood tone. The final color will be influenced by the color of the underlying polyurethane.
- Durability Concerns: If not properly prepped and top-coated, the stain may not adhere as well or last as long as a traditional refinish.
- Potential for Unevenness: If the underlying polyurethane has imperfections (scratches, dents), these may still show through the new stain depending on its opacity.
When to Use This Method (And When to Reconsider)
This method is fantastic for certain situations:
- Updating Kitchen or Bathroom Cabinets: Changing cabinet colors without removing them is a popular, budget-friendly renovation.
- Giving Old Furniture a New Look: If you have a solid piece of furniture with a good polyurethane finish you want to recolor.
- Changing the Tone of Wood: If you want to darken or warm up a piece without stripping it.
- Projects Where a Slightly More Opaque Finish is Acceptable: Gel stains provide a richer, often less translucent color than what you’d get from a naturally penetrating stain.
However, you might want to reconsider or opt for a full refinish if:
- The Original Finish is Damaged: Deep scratches, peeling, or lifting polyurethane will show through and may affect the new stain’s adhesion.
- You Want to Reveal Natural Wood Grain: Gel stains will cover much of the subtle grain variations that traditional stains enhance.
- The Underlying Finish is Not Polyurethane: This method is specifically for existing polyurethane. If it’s varnish, lacquer, or paint, the prep and product choice might differ significantly. You can learn more about identifying wood finishes from resources like Popular Mechanics.
- You Need a Very Translucent, Natural Wood Tone: Gel stain, by its nature, is more opaque. For a look that mimics raw wood stained, you’ll likely need to remove the old finish.
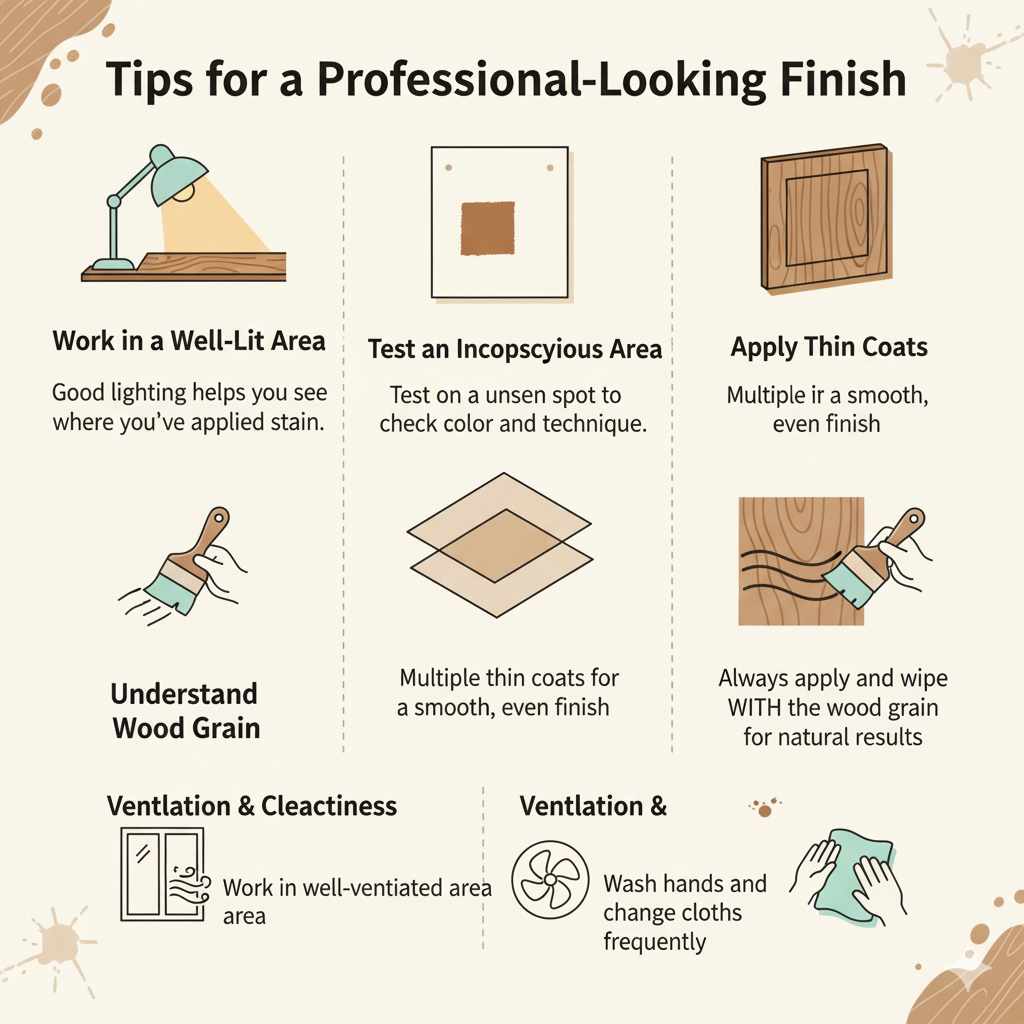
Tips for a Professional-Looking Finish
Achieving that “wow” factor is all about attention to detail. Here are some extra tips to make your gel-stained project look like it came from a professional workshop:
- Work in a Well-Lit Area: Good lighting helps you see where you’ve applied stain and catch any missed spots or unevenness.
- Test an Inconspicuous Area: Before you start on the main piece, test your stain and application method on the underside of a drawer, the back of a cabinet door, or a scrap piece of wood finished with polyurethane. This allows you to see the color and ensure your technique is right.
- Apply Thin Coats: It’s always better to apply multiple thin coats of gel stain and topcoat for a smooth, even finish rather than trying to get it perfect in one thick go.
- Understand Wood Grain: Always apply and wipe with the wood grain. This is crucial for a natural-looking result.
- Ventilation is Key: Work in a well-ventilated area, especially when using oil-based products or cleaners like mineral spirits. Open windows and doors, or work outdoors if possible. Consider using a fan to circulate air.
- Cleanliness is Paramount: Wash your hands and change your cloths frequently to avoid re-applying dirt or old stain to the surface.
Frequently Asked Questions (FAQ)
Q1: Will the new stain color look exactly like staining raw wood?
No. Gel stain will color the existing polyurethane. The final color will be influenced by the color of the original polyurethane and the color of the gel stain you choose. It’s more of a “re-stain” or “warm-up” of the existing finish rather than achieving the look of stain on raw, new wood. Always test first!