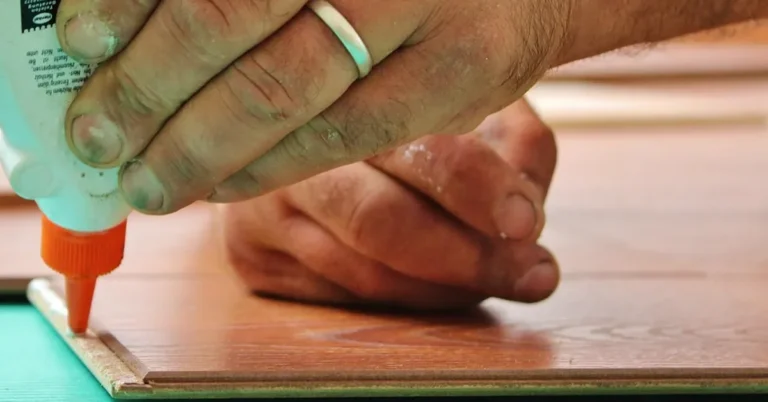
How to Melt PET Plastic onto Wood: Safe Technique & Steps
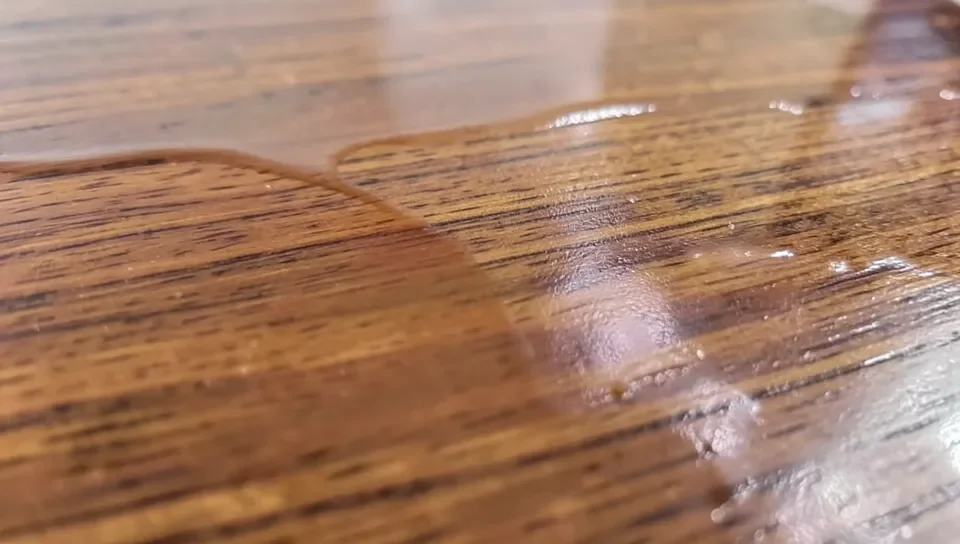
Melting PET plastic (the material in disposable water bottles) onto wood is a real DIY technique for decorative panels and small craft pieces, done with a heat gun in a well-ventilated space, never in a food oven, toaster, or other kitchen appliance. PET melts around 480-500°F (250-260°C), well below the temperatures that start producing genuinely harmful fumes, but the process still needs real airflow and basic respiratory protection.
This is a craft/decorative technique, not a structural bonding method — melted PET makes a textured, glossy surface coating on wood, not a strong adhesive bond suitable for anything load-bearing. Treat it the way you’d treat any melted-plastic art project: outdoors or in a well-ventilated shop space, never in a room you also cook or sleep in.
Understanding Polyethylene Terephthalate (PET)
PET is the clear, rigid plastic used in most disposable water and soda bottles, food containers, and polyester fabric fiber. It’s a thermoplastic, meaning it softens and melts with heat rather than burning like some other plastics, and it re-solidifies as it cools — the property that makes it workable for this technique in the first place.
Clean, clear PET bottle plastic (cut flat, with labels and glue residue removed) is the easiest and safest source material. Avoid PET that’s mixed with other plastics, has printed ink coatings, or is contaminated with food residue — all of those can introduce extra fumes or uneven melting that plain bottle plastic doesn’t have.
Best Tool For This Project
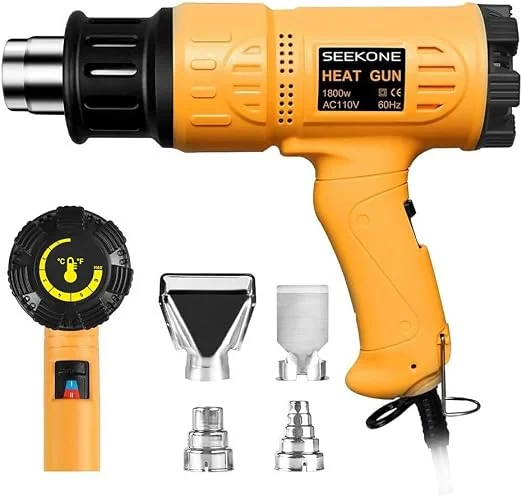 |
SEEKONE 1800W Heat Gun, Variable Temp – $25.99 A precise, adjustable temperature dial matters more here than raw power — you need to hit PET’s melt point without overshooting into scorching.
|
Safety First: Ventilation And Temperature
PET starts to soften and melt around 480-500°F (250-260°C). Below that range you won’t get a usable melt; heating well past it toward scorching or decomposition (roughly 570°F/300°C and up) is what actually starts producing acrid, irritating fumes (aldehydes and other combustion byproducts) — the goal is to melt PET, not char it. Keep the heat gun moving and watch the plastic closely rather than holding steady heat on one spot.
Work outdoors or with a strong exhaust fan and open windows — standing over melting plastic in a closed room is the real risk here, not the PET itself at proper melt temperatures. Wear a respirator rated for organic vapors (not just a dust mask) if you’re doing this indoors or for an extended session, along with heat-resistant gloves and eye protection.
Never use a food oven, toaster, or any kitchen appliance for this — melting plastic in an appliance also used for food contaminates it with plastic residue and fumes that don’t fully clear afterward. Use a dedicated heat gun and a shop or outdoor workspace, not anything that touches food.
Choosing The Right Wood
Any solid wood or plywood with a flat, smooth surface works as a base — the wood species matters less than surface prep here, since PET is a surface coating, not a deep-penetrating bond. Sand the wood smooth and remove all dust before starting; debris trapped under the melted PET will show as visible bumps or weak spots once cooled.
Clean, bare or lightly sanded wood generally holds melted PET better than a heavily sealed or finished surface — a slick factory finish gives the plastic less texture to mechanically key into as it cools and shrinks slightly.
Preparing PET For Melting
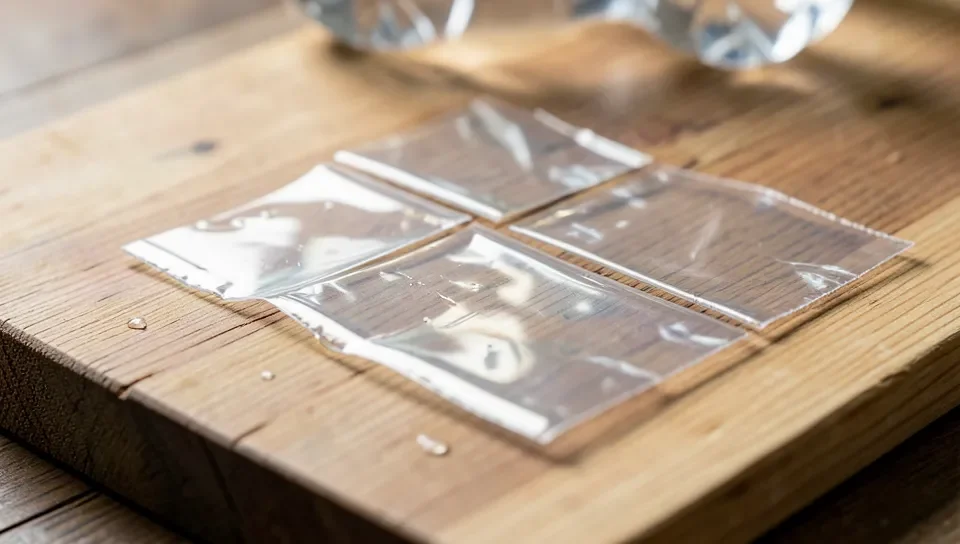
Cut clean, label-free PET bottle plastic into flat pieces sized for your project — smaller, evenly-sized pieces melt more predictably than one large sheet. Wash pieces with soapy water to remove any residue or glue, rinse thoroughly, and let them dry completely before melting; trapped moisture can cause the plastic to bubble or spatter when heated.
Melting Technique
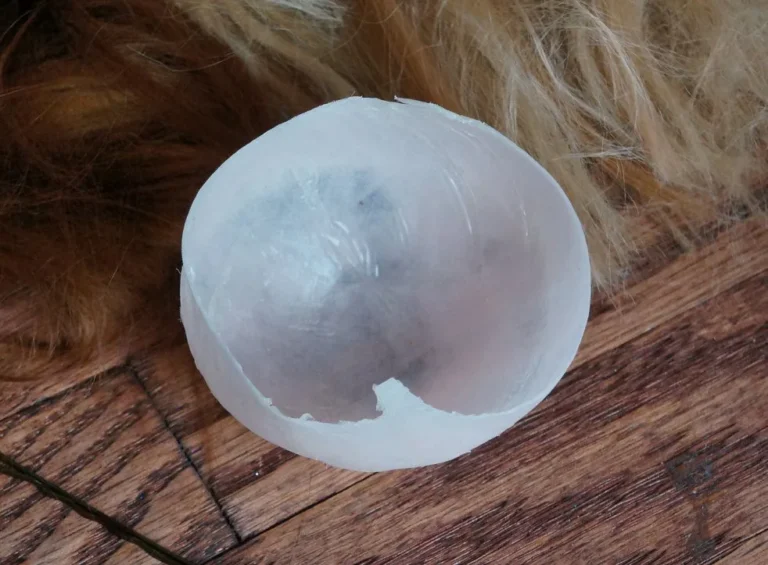
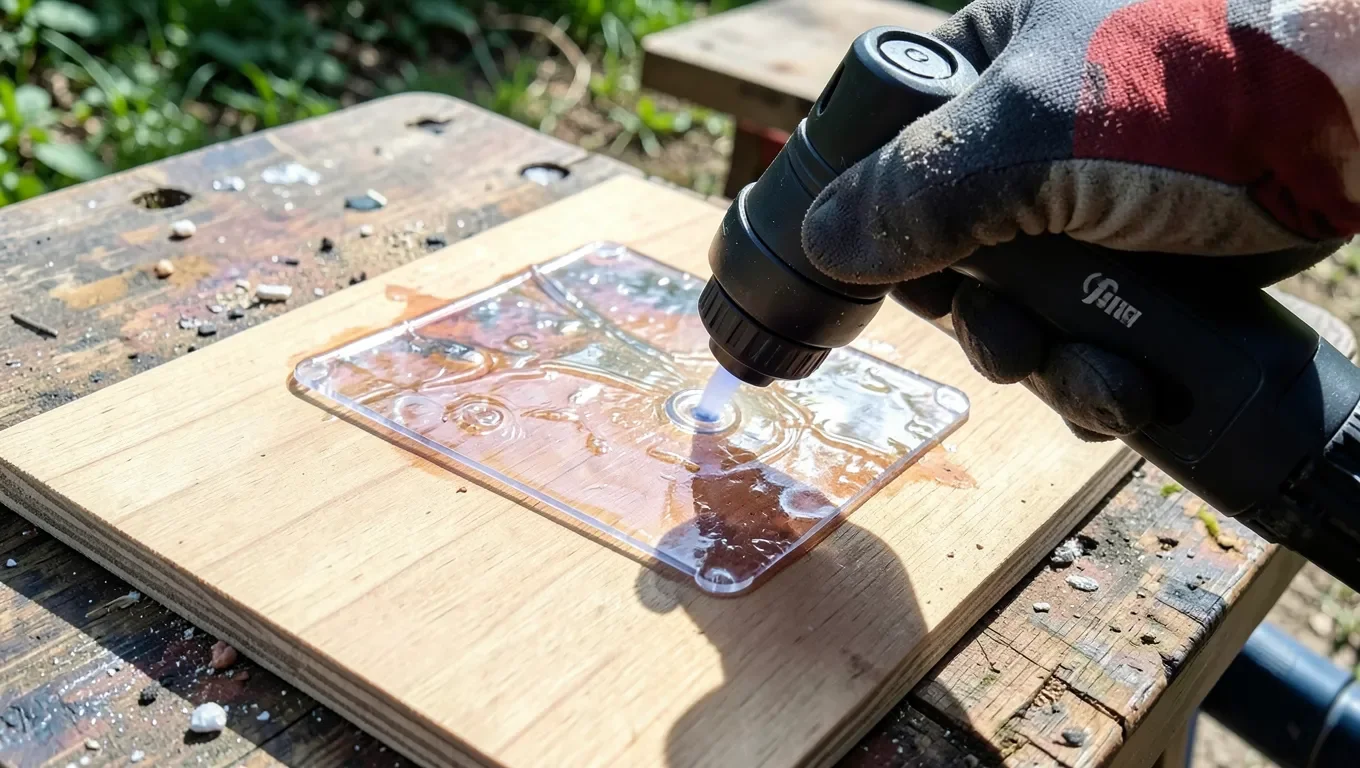
Lay the cut PET pieces on the prepared wood, then run the heat gun in slow, continuous passes a few inches above the plastic rather than holding it stationary — constant movement prevents any one spot from overheating and scorching while the rest is still cold. Once the plastic visibly softens and starts to flow, use a heat-resistant tool (not bare hands) to press and spread it evenly across the surface.
Work in small sections if covering a large area — trying to melt and spread a wide area at once makes it hard to control thickness and increases the chance of missed spots or trapped air bubbles.
Finishing And Common Mistakes
Let the piece cool slowly and undisturbed rather than rushing it with a fan or cold air — rapid cooling can cause the plastic layer to crack or separate from the wood as it contracts unevenly. Once fully cooled, inspect for air bubbles, uneven thickness, or spots where the plastic didn’t bond, and address them with a second light melt-and-press pass rather than trying to sand or fill them.
The most common mistakes are overheating one spot until it scorches (produces both a discolored, weakened patch and worse fumes) and skipping surface prep on the wood, which causes poor adhesion and peeling later. Both are avoidable with slow, even heating and a clean, dust-free wood surface to start.
Frequently Asked Questions
How Do You Melt PET Plastic At Home Safely?
Use a heat gun set to reach PET’s melt point (roughly 480-500°F/250-260°C) in a well-ventilated area, ideally outdoors or with a strong exhaust fan. Wear an organic-vapor respirator, heat-resistant gloves, and eye protection, and never melt plastic in a food oven, toaster, or other kitchen appliance.
Will Melted PET Stick To Wood?
Yes, melted PET adheres to clean, sanded wood as it cools and mechanically keys into the wood’s surface texture. This is a decorative surface coating, not a strong structural bond, so it isn’t suitable for load-bearing joints.
What Temperature Does PET Melt At?
PET melts at roughly 480-500°F (250-260°C). Heating it significantly beyond that toward 570°F (300°C) and higher starts producing acrid, irritating fumes as the plastic scorches rather than just melts.
Which Plastics Are Safe To Melt At Home?
PET, polyethylene (PE), and polypropylene (PP) are the more commonly worked plastics for home craft melting, always with good ventilation. Never melt PVC or polystyrene at home — PVC releases genuinely toxic chlorine-based fumes when heated, a different risk category from PET’s irritant-but-less-hazardous fumes.
Conclusion
Melting PET plastic onto wood is a real, workable craft technique when done with a heat gun at the right temperature, good ventilation, and basic respiratory protection — and never in a kitchen appliance. It’s a decorative surface coating, not a structural bond, so keep expectations matched to that.
Clean source plastic, prepped wood, slow even heating, and a slow cooldown cover the real technique; skip any shortcut that involves food equipment or rushing the cooling step.
Sponsored / affiliate links. As an Amazon Associate I earn from qualifying purchases. I may earn additional commission from eligible campaigns.