What Brush for Polyurethane? Label Picks for Oil vs Water-Based
Use a natural bristle brush for oil-based polyurethane and a synthetic bristle or foam brush for water-based, because those are the applicators the Minwax labels name for each. The old rule that synthetic bristles are only for water-based is too narrow: Purdy describes synthetic filaments as made for both. This guide covers bristle choice, foam brush tradeoffs, brush size, bubble prevention, cleanup and the rag fire risk of oil-based finish.
Best Brush for Polyurethane: What the Labels Actually Say
Best Synthetic Angle Brush Pick | |
 |
Wooster Silver Tip 5221 Angle Sash Brush, 2.5 Inch, $7.72 A 2.5 inch angled brush made of 100% CT polyester, the synthetic filament type that the water-based labels covered below name. Wooster describes the soft blend as virtually eliminating brush marks.
|
As an Amazon Associate we earn from qualifying purchases. | |
Brush advice online is mostly repeated rules of thumb, so this table goes to the product labels and pages instead. It lists the applicator each maker names, the wait before the next coat, and how to clean up.
| Product | Applicator named by the maker | Wait before recoat | Cleanup |
|---|---|---|---|
| Minwax Fast-Drying Polyurethane (oil-based) | High-quality natural bristle or foam brush | 4 to 6 hours, then sand lightly with 220 grit | Mineral spirits |
| Minwax Water Based Oil-Modified Polyurethane | High-quality synthetic bristle or foam brush | 2 hours, then sand lightly with 220 grit | Warm water |
| Varathane Ultimate Water-Based Polyurethane | Synthetic bristle brush, foam brush or applicator | At least 2 hours; 3 coats minimum recommended | Water |
| General Finishes High Performance Water Based Topcoat | Foam brush or pad; synthetic bristle also works | Not listed in the source read | Water |
Two details in that table cut against common advice. First, both Minwax labels allow foam, so foam is not a water-based-only shortcut. Second, the oil-based label does not name synthetic bristles at all, which is why the natural-versus-synthetic split matters most when you are reading the can in your hands.
Natural Bristle vs. Synthetic Bristle: What Each One Is For
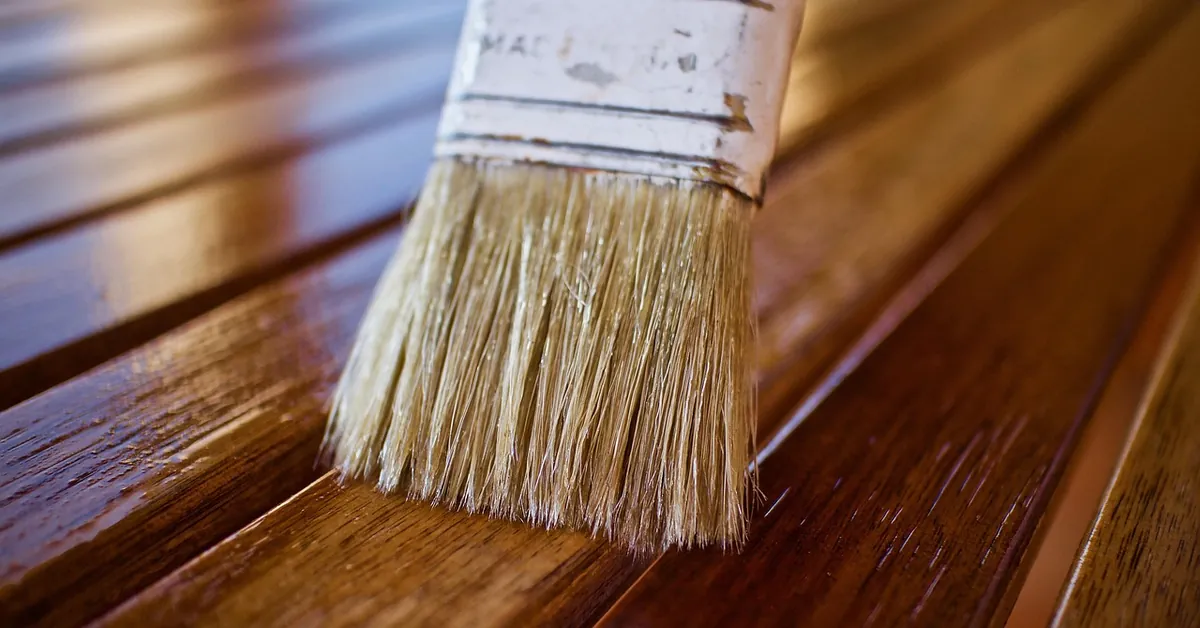
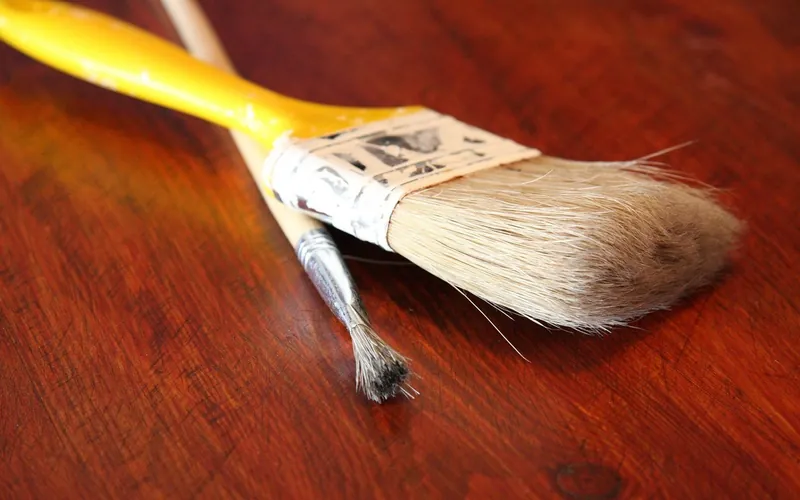
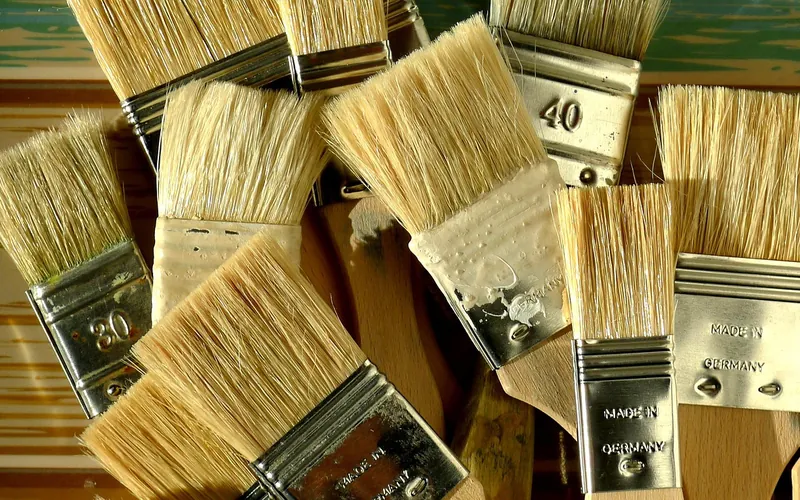
Natural bristle brushes are the traditional match for oil-based clear finishes. Purdy says its natural blends are designed to work with oil-based coatings and are meant for finishes on wood cabinets and doors. Minwax sells its own natural white bristle brush with a hardwood handle, described as designed for oil-based finishes and sized to fit a quart can.
Synthetic filaments come in several types. Purdy’s Syntox Flat brush blends nylon and Chinex filaments and is described as designed to work best with latex and oil-based paints, stains, clears, polyurethanes and varnishes, in 2 and 2.5 inch widths. Wooster’s Silver Tip uses a soft blend of 100% CT polyester filaments and is pitched at all paints with minimal brush marks. So the real decision is less "synthetic or natural" and more "what does the label on my can name".
| If your can says | Reach for | Sources read |
|---|---|---|
| Oil-based polyurethane (Minwax Fast-Drying) | Natural bristle or foam | Minwax product page, Purdy brush guidance |
| Water-based polyurethane (Minwax, Varathane, General Finishes) | Synthetic bristle or foam | Minwax product page, Varathane support page, General Finishes guidance |
| Not sure of the base | Read the front label; a synthetic brush is described by Purdy as made for both bases | Purdy brush guidance |
Foam Brushes: What They Do Well and Where They Fall Short
Foam brushes are explicitly named on the labels for both Minwax products above, and General Finishes recommends foam or a pad applicator for its water-based topcoat. They are inexpensive enough to throw away after a coat, which removes the cleanup step on a small job such as a picture frame or a set of coasters.
The tradeoffs are practical ones. A foam head has a flat, square edge, so it is a better match for tabletops and panels than for inside corners, turned legs or carved detail, where an angled bristle brush reaches further. Check the foam for loose crumbs before it touches the finish, and discard it if it starts to break down in the product. These are judgment calls rather than label statements, so test on a scrap board first.
Brush Size and Shape for Furniture and Trim
Sold sizes give a useful range. Wooster’s 5221 angle sash comes from 1.5 to 3 inches, Purdy’s Syntox Flat in 2 and 2.5 inches, and Minwax’s polyurethane brush in 1.5 inches. For most furniture, a 2 to 2.5 inch angled brush is a practical middle: wide enough to cover a door panel in a few strokes, narrow enough to cut in along a rail. Use the 1.5 inch size for frames and small boxes, and consider a wider brush or a pad only for large flat tops.
An angled (sash) tip lets you work the edge of a stroke along trim or into a corner without dragging the heel of the brush into the finish. A square-ended flat brush is fine on open panels but harder to steer at edges.
How to Avoid Bubbles, Runs and Brush Marks
The most consistent instruction across the labels is to stir, never shake. Minwax’s Fast-Drying label says to stir before and during use, never shake, and not to thin that product. Varathane and General Finishes also warn that shaking creates bubbles in water-based finish. If you are weighing thinning for another oil-based product, read our guide to thinning oil-based polyurethane first, because the label limits differ from can to can.
- Stir the can gently before you start and every few minutes while you work, reaching the bottom so settled solids mix back in.
- Apply a thin coat. Minwax capitalizes THIN in the directions for both of its products.
- Use smooth, even strokes along the grain. General Finishes advises avoiding heavy pressure and excessive back brushing, and not dry brushing its water-based topcoat.
- Keep a wet edge by working in sections you can finish before the finish tacks up.
- Let each coat dry for the time on the can, then sand lightly with fine paper (Minwax says 220 grit) before recoating.
If bubbles or haze still show up after drying, this cloudy finish troubleshooting guide covers the common causes, and how to apply varnish without brush marks goes deeper on stroke technique.
Hardwood Floors Need an Applicator, Not Just a Brush
Minwax’s floor directions name a lambswool or synthetic pad applicator for both products, with a natural bristle brush (oil-based) or synthetic bristle brush (water-based) as the alternative. That means a brush is acceptable on floors for edges and corners, but the labels put the pad first for open areas. For the full floor process, see how to polyurethane hardwood floors and how to sand and refinish wood floors.
Drying, Recoating and Coat Counts
| Product | Dry before sanding and recoating | Before light use after final coat | Coat guidance |
|---|---|---|---|
| Minwax Fast-Drying Polyurethane | 4 to 6 hours | 24 hours | Thin coats; sand lightly with 220 grit between coats |
| Minwax Water Based Oil-Modified Polyurethane | 2 hours | 24 hours | Thin coats; sand lightly with 220 grit between coats |
| Varathane Ultimate Water-Based Polyurethane | At least 2 hours | Not listed in the source read | Minimum of 3 coats recommended |
| General Finishes High Performance Water Based Topcoat | Not listed in the source read | Not listed in the source read | 2 to 3 coats; more does not improve durability |
For wipe-on finishes the timing is different, so check wipe-on poly drying times if you are choosing between brushing and wiping. For the broader method comparison, see the best way to apply poly to wood, and for outdoor pieces spar urethane vs polyurethane.
Cleaning Your Brush and Handling Oil-Soaked Rags Safely
Match the cleanup to the finish. Minwax lists mineral spirits for its oil-based Fast-Drying Polyurethane and warm water for its water-based version. Clean the brush the same day, because cured polyurethane does not come back out of bristles. Once it is dry, store it flat or hung rather than resting on the bristles; this brush storage guide has the details.
Fire safety: the Minwax label for its oil-based polyurethane warns that rags, steel wool, other waste soaked with the product and sanding residue may spontaneously catch fire if improperly discarded. It directs you to place them immediately in a sealed, water-filled metal container. A rag you used to wipe a brush or a drip is waste soaked with the product, so do not leave it balled up on a bench or in a trash bin. See also the rag section of our Thompson’s Water Seal over stained wood guide.
If you are buying a brush for the first time, this comparison of paint brush brands beyond Purdy and why the brush matters for stain are worth a read. For where polyurethane fits among other finishes, see the wood finishing guide.
Frequently Asked Questions
What brush should I use for oil-based polyurethane?
Use a high-quality natural bristle brush or a foam brush. Minwax’s label for its oil-based Fast-Drying Polyurethane names both, and Purdy describes natural bristle blends as designed for oil-based coatings. Apply a thin coat, stir before and during use, and do not shake the can.
What brush should I use for water-based polyurethane?
Use a synthetic bristle brush or a foam brush. Minwax’s label for its Water Based Oil-Modified Polyurethane names both, and Varathane’s water-based product page lists synthetic bristle, foam brush or applicator. Stir the can and do not shake it, since shaking creates bubbles.
Can I use a foam brush for polyurethane?
Yes, for the products covered here. Minwax’s labels name foam brushes for both its oil-based Fast-Drying and its water-based oil-modified polyurethane, and General Finishes recommends foam for water-based topcoat. Foam is a better fit for flat pieces than for corners and detail.
Can I use a synthetic brush with oil-based polyurethane?
Possibly, but check the can first. Purdy describes its synthetic filaments as made for both water-based and oil-based paints, stains and clears, and its Syntox brushes list polyurethanes and varnishes. Minwax’s oil-based polyurethane label, however, names natural bristle or foam, so follow the label on your product.
How do I stop bubbles when brushing polyurethane?
Stir the can instead of shaking it, because Minwax, Varathane and General Finishes all warn against shaking. Apply thin coats with smooth strokes along the grain, avoid heavy pressure and excess back brushing, and keep the brush from being overloaded.
How do I clean a brush after polyurethane?
For oil-based polyurethane, Minwax lists mineral spirits for cleanup. For its water-based polyurethane, warm water is enough. Put any solvent-soaked rags in a sealed, water-filled metal container, because oil-based finish waste can spontaneously catch fire.
Bottom Line
Read the can. Natural bristle or foam for the oil-based Minwax product, synthetic bristle or foam for the water-based ones. Choose a 2 to 2.5 inch angled brush for most furniture, stir instead of shaking, keep coats thin, and treat solvent-soaked rags as a fire hazard until they are in a sealed, water-filled metal container.
Sponsored / affiliate links. As an Amazon Associate I earn from qualifying purchases. I may earn additional commission from eligible campaigns.