Can You Varnish Over Varnish? Quick & Easy Tips
Yes, you can varnish over varnish. Ensure the existing layer is clean, dry, and lightly sanded for the best adhesion.
Varnishing is a popular method to protect wood surfaces and enhance their appearance. Many people wonder if it’s possible to apply a new coat of varnish over an existing one. The answer is yes, but the process requires careful preparation.
Properly preparing the surface ensures better adhesion and a smoother finish. Factors like the type of varnish used and the condition of the existing layer can affect the outcome. Taking these steps will help achieve a professional look and prolong the life of the finish. Understanding the nuances of varnishing can make a significant difference in your woodworking projects.
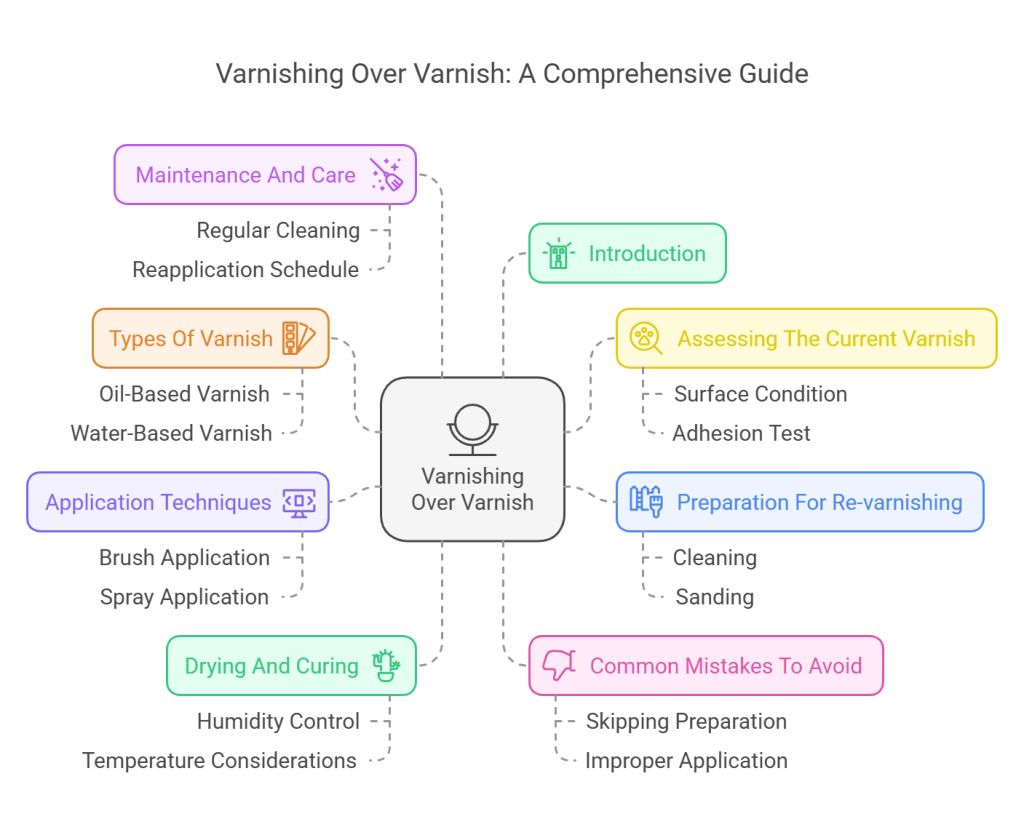
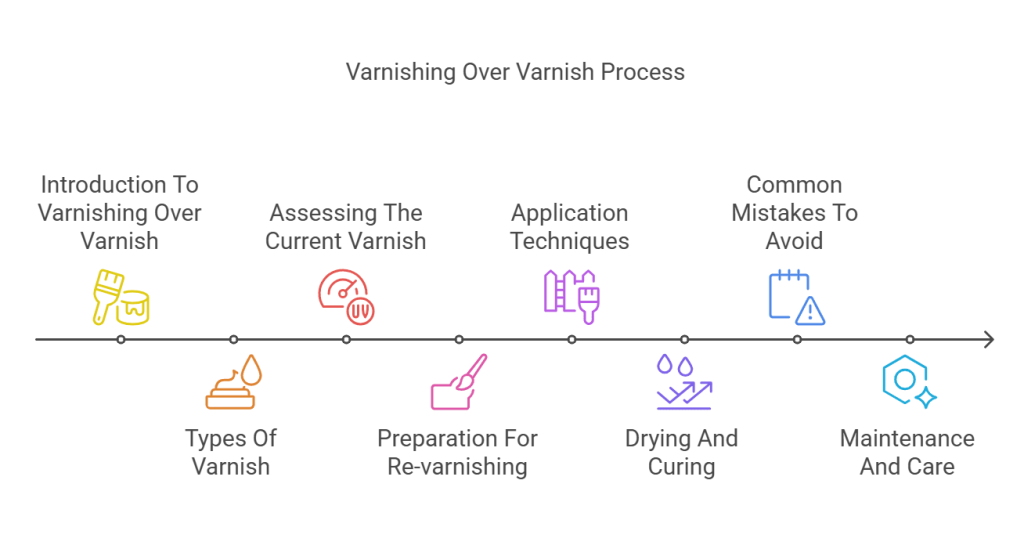
Introduction To Varnishing Over Varnish
Varnishing wood helps protect its surface. It enhances the beauty of the wood. Varnish is a clear, hard finish that resists moisture.
Many people choose to re-varnish surfaces for several reasons:
- To fix scratches and damage.
- To refresh the appearance of faded wood.
- To provide extra protection against spills and stains.
- To change the color or sheen of the finish.
Knowing the basics of varnishing is important. Always clean the surface first. Sanding helps the new varnish stick better. Choose a compatible varnish to avoid peeling or bubbling.
Types Of Varnish
Oil-based varnish offers a rich and warm finish. It is durable and resists scratches. This type dries slowly, allowing for smooth application. It often has a strong odor during use.
Water-based varnish dries quickly and has low odor. It is easy to clean with soap and water. This option is less toxic and great for indoor use. It dries clear and does not yellow over time.
Polyurethane varnish is known for its toughness. It is available in both oil and water-based forms. This type provides excellent protection against heat and moisture. It is ideal for high-traffic areas.
Assessing The Current Varnish
To determine the varnish type, check the label on the product. If no label exists, perform a test on a small area. Use a solvent to see if the varnish dissolves. This helps identify whether it is oil-based or water-based.
Next, assess the condition of the existing coat. Look for signs of peeling, chipping, or fading. A good condition coat can support a new layer of varnish. A damaged coat needs repair before applying more varnish.
Always ensure the surface is clean and dry. This promotes better adhesion for the new varnish. Proper assessment leads to a successful finishing project.
Preparation For Re-varnishing
Start by cleaning the surface thoroughly. Use a damp cloth to remove dust and dirt. Make sure the surface is dry before proceeding. Grease or residue can affect the new varnish.
Next, sanding the old varnish is crucial. Use fine-grit sandpaper to create a smooth surface. Sanding helps the new varnish stick better. Be gentle to avoid damaging the wood underneath.
After sanding, wipe off the dust with a clean, dry cloth. This will ensure a clean and smooth finish. Prepare to apply the new varnish once the surface is ready.
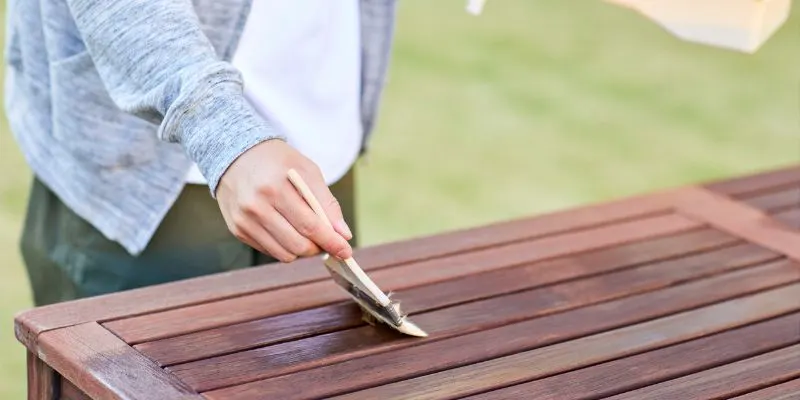
Application Techniques
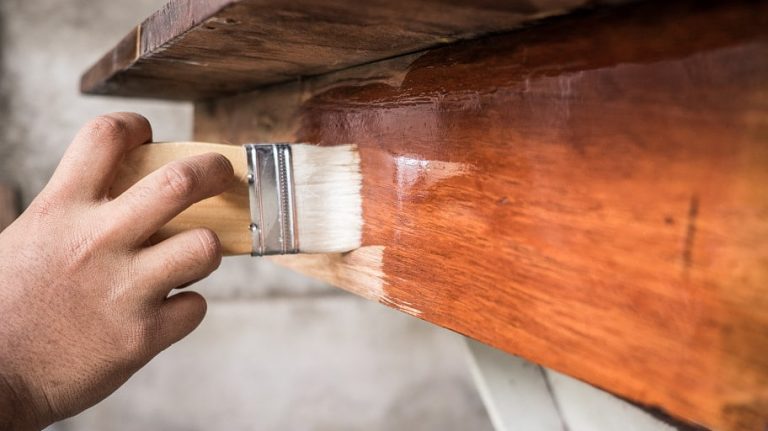
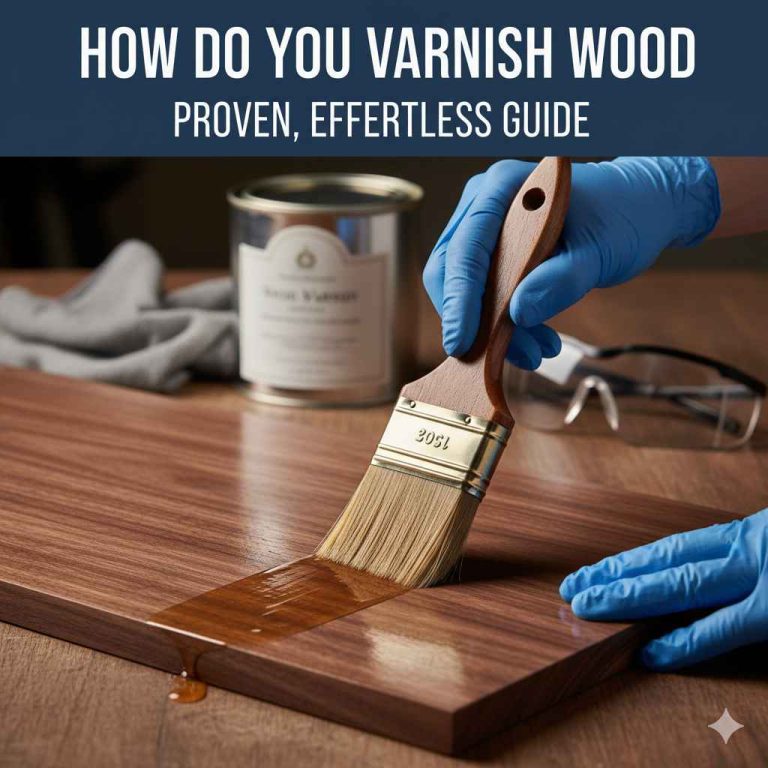
For brush application, choose a high-quality brush. Use a soft bristle for smooth finishes. Apply thin coats to avoid drips. Work in long, even strokes. Allow each coat to dry completely before adding another.
For spray varnishing, use a well-ventilated area. Hold the sprayer about 12 inches from the surface. Move in a steady, sweeping motion. Apply multiple light coats instead of one heavy coat. This helps achieve a smooth finish without runs.
Drying And Curing
Drying and curing are crucial for varnishing success. Ideal conditions include a warm, dry space. Temperatures should be between 65°F and 85°F. Humidity levels must be low for best results.
Timeframes for curing vary by product. Most varnishes take 24 to 48 hours to dry. Full curing may take several days to weeks. Always check the product label for specific times.
Common Mistakes To Avoid
Applying too many layers of varnish can ruin your finish. Each layer needs to dry properly. Wait for the first coat to dry completely before adding more. Too many layers can lead to peeling or bubbling.
Ignoring temperature and humidity affects varnish application. High humidity can cause drips and runs. Low temperatures slow down drying time. Always check the weather before starting your project.
Maintenance And Care
Regular cleaning keeps your varnished surfaces looking great. Use a soft cloth to wipe away dust. A gentle cleaner works well on varnished surfaces. Avoid harsh chemicals that can damage the finish.
To protect from damage, place coasters under drinks. Always use mats for hot items. Move furniture carefully to prevent scratches. Check for chips or cracks regularly and repair them quickly.
Frequently Asked Questions
Can You Apply Varnish Over Old Varnish?
Yes, you can apply varnish over old varnish. However, it’s crucial to prepare the surface properly. Start by cleaning it thoroughly and lightly sanding the existing layer. This ensures better adhesion for the new varnish. Always test a small area first to check compatibility and finish.
What Is The Best Way To Prep For Varnishing?
To prep for varnishing, clean the surface to remove dust and grime. Lightly sand the old varnish to create a rough texture. Wipe down the surface with a damp cloth to eliminate dust. Finally, ensure the environment is dust-free for optimal results when applying the new varnish.
How Long Should You Wait Before Varnishing Again?
Typically, you should wait 24 hours before applying another coat of varnish. This allows the previous layer to cure properly, ensuring better adhesion. However, drying times can vary based on the product used and environmental conditions. Always refer to the manufacturer’s instructions for specific recommendations.
Can I Use A Different Type Of Varnish Over Existing Varnish?
Using a different type of varnish over existing varnish is possible but requires caution. Ensure both varnishes are compatible; for instance, oil-based over oil-based, or water-based over water-based. Conduct a patch test first to avoid any adverse reactions or peeling.
Proper surface preparation is essential for best results.
Conclusion
Varnishing over varnish is possible but requires careful preparation. Always ensure the surface is clean and properly sanded. Choose compatible products to achieve the best results. A successful application enhances the finish and durability of your project. Follow these steps for a smooth and lasting varnish experience.
Happy crafting!