How to Finish the Edge of a Backsplash: 5 Options Compared
To finish the edge of a backsplash, pick the finish by location: a metal or PVC edge profile, bullnose tile, or wood trim at open side and top edges, and caulk (not grout) where the tile meets the countertop.
A raw tile edge looks unfinished and chips easily, and the sharp glazed edge is the first thing a sponge or elbow catches. Most backsplashes have several different kinds of edge, and each one is best finished a different way, which is why one-size advice like “just add trim” often disappoints.
This guide walks through the five common ways to finish a backsplash edge, shows which one fits each spot in the kitchen, and covers the wood-trim option that woodworkers can build themselves. For the bigger picture of tile against wood cabinets, see our guide to backsplash ideas for wood cabinets.
Match the Edge Finish to Where the Tile Ends
Best Tile Edge Corner Pick
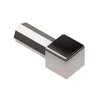 |
Schluter QUADEC Aluminum Edge Profile Corner, $13.49 A prefabricated aluminum corner for Schluter’s squared QUADEC edge profile, so the trim turns a tiled outside corner without a mitered joint.
|
Before choosing trim, walk the backsplash and label each edge. There are only four kinds of edge, and they need different answers.
| Edge location | What it is | Best finishes | Common mistake |
|---|---|---|---|
| Side edge | Tile stops at an open wall end, such as beside a window or at a doorway | Metal edge profile, bullnose tile, wood trim | Leaving the cut edge bare |
| Top edge | Tile stops partway up the wall, such as a half-height backsplash with no cabinet above | Metal profile, bullnose or pencil tile, a shelf or wood ledge | Trim that sits proud of the wall and collects dust |
| Outside corner | Tile wraps a corner where two walls meet at an angle facing you | Corner profile, mitered tile, bullnose | Cutting a rough miter that chips |
| Bottom joint | Tile meets the countertop | Flexible caulk | Grouting a rigid joint that later cracks |
Five Ways to Finish a Backsplash Edge
1. Metal or PVC edge profile
An edge profile is an L-shaped or rounded strip with a perforated leg. The leg is pressed into the thin-set mortar and the tile is set against the visible face, so the profile becomes the edge. Schluter, the best-known maker, sells SCHIENE in stainless steel, brass, aluminum, anodized aluminum and color-coated aluminum, and describes its visible surface as roughly 1/8 inch (3 mm) wide. That thin reveal is why it looks discreet.
Schluter’s QUADEC has a squared reveal instead of a rounded one, which suits modern kitchens. It comes in stainless steel, anodized aluminum and PVC, and Schluter lists a 7 mm height in stainless steel plus 10-foot lengths. Whichever profile you buy, choose the height to match your tile thickness so the tile face sits flush with the trim.
2. Bullnose or pencil tile
Bullnose tile has one factory-rounded edge, so the finish is the tile itself. It is the traditional choice and blends in because the color and glaze match the field. The trade-off is availability: not every tile line has a matching bullnose, and where it does, the trim pieces often cost more per piece than the field tile, so price both before you commit.
3. Wood trim or a mitered wood return
For a kitchen with wood cabinets, a small strip of hardwood along a side or top edge ties the tile to the cabinetry. It is also the one finish here you can mill yourself. A quarter-round, a thin flat strip or a shaped cap works, and it is set after the tile so it covers the edge.
- Species: match the cabinet wood, or go slightly darker for contrast. Oak, maple and cherry are all common cabinet woods.
- Seal every face and end: two or three coats of a water-resistant finish on all sides, including the back and the cut ends, slow moisture pickup.
- Keep it away from heat: do not run raw wood right beside a cooktop. Follow the appliance manual for the required clearance to combustible material.
- Caulk the joint: wood swells and shrinks with humidity, so leave a small gap and fill it with flexible caulk rather than grout.
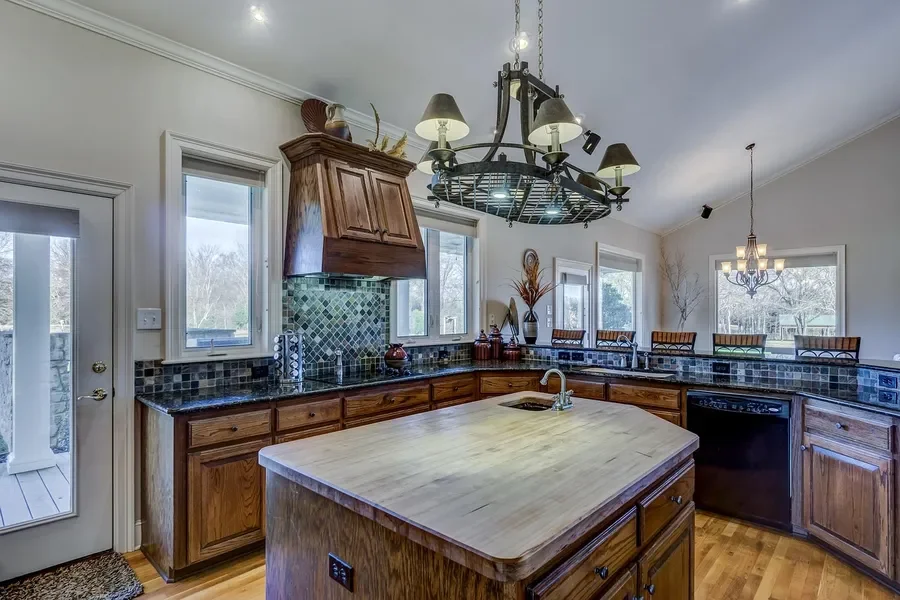
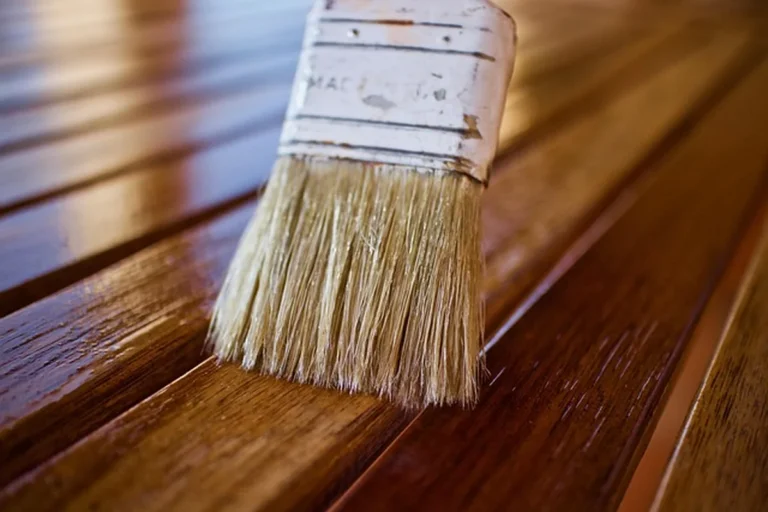
If you want a finish for the wood strip that suits a kitchen, our guide on food-safe wood finishes explains which products are safe near food, and fixing water-damaged wood shows what happens when the seal fails.
4. Flexible caulk at the countertop
Caulk is not a decorative edge, but it is the correct finish for the bottom joint. Where a backsplash meets a countertop, the two surfaces are different materials and can move differently. Common tile-industry practice is to use a flexible sealant at such changes of plane instead of rigid grout, which tends to crack. Pick a color-matched, mildew-resistant, kitchen and bath rated caulk and follow the cure time on the tube before wetting the area.
5. Mitered or returned tile
On outside corners some installers miter two tile edges at 45 degrees so the corner looks solid. It looks excellent but demands a wet saw and steady hands, and a slightly off cut shows immediately. A prefabricated corner piece is the forgiving alternative.
How the Five Options Compare
| Option | Look | Difficulty | Best used at | Watch out for |
|---|---|---|---|---|
| Metal or PVC profile | Thin modern line, many finishes | Moderate: set in mortar as you tile | Side, top and outside corners | Height must match tile thickness |
| Bullnose or pencil tile | Seamless, same glaze as field | Easy to moderate | Side and top edges | Matching trim not always sold |
| Wood trim | Warm, ties in with cabinets | Easy if you can cut and finish wood | Side and top edges, not near heat | Sealing every face, movement gap |
| Flexible caulk | Invisible when color matched | Easy | Bottom joint at countertop | Cure time, mildew-resistant type |
| Mitered tile | Clean, no trim visible | Hard: needs a wet saw | Outside corners | Chipping on the miter |
The Sequence That Avoids Rework
The finish you pick changes when it goes on, so decide before the first tile is set.
- Decide the edge finish for each location and buy all trim in one order so finish and height match.
- If using a metal profile, set it into mortar first and set tile against it, so the profile is part of the layout.
- Dry-fit the layout so cut tiles fall at the edges you will trim, not in the middle of the wall.
- Set the tile, then grout the field joints. Leave the countertop joint empty.
- After the grout has cured, apply flexible caulk to the countertop joint, tooling it with a finger or a caulk tool.
- Fit any wood trim last, sealed on all faces, with a small gap filled with caulk.
If you need to cut a hole through finished tile, for an outlet cover or a hook, see our guide on drilling a hole in tile.
A Common Myth: Grout the Edge to Match
Many homeowners assume the bottom joint should be grouted because the field is grouted. It is a change of plane, and rigid grout there is a common source of hairline cracks and dark lines that appear a year later. Use caulk for the joint, and keep grout for the joints between tiles. Also avoid silicone where you plan to paint, because most paints do not stick to it. Choose a paintable caulk if the joint will be painted.
Maintenance and Common Problems
- Chipped tile edge: a profile or bullnose prevents it. A chip on an existing bare edge can only be covered by a slim profile if there is room to remove and reset the tile.
- Caulk line turning dark: usually mildew or failed caulk. Cut it out and recaulk with a mildew-resistant product.
- Loose wood trim: remove it, clean off old adhesive, and reattach with construction adhesive plus a few small brads if the surface allows.
- Wood trim staining: a splash zone behind the sink needs a fully sealed piece, or switch to a metal profile there.
Frequently Asked Questions
How do I finish the edge of a backsplash?
Match the finish to where the tile ends. Use a metal or PVC edge profile, bullnose tile or a wood trim piece at open side and top edges. Use a flexible caulk, not grout, where the tile meets the countertop.
What is the cleanest way to finish an unframed tile edge?
A metal edge profile is the cleanest. A profile such as Schluter SCHIENE is set into the mortar under the tile, and Schluter describes its visible surface as about 1/8 inch (3 mm) wide, so it reads as a thin line rather than a frame.
Can I use wood trim to finish a backsplash edge?
Yes. A wood trim piece or a small mitered return works well against cabinets, as long as every face and cut end is sealed with a finish. Keep it out of splash zones behind the sink and away from the stove, and caulk the joint between wood and tile.
Should the bottom of a backsplash be grouted or caulked?
Caulked. The joint between backsplash tile and countertop is a change of plane where materials can move at different rates, so a flexible, mildew-resistant caulk holds up better than rigid grout.
Conclusion
Finishing a backsplash edge is a location-by-location decision: profile or bullnose at open edges, wood where you want warmth, caulk at the countertop. Plan the trim before you tile, keep heights matched, and seal any wood on every face. Done that way, the edge protects the tile and looks intentional.
Sponsored / affiliate links. As an Amazon Associate I earn from qualifying purchases. I may earn additional commission from eligible campaigns.