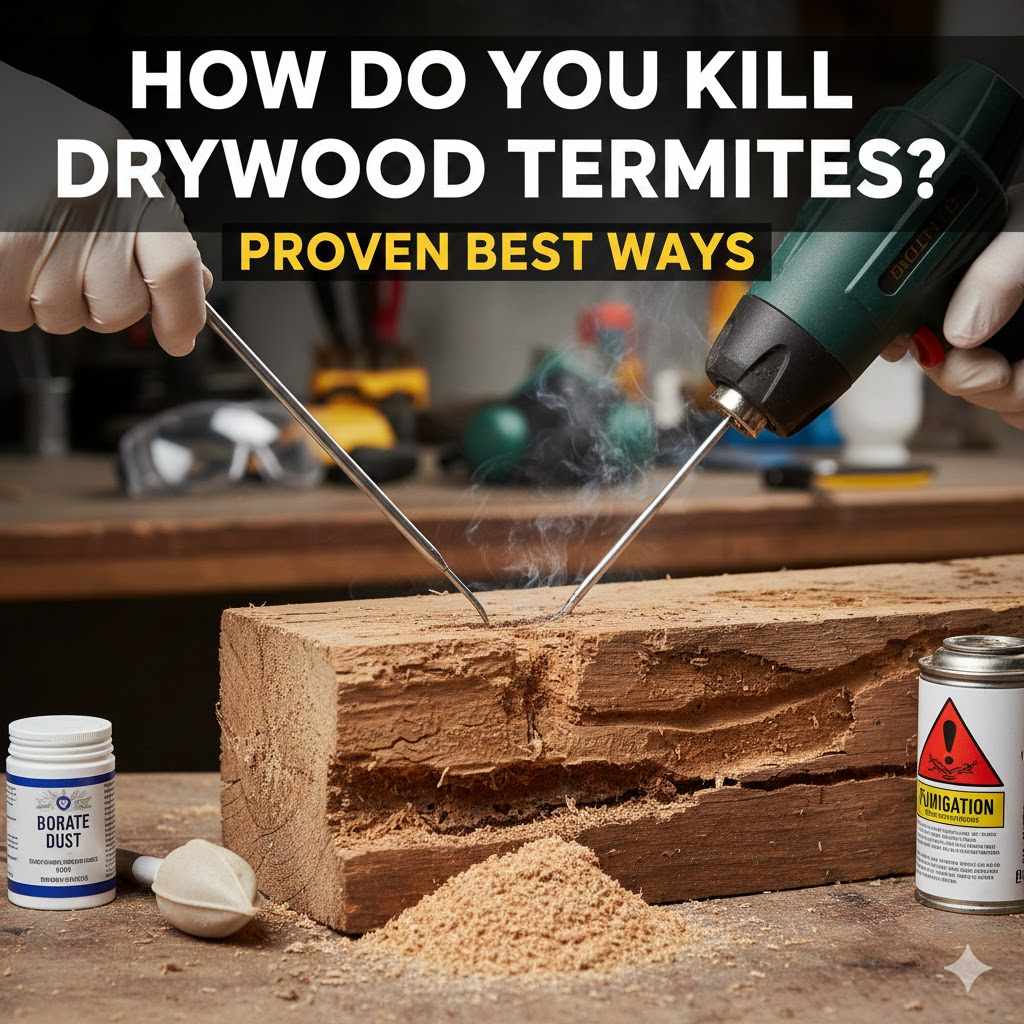
How Do You Kill Drywood Termites? Proven Best Ways
The best ways to kill drywood termites involve targeted treatments like direct wood injection (borate treatments), fumigation for severe cases, or using specific local dusts for accessible galleries. For DIY, borate solutions offer long-term protection by disrupting their growth after physical removal of kick-out holes.
Finding tiny pellets or noticing fragile tubes near your prized wooden furniture or structural beams can cause real anxiety. Termites aren’t just a woodworking issue; they are a homeownership headache! Drywood termites are sneaky pests that live entirely inside the wood they eat. They don’t need contact with the soil like their subterranean cousins. Don’t worry; tackling these invaders is easier than you might think once you know the right tools and techniques. As your woodworking mentor, I’m here to walk you through proven, safe methods, from easy spot treatments to more thorough options, so you can restore peace and protect your wood projects.
Identifying Your Enemy: Drywood Termites vs. Other Pests
Before we grab the insecticide, we must confirm we are dealing with drywood termites. Treating them incorrectly means the infestation will just keep chewing away! Knowing the signs helps you choose the best, most effective treatment strategy.
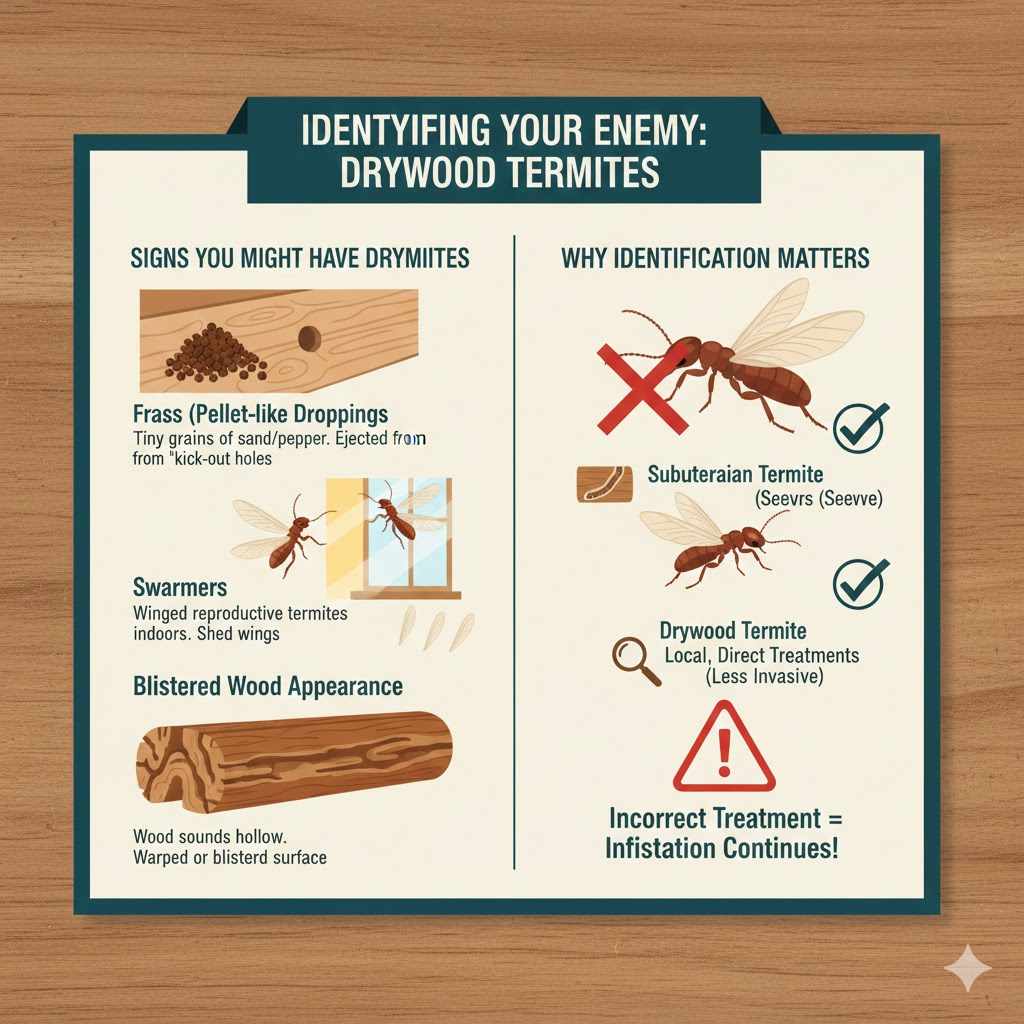
Signs You Might Have Drywood Termites
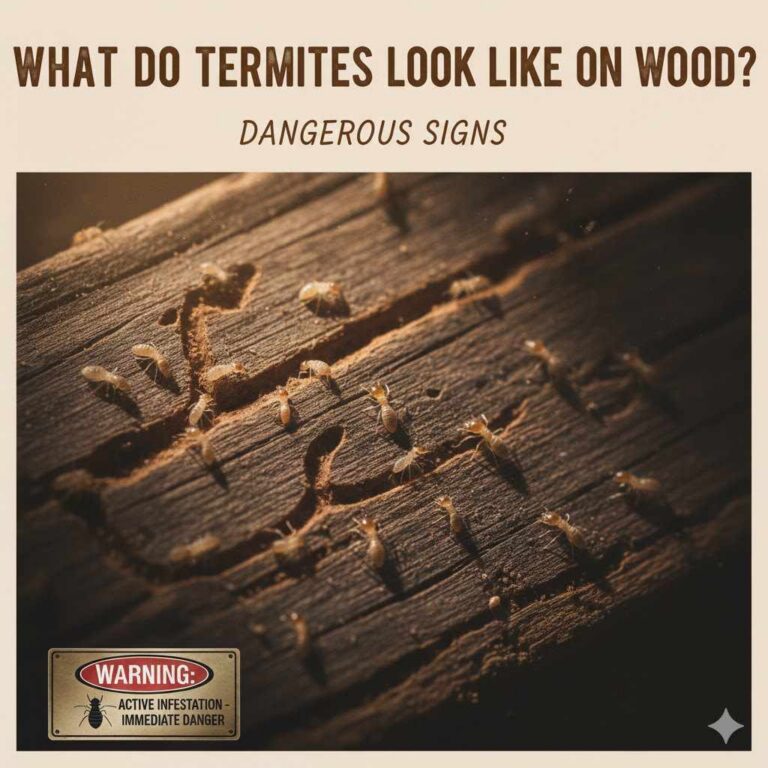
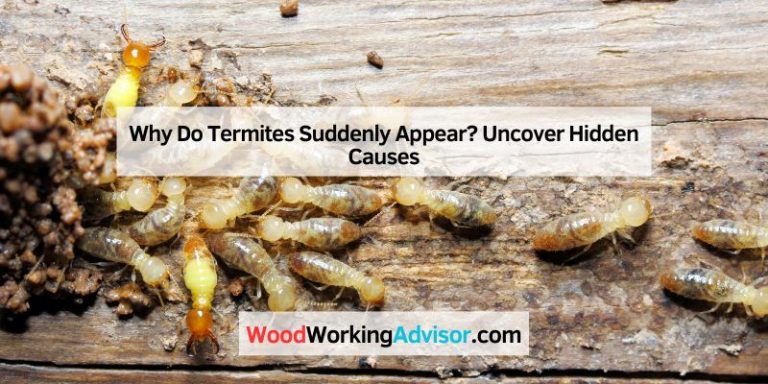
Drywood termites don’t create the mud tubes common with subterranean termites. They live, feed, and thrive entirely within the wood, only emerging to swarm or kick out waste. Look for these clear signs:
- Frass (Pellet-like Droppings): These look like tiny grains of sand or pepper, often dark brown or black. They are the termites’ hardened fecal matter ejected through “kick-out holes” in the wood surface.
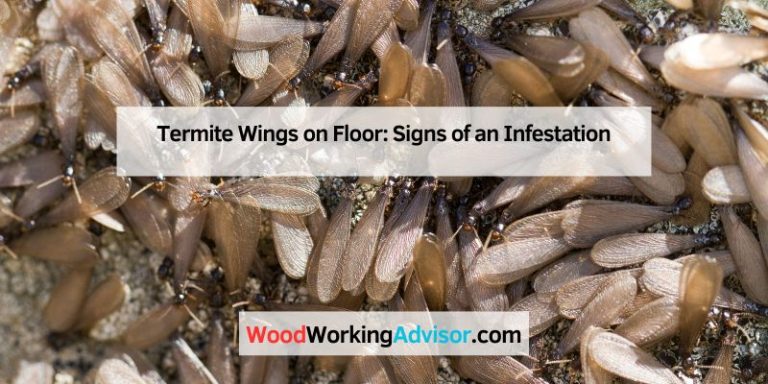
- Swarmers: Seeing winged reproductive termites indoors, especially near windows or lights during warmer months, is a huge sign. They shed their wings shortly after landing.
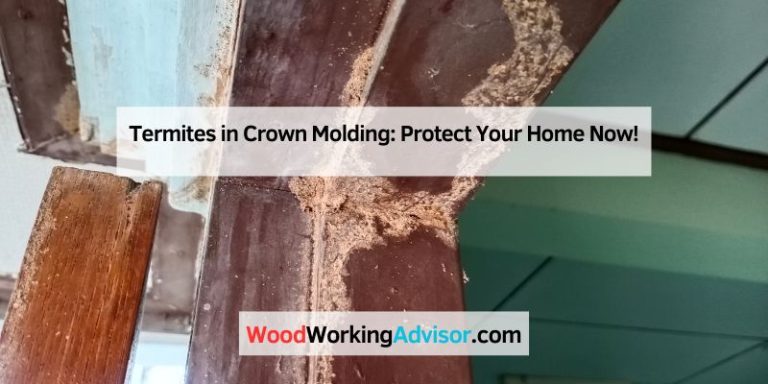
- Blistered Wood Appearance: Wood that sounds hollow when tapped, or that appears slightly warped or blistered, may hide internal galleries.
Why Identification Matters
Different termites require different approaches. Fumigation, for example, is often the go-to for severe, widespread subterranean infestations. However, because drywood termites are consolidated within dry structural wood, we can often use more localized, direct treatments that are less invasive for the homeowner.
The DIY Approach: Spot Treatment for Localized Drywood Termite Kill
If you only find small clusters of frass or evidence in a single piece of furniture or a beam you can easily access, a localized DIY spot treatment is a fantastic, affordable first step. This focuses on eliminating the colony section you can reach.
Step 1: Locate and Expose the Galleries
You need to give the treatment a direct path to the nest. Use your flashlight and a very small pick or screwdriver to gently probe where you see the frass. Drywood termites create small, smooth galleries or tunnels inside the wood.
- Carefully drill a small hole (about 1/8 inch) directly into the area where you suspect the activity is centered. Drill down until you feel the hollow space—this is the gallery.
- If you hit wood dust or frass, you are in the right spot. Clean out the immediate surface area so the injection point is clear.
Step 2: Choose Your Targeted Treatment Method
For DIY control, we focus on non-repellent chemicals that the termites eat or absorb, leading to colony elimination. Borate products are a favorite because they offer both kill and long-term protection.
Method A: Using Borate Solutions (The Long-Term Protector)
Borates (like disodium octaborate tetrahydrate, or DOT) are excellent wood preservatives and killers. When termites ingest them, the borate disrupts their digestion and prevents them from developing properly. They are low-toxicity to humans once dried but disastrous for wood-eating insects.
Tools You Need:
- Borate wood treatment solution (liquid spray or powder form)
- Small pressurized sprayer or large syringe/injector
- Drill and small bit
Application Steps:
- Mix the borate powder with water according to the product directions (usually a strong concentration).
- Using the syringe or injector, carefully pump the solution directly into the access holes you drilled in Step 1. Fill the gallery until you see the solution seep out slightly from adjacent small cracks—this shows penetration.
- If using a spray version, saturate the surface around the hole heavily.
- Seal the hole lightly with wood putty or caulk after treatment, but ensure the initial solution has time to soak in deeply before sealing completely.
Method B: Diatomaceous Earth (DE) for Dusting
Food-grade Diatomaceous Earth is made of fossilized algae shells. To termites, it’s sharp sand that cuts through their exoskeleton, causing them to dehydrate and die. It’s chemical-free and safe around people and pets once settled.
Application Steps:
- Use a small bulb or bellows duster specifically designed for insecticides. You want a light, barely visible layer of dust inside the gallery. Too much dust will deter the termites from crawling through it.
- Insert the nozzle of the duster into the access hole and puff several small bursts into the gallery.
- If you find piles of frass near a clear kick-out hole, carefully dust the entrance. The termites will drag the dust deeper into the tunnels.
Expert Tip: Borates offer residual protection within the wood fibers, while DE relies on direct contact. Combining a deep borate injection with surface DE dust on accessible points gives you the best chance in a DIY scenario.
When to Call the Pros: Fumigation and Structural Treatments
Sometimes, the infestation is too large, too deep inside load-bearing walls, or spans multiple areas of the home, making DIY treatments impractical or risky. This is when professional, whole-structure treatments become necessary. This level of pest control requires specialized equipment and licensing.
Understanding Fumigation (Tenting)
Fumigation is the gold standard for widespread, hard-to-reach drywood termite colonies because the gas penetrates every void in the structure, killing 100% of the living pests inside. While intense, it offers long-term peace of mind for severe cases.
How Fumigation Works: The Process
This process involves completely sealing your home under a massive, airtight tent.
| Stage | Description |
|---|---|
| Preparation | You must vacate the home. All food must be removed or sealed. Plants and pets must be moved. The crew checks plumbing and utility lines. |
| Tenting | A large vinyl or nylon tarp is carefully lowered over the entire house and secured to the ground to create an airtight seal. |
| Fumigant Application | A certified professional introduces a lethal gas (commonly sulfuryl fluoride) into the sealed structure. This gas permeates all wood galleries. |
| Exposure Period | The gas remains active for a set period (usually 24–72 hours, depending on conditions). |
| Aeration & Release | The tent is removed, and fans ventilate the home thoroughly to ensure the gas dissipates to safe levels before you can return. |
You can learn more about regulated pesticide use and structural pest control from governmental sources, such as EPA guidelines on termite treatment safety protocols.
Alternative Professional Option: Local Heat Treatment
Some homeowners prefer to avoid fumigant gases. Local heat treatment is an excellent alternative for spot-treating areas like wall voids or large timbers. The pest control company uses powerful heaters to raise the temperature of the affected wood area to 140°F or higher for a sustained period.
Pros and Cons of Heat Treatment:
- Pro: Very safe for nearby items that cannot be moved (e.g., unique wallpaper, fragile books left near the treated wall). It uses no chemical fumigants.
- Con: Can be challenging to ensure the heat penetrates deep enough into all concealed voids compared to a gas that permeates everything.
Protecting Your Wood After Treatment: Prevention is Key
Killing the existing colony is only half the battle. To protect your future woodworking projects and the structural integrity of your home, you need to seal out future threats. Drywood termites can fly in, land on bare wood, and start new colonies quickly.
Creating Barriers with Termite-Resistant Finishes
This is where our woodworking focus really pays off. A good finish is also a great defense.
- Use Borate in Primers: When finishing any untreated wood surfaces—especially in attics, crawlspaces, or outdoor trim—use a primer that contains borate additives. This turns the wood itself into a repellent/killer.
- Thick Varnish and Paint Coats: Drywood termites prefer bare, untreated wood. Thick coats of exterior-grade paint or polyurethane seals the surface, making it harder for scout termites to penetrate and lay eggs. Every coating is a barrier!
- Seal All Entry Points: Go around your house and look for cracks where utilities enter (pipes, wires) or where trim meets siding. Seal these gaps completely with quality caulk or exterior foam. Termites only need a hairline crack to enter and establish a colony.
Managing Wood Sources
As a hobbyist, you likely keep spare lumber. Proper storage prevents you from inadvertently welcoming termites indoors.
- Store firewood, spare lumber, and scrap wood at least 20 feet away from your home and 6 inches off the ground.
- Inspect any secondhand wood you bring into the shop or house, even if it looks clean. Give it a borate spray treatment just in case before it touches your existing stock.
- Avoid stacking wood directly against exterior foundation walls or siding.
Safety First: Handling Termite Kill Products
We want to eliminate the bugs, not ourselves or our families. Safety gear is non-negotiable when applying liquid or dust treatments.
| Safety Step | Why It Matters |
|---|---|
| Wear Proper PPE | Use nitrile gloves, long sleeves, safety glasses, and a particulate respirator when drilling or dusting. This prevents skin contact and inhalation of dusts/vapors. |
| Ventilation | If using liquid insecticides, ensure the area is well-ventilated. If possible, work outdoors or open all windows before applying liquid spot treatments indoors. |
| Read the Label (Every Time!) | Product labels are legal instructions. They tell you exactly how much to mix, where it can be applied (e.g., “Do not use near food prep surfaces”), and safe re-entry times. |
| Storage | Store all pest control chemicals locked away from children and pets, ideally in their original containers. |
Remember, most borate treatments we use for prevention are very low-risk once dry, but handling the concentrated liquid requires respect and protective gear.
Troubleshooting Common DIY Termite Treatment Issues
Even with the best intentions, sometimes the first attempt doesn’t go perfectly. Here are a few troubleshooting tips based on common beginner mistakes.
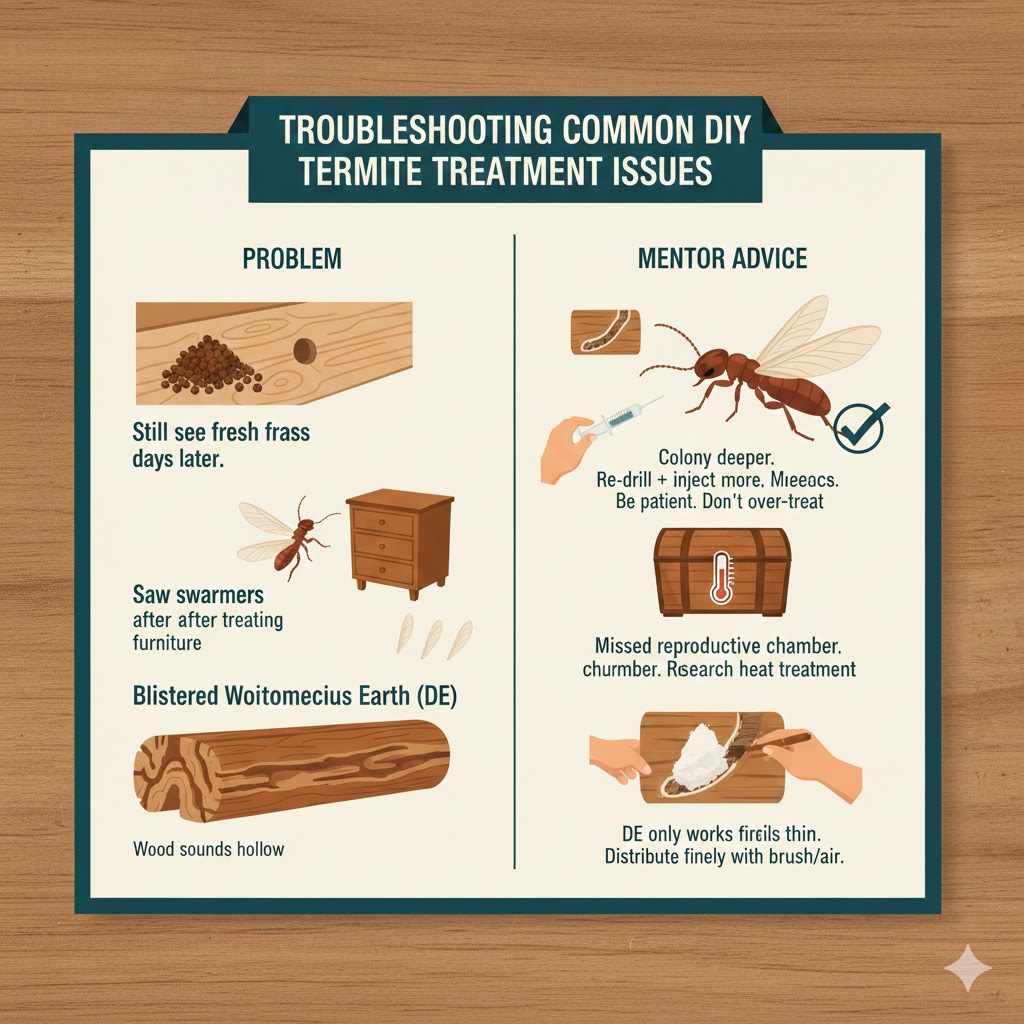
Problem: I treated the hole, but I still see fresh frass days later.
Mentor Advice: This likely means the main colony nest is deeper, or the treatment didn’t fully penetrate the main gallery chamber. Re-drill a new hole slightly to the side of the previous one and inject more liquid solution or dust. Be patient; some contact treatments take days to kill the deep insects. Do not over-treat one spot to the point of damaging the wood structure.
Problem: I saw swarmers a week after treating a piece of furniture.
Mentor Advice: The localized treatment likely missed the primary reproductive swarm chamber within that piece. If this is a piece you can move (like an antique chest), the safest bet might be isolating it and researching heat treatment options (like large wooden kiln boxes used by specialists) or removing the piece entirely for external treatment.
Problem: I used too much Diatomaceous Earth, and the insects aren’t dying.
Mentor Advice: DE only works when insects crawl through a thin layer that clings to their bodies. If you heavily clumped it, they will walk around it. Gently use a brush or a light puff of air from a compressor (on very low setting!) to distribute the dust more finely into the cracks and galleries. Think ‘dusting a piece of furniture,’ not ‘filling a pipe.’
FAQ: Quick Answers for Homeowners Battling Drywood Termites
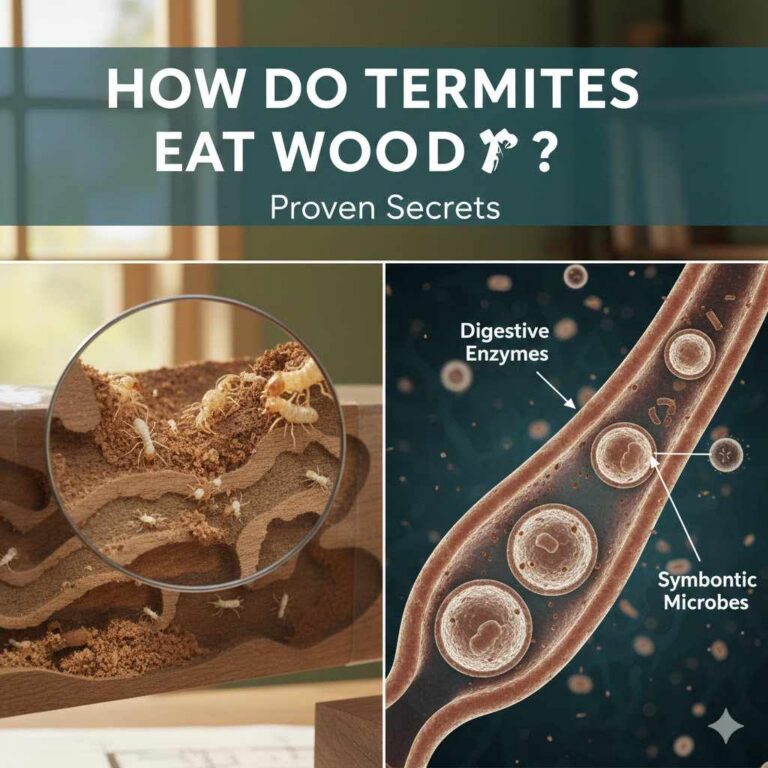
Q1: How fast do drywood termites eat wood?
A: They eat slowly but steadily, consuming wood along their galleries 24 hours a day. The damage appears slow compared to subterranean termites, but a severe infestation can cause significant structural damage over several years.
Q2: Can I just use bleach or vinegar on the visible wood?
A: Bleach and vinegar might kill a few termites they come into direct contact with on the surface, but they will not penetrate the interior galleries or provide residual protection. They are not effective long-term solutions for killing the colony.
Q3: How much does it cost to kill drywood termites DIY versus hiring a professional?
A: DIY spot treatments using borate products or dusts generally cost between $50 and $150 for supplies for a localized issue. Professional fumigation costs range significantly, usually starting at $1,500–$3,000+, depending on the home size.
Q4: How do I know if the borate treatment worked?
A: If you see no new signs of frass (droppings) appearing from the treated wood over several months (especially during warm weather months when activity peaks), the localized colony has likely died off or been neutralized.
Q5: Are drywood termites attracted to my vegetable garden?
A: Drywood termites feed exclusively on seasoned wood, paper products, and cellulose found in construction materials. They are not attracted to living plants, landscaping, or vegetables like subterranean termites can sometimes be.
Q6: If I treat one piece of infested furniture, will the termites in my wall move to another spot?
A: Drywood termite colonies are generally isolated. Treating one piece of wood kills the colony within it, but it won’t stop another independent colony from establishing itself elsewhere if the environmental conditions (food source/humidity) are right.
Conclusion: Restoring Confidence in Your Woodwork
Facing a termite issue can feel overwhelming, especially when you realize these persistent pests might be eating away at the very things you value—whether it’s the structural frame of your home or a cherished woodworking project. But take a deep breath. By correctly identifying your enemy (the drywood termite) and choosing the right tool for the job, you have the power to stop the infestation. For manageable situations, a combination of carefully drilled borate injections and targeted dusting provides excellent, long-lasting defense while keeping costs down. Remember, thoroughness is your greatest strength in this fight.
Clean up the debris, seal those access points, and proactively apply protective finishes to new and existing wood. You have the skills, and with this clear guide, you have the solution. Go forward, secure your wood, and keep crafting with confidence!