How Long before Staining Pressure Treated Lumber: Key Tips
Are you looking to enhance the appearance of your outdoor projects with a fresh coat of stain? If you’re working with pressure treated lumber, timing is everything.
Staining too soon or too late can impact the durability and aesthetics of your wood. This article will guide you on the perfect time to stain your pressure treated lumber, ensuring your investment looks great and lasts for years. Uncover the secret to achieving that professional finish, and say goodbye to common staining mistakes.
Dive in to discover how a simple timing tweak can make all the difference in your DIY projects.
Credit: www.homedepot.com
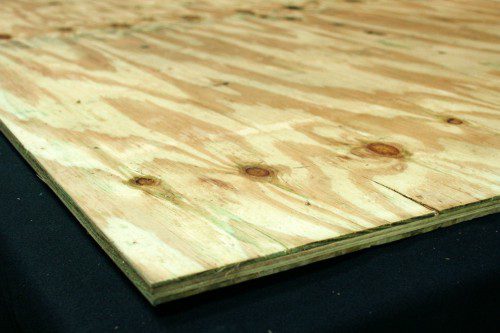
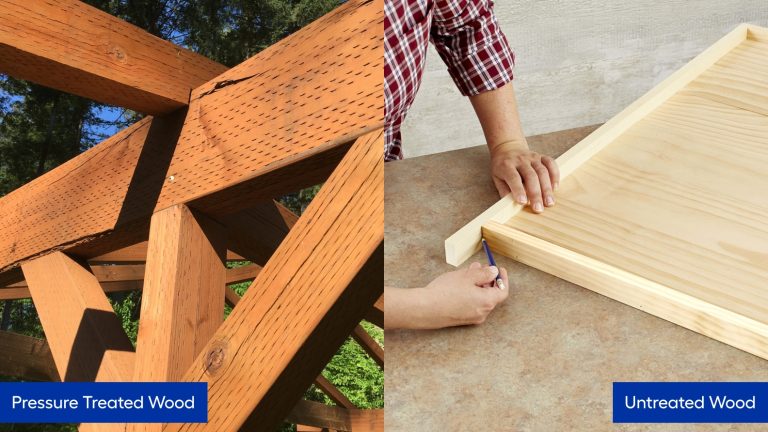
Understanding Pressure Treated Lumber
There are different types of pressure treated lumber. Some are used for ground contact. Others are meant for above-grounduse. Ground contact wood is treated more. It resists bugs and rot better. Above-ground wood is less treated. It is lighter and cheaper. Both types help build strong and lasting structures.
Pressure treated lumberhas many benefits. It lasts a long time. It fights off bugs and decay. This wood is great for decksand fences. You can use it for garden bedstoo. It keeps its shape well. Rain and sun do not harm it easily. This wood is strong and safe.
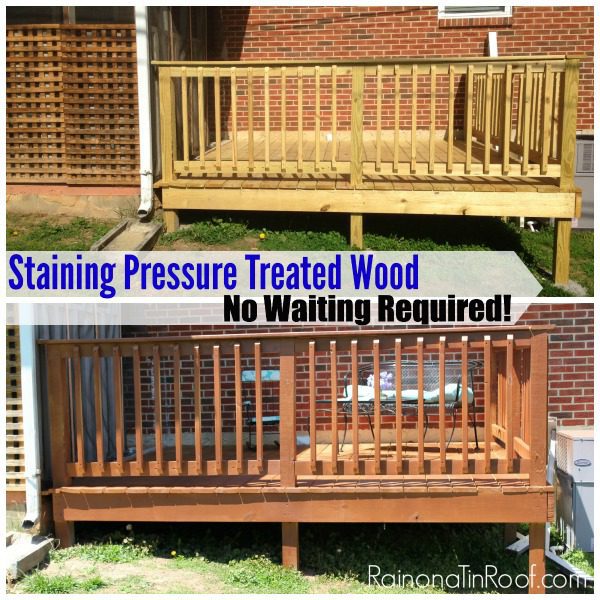
Importance Of Timing For Staining
Staining too soon can harm pressure treated lumber. It may peel or crack. Wood needs time to dry properly. Moisture can ruin the stain’s finish. A waiting period is crucial. Allow wood to dry for a few months. This ensures a strong bond. Premature staining leads to problems. It can cause uneven coloring. The wood may not absorb the stain well. Patience is key for the best results.
Weather affects staining. Rain can delay the process. Sun helps wood dry faster. Humidity can slow drying time. Choose a dry day for staining. Wet wood doesn’t stain well. Avoid rainy or humid days. Sunny days are best for staining. They help wood dry well. Weather influences stain quality. Check forecasts before starting. Proper timing ensures good results.
Signs Lumber Is Ready For Staining
Wood changes color as it dries. It may turn lighter or less green. This color shift can show that the wood is ready. Look for cracks on the surface. Cracks mean the wood is drying out. Dry wood is better for staining. Feel the wood with your hand. Dry wood feels different. It feels less damp and more solid.
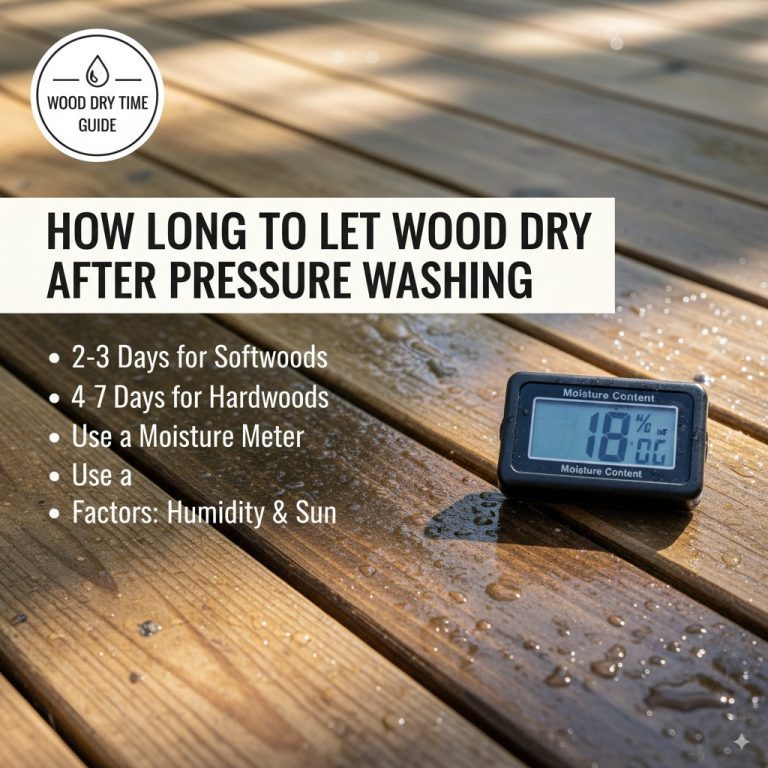
A moisture meter is a helpful tool. It shows if the wood is dry enough. Insert the meter into the wood. Read the number on the screen. Ideal moisture content is less than 15%. Higher numbers mean the wood is still wet. Wait until the number is below 15%. This ensures the stain will stick well.
Preparation Steps Before Staining
Always start by cleaning the lumber. Remove dirt and grime. Use a brush and water. Scrub gently to avoid damage. Ensure all debris is gone. This keeps the surface smooth. A clean surface helps stain stick better.
Let the lumber dry completely. Use a fan for faster drying. Sunlight also helps. Drying can take days. Moist wood does not absorb stain well. Touch the wood to check dryness. It should feel dry and warm. Always ensure it’s bone dry before staining.
Choosing The Right Stain
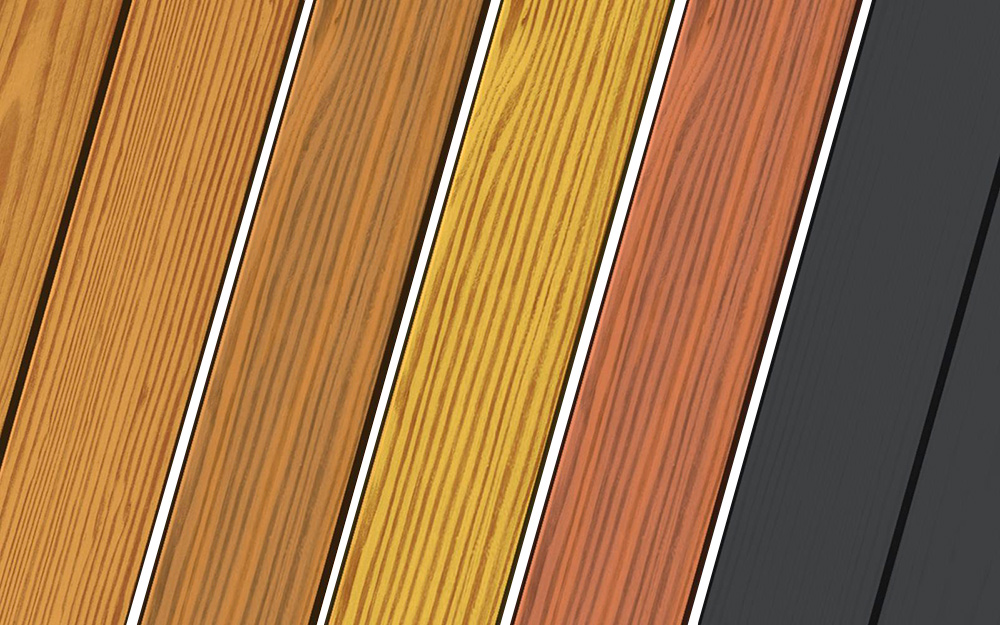
There are many types of stains for wood. Oil-based stainsare popular. They last long and protect well. Water-based stainsdry fast. They are easy to clean. Semi-transparent stainsshow wood grain. They add color but keep wood’s look. Solid stainscover wood fully. They look like paint. Each type has benefits. Choose based on your need.
Color is important for wood stain. Light colorsmake wood look new. They reflect sunlight. This keeps wood cool. Dark colorsadd warmth. They absorb sunlight. This can make wood hot. Think about your style. Also, consider your climate. Your choice affects wood’s life.
Application Tips For Optimal Results
Using the right toolsis key. A paintbrushor rollerworks well for staining. Make sure the brush is clean. This helps spread the stain evenly. A sprayer can cover large areas fast. But be careful. It might spray too much. Test it on a small spot first. Choose a day with good weather. Avoid rainy days. The wood must be dry before you start. Check the label on the stain. Follow all instructions. This ensures the best results. Allow the stain to dry fully. This may take several hours.
Safety is very important. Wear gloves to protect your hands. Use a mask to avoid breathing in fumes. Make sure the area is well-ventilated. This keeps fumes from building up. Keep childrenand petsaway while working. They might touch or inhale harmful substances. Clean up spills quickly. Dispose of materials properly. Follow safety guidelines on the stain label. These steps ensure a safe environment. Stay alert and work carefully.
Maintenance After Staining
Pressure treated lumber needs regular care after staining. Inspect it every few months. Check for any cracks or peeling. Address issues quickly to prevent damage. Keep the surface clean by sweeping off debris. Dirt can affect the wood over time. Use a mild detergent for cleaning. Avoid harsh chemicals. They can harm the wood.
Regular Inspection
Look for any signs of wear or damage. Spot fading colors in the stain. This could mean it’s time to reapply. Check for mold or mildew. Address it promptly to stop spread. Examine joints for signs of weakness. Make sure nails are not loose.
Reapplication Guidelines
Reapply stain every few years. Choose the right season for staining. Warm, dry weather works best. Follow instructions on the stain product. Ensure the wood is clean before starting. Sand rough spots to ensure even application. This helps the stain adhere better.

Credit: www.sand-stain.com
Frequently Asked Questions
How Can I Determine If Pressure Treated Wood Is Ready For Staining?
To determine if pressure treated wood is ready for staining, perform the water test. Sprinkle water on the wood surface. If the water beads up, it’s not ready. If the wood absorbs the water, it’s ready for staining. Ensure the wood is clean and dry before starting.
What Happens If I Stain Pressure Treated Wood Too Soon?
Staining pressure treated wood too soon traps moisture inside. This leads to peeling, uneven color, and poor adherence. Wait for the wood to dry completely before staining. This ensures proper absorption and a long-lasting finish. Typically, drying takes several weeks, depending on weather conditions and wood type.
What Should Never Be Done With Pressure Treated Wood?
Never burn pressure treated wood due to toxic chemicals. Avoid using it for indoor furniture and food preparation surfaces. Do not dispose of it improperly; follow local guidelines. Prevent direct contact with skin; wear gloves when handling. Avoid sanding or sawing without proper protective gear.
How To Tell If A Deck Is Dry Enough To Stain?
Check if the deck is dry by sprinkling water on it. If water absorbs within 30 seconds, it’s dry enough to stain. Ensure no rain or moisture for 48 hours prior. Use a moisture meter for precise readings, aiming for below 15% moisture content for optimal staining conditions.
Conclusion
Staining pressure-treated lumber needs timing and patience. Waiting ensures better results. Wood must dry completely before staining. This usually takes several months. Check moisture levels with a moisture meter. Stain when moisture is below 15%. Weather affects drying time, so be patient.
Choose the right stain for your lumber type. Regular maintenance extends wood life and appearance. Proper staining protects wood from weather damage. It also enhances its natural beauty. Follow these steps to keep your lumber looking great. Now you’re ready to tackle your staining project with confidence!