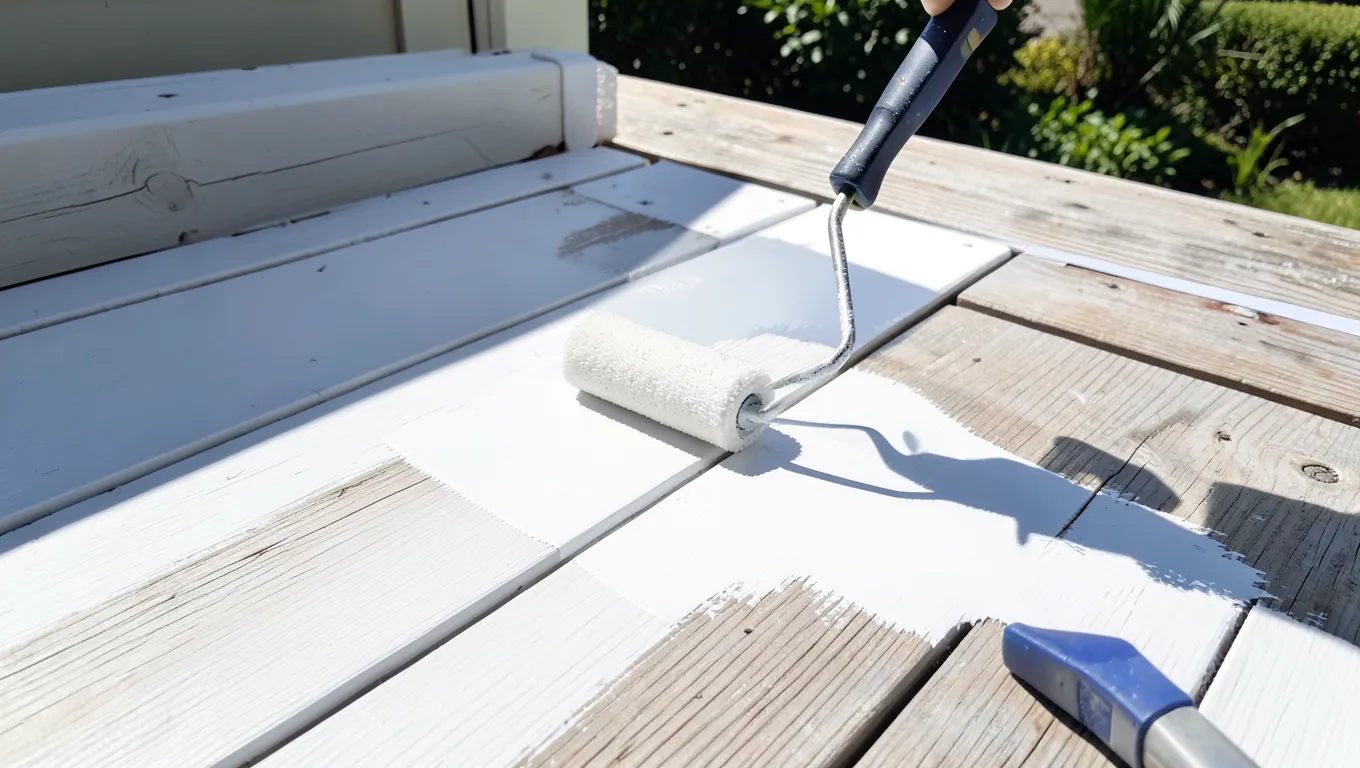
Can You Stain Pressure Treated Wood White? Only With Solid Stain
Yes, but only with a solid (opaque) exterior stain, not a transparent or semi-transparent one. Pressure-treated lumber is almost always southern yellow pine with a greenish or brownish chemical tint, and a see-through stain lets that tint show through no matter how light the stain color is — only a solid-color product actually covers it and reads as true white.
This is the detail most guides skip, and it’s the difference between a project that looks white and one that looks like a pale green-gray. Below is what “solid stain” actually means, why the standard drying-time advice is often wrong, and the prep steps that matter for pressure-treated lumber specifically.
Why Stain Opacity Is the Real Decision
True-White Solid Stain Pick
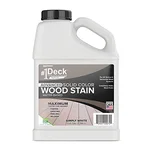 |
#1 Deck Premium Solid Color Stain & Sealer, Simply White – $54.95 A true solid/opaque formula, not semi-transparent — it’s built specifically to fully cover a treated deck’s natural tint rather than just adding a light wash of color over it.
|
Exterior wood stains come in a spectrum of opacity, and the label usually says which:
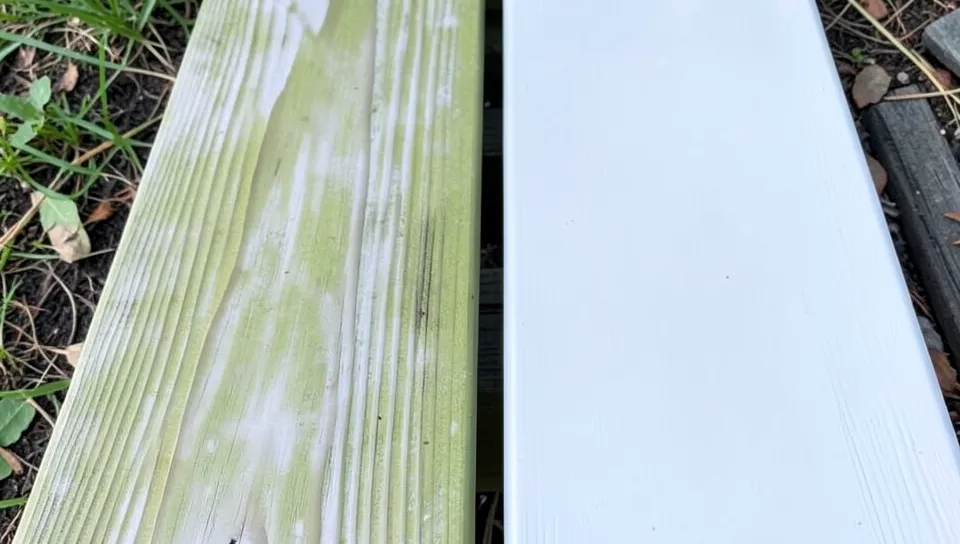
- Transparent / semi-transparent: shows the wood grain and any existing tint through the color. On pressure-treated pine, this means the greenish or brownish chemical color mixes with whatever stain you apply — a “white” semi-transparent stain typically ends up looking pale sage or gray, not white.
- Semi-solid: a middle ground — some grain shows through, but most of the underlying wood color is masked. Can get closer to white but usually still shows a slight tint in low light.
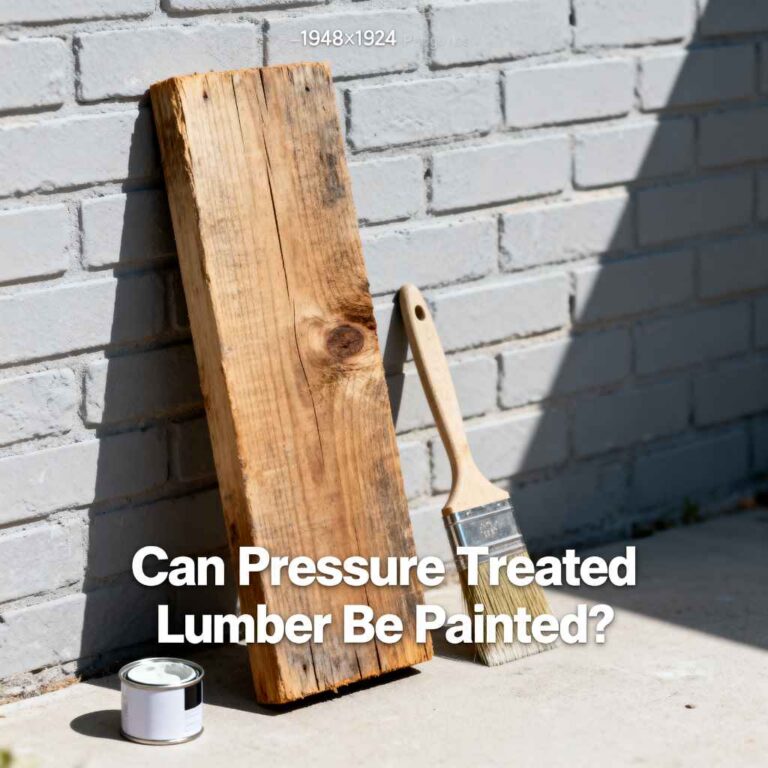
- Solid (opaque): functions much like a thin paint — it fully covers the wood’s natural color while still being thin enough to show wood texture (unlike paint, which sits on top as more of a film). This is the only category that reliably produces true white on pressure-treated lumber.
If a product doesn’t specify opacity on the front label, check the back — reputable exterior stain lines (Behr, Sherwin-Williams SuperDeck, Cabot) list it explicitly because it’s the single biggest factor in how the final color turns out.
What “Pressure Treated” Actually Means for Staining
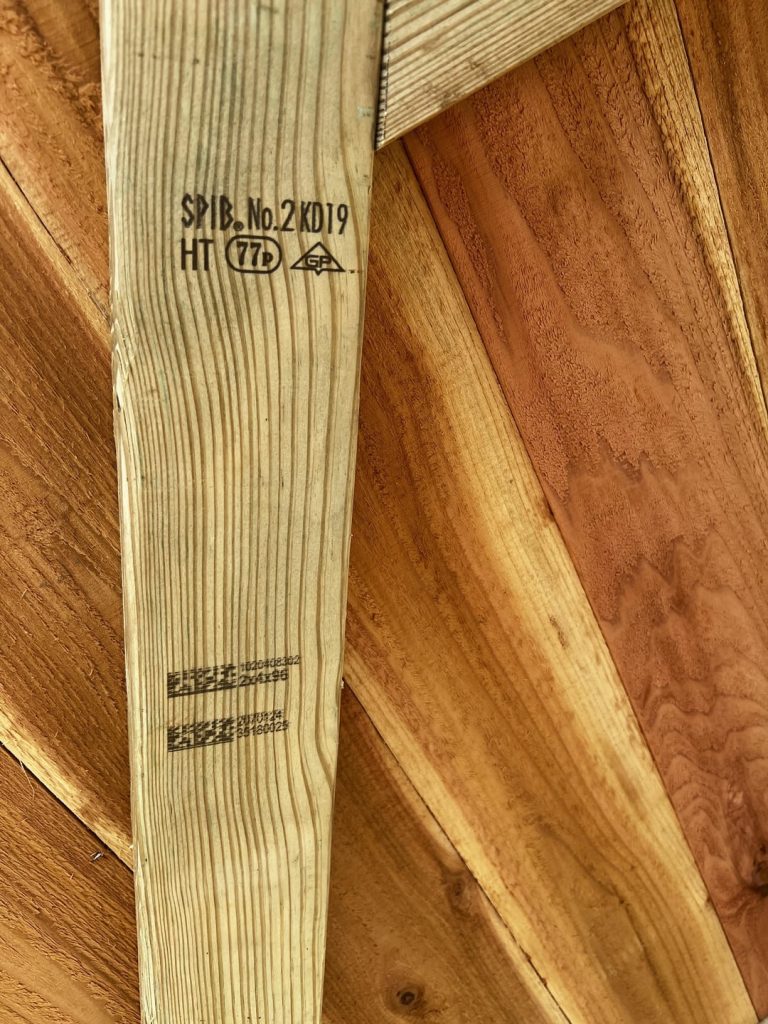
In the US, pressure-treated lumber sold at home centers is almost always southern yellow pine infused with a copper-based preservative (ACQ or copper azole/MCA being the most common today). Cedar and redwood are naturally rot-resistant and are essentially never pressure-treated — if you’re working with one of those, you’re dealing with a completely different staining situation than a treated 2×4 or deck board, and generic “stain by wood species” advice that lumps pine, cedar, and redwood together doesn’t actually apply to a pressure-treated project.
That copper treatment is also why some oil-based stains list ACQ/MCA compatibility explicitly on the can — the copper can interact poorly with certain older oil formulations. Check the label rather than assuming any oil-based stain is safe to use.
The Real Way to Check If It’s Dry Enough
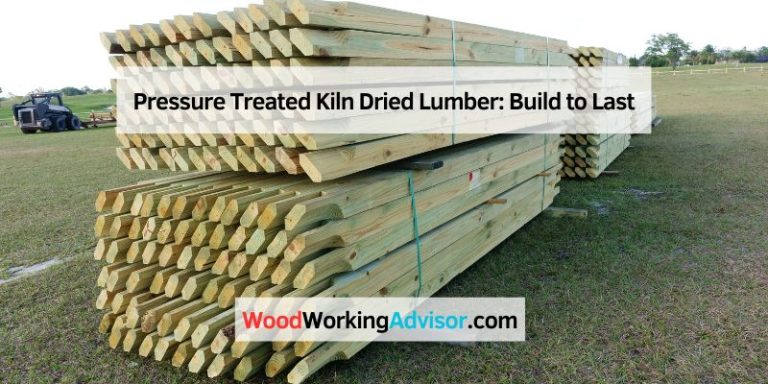
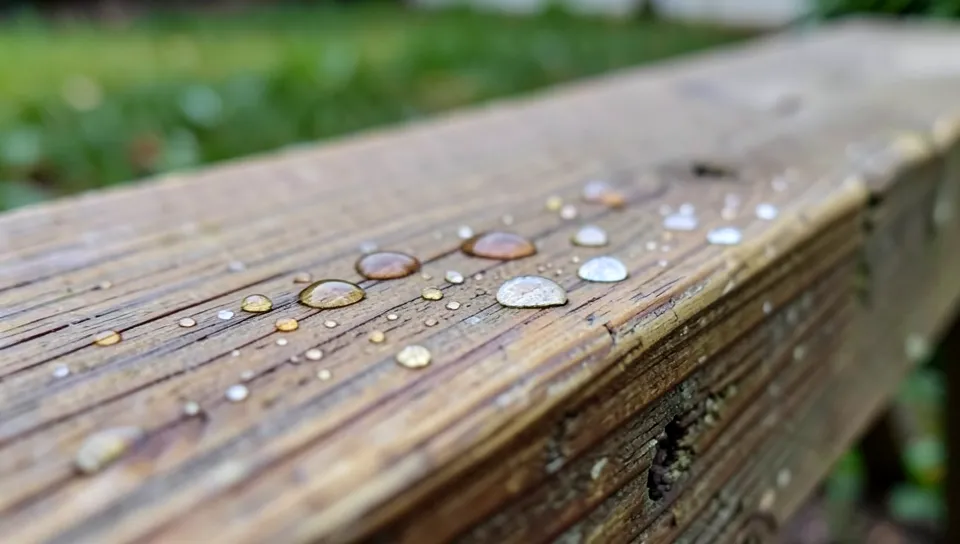
“Wait 3-6 months” is a rough average, not a real test — a board’s actual dry time depends on how wet it was at purchase, your climate, and whether it’s kiln-dried-after-treatment (KDAT, which is ready to stain much sooner). The actual test: sprinkle water on the surface. If it beads up, the wood is still too wet to stain. If it soaks in within a minute or two, it’s ready. Check a few different spots, since PT lumber can dry unevenly.
For climate-by-climate wait times, a moisture-meter target, and the full step-by-step application process once your wood tests ready, see our complete guide to timing and applying white stain on pressure-treated wood.
Preparation That Actually Affects the Finish
- Wash the surface with a wood cleaner or a mild detergent solution — this removes surface dirt and the manufacturing residue (“mill glaze”) that blocks stain absorption, not just cosmetic grime.
- Rinse thoroughly and let it dry completely, then run the water-bead test above before continuing.
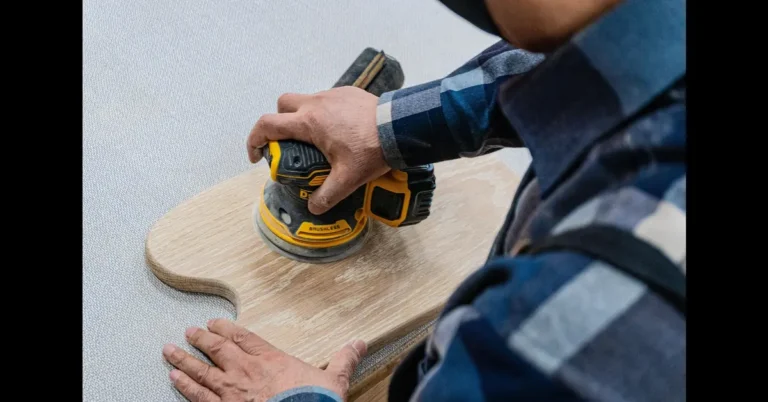
- Lightly sand any glazed or shiny spots with fine-grit sandpaper — mill glaze often shows up as slightly shinier patches rather than being visible across the whole board.
- Wipe away sanding dust with a damp cloth immediately before staining.
Application
Solid stains go on similarly to a thin paint: apply with a brush or roller for controlled, even coverage, following the wood grain. A sprayer covers large decks faster but should be back-brushed immediately after spraying to work the product into the grain and avoid a blotchy, uneven surface — this matters more with solid stains than with transparent ones, since any missed spot is more visible against an opaque white. Two thin coats give more even coverage than one heavy coat, which is prone to lap marks and drips on vertical surfaces like railings and fence pickets.
Always test on an offcut or hidden spot first — solid stain colors can look different on pressure-treated pine than on the paint chip, since the wood’s own tint still has a small effect even under an opaque coat.
Maintenance
White solid stain shows dirt and mildew more visibly than darker colors, so plan on an annual wash with a soft brush and mild soap, more often in humid climates prone to mildew. Watch high-wear areas — deck boards you walk on and horizontal railing tops — for wear-through first; these will need a maintenance coat before the rest of the project does. Most solid exterior stains are rated for 5-8 years before a full recoat, but high-traffic horizontal surfaces often need touch-ups well before that.
Frequently Asked Questions
Can Pressure Treated Wood Be Stained White?
Yes, but only with a solid (opaque) stain. A transparent or semi-transparent “white” stain will let the wood’s natural greenish or brownish treatment tint show through and won’t look truly white.
What Type Of Stain Is Best For Pressure Treated Wood?
For a white finish specifically, a solid/opaque exterior stain labeled compatible with ACQ or copper azole-treated lumber. For a natural-grain look in other colors, a semi-transparent stain works, but it won’t achieve true white on treated pine.
How Long Should You Wait To Stain Pressure Treated Wood?
Don’t go by a fixed calendar window — run the water-bead test instead. If water beads on the surface, wait longer; if it soaks in within a minute or two, the wood is ready. Kiln-dried-after-treatment (KDAT) lumber is often ready much sooner than wet PT lumber.
Will Staining Pressure Treated Wood Change Its Color?
A solid stain will fully change the visible color, since it covers the wood like a thin paint. A transparent or semi-transparent stain only tints the existing color and won’t fully mask the pine’s natural or treatment-related tint.
Conclusion
Getting pressure-treated wood truly white comes down to one choice: a solid, opaque stain, not a transparent or semi-transparent one. Combine that with a real dry-ready check (the water-bead test, not a flat calendar wait) and proper mill-glaze prep, and the finish holds up the way a good exterior paint job would.
Sponsored / affiliate links. As an Amazon Associate I earn from qualifying purchases. I may earn additional commission from eligible campaigns.