How Long before You Can Paint Pressure Treated Lumber: Expert Guide
Imagine transforming your backyard with a fresh coat of paint on your new deck. You’ve invested in pressure treated lumber, knowing it’s durable and resistant to the elements.
But, there’s one lingering question: “How long before you can paint pressure treated lumber? ” This is crucial because the timing can make or break the longevity and appearance of your project. You want vibrant colors that last and don’t peel away with the first rain.
Understanding the right time to paint ensures your investment shines and withstands the test of time. Dive into this guide to learn the secrets behind perfectly painting pressure treated lumber, so your outdoor spaces stay beautiful and resilient for years.
Understanding Pressure Treated Lumber
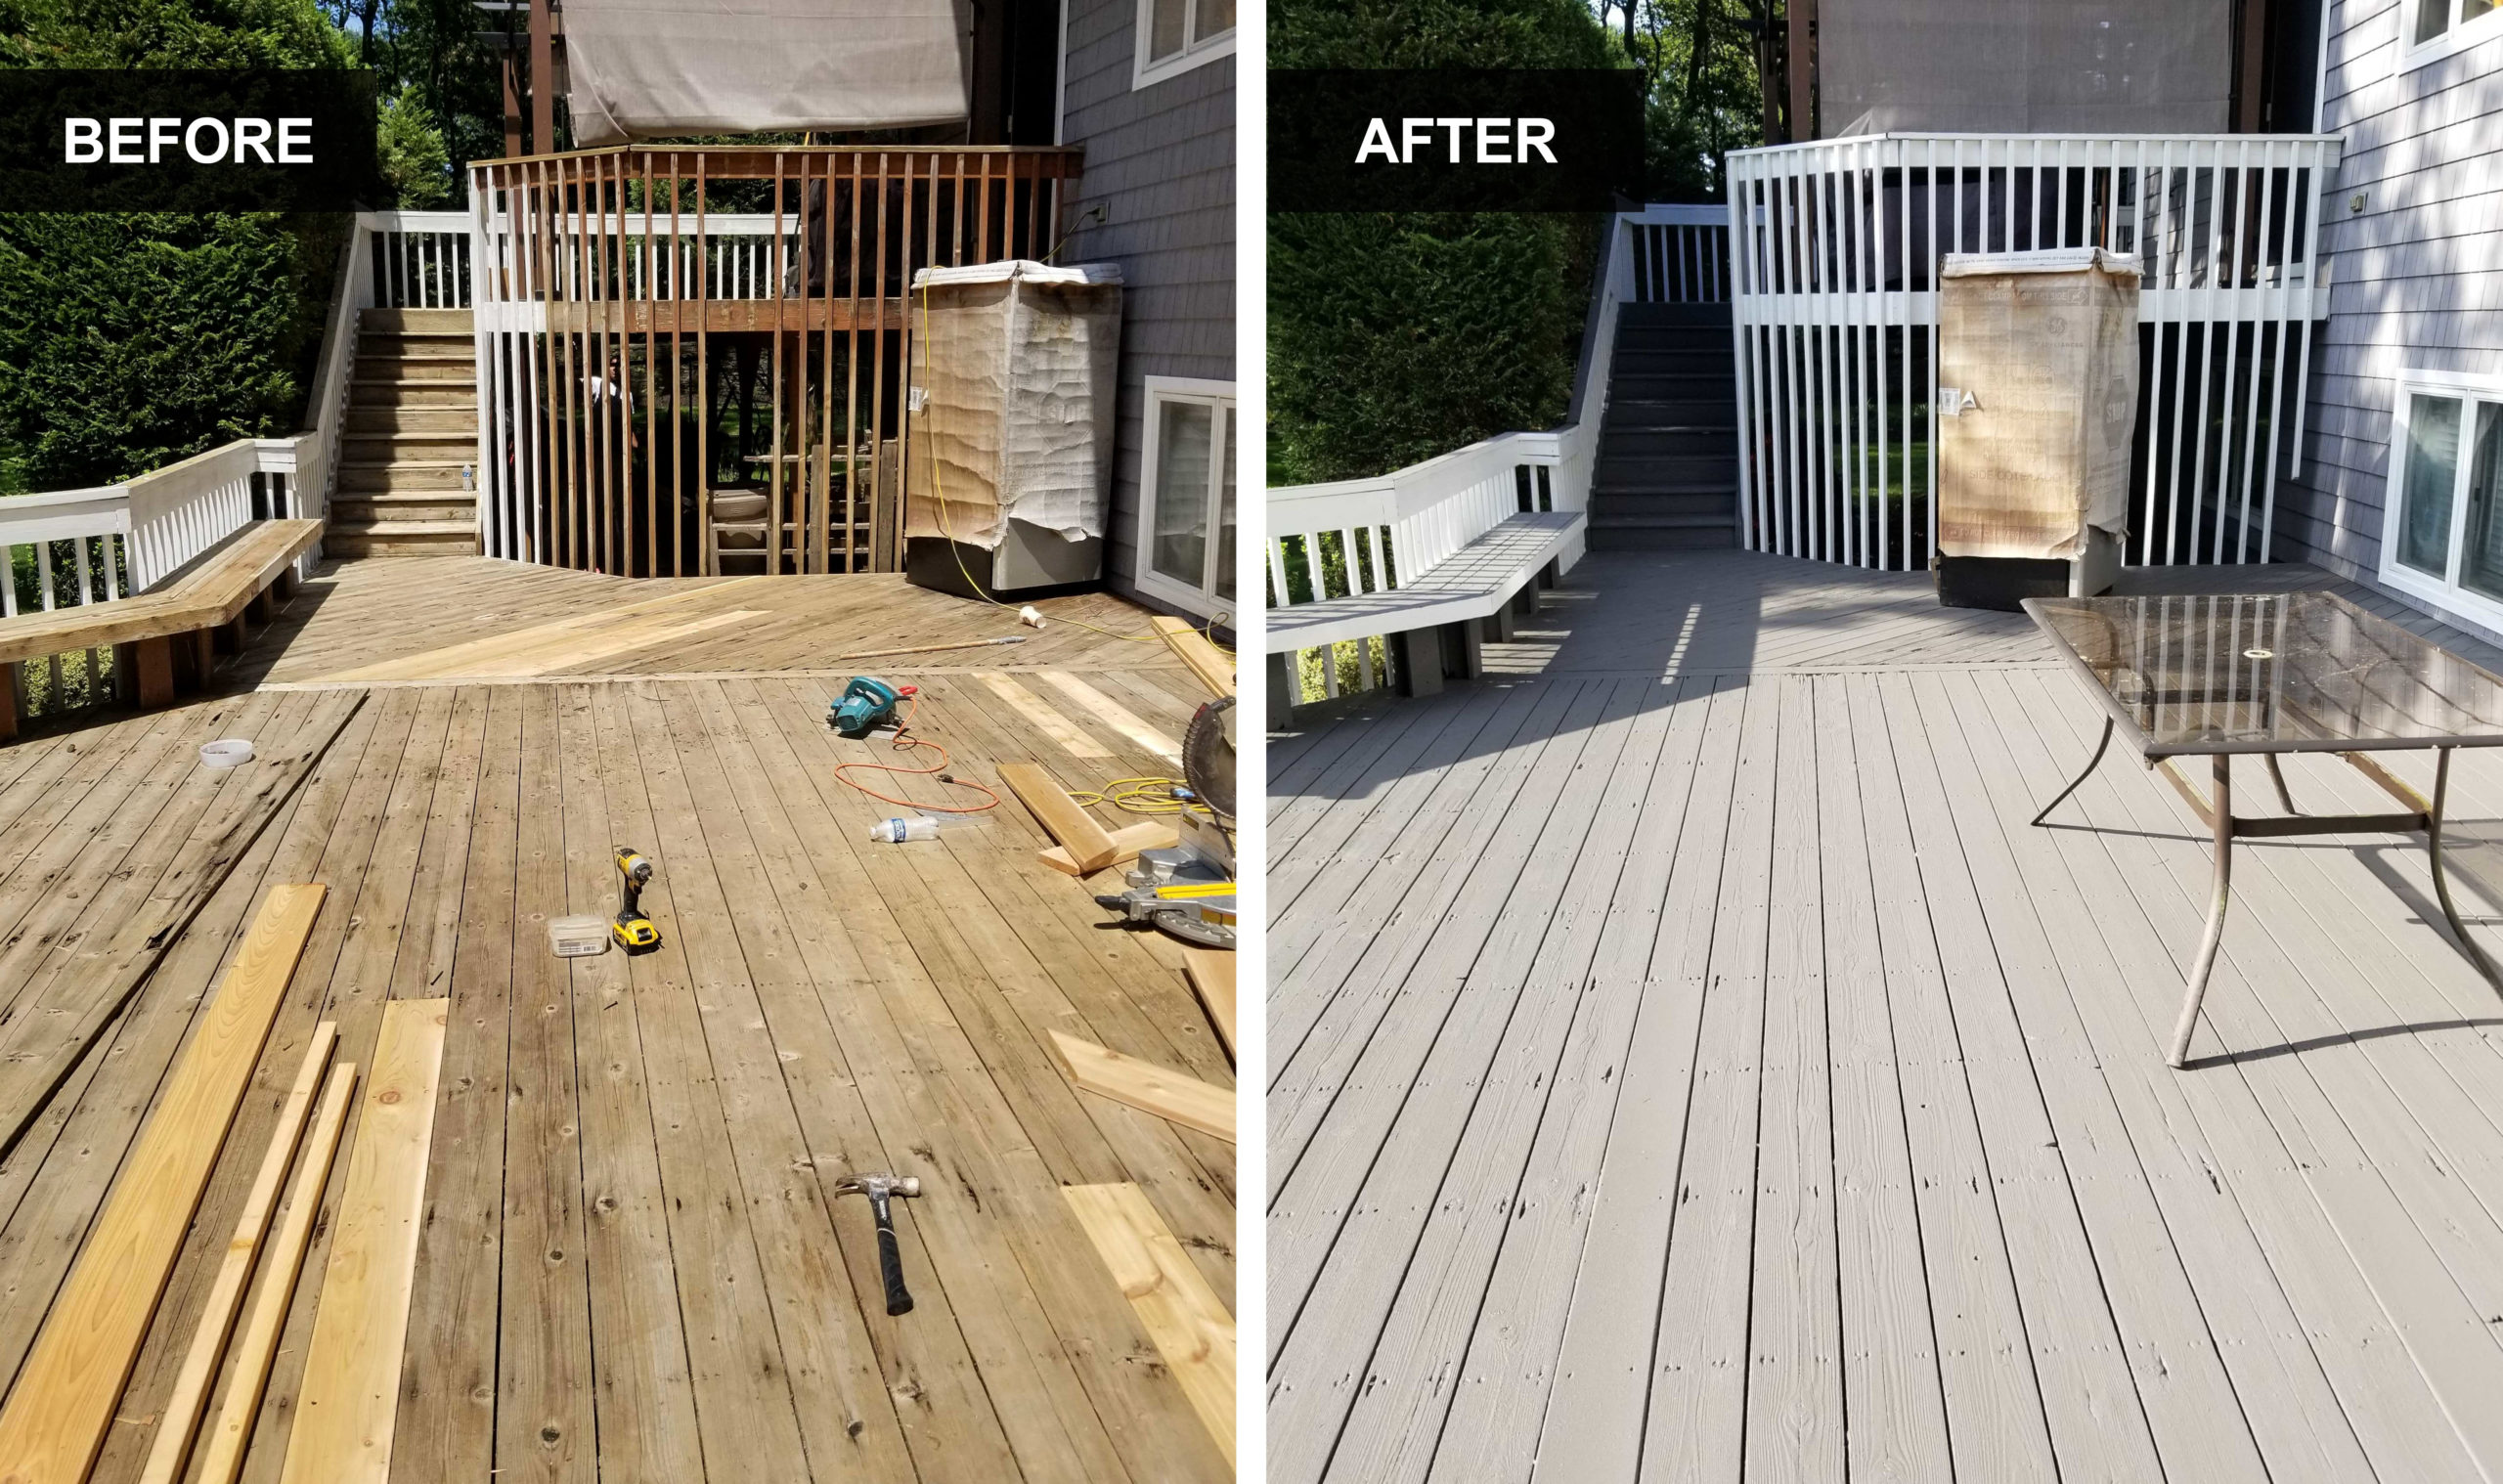
Pressure treated lumber is wood treated with chemicals. These chemicals help it last longer. The treatment keeps bugs and water away. This makes the wood strong. Pressure treated wood is often used outside. It’s tough and does not rot easily.
There are many benefits to using this type of wood. It can last for many years. Pressure treated lumber is cheaper than some other woods. It also protects against bugs and mold. This makes it a popular choice for building.
Builders use this wood in many ways. It is great for decks and fences. Pressure treated lumber is also used for outdoor furniture. It is strong and lasts in any weather. Many people choose it for garden projects too.

Credit: www.paintritepros.com
Preparation Before Painting
Pressure treated lumber often holds moisture. Check moisture levels with a moisture meter. Wood must be dry before painting. Wet wood can cause paint peeling. Drying time varies. It depends on weather and wood type. Patience is key for a good finish.
Gather essential tools and materials. You’ll need a moisture meter, sandpaper, and primer. Choose a paintbrush or roller. Select quality paint for outdoor use. Ensure all items are ready before starting. Proper preparation leads to better results.
Safety is important. Wear gloves and goggles. Protect your skin and eyes from chemicals. Work in a ventilated area. Avoid inhaling fumes. Ensure tools are in good condition. Safety measures prevent accidents.
Ideal Timing For Painting
Drying time depends on several factors. Wood moisture level is key. Higher moisture means longer drying. Weather also plays a big role. Sunlight can speed up drying. Humidity slows it down. Temperature matters too. Warm days dry wood faster. Cold days slow the process. Airflow is important. Good airflow helps drying.
Waiting before painting is crucial. Experts suggest waiting 3 to 4 months. This allows wood to dry well. The waiting time can vary. Check the wood’s dryness before painting. A moisture meter can help. Aim for less than 15% moisture. This ensures the wood is ready.
Weather affects painting time. Sunny days are ideal for drying. Rainy days add moisture. This delays painting. Check the forecast before planning. Dry spells are best. Avoid painting in humidity. It traps moisture in wood. This can cause problems later.
Steps To Paint Pressure Treated Lumber
Pressure treated lumber needs time to dry before painting. Typically, wait six months for proper drying. Proper drying ensures paint adheres well and lasts longer.
Surface Preparation Techniques
Start by cleaning the lumber. Remove all dirt and dust. Use a mild detergent and water. Allow the wood to dry completely. Inspect for any rough spots. Sand these areas gently with sandpaper. Make sure the surface is smooth and even. Check for any visible moisture. Dry wood will hold paint better.
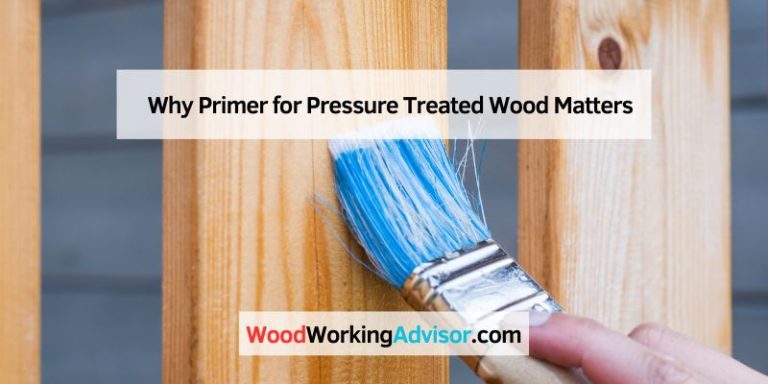
Primer Application
Choose a good-quality primer for wood. Apply the primer evenly. Use a brush or roller. Let the primer dry fully. It can take several hours. Check the instructions on the primer can. A second coat may be needed. Primer helps paint stick better. It also protects the wood.
Choosing The Right Paint
Pick paint made for outdoor use. Acrylic latex paint works well. It resists weather and wear. Choose a color you like. Make sure it’s safe for wood. Read labels carefully. Apply paint with a brush or roller. Two coats are often best. Let each coat dry well.
Common Mistakes To Avoid
Many rush to paint pressure treated lumber, leading to peeling or poor finish. Waiting at least six months allows the wood to dry properly. This prevents common painting mistakes and ensures a lasting result.
Painting Too Soon
Pressure treated lumber needs time to dry. Painting too soon traps moisture inside. This can cause the paint to peel. Wait several weeks before painting. Waiting is crucial for good results. Check the lumber’s moisture level first. Use a moisture meter if needed. Dry wood holds paint better. A simple test can avoid problems later.
Ignoring Weather Conditions
Weather affects drying and painting. Rain or high humidity can ruin the paint job. Dry, sunny days are best for painting. Avoid very cold or very hot days. Extreme temperatures can affect paint bonding. Check the weather forecast before starting. A good day ensures a smooth finish. Weather matters for successful painting.
Using Inappropriate Products
Choose the right paint for treated lumber. Not all paints work well. Use paint that seals wood and resists moisture. Oil-based paints are often recommended. They provide better protection. Check labels before buying. Quality products lead to longer-lasting results. Proper choice means fewer repairs later.

Credit: rainonatinroof.com
Maintenance Tips After Painting
Check the painted lumber often. Look for any signs of damage. This includes cracks or chips in the paint. Early detection can save time later.
Paint can start to peel over time. Scrape off the old paint. Then, sand the wood surface. This helps new paint stick better. Always use a primer before repainting.
Keep the wood clean and dry. Water can damage the paint. Use a soft brush for cleaning. Avoid harsh chemicals. They can strip the paint. Regular care keeps the wood looking nice.
Credit: www.precisionpaintingplus.net
Frequently Asked Questions
How Soon Can You Paint Treated Lumber?
Pressure treated lumber needs time to dry before painting. Typically, it’s best to wait six months. This allows moisture and chemicals to evaporate. Check moisture levels using a moisture meter. If it’s below 15%, the lumber is ready to paint.
Proper drying ensures better paint adhesion and durability.
Can You Paint Wet Pressure Treated Wood?
Painting wet pressure treated wood is not advisable. It won’t adhere properly and may peel. Allow the wood to dry completely. This usually takes several months. Use a moisture meter to check dryness. Properly dried wood ensures paint sticks well, enhancing longevity and appearance.
How Do You Prepare Treated Wood For Painting?
Start by cleaning the wood with soap and water. Let it dry thoroughly, usually for several months. Sand the surface to remove rough spots. Apply a primer designed for pressure treated wood. This enhances paint adhesion and durability. Finish by applying two coats of exterior paint.
What Type Of Paint Is Best For Treated Lumber?
Use exterior latex paint for pressure treated lumber. It’s flexible, allowing the wood to expand and contract. Latex paint is durable and offers excellent protection. Ensure the wood is dry before painting. Apply two coats for best results. Proper paint selection enhances the wood’s appearance and longevity.
Conclusion
Painting pressure-treated lumber needs patience and timing. Waiting ensures better results. Typically, allow the wood to dry for months. Three to six months is often recommended. Moisture content should be low. Use a moisture meter to check. Painting too soon can lead to peeling.
Proper preparation is key. Clean the surface thoroughly before painting. Choose the right paint for treated wood. This helps it last longer. Following these steps can enhance your wood’s appearance. And protect it from the elements. With the right care, your project will look great for years.
Enjoy your beautifully painted wood!