Why Primer for Pressure Treated Wood Matters
Pressure-treated wood resists rot and insects, but that chemical treatment doesn’t make it paint-ready. The preservatives forced into the wood under pressure leave it wet, and its surface is often rough and porous – two things that make paint or stain bond poorly if applied directly. A primer built for pressure-treated wood seals that porous surface, blocks the wood’s natural tannins and treatment chemicals from bleeding through, and gives your topcoat something solid to grip. Skip it, and peeling within the first year or two is a common result.
This guide covers why priming matters specifically for treated lumber, how to tell when the wood is actually dry enough to prime, and how to apply it so the paint or stain on top actually lasts.
What Makes Pressure-Treated Wood Different to Prime
A Reliable Stain-Blocking Starting Point
 |
Zinsser Bulls Eye 1-2-3 Primer – $32.99 A water-based, all-surface stain-blocking primer that bonds without sanding – a common choice for treated lumber before paint.
|
Pressure-treated lumber is placed in a chamber where preservative chemicals (commonly ACQ or micronized copper azole today; older stock may be CCA) are forced deep into the wood fibers under pressure. That process is what gives treated lumber its long service life outdoors, but it also leaves the wood saturated with moisture right off the rack – often too wet for paint or stain to bond properly. Applying a topcoat to wood that’s still holding excess moisture is one of the most common reasons paint bubbles and peels within the first season.
Why a Primer, Specifically
The chemicals in treated wood, along with the wood’s own natural tannins, can bleed through paint if nothing blocks them first – showing up as brown or yellow staining on light-colored topcoats. The wood’s surface is also often rougher and more porous than typical dimensional lumber, which soaks up paint unevenly and leaves a blotchy finish. A primer built for this material addresses both problems at once: it creates a uniform, sealed surface, blocks stain bleed-through, and gives the topcoat consistent adhesion instead of soaking in unevenly in some spots and sitting on the surface in others.
Choosing the Right Primer
Look for a primer specifically labeled for exterior use or pressure-treated wood, with these features:
- Water-based (acrylic/latex) or oil-based: Water-based primers dry faster and clean up easier, and work well on most treated lumber. Oil-based primers penetrate deeper and suit older, weathered wood better.
- Stain-blocking: Prevents the wood’s tannins and treatment chemicals from bleeding through the topcoat.
- Mildew-resistant: Worth prioritizing in humid climates.
- High adhesion: Needed to grip the wood’s slicker, chemically-treated surface.
Zinsser, Kilz, and Behr all make primers formulated for exterior and treated-wood use – check the label to confirm compatibility with whatever topcoat you’re planning.
| Primer | Type | Best For | Drying Time |
|---|---|---|---|
| Zinsser Bulls Eye 1-2-3 | Water-based | New pressure-treated wood, stain-blocking | ~1 hour |
| Kilz Premium | Water-based | Humid climates, stain-blocking | 1-2 hours |
| Behr Premium Plus | Water-based | General outdoor use | ~1 hour |
| Oil-based exterior primer | Oil-based | Weathered or older treated wood | 2-4 hours |
Preparing the Wood Before You Prime
Freshly treated lumber is often too wet to prime right off the rack. Depending on climate, it can take anywhere from a few weeks in a dry region to several months in a humid one to dry enough for a primer to bond properly. Test it with a simple water-bead check: sprinkle a few drops on the surface – if the water beads up rather than soaking in, the wood is still too wet to prime.
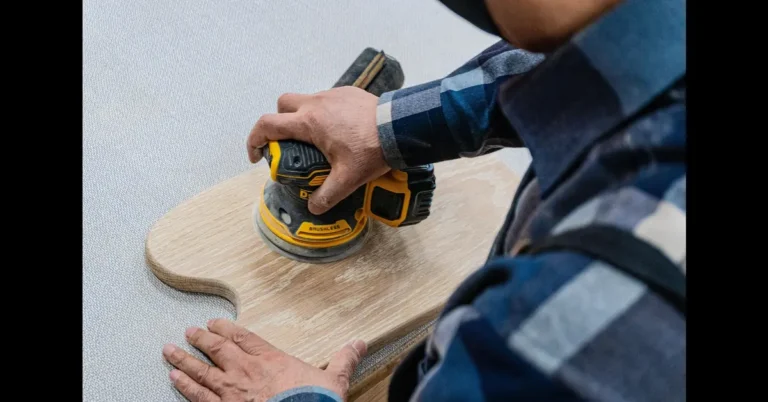
Once it’s dry, clean the surface with a stiff brush and a mild detergent-water mix to remove dirt, mildew, and any surface chemical residue, then rinse and let it dry fully. If the surface is rough, a light pass with 120-grit sandpaper smooths it and gives the primer more to grip – skipping this step is a common reason primer goes on unevenly.
Applying Primer Correctly
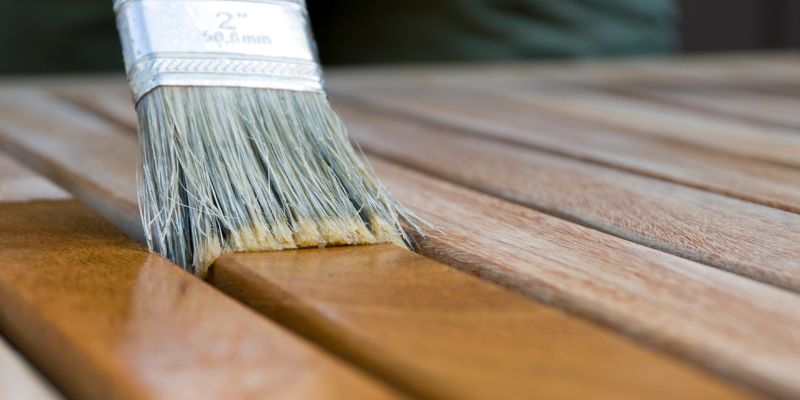
- Gather tools: a brush, roller, or sprayer, plus a drop cloth and painter’s tape. A brush works well for getting into the wood’s texture on smaller projects.
- Stir, don’t shake: shaking introduces air bubbles that show up in the finish.
- Apply thin coats: two thin coats dry faster and adhere better than one thick one. Brush edges and corners first, then roll larger flat areas.
- Work in the right conditions: a dry day between 50-85°F. Too hot and the primer dries before it can level out; too cold and it won’t cure properly.
- Respect dry times: most primers need 1-2 hours between coats, and at least 24 hours before the topcoat goes on – check the specific product label.

Common Mistakes
Priming too soon, before the wood has actually dried, is the single most common failure – it traps moisture under the primer and causes bubbling or peeling shortly after. Skipping the cleaning or sanding step is the second most common issue; dirt and rough spots undermine adhesion no matter how good the primer is. And an interior primer, even a good one, simply isn’t built for outdoor exposure – it won’t hold up to sun and moisture cycling the way an exterior-rated product will.
Painting or Staining After Priming
Once the primer is fully dry, use an exterior-grade paint or a semi-transparent stain compatible with the primer you used – check the can for compatibility if you’re mixing brands. Apply the topcoat the same way as the primer: thin, even coats with proper dry time between them. A small test patch in an inconspicuous area confirms the color and finish before committing to the whole project.
Maintaining the Finish
Clean primed and painted treated wood annually with a mild detergent, and inspect for peeling or fading – catching a small area early and touching it up with primer and topcoat is far less work than repainting the whole surface after the damage spreads. Regular maintenance meaningfully extends the life of the finish, especially in climates with harsh sun or heavy humidity.
Low-VOC Options
Several mainstream brands, including Behr and Kilz, offer low- or zero-VOC primers that perform comparably to standard formulas while producing less odor – a reasonable choice for anyone prioritizing indoor air quality or working in a partially enclosed space like a garage or covered porch.
Conclusion
A primer built for pressure-treated wood earns its cost by protecting the actual investment underneath it – blocking stain bleed-through, sealing a porous surface, and giving paint or stain something to properly bond to. Let the wood dry fully first, clean and lightly sand the surface, and apply thin, even coats in reasonable weather, and the finish on top has a real chance of lasting years instead of peeling within the first season.
Frequently Asked Questions
What is the best primer for pressure treated wood?
A water-based, stain-blocking exterior primer like Zinsser Bulls Eye 1-2-3 or Kilz Premium works well for new pressure-treated wood. For older, weathered wood, an oil-based exterior primer penetrates deeper. Look for exterior-rated, stain-blocking, mildew-resistant labeling regardless of brand.
Can I prime pressure treated wood right away?
No – fresh pressure-treated wood needs to dry first, which can take anywhere from a few weeks to several months depending on climate. Test it by sprinkling water on the surface; if it beads up instead of soaking in, the wood is still too wet to prime.
How long does primer take to dry on pressure treated wood?
Most primers dry to the touch in 1-2 hours between coats, but check the specific product label. Wait at least 24 hours before applying the topcoat to make sure the primer has fully cured.
Do I need to sand pressure treated wood before priming?
A light pass with 120-grit sandpaper after cleaning smooths the surface and removes chemical residue, helping the primer adhere more evenly – worth doing if the surface feels rough.
Can I use interior primer on pressure treated wood?
No – interior primers aren’t formulated to withstand outdoor sun and moisture exposure and will fail faster than an exterior-rated product. Always use a primer labeled for exterior use on treated lumber that lives outdoors.
Sponsored / affiliate links. As an Amazon Associate I earn from qualifying purchases. I may earn additional commission from eligible campaigns.