How Long Does Hot Glue Take to Dry? A Genius, Essential Guide
Hot glue doesn’t technically “dry”—it sets by cooling. For a small dot, it can set in under a minute, but a larger amount may take up to 10 minutes to fully harden. The exact time depends on the glue gun temperature, the amount of glue used, and the type of material you’re bonding.
Hello there! Md Meraj here, your friendly guide in the world of DIY and woodworking. If you’ve ever used a hot glue gun, you’ve probably asked yourself, “Is it dry yet?” You glue two pieces together, hold them for what feels like forever, and the moment you let go… they drift apart. It’s a common frustration, but I promise it’s an easy one to solve. Don’t worry, you’re not impatient—you just need to understand what’s happening with that magical molten plastic.
Hot glue is one of the most useful tools in any workshop or craft room, perfect for quick fixes and creative projects. But mastering it means understanding how it works. In this guide, I’ll walk you through everything you need to know. We’ll break down exactly how long hot glue takes to set, what factors can change that time, and some genius tricks to control it. Let’s get you gluing with total confidence!
Understanding Hot Glue: More Than Just Sticky Stuff
Before we can talk about timing, let’s quickly cover what hot glue actually is. That clear stick you feed into your gun is a type of thermoplastic adhesive. That’s a fancy way of saying it’s a plastic that melts when it gets hot and becomes solid again when it cools. This is a very important detail!
Unlike wood glue or white craft glue, which “dry” through a process called evaporation (where water leaves the glue and it hardens), hot glue doesn’t dry at all. It simply “sets” or “cures” by cooling down. Think of it like a mini welder for crafting. You’re melting plastic to join two surfaces, and the bond forms once that plastic cools and hardens. Understanding this difference is the first step to mastering your glue gun.
So, from now on, when we talk about “drying time,” what we really mean is “setting time” or “cooling time.” It’s the time it takes for the hot, liquid glue to lose its heat and return to a solid, strong state.

The Big Question: How Long Does Hot Glue Take to Set?
Alright, let’s get straight to the point. While there isn’t one single answer, there is a very reliable range you can expect.
For most common household and craft projects, you can expect hot glue to set in this timeframe:
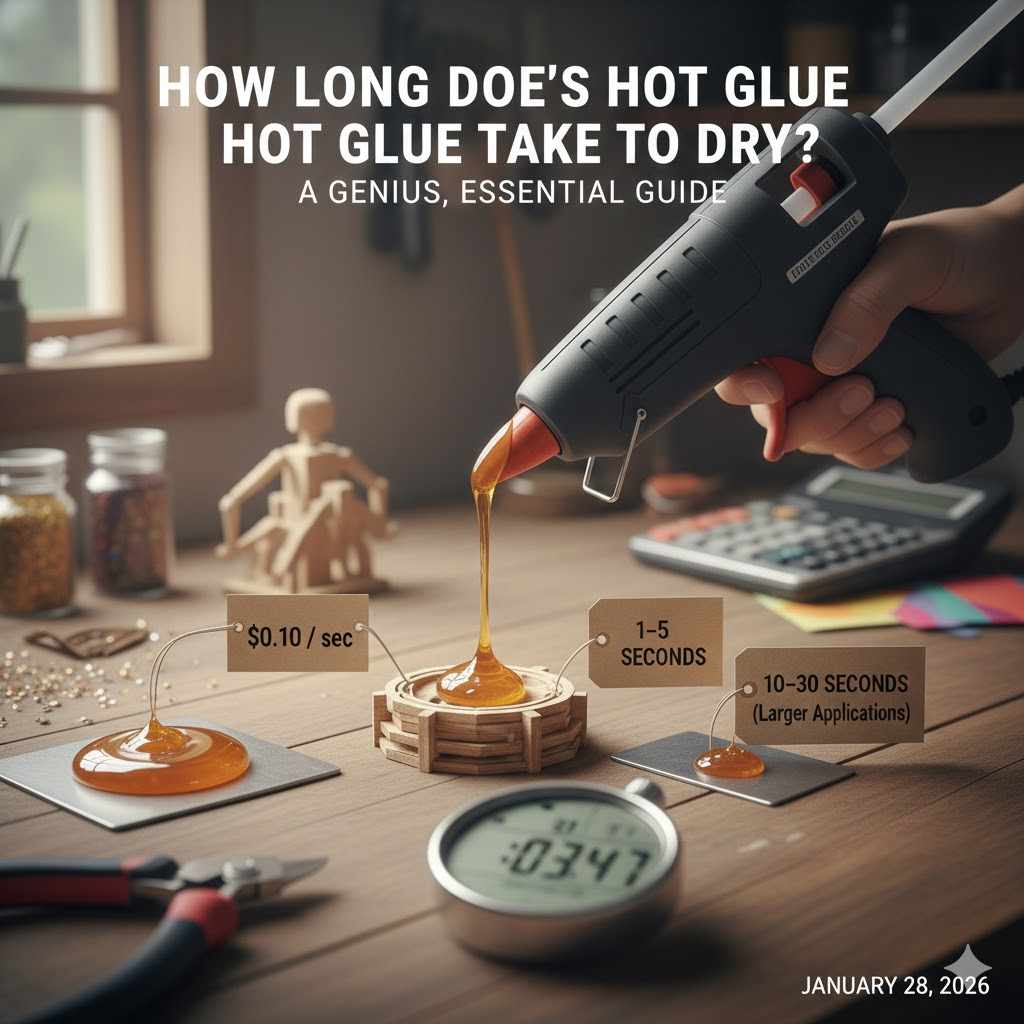
- Initial Tackiness (15-30 seconds): The glue cools enough to hold lightweight items in place. You can usually let go at this point, but the bond is still very fragile.
- Firm Set (1-2 minutes): The glue is solid to the touch and has formed a decent bond. It’s cool on the surface but may still be warm underneath. For most crafts, this is “dry” enough.
- Full Cure (5-10 minutes): The glue has completely cooled all the way through, even in the center of a large glob. This is when the bond reaches its maximum strength. If you’re gluing something that needs to hold weight or withstand stress, wait for the full cure.
So, a good rule of thumb is to give it at least a minute or two for a solid connection and up to ten minutes if you need a really strong bond on a bigger project. But why is there such a wide range? Let’s explore the factors that can make your glue dry faster or slower.
Factors That Change Hot Glue Setting Time
Just like baking a cake, the time it takes for your hot glue to set depends on a few key ingredients and conditions. Once you understand these, you can predict and even control the setting time to perfectly suit your project.
1. Glue Gun Temperature (High-Temp vs. Low-Temp)
Glue guns come in two main flavors: high-temperature and low-temperature. The type you use is the single biggest factor in setting time.
- High-Temperature Guns: These heat the glue to around 380°F (193°C). Because the glue is much hotter, it takes longer to cool down. This gives you more working time to position your pieces, which is great for more complex projects. However, the setting time will be longer.
- Low-Temperature Guns: These operate at a cooler 250°F (121°C). The glue comes out warm, not scorching hot, making it safer for delicate materials like foam, ribbon, and even balloons. Since it starts at a lower temperature, it sets much, much faster—sometimes in less than 30 seconds!
Many people own a dual-temperature gun, which offers the best of both worlds. Here’s a simple breakdown to help you choose:
| Feature | High-Temp Glue Gun | Low-Temp Glue Gun |
|---|---|---|
| Operating Temperature | ~380°F (193°C) | ~250°F (121°C) |
| Setting Time | Longer (2-5 minutes) | Faster (30-60 seconds) |
| Working Time | More time to adjust parts | Very little time to adjust |
| Bond Strength | Very Strong | Good, but less strong |
| Best For | Wood, metal, plastics, ceramics, heavy-duty repairs | Fabric, foam, paper, kids’ crafts, delicate materials |
2. Amount of Glue Used
This one is simple logic: the more hot stuff you have, the longer it takes to cool down.
- A small dot of glue has a lot of surface area compared to its volume. Heat can escape quickly from all sides, so it will set in under a minute. This is perfect for small, lightweight materials like paper or beads.
- A long, thick bead of glue has a lot of mass. The glue on the outside will cool first, forming a skin, but the inside will stay molten for much longer. This “insulating” effect means a large glob of glue can easily take 5-10 minutes to cure completely.
Always try to use only as much glue as you need. A thin, even line is often stronger and will always set faster than a big, messy blob.
3. Material Type and Temperature
What are you gluing? The surfaces you’re bonding play a huge role in how fast the heat dissipates from the glue. This concept is called thermal conductivity—how well a material pulls heat away.
- Heat Sinks (Fast Setting): Materials like metal, glass, and ceramic are excellent heat conductors. They act like a “heat sink,” pulling the heat out of the glue very quickly. When you glue metal, the bond can set almost instantly, giving you very little time to work!
- Insulators (Slow Setting): Materials like foam, fabric, and softwoods are insulators. They don’t conduct heat well. When you apply hot glue to them, the heat gets trapped, and the glue cools down very slowly. This gives you more working time but requires a longer hold time.
- Neutral Materials (Medium Setting): Most plastics, hardwoods, and cardboard fall somewhere in the middle. They will give you a standard setting time.
4. Ambient Temperature and Humidity
Your workshop environment matters too!
Working in a chilly garage in the winter? The cold air will help the glue cool down and set much faster. On the other hand, if you’re crafting on a hot, humid summer day, the surrounding air temperature is higher, and the glue will take noticeably longer to solidify.
Humidity plays a very small role. In extremely humid conditions, a tiny bit of condensation could form on the cooling glue, but for 99% of projects, this effect is so minor you won’t even notice it.
How to Know When Your Hot Glue is Fully Set
So you’ve applied your glue and are patiently holding your project together. How do you know when it’s safe to let go? Here are a few reliable signs to look for:
- Visual Check: Freshly applied hot glue is typically shiny, clear, and molten-looking. As it cools and solidifies, it will turn cloudy, opaque, or milky. Once the entire bead of glue has lost its glossy shine, it’s a good sign that it has set.
- The Touch Test: Gently touch the edge of the glue squeeze-out (not the main bond!). If it feels hot or even very warm, the inside is still likely liquid. If it feels cool or just slightly warm (room temperature), it’s probably fully cured. If it’s tacky or sticky, it definitely needs more time.
- The Wiggle Test: For non-critical joints, you can give the pieces a very gentle wiggle. If there’s any give, squishiness, or movement, hold it for another minute. If it feels completely solid and rigid, your bond is ready. Be careful with this one—too much force can break a bond that hasn’t fully cured yet.
Genius Tips to Make Hot Glue Dry Faster (or Slower!)
Now for the fun part. You’re not at the mercy of the clock! You can actually manipulate the setting time to work for you. Here are some of my favorite pro tips.
Speeding Up the Process
Need a quick bond so you can move on to the next step? Try these tricks:
- Use Less Glue: The simplest solution. A thin line sets exponentially faster than a thick glob.
- Use a Low-Temp Gun: If the bond strength isn’t critical, a low-temp gun is your best friend for speed.
- Increase Airflow: Working in a well-ventilated area helps carry heat away. You can even use a small desk fan on a low setting to blow cool air over the joint. For tiny spots, gently blowing on it yourself works too!
- Use a “Cold Block”: For sturdy, non-delicate materials like wood or metal, you can press a cool piece of scrap metal (like an aluminum block) against the joint. This will act as a heat sink and pull the heat out very rapidly.
- A Blast of Cold Air: A quick puff from a can of compressed air (held upright) can flash-cool a small spot of glue in seconds.
Slowing Down the Process (For More Working Time)
Sometimes you need a few extra seconds to perfectly align two tricky pieces. Here’s how to buy yourself some time:
- Use a High-Temp Gun: This is the easiest way to get more working time, as the glue starts much hotter.
- Pre-Warm Your Surfaces: This is a more advanced trick. For non-flammable materials like metal or ceramic, you can gently warm the surfaces with a hair dryer on a low setting before applying the glue. The warm surface won’t suck the heat out of the glue as quickly, giving you precious extra seconds.
- Work in a Warmer Room: A simple but effective solution. A warmer environment slows down the cooling process.
- Apply a Thicker Bead: While this goes against our “speedy” advice, a slightly thicker line of glue will retain its heat for longer, giving you more time to maneuver parts into place.
Choosing the Right Glue Stick for Your Project
Just like you wouldn’t use a screwdriver to hammer a nail, you shouldn’t use a one-size-fits-all glue stick for every project. The type of stick you choose can affect both the setting time and the final strength of your bond.
| Glue Stick Type | Best For | Setting Time (Relative) | Bond Strength |
|---|---|---|---|
| All-Purpose Clear | General crafts, paper, fabric, lightweight wood | Medium | Good |
| High-Strength (Amber/Yellow) | Woodworking, plastics, gap-filling, serious repairs | Medium to Slow | Excellent |
| Wood or Fabric Sticks | Specifically formulated for better adhesion on wood or fabrics | Medium | Very Good (on target material) |
| Low-Temp “Safe” Sticks | Kids’ crafts, foam, balloons, heat-sensitive materials | Very Fast | Moderate |
| Specialty (Glitter, Colors) | Decorative projects where the glue is visible | Medium | Good |
Always check the packaging on your glue sticks. It will usually tell you if it’s for high-temp, low-temp, or dual-temp guns and what materials it’s best suited for.
Safety First: Working with Hot Glue Guns
A glue gun is a wonderfully simple tool, but we have to respect that it gets very hot. A moment of carelessness can lead to a nasty burn. Please always keep these safety tips in mind in your workshop.
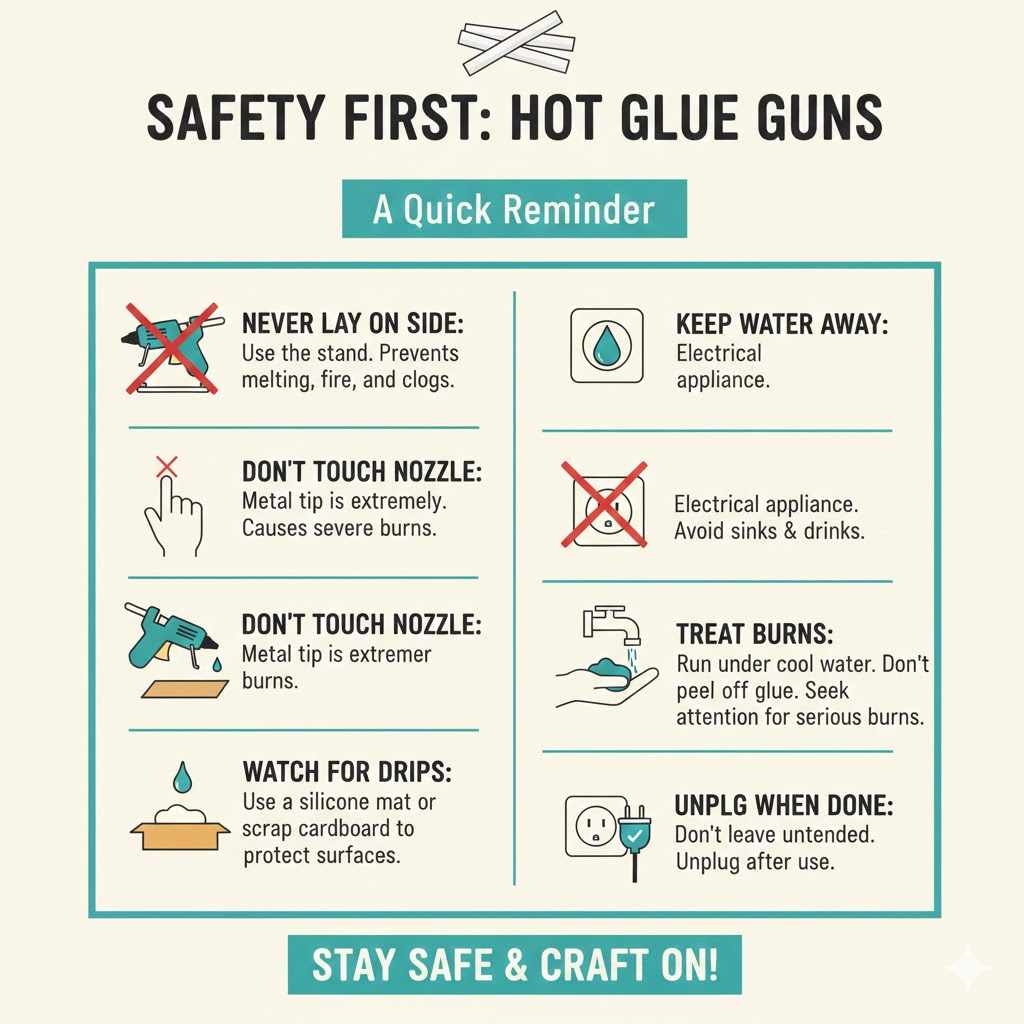
- Always Use the Stand: Your glue gun came with a little metal stand for a reason. Use it! Never lay a hot glue gun on its side. It can melt surfaces, create a fire hazard, and cause glue to back up into the mechanism.
- Never Touch the Nozzle: The metal tip of the glue gun is the hottest part. Never touch it, even if the gun has been unplugged for a few minutes.
- Watch for Drips: Hot glue can drip from the nozzle, even when you’re not pulling the trigger. Keep a piece of scrap cardboard or a silicone mat under the tip to catch any drips and protect your workbench.
- Keep Water Away: A glue gun is an electrical appliance. Keep it away from sinks, drinks, and any source of water.
- Know How to Treat a Burn: Accidents can happen. If you get hot glue on your skin, immediately run the affected area under cool—not ice-cold—water for several minutes. According to the American Academy of Dermatology Association, this helps to stop the burning process. Do not try to peel the glue off immediately, as this can tear the skin. The cool water will harden the glue, making it easier to remove later. For any serious burn, please seek medical attention.
- Unplug When Done: When you’re finished with your project, unplug the glue gun. Don’t leave it plugged in and unattended.
Frequently Asked Questions (FAQ)
Here are answers to some of the most common questions I get from fellow DIYers about using hot glue.
Is hot glue waterproof?
No, hot glue is not waterproof, but it is highly water-resistant. This means it can handle a little moisture, like a splash or some rain, but it will fail if submerged in water for a long period. The bond can weaken and eventually let go.
Can you paint over hot glue?
Yes, you absolutely can! It’s a great way to hide glue lines or create textured effects. Acrylic craft paint works best. For a really smooth finish, you might want to apply a layer of primer first, as the slick surface of the glue can sometimes resist paint.
How strong is hot glue, really?
Hot glue is fantastic for crafts, decorations, and light-duty repairs. It forms a strong but slightly flexible bond. However, it is not a structural adhesive. You should never use it for projects that need to bear significant weight or for critical repairs, like on a chair you intend to sit on. For those jobs, reach for a proper wood glue or epoxy.
What’s the best way to remove hot glue?
There are two great methods. The first is using rubbing alcohol (isopropyl alcohol). Apply a small amount around the edges of the glue blob. The alcohol helps to break the bond with the surface, and you can often peel it right off. The second method is to use heat. Gently warm the glue with a hair dryer, and it will soften enough to be scraped or peeled away.
Will hot glue melt in the sun or in a hot car?
Yes, it certainly can. Remember, it’s a thermoplastic! On a very hot day, hot glue left in direct sunlight or inside a hot car can soften, get gummy, and lose its bond. Keep this in mind for projects you plan to leave outdoors or in a vehicle.
What’s the difference between a mini and a full-size glue gun?
The main difference is the size of the glue stick they use and the amount of glue they can output. Mini glue guns are great for small, detailed projects like model making or jewelry. Full-size guns are better for larger projects where you need to lay down a lot of glue quickly, like in woodworking or home repair.
Conclusion: You’re Ready to Glue with Confidence
So there you have it! The mystery of hot glue “drying” time is solved. It’s not about drying at all—it’s about cooling. And now you know exactly what affects that cooling process: the temperature of your gun, the amount of glue you use, the materials you’re working with, and even the air in your workshop.
The next time you pick up your glue gun, you won’t be guessing. You’ll be in control. You’ll know to use a low-temp gun for a quick set on fabric, or a high-temp gun to give yourself more time to position that tricky piece of wood. You’ll know a big glob needs more patience than a tiny dot. You’re now equipped with the knowledge to make hot glue work for you, not against you.
Keep these tips in your back pocket, always prioritize safety, and don’t be afraid to experiment. Practice is what turns knowledge into skill. Now go on, get out there and make something wonderful!