How Long Does It Take For Hot Glue To Dry: Essential Guide
Hot glue typically dries and hardens within 15 to 60 seconds, becoming fully set and strong enough for light handling in a few minutes. For maximum bond strength, it’s best to let it cure for at least 15-30 minutes, especially for structural applications.
Hot glue is a remarkably fast and versatile adhesive, a favorite for crafters and DIYers alike. Its convenience is undeniable – a quick squeeze, a moment of holding, and you’ve got a bond! But a common question pops up for those new to using it: “How long does it take for hot glue to dry?” Understanding this drying time is key to ensuring your projects hold together beautifully and safely.
Many find themselves wondering if that bond is truly secure or if it needs more time. You might have had projects fall apart because you didn’t wait long enough, or perhaps you’ve waited too long and felt impatient. Don’t worry, we’ve all been there! This guide will break down the drying process of hot glue, explain the factors that influence it, and give you the confidence to know exactly when your glued masterpieces are ready. We’ll cover everything you need to know, from initial setting to full cure strength.
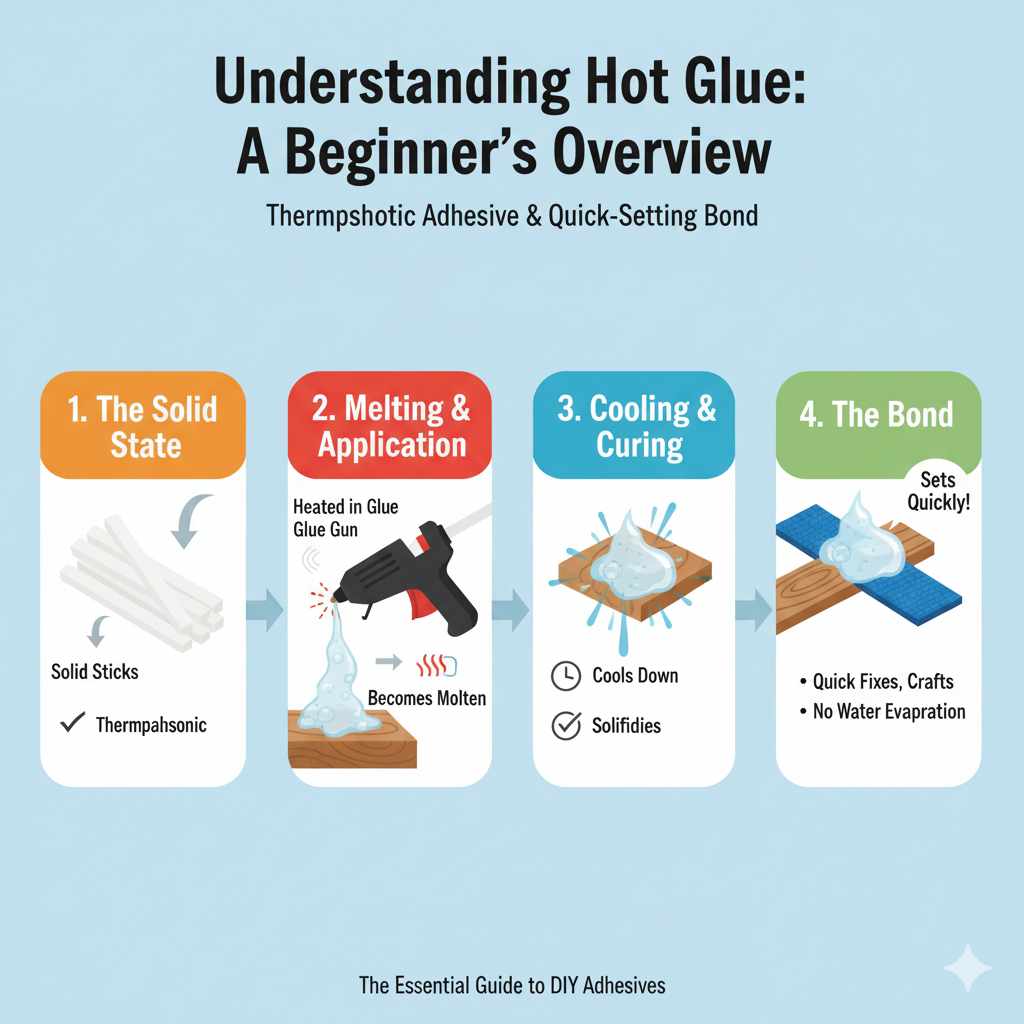
Understanding Hot Glue: A Beginner’s Overview
Before we dive into drying times, let’s get a feel for what hot glue actually is. It’s a thermoplastic adhesive that comes in solid sticks. When you place a stick into a hot glue gun, the gun heats up and melts the glue. This molten glue is then applied to a surface. As it cools, it solidifies, creating a bond.
This process is called “curing” or “setting.” Unlike water-based glues that need time to evaporate moisture, hot glue hardens as it cools down. This is why it sets so quickly. It’s a fantastic choice for quick fixes, attaching embellishments, and many temporary or light-duty construction tasks in woodworking and crafting.
How Long Does It Take For Hot Glue To Dry? The Crucial Numbers
Here’s the core question answered directly:
Initial Setting Time: Hot glue begins to set and become firm within 15 to 60 seconds after application. This is when the glue turns from liquid to solid and you can often release your hold. At this stage, it’s usually stable enough to hold light items in place.
Handling Time: For most casual crafting projects, you can gently handle the bonded item within 1-2 minutes. However, the bond is still developing its full strength.
Full Cure Strength: For the strongest possible bond, especially for anything that will undergo stress or weight, it’s recommended to let the hot glue cure for at least 15 to 30 minutes. Some sources suggest waiting up to an hour for absolute maximum adhesion.
It’s important to remember that “drying” for hot glue really means “cooling and solidifying.” It doesn’t evaporate like other glues. Therefore, the temperature of the material you’re gluing and the ambient temperature play significant roles.
Factors Affecting Hot Glue Drying Time
While the typical numbers are helpful, several things can make your hot glue dry faster or slower. Knowing these will help you manage your project timelines effectively. Think of these as the variables in our glue equation!
1. Glue Stick Type and Formula
Not all hot glue sticks are created equal. Different formulations have varying melt points and cooling characteristics.
All-Purpose Glues: These are the most common and generally fall within the standard drying times.
High-Temperature Glues: These melt at a higher temperature and often stay workable for a slightly longer period before setting, offering more time for precise placement on large areas. They also tend to form stronger bonds as they cool.
Low-Temperature Glues: Designed for delicate materials like foam or fabric, these melt and cool faster overall, setting very quickly. They are less heat-intensive but may yield a less robust bond compared to high-temp options.
Specialty Glues: Some glues are formulated for extreme flexibility, wood, or other specific uses and might have slightly different setting characteristics.
Always check the packaging of your glue sticks for manufacturer recommendations on application and drying.
2. Ambient Temperature
This is a major player! The temperature of the room or environment where you’re gluing directly impacts how fast the molten glue solidifies.
Cold Environment: If you’re working in a cool garage or basement, the hot glue will cool and set much faster than in a warm room. This can be an advantage if you need a quick bond, but it might give you less working time for positioning.
Warm Environment: In a hot or humid environment, the glue will take longer to cool down. This can be beneficial if you need to reposition your pieces or cover a larger area, but you’ll have to wait a bit longer for it to become stable.
3. Substrate Temperature (What You’re Gluing)
Similar to the ambient temperature, the temperature of the materials you’re joining is crucial.
Cold Materials: Gluing onto a cold piece of wood or metal will draw heat out of the molten glue more rapidly, causing it to set faster.
Warm Materials: If the material is already warm (e.g., from sunlight or being near a heat source), it will take the glue longer to cool and harden. Be cautious when gluing to warm surfaces to avoid re-melting already set glue.
4. Amount of Glue Applied
The quantity of hot glue you use directly affects its cooling rate.
Thin Bead: A thin line of glue will have more surface area exposed relative to its volume, allowing heat to dissipate quickly. This leads to faster setting.
Thick Bead/Pooling: A large blob or thick layer of glue will retain heat longer, especially in the center. This means it will take significantly longer to cool down and harden completely, even if the surface feels firm. For strongest bonds, a slightly thicker, continuous bead is often better than a sparse application.
5. Airflow and Ventilation
While less critical than temperature, airflow can play a small role.
Drafts/Fans: A gentle breeze or fan can help dissipate heat from the cooling glue, potentially speeding up the setting process marginally. However, be careful not to blow molten glue around!
Enclosed Spaces: In very still air, heat might be retained slightly longer.
Hot Glue vs. Other Adhesives: A Quick Comparison
It’s helpful to see where hot glue fits in. Here’s a quick look at its setting times compared to other common DIY adhesives:
| Adhesive Type | Initial Set Time (Approximate) | Full Cure Time (Approximate) | Best For |
|---|---|---|---|
| Hot Glue | 15-60 seconds | 15-30 minutes | Crafting, quick fixes, bonding dissimilar materials |
| Wood Glue (PVA) | 20-30 minutes | 24 hours | Woodworking, furniture, structural wood joints |
| Super Glue (Cyanoacrylate) | 10-30 seconds | 24 hours | Small, non-porous surfaces, quick repairs |
| Epoxy (2-Part) | 5-30 minutes | 24-72 hours | Strong structural bonds, filling gaps, demanding uses |
| Construction Adhesive | Minutes to hours | 24-72 hours | Heavy-duty construction, subfloors, framing |
Note: These are general estimates. Always refer to specific product instructions for precise timings.
Hot glue’s main advantage is its speed. It’s perfect when you can’t wait hours or days for a bond to form. However, for applications needing extreme strength, water resistance, or long-term durability under stress, other adhesives might be a better choice. For woodworking projects where durability is key, consider exploring glues like Titebond series, which offer superior strength and water resistance. Always choose the right tool for the job!
Mastering Hot Glue Application: Tips for Success
Knowing how long hot glue takes to dry is only part of the equation. Proper application ensures you get the best results and a strong, lasting bond. Here are some pro tips:
1. Prepare Your Surfaces
This is crucial for any adhesive, including hot glue.
Cleanliness: Ensure both surfaces are free of dust, dirt, oil, or any residue. Wipe them down with a clean cloth. For wood, a light sanding can also help create a better surface for the glue to adhere to.
Dryness: Hot glue adheres best to dry surfaces. If you’re working with porous materials like wood or fabric, make sure they aren’t damp.
Fit: Test the fit of your pieces before applying glue. You want to be able to join them quickly while the glue is still molten.
2. Heat Your Glue Gun Properly
Give your glue gun enough time to heat up fully. This usually takes about 5-10 minutes, but check your gun’s manual. A fully heated gun dispenses molten glue smoothly and at the optimal temperature for adhesion. Do not try to speed this up by leaving it plugged in for hours unattended.
3. Work Quickly and Deliberately
Once the glue is applied, you have a limited window before it starts to set.
Apply Glue to One Surface: It’s usually best to apply the molten glue to just one of the two surfaces you’re joining.
Join Immediately: Bring the two pieces together as quickly as possible while the glue is still hot and fluid.
Hold Firmly: Press the pieces together with firm, steady pressure. This is where the “holding time” comes into play.
4. The Art of the Hold
This is where you give the glue time to start solidifying.
Minimum Hold: For most applications, hold the pieces together for at least 30-60 seconds. This is usually enough for the glue to gain initial tack and stability.
Consider the Materials: If you’re gluing non-porous materials like plastic or metal, which don’t absorb heat, the glue might take slightly longer to cool. If you’re gluing onto cold, dense wood, it might set even faster.
Listen and Feel: Sometimes you can feel the glue cooling and firming up under the pressure.
5. Let it Cure for Full Strength
Don’t subject your project to stress immediately after holding.
Allow Time: Even after holding, allow the glue to cool and cure for the recommended time (15-30 minutes or more) before handling it roughly, putting weight on it, or moving it significantly.
Avoid Extreme Temperatures: Don’t try to “speed dry” hot glue with cold water or by putting it in a freezer. This can create weak spots or cause the bond to fail. Similarly, avoid applying heat to a cooling bond.
Troubleshooting Common Hot Glue Issues
Even with the best intentions, you might run into a snag. Here are some common problems and how to fix them:
Problem: Glue is cooling too fast.
Solution:
Make sure your glue gun is fully heated and dispensing consistently.
Work in smaller sections if covering a large area.
If working in a cold environment, try warming the materials slightly (e.g., with a hairdryer on a low setting, from a safe distance) before applying glue.
Consider if you’re using a low-temp glue gun or stick when a high-temp one might be more appropriate.
Problem: Glue is not sticking well.
Solution:
Check surface preparation. Is it clean and dry?
Are you using the correct type of glue stick for your materials?
Did you apply enough glue? A thin skim might not create a strong bond.
Did you hold the pieces together long enough? Impatience is a common culprit!
For some plastics, a light scuff-sanding can improve adhesion.
Problem: Glue is stringy or messy.
Solution:
This is common! Try to pull the “strings” away once the glue has fully cooled. A quick trim with scissors or a craft knife can clean up excess.
Practicing your application technique will minimize strings over time. Try to lift the glue gun straight up from the surface after applying the bead.
Some glue guns have anti-drip features, which can help.
Problem: The bond broke after cooling.
Solution:
This usually points to insufficient holding time, improper surface preparation, or using the wrong type of glue for the application.
For structural joints in woodworking, hot glue is rarely the primary adhesive. It’s more for decorative elements or temporary assembly. For sturdy wood bonds, explore PVA wood glues like those from Titebond (available at hardware stores or online via retailers like The Home Depot).
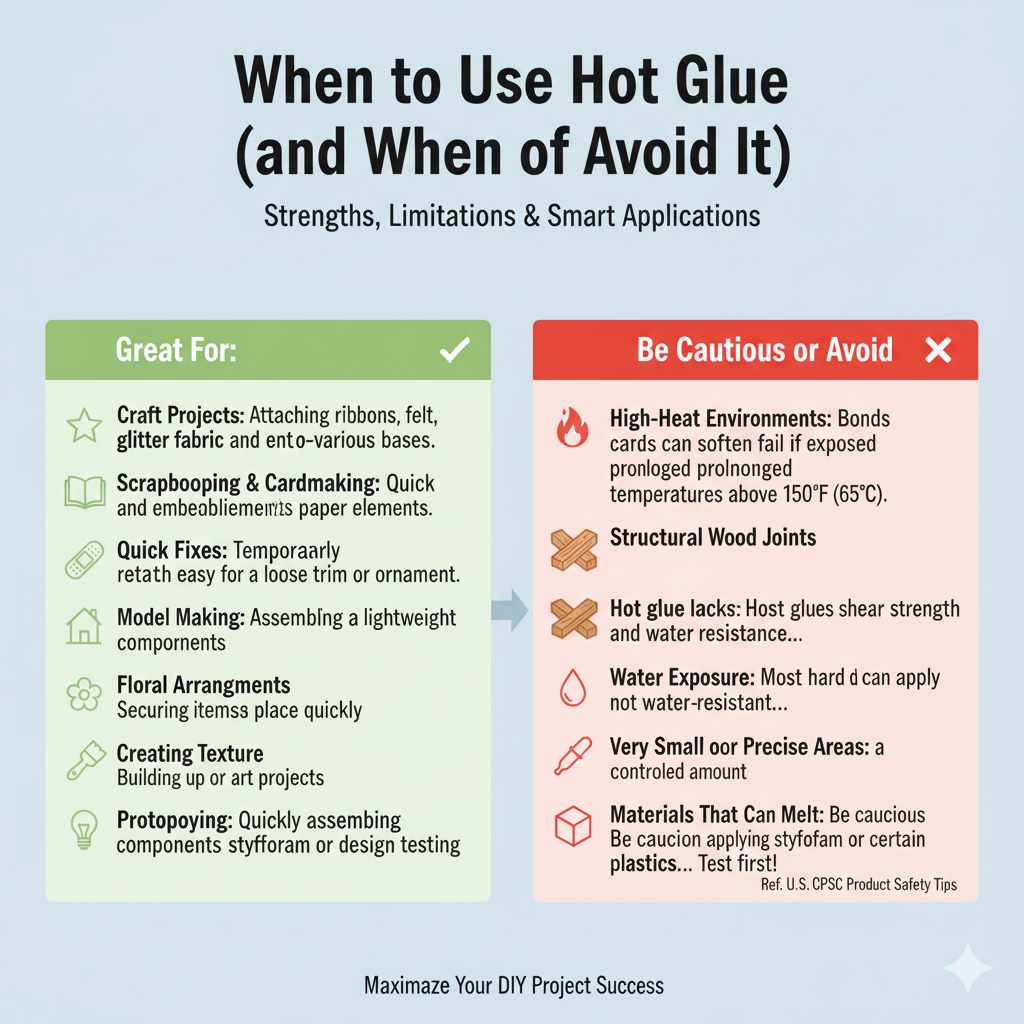
When to Use Hot Glue (and When to Avoid It)
Hot glue is fantastic for many projects, but it’s not a universal solution. Understanding its limitations is as important as knowing its strengths.
Great for:
Craft Projects: Attaching ribbons, felt, glitter, fabric, and embellishments to various bases.
Scrapbooking & Cardmaking: Quick and easy for adhering paper elements.
Quick Fixes: Temporarily reattaching a loose trim or ornament.
Model Making: Assembling lightweight components.
Floral Arrangements: Securing items in place quickly.
Creating Texture: Building up layers on art projects.
Prototyping: Quickly assembling components for design testing.
When to Be Cautious or Avoid:
High-Heat Environments: Bonds can soften or fail if exposed to prolonged temperatures above 150°F (65°C).
Structural Wood Joints: Hot glue lacks the shear strength and water resistance needed for load-bearing furniture or outdoor projects. For these, use a dedicated wood glue.
Water Exposure: Most hot glues are not water-resistant and will break down if submerged or exposed to significant moisture.
Very Small or Precise Areas: It can be hard to apply a controlled amount, leading to a mess. Super glue or specific craft glues might be better.
Materials That Can Melt: Be cautious applying hot glue to styrofoam or certain plastics that can melt or deform. Always test in an inconspicuous area first! The U.S. Consumer Product Safety Commission (CPSC) offers general product safety tips that can be relevant when choosing materials and tools for DIY projects.
Hot Glue Safety: Don’t Forget the Basics!
Safety is paramount in any DIY endeavor, and using a hot glue gun is no exception.
Hot Surfaces: The nozzle of the glue gun and the molten glue itself are extremely hot (often 300°F / 150°C or more). Always be aware of where the nozzle is and avoid touching it or the molten glue.
Burn Prevention: Keep a bowl of cool water nearby for immediate first aid in case of a minor burn. Do not put ice directly on a burn. For more serious burns, seek medical attention.
Drip Protection: Place your glue gun on its stand when not in use, and use a silicone mat or old newspaper underneath to catch drips and protect your work surface.
Unplug When Not In Use: Always unplug the glue gun when you finish your project or if you step away for an extended period.
Cord Safety: Ensure the power cord is not frayed or damaged. Keep it out of the way to prevent tripping.
Ventilation:** While not toxic, working in a well-ventilated area is always a good practice.
By following these simple safety guidelines, you can enjoy the benefits of hot glue without incident.
Frequently Asked Questions About Hot Glue Drying Times
Let’s tackle some common questions beginners have about hot glue setting.
Q1: Can I speed up hot glue drying with a fan or air blower?
A: Yes, a gentle airflow can help dissipate heat and slightly speed up the cooling process. However, avoid strong winds or direct blasts from hot air guns, as this can distort the glue or prevent it from forming a strong initial bond.
Q2: Will cold water make hot glue dry faster?
A: Applying cold water directly to hot glue can cause it to set rapidly, but it often results in a brittle bond that is prone to cracking or failing. It’s generally not recommended for achieving a strong, durable connection.
Q3: Is hot glue permanent?
A: Hot glue provides a strong, semi-permanent bond for many craft and home applications. However, it can soften with heat and may not withstand significant stress or moisture. For permanent, heavy-duty applications, consider epoxy or specialized construction adhesives.
Q4: What is the difference between hot glue and craft glue?
A: Hot glue requires a glue gun, melts with heat, and sets as it cools, usually within seconds to minutes. Craft glues, like PVA or those based on white glue, are typically liquid at room temperature and set as they dry through evaporation or chemical reaction, taking longer to cure.
Q5: Can I use hot glue on wood?
A: Yes, hot glue can be used on wood for many purposes, especially for crafts, attaching decorative elements, or quick temporary fixes. For structural woodworking projects that require strength and durability, a dedicated wood glue is recommended by woodworking professionals.