How to Remove Carpet Glue: Heat, Scrape, Clean (No Guesswork)
The fastest reliable way to remove carpet glue is heat plus a floor scraper, working in 2-3 square foot sections so the glue stays soft long enough to lift cleanly. A citrus-based adhesive remover speeds up the last stubborn patches, but heat-and-scrape does most of the work on its own, on both wood and concrete subfloors.
Before any of that, though, there’s one question worth answering first if your house was built before 1980: what’s under that carpet.
Check for Black Mastic Before You Start
Best for Stubborn Residue Left Behind
 |
Goo Gone Pro-Power Spray Gel (2-Pack + Scraper) – See Price on Amazon A citrus-based gel for the thin, tacky film that’s left after heat-and-scrape – the Step 3 chemical assist described above.
|
Black, tar-like adhesive (called cutback adhesive or mastic) was standard under carpet and vinyl tile through the 1970s, and a lot of it contains asbestos. You can’t tell by looking whether a specific batch does – both asbestos and asbestos-free versions look identical, dark and slightly sticky even when old. If your home predates 1980 and you see this black adhesive, stop and don’t dry-scrape or sand it. Disturbing asbestos-containing mastic is what actually creates the health risk; left alone and undisturbed, it’s not dangerous. Send a sample to a certified testing lab (most run $30-50 and take about a week) or bring in an abatement professional before doing anything else to that floor. Everything past this point in this guide assumes you’ve confirmed the adhesive is a normal modern carpet glue.
Set Up the Room First
Open windows and run a fan pointed out a doorway – heat guns release the glue’s odor as it softens, and a solvent, if you end up needing one, definitely needs airflow. Clear the room completely; a scraper needs a full arm swing and you don’t want a coffee table in the way. Painter’s tape along baseboards protects them from scraper gouges and solvent splashes. Safety glasses and gloves matter here specifically because you’re removing dried glue chips that fly off at odd angles when a scraper catches an edge, not just for general DIY caution.
Tools That Actually Matter
- A floor scraper with a long handle, not just a hand putty knife. Standing upright and using body weight through the handle removes glue far faster than crouching with a 4-inch putty knife, and it’s the difference between a 2-hour job and a 6-hour one on a full room.
- A heat gun on low-medium, or a hair dryer for small areas. Held 4-6 inches from the glue and kept moving, it softens the adhesive back toward tacky without scorching the subfloor. A heat gun left stationary for more than a few seconds can singe wood subflooring, so keep it in motion.
- A citrus-based adhesive remover for the residue that heat-and-scrape leaves behind. These break down adhesive chemically rather than by melting it, so they work on the thin sticky film scraping alone won’t fully lift, and they don’t carry the fumes or subfloor-damage risk that mineral-spirits-based strippers do.
- A stiff broom, a bucket, rags, and ideally a wet/dry shop vac for the debris.
The Heat-and-Scrape Method, Step by Step
Step 1: Heat a Small Section
Work in 2 to 3 square foot patches – any bigger and the front edge cools and re-hardens before you finish scraping the back edge. Sweep the heat gun back and forth continuously rather than holding it in one spot. You’re aiming for the glue to go from hard and brittle to soft and tacky, not liquid; if it starts smoking or the subfloor discolors, back the gun off and keep it moving faster.
Step 2: Scrape Immediately
The window between “soft enough to lift” and “cooled and hard again” is short, usually under a minute, so scrape right behind the heat gun rather than heating the whole room first. Keep the scraper blade at a low, shallow angle – steep angles are what gouge wood subfloors. If a patch re-hardens before you get to it, that’s fine; just heat it again rather than fighting it cold.
Step 3: Chemical Assist on the Stubborn Film
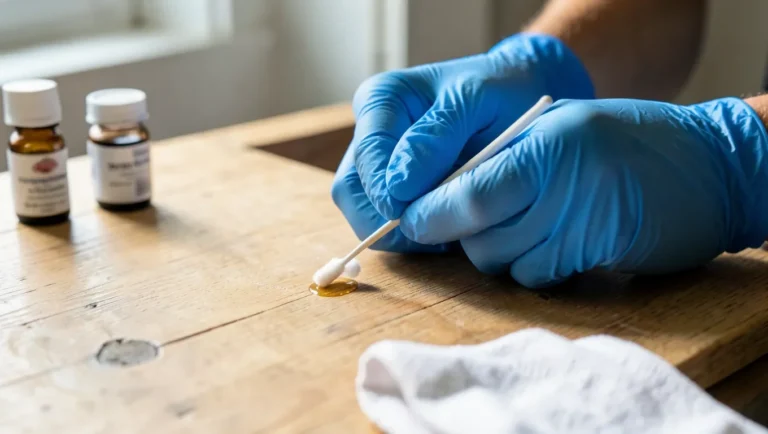
After heat-and-scrape, most floors still have a thin, slightly tacky film where the glue was thinnest and never built up enough thickness to scrape as a solid chunk. This is where a citrus-based remover earns its place: apply it to the residue, let it sit the few minutes the label specifies, and wipe or scrape again. Test it on a hidden corner first regardless of what the label claims – some finishes and sealed woods react differently than the manufacturer’s test surface.
Step 4: Clean and Inspect
Sweep loose debris before it gets tracked around and reground into the floor. Wipe the area with a rag dampened (not soaked) in warm water and a little mild detergent to lift any last chemical residue from a solvent. Wood subfloors should dry completely before you set new flooring on them – trapped moisture under new flooring causes cupping and adhesive-bond failures down the line, so don’t rush this step even if the rest of the job went fast.

Adjusting for Your Subfloor
Concrete tolerates a more aggressive scraper angle and stronger solvents without much risk – the main thing is confirming it’s fully dry before new flooring goes down, since concrete holds moisture longer than it looks like it does. Wood and plywood subfloors need the shallow scraper angle every single pass, minimal water, and a lighter touch with solvents, since some strippers can soften wood adhesive underneath plywood veneer layers along with the carpet glue on top. If you’re removing glue from tile or vinyl you plan to keep rather than replace, go slower still – a scraper edge that’s fine on bare concrete will scratch a finished surface in one careless pass.
When This Isn’t a DIY Job
Confirmed asbestos content is the clear line – that’s abatement-professional territory, full stop, not a heat-gun-and-scraper project. Beyond that, a whole-house job (more than a couple of rooms) is usually faster and cheaper per square foot to hire out than to rent equipment and do in evenings and weekends. A flooring pro with a walk-behind stripping machine can clear a room in under an hour that would take a DIYer most of a day by hand.
Frequently Asked Questions
How long does it take to remove carpet glue?
For a 100-200 square foot room using heat-and-scrape, plan on 2 to 8 hours depending on how thick the original glue application was and how brittle it’s gotten. Thin, old, brittle glue actually scrapes faster than glue that’s stayed slightly rubbery.
Can I just paint or seal over carpet glue instead of removing it?
No. New flooring adhesive needs a clean, level, non-porous-in-the-wrong-way surface to bond to. A painted-over glue layer looks flat but is still chemically incompatible with most flooring adhesives underneath, and the new floor can lift or the paint can peel under it within months.
What if the glue is black mastic?
Treat it as a possible asbestos material if your home was built before 1980, and get it tested before disturbing it. If it’s confirmed asbestos-free, the same heat-and-scrape method works, though black mastic tends to be tougher and more persistent than modern glues, so budget extra time and expect to lean on the citrus remover step more.
Is a razor scraper safe to use?
Only for thin, hardened residue on concrete, and only with a very shallow angle. On wood subfloors a razor scraper is one of the easiest ways to gouge the surface, so it’s better kept as a last resort for small stubborn spots rather than a primary tool.
Sponsored / affiliate links. As an Amazon Associate I earn from qualifying purchases. I may earn additional commission from eligible campaigns.