How Long Does Tacky Glue Take to Dry: Craft Guide
Ever started a craft project, only to find yourself staring at a damp glue spot, wondering when you can finally add the next embellishment? It’s a common frustration for crafters of all levels. You want to move forward with your project, but the glue is still wet, holding everything up. Understanding the drying time of your adhesive is key to a smooth and successful crafting experience. This guide will help you figure out precisely how long does tacky glue take to dry, so you can plan your creative sessions and avoid those frustrating delays. Get ready to complete your projects faster and with better results.
How Long Does Tacky Glue Take to Dry Craft Guide
Tacky glue is a popular choice for many craft projects because of its strong hold and relatively quick drying time compared to some other glues. But the question that often pops up is, “How long does tacky glue take to dry?” The answer isn’t a simple one-size-fits-all number. Several factors influence how quickly your tacky glue will set and fully cure. Knowing these variables will help you manage your crafting timeline effectively.
Understanding Tacky Glue
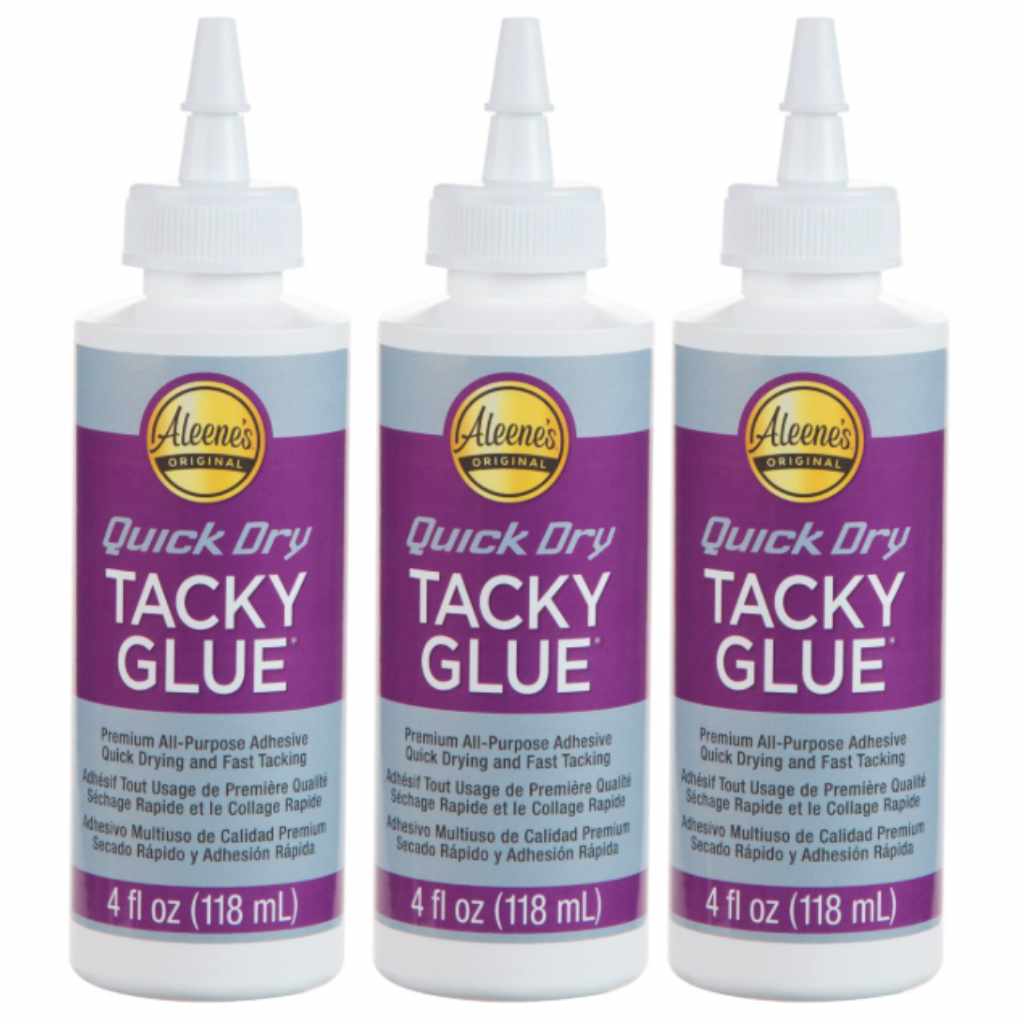
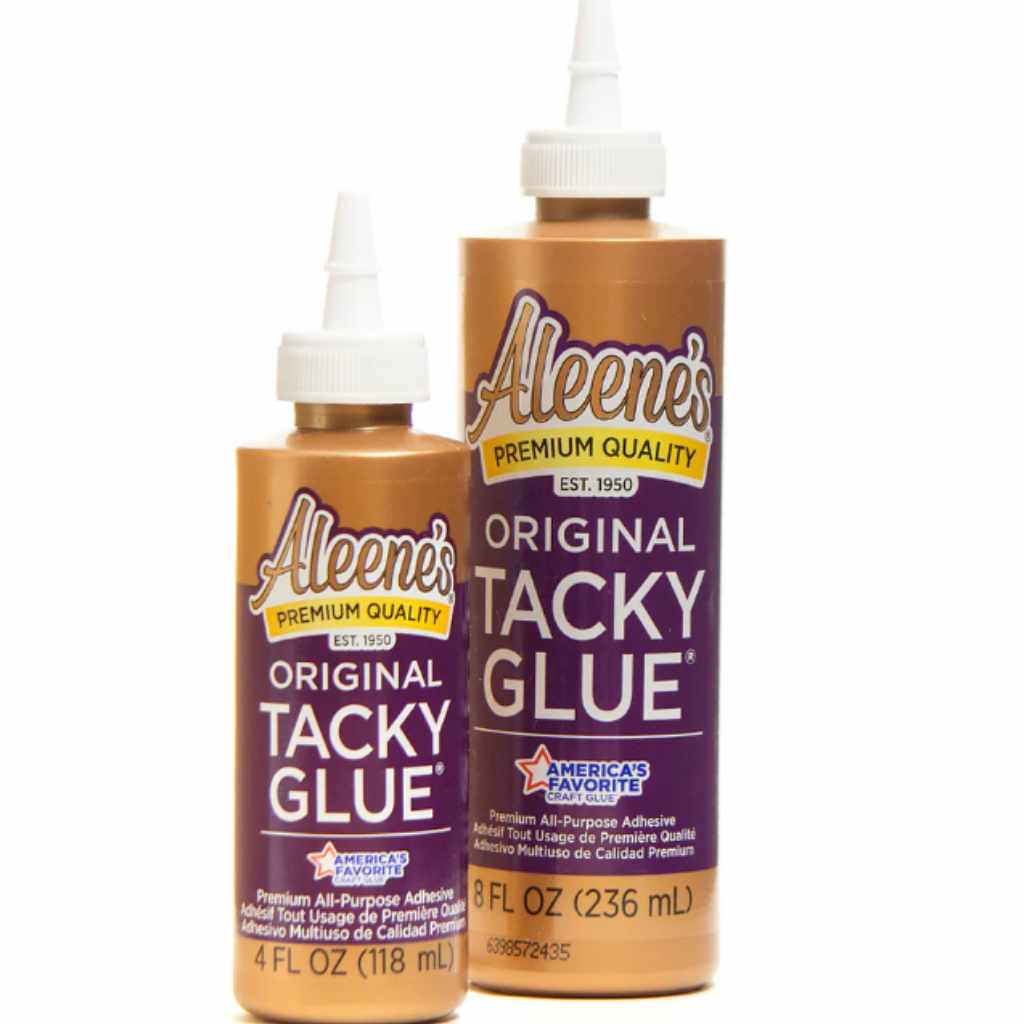
Tacky glue, often called “fabric glue” or “craft glue,” is a water-based adhesive known for its initial tackiness, meaning it grabs onto surfaces almost immediately. This makes it great for holding pieces together while you work on other parts of your project or while it dries completely. It’s typically white and becomes clear as it dries, making it suitable for a wide range of materials including fabric, paper, cardboard, felt, wood, and some plastics. Its versatility makes it a staple in many craft boxes.
Factors Affecting Drying Time
The environment and the materials you’re using play a big role in how long tacky glue takes to dry. Here are the main things to consider:
Humidity: High humidity in the air means there’s more moisture, and it takes longer for water-based glues like tacky glue to evaporate and dry. If you live in a very humid climate or it’s a damp day, expect longer drying times.
Temperature: Warmer temperatures generally speed up evaporation, leading to faster drying. Cooler temperatures will slow down the drying process.
Airflow: Good airflow helps to move moist air away from the glue, allowing it to dry more quickly. If you’re working in a stuffy room with no fan, it will take longer for the glue to dry.
Amount of Glue Used: Applying a thin, even layer of tacky glue will dry much faster than a thick glob. If you use too much glue, it will pool and take significantly longer to dry, and might even seep through porous materials.
Type of Material: Some materials are more porous than others. Materials like paper or thin fabric will absorb the water from the glue more readily, allowing it to dry faster. Denser, less porous materials like plastic or smooth wood will take longer because the water has to evaporate from the surface rather than being absorbed.
Surface Preparation: Ensure both surfaces are clean and dry before applying glue. Any dust, oil, or moisture can interfere with the bonding process and potentially affect drying time.
Typical Drying Times for Tacky Glue
While the factors above can change things, we can give you a general idea of what to expect.
Tack Dry (Initial Grab): This is when the glue feels sticky and holds items in place, but isn’t fully dry. This usually happens within 5-15 minutes. This is the stage where you can often move a project slightly without it falling apart, but it’s not strong enough to withstand significant stress.
Set Dry (Workable Dry): This is when the glue is no longer wet to the touch and you can handle the project without leaving fingerprints. It’s usually dry enough for light handling and moving to the next step if that step doesn’t involve heavy stress on the glued joint. This can take 30 minutes to 1 hour.
Full Cure (Maximum Strength): For the glue to reach its maximum holding strength, it needs to fully cure. This means all the water has evaporated, and the adhesive has formed a permanent bond. This can take 24 to 72 hours, depending on the conditions and the amount of glue used. For projects that will experience a lot of wear and tear, like durable fabric crafts or structural elements, waiting for the full cure is important.
Comparing Tacky Glue to Other Adhesives
It’s helpful to see how tacky glue stacks up against other common craft adhesives.
| Adhesive Type | Initial Tackiness | Tack Dry Time | Set Dry Time | Full Cure Time | Best For |
|---|---|---|---|---|---|
| Tacky Glue | High | 5–15 mins | 30–60 mins | 24–72 hours | Fabric, paper, felt, cardboard, light wood |
| White School Glue | Moderate | 15–30 mins | 1–2 hours | 24–48 hours | Paper, cardboard, lightweight crafts |
| Hot Glue | Very High | Instant | 1–5 mins | 15–30 mins | Quick assembly, heavier materials, less precise work |
| Super Glue (Cyanoacrylate) | High | Instant | 5–10 mins | 12–24 hours | Small, precise bonding, plastics, metal, ceramic |
| Craft Glue Stick | Moderate | 5–10 mins | 15–30 mins | 1–2 hours | Paper, cardstock, scrapbooking |
| Fabric Glue (Specialty) | High | 5–15 mins | 30–60 mins | 24–72 hours | Permanent fabric bonds, washable |
As you can see, tacky glue offers a good balance. It has better initial tack than school glue, allowing you to position items more easily, and it dries faster than school glue while providing a more flexible and durable bond for many applications. It’s not as instantaneous as hot glue, which can be a pro or con depending on your needs. For projects requiring a fast bond and less precision, hot glue might be better. For projects where you need to reposition and get a clean, strong bond that remains flexible, tacky glue is a great choice.
Tips to Speed Up Drying Time
If you’re on a tight deadline for your craft project, there are a few things you can do to encourage tacky glue to dry faster:
Use a Fan: Place a small fan nearby, angled to gently blow air across the glued area. This helps to whisk away moist air and speed up evaporation.
Control the Environment: If possible, work in a room with lower humidity and a comfortable, slightly warmer temperature. Avoid crafting in basements or areas prone to dampness.
Apply Thinly: This is perhaps the most impactful tip. Instead of applying a thick bead, use the applicator to spread a thin, even layer. You can use a small brush or even a craft stick to spread the glue if needed. Less glue means less water to evaporate.
Wipe Away Excess: If you accidentally apply too much glue, use a damp cloth or paper towel to carefully wipe away any excess before it has a chance to soak in or create a thick puddle.
Use a Hair Dryer (with caution): On a low heat setting, a hairdryer can help speed up drying. Keep the dryer moving and at a safe distance to avoid overheating or damaging delicate materials. Too much heat can sometimes make the glue rubbery or yellow, so test this method first.
When to Wait for Full Cure
Even though tacky glue feels dry to the touch relatively quickly, for certain projects, waiting for the full cure is essential for durability and longevity.
Fabric Projects: If you’re making a garment, bag, or other item that will be handled, washed, or stressed, wait for the full cure. This ensures the fabric fibers are completely bonded and the glue won’t weaken or separate with use.
Structural Crafts: For projects where glued elements bear weight or are subjected to any kind of stress, like building small models or attaching embellishments that might get knocked, allow ample time for curing.
Items Exhibiting a Lot of Movement: Think about items that will bend or flex. A full cure will give these areas the best chance of holding up over time.
When in Doubt: If you’re unsure whether your project needs a full cure, it’s always best to wait. A little extra patience now can prevent a lot of disappointment later.
Troubleshooting Common Tacky Glue Issues
Sometimes, things don’t go as planned. Here are some common issues and how to address them:
Glue Not Sticking:
Ensure surfaces are clean and dry.
The surface might be too slick or coated (e.g., glossy paint, waxed paper). You may need to lightly scuff the surface or use a different adhesive.
The glue might be old and dried out in the bottle.
Glue Showing Through Porous Materials:
You likely used too much glue. For very thin or porous materials, a very thin application or a glue stick might be better.
Wipe away excess immediately if possible.
Glue Remaining Gummy or Rubbery:
This can happen if too much glue was applied and the environment is very humid, preventing full evaporation.
Sometimes, gently warming with a hairdryer on low heat can help it set, but be cautious.
In some cases, you might need to carefully peel or scrape away the gummy residue and reapply.
Glue Turning Yellowish:
Some tacky glues can yellow over time, especially if exposed to UV light. This is less common with high-quality craft glues.
Ensure the glue is stored correctly, away from direct sunlight.
Understanding “Tack” vs. “Dry” vs. “Cure”
It’s important to differentiate these terms, as they relate to how long does tacky glue take to dry, but mean different things for your project:
Tack: This refers to the initial stickiness of the glue. Tacky glue has high tack, meaning it grabs surfaces quickly upon contact. This helps position pieces without them sliding around.
Dry: This is when the glue is no longer wet to the touch. It might feel firm or slightly rubbery, but it’s not fully hardened. At this stage, you can usually handle the project with care.
Cure: This is the final stage where the glue reaches its maximum strength and durability. All the water has evaporated, and the chemical bonds within the adhesive have fully formed.
When planning your projects, think about which stage is most important for the next step. If you need to add more elements and can handle the piece gently, the “set dry” time is sufficient. If the piece needs to be strong and withstand stress, you need to wait for the “full cure.”
Creative Applications and Drying Time Considerations
When you’re deep into a creative project, thinking about drying times can help you work more efficiently.
For paper crafts like card making or scrapbooking, where elements are often layered, the tack dry time of 5-15 minutes is usually enough to secure papers and allow you to add the next layer without shifting. You generally don’t need to wait for a full cure unless a specific element needs to be extremely strong.
When working with fabrics, such as making felt ornaments or simple fabric collages, the 30-60 minute set dry time is often adequate for handling. However, if you’re creating something that will be used frequently, like a small coin purse or a decorative patch that might get snagged, it’s wise to let it cure for at least 24 hours.
For mixed media projects that combine paper, fabric, and perhaps small embellishments like beads or glitter, consider the drying time of the glue on the most absorbent material. If you’re gluing paper to canvas, for example, the paper will dry faster than the canvas might. Plan your steps accordingly, allowing the glue on the slower material to set.
When building anything with cardboard or lightweight wood, like miniature models or decorative boxes, you’ll want to ensure a solid bond. After initial tacking, allowing at least an hour for the glue to set before applying significant pressure or adding more weight is a good practice. For structural integrity that will last, the full cure time is advisable.
Remember, these are guidelines. Always observe your project and the glue’s behavior. If a section feels particularly damp after an hour, it likely needs more time, especially if you’ve applied it thickly or in humid conditions.
Frequently Asked Questions
Question: How long does tacky glue take to dry on fabric
Answer: On fabric, tacky glue typically takes about 5-15 minutes to become tack dry, meaning it’s sticky enough to hold items in place. It will usually be set dry to the touch within 30 minutes to 1 hour, but for maximum strength and washability, it requires a full cure of 24-72 hours.
Question: Can I speed up tacky glue drying with heat
Answer: Yes, you can gently speed up drying with a hairdryer on a low heat setting. Keep the dryer moving and at a safe distance to avoid damaging materials or making the glue rubbery. It’s best to test on a small area first.
Question: Does humidity affect how long tacky glue takes to dry
Answer: Yes, high humidity significantly slows down the drying process. Water-based glues like tacky glue rely on evaporation, and in humid air, there’s more moisture present, meaning it takes longer for the glue to dry.
Question: How long does tacky glue take to dry on paper
Answer: Tacky glue dries relatively quickly on paper due to its absorbency. It’s usually tack dry within 5-15 minutes and set dry within 30-60 minutes. Full cure will typically take 24 hours.
Question: Is tacky glue permanent once dry
Answer: Yes, once fully cured, tacky glue forms a strong, permanent bond. While it remains somewhat flexible, it is designed to be a lasting adhesive for most craft applications.
Final Thoughts
Planning your creative projects involves more than just choosing your materials; it’s also about understanding how they work together, especially your adhesives. Knowing how long tacky glue takes to dry—from its initial tackiness to its full cure—empowers you to work more efficiently and achieve stronger, more reliable results. Remember that environmental factors like humidity and temperature, as well as the amount of glue you use and the materials you’re joining, all play a significant role in this drying process.
Don’t hesitate to use a fan or ensure good airflow to help speed things up, and always consider the demands placed on your project when deciding if a full cure is necessary. Whether you’re crafting delicate paper art or more robust fabric creations, patience with your adhesive will lead to lasting satisfaction with your finished pieces. Keep experimenting and enjoying the process of bringing your ideas to life.