How Long Super Glue Set: A Proven, Essential Guide
Super glue sets enough to handle in 5-10 minutes but requires a full 24 hours to cure completely and reach maximum strength. Factors like humidity, material type, and the amount of glue used can change these times. For an instant bond, use a cyanoacrylate (CA) glue accelerator.
Hello, fellow makers! Md Meraj here, your guide in the workshop. Have you ever glued two pieces together, held them for what felt like forever, and then watched them pop right apart? It’s a common headache. You’re left wondering if you used the wrong glue or just didn’t wait long enough.
Don’t worry, you’re not alone. Understanding how super glue works is the key to getting a strong, reliable bond every single time. It’s simpler than you think!
In this guide, I’ll walk you through exactly how long super glue takes to set and fully cure. We’ll uncover the secrets to making it work faster and avoid those frustrating fails. Let’s get your projects held together for good!
First Things First: What Exactly Is Super Glue?
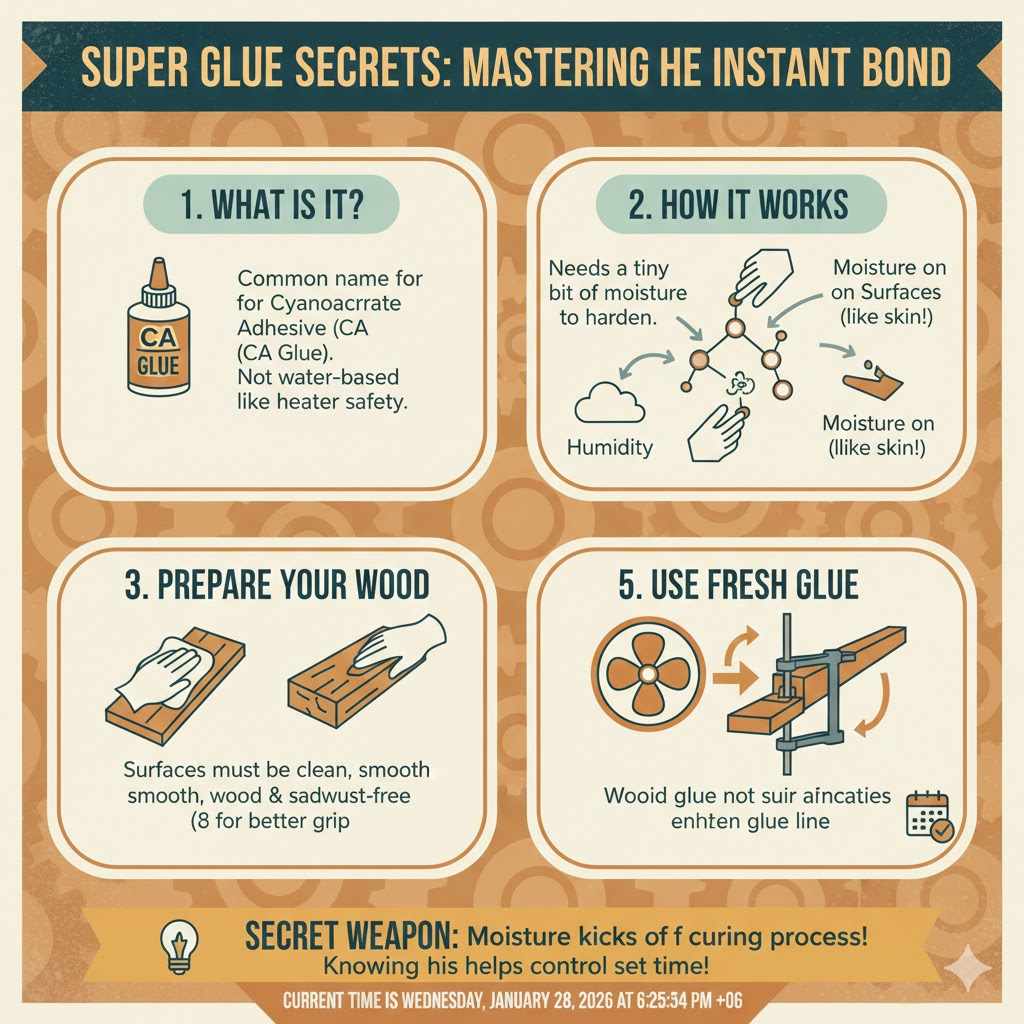
Before we can master it, let’s quickly understand what we’re working with. “Super glue” is the common name for what’s technically called a cyanoacrylate adhesive, or “CA glue” for short. It’s not like the white school glue or yellow wood glue you might be used to, which dry as water evaporates.
Instead, CA glue works through a chemical reaction. It needs a tiny bit of moisture to harden, or “cure.” You might be surprised to learn that it finds this moisture in the air (humidity) and on the surfaces of the materials you’re bonding. This is why it bonds so quickly to your skin, which has natural moisture!
This little bit of science is our secret weapon. Knowing that moisture kicks off the curing process helps us understand why the glue behaves differently on a dry winter day versus a humid summer afternoon. It’s the key to controlling its set time, which we’ll dive into next.
Set Time vs. Cure Time: The Most Important Difference
When we ask “how long does it take to set?”, we are often confusing two different but equally important concepts. Getting this right is the #1 step to a successful bond. Let’s break it down simply.
What is Set Time?
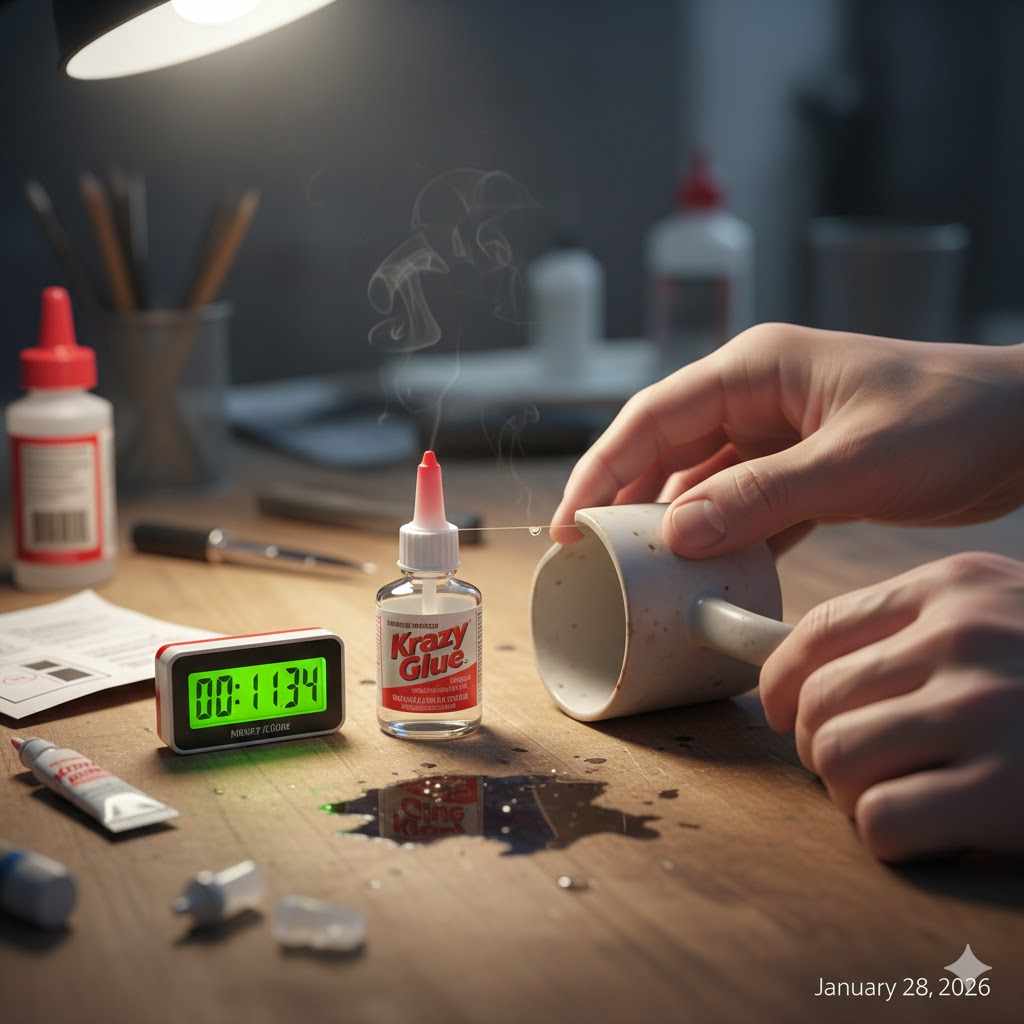
Set time is also known as “handling time” or “fixture time.” This is the short period when the glue creates an initial bond strong enough to hold the pieces together on its own. You can gently let go and move the object without it falling apart.
- Typical Duration: 5 seconds to 10 minutes.
- What It Means: The piece is stable, but the bond is still fragile. You should not put any stress or strain on the joint yet. Think of it like wet paint—you can see it, but you definitely shouldn’t touch it.
What is Cure Time?
Cure time is the total time it takes for the super glue to reach its maximum strength and bonding power. During this period, the chemical reaction continues throughout the glue, hardening it completely and creating a durable, long-lasting connection.
- Typical Duration: 12 to 24 hours.
- What It Means: The bond is now as strong as it’s going to get. It can withstand normal use, stress, and handling. This is the patience part of the project, but it’s what guarantees your repair or creation will last.
Think of it like baking a cake. After 30 minutes in the oven (set time), it looks like a cake and holds its shape. But you need to let it cool completely (cure time) before you can frost it and serve it, otherwise, you’ll have a big mess!
6 Key Factors That Change How Fast Super Glue Sets
Your workshop environment and the materials you use play a huge role in super glue’s performance. If your glue is drying too slowly (or too quickly!), one of these factors is likely the reason. Let’s look at what helps and what hurts.
1. The Material You’re Gluing
Different surfaces react differently with CA glue. The main difference is whether a material is porous (has tiny holes that absorb moisture and glue) or non-porous (smooth and sealed).
| Material Type | Examples | How It Affects Set Time |
|---|---|---|
| Porous & Alkaline | Wood, paper, leather, baking soda | Sets Very Fast. These materials often contain moisture and have a higher pH, which acts as a natural accelerator. |
| Non-Porous | Most plastics, metal, glass, glazed ceramics | Sets at an Average Speed. The bond relies only on the moisture in the air and on the surface. |
| Acidic Surfaces | Oily woods (like pine), some vinyls, acidic primers | Sets Very Slowly. Acidity counteracts the chemical reaction needed for curing. You’ll definitely need an accelerator for these. |
2. Humidity in Your Workspace
Remember how CA glue needs moisture to cure? The humidity in the air is its primary fuel source.
- High Humidity (>50%): Super glue will set much faster. This is great if you’re ready, but it gives you less time to position your parts perfectly.
- Low Humidity (<30%): Super glue will set very slowly. If you’re in a dry climate or have the heat cranked up in winter, this is often the cause of a slow-setting bond.
3. Temperature
Like most chemical reactions, temperature matters. A warm environment helps speed things along.
- Warm Temperatures (70-85°F / 21-29°C): This is the ideal range. The reaction proceeds at a predictable, steady pace.
- Cold Temperatures (<60°F / 15°C): The curing process slows down significantly. If your workshop is cold, expect to wait longer for the glue to set.
4. The Amount of Glue You Use
This is the most common beginner mistake: more glue is NOT better! In fact, with super glue, less is always more. A thick, globby layer of super glue will take a very long time to cure because the moisture from the air can’t reach the glue in the middle of the puddle.
The rule of thumb is to use one single drop per square inch. You want a thin, even layer that is almost invisible when you press the pieces together.
5. How Well the Surfaces Fit Together
Super glue is terrible at filling gaps. It has great tensile strength (pulling apart) but poor shear strength (sliding). For a strong bond, you need the two surfaces to make close, intimate contact.
- Tight-Fitting Joints: The glue will set quickly and form a very strong bond.
- Gappy or Uneven Joints: The glue has nothing to grab onto and will set slowly or not at all, resulting in a weak bond.
6. Using an Accelerator
For those times you need an instant bond, a CA glue accelerator (or “activator”) is your best friend. This is a chemical, usually in a spray bottle, that provides the perfect trigger for the glue to cure on command.
You can spray it on one surface before applying the glue to the other, or lightly mist it over the seam after joining the parts. The result is a nearly instant set time—often less than three seconds! We will discuss more about using an accelerator in our handy tips section.
Your Super Glue Timeline: From Application to Full Strength
So, let’s put it all together into a simple, practical timeline. Keep this in mind for your next project. (These are estimates for ideal conditions: 72°F and 50% humidity.)
| Time After Application | Stage | What You Can Do |
|---|---|---|
| 0 – 60 Seconds | Initial Bond | Hold the pieces firmly in place without moving. Do not let go yet. |
| 1 – 10 Minutes | Set / Handling Time | The pieces will hold together on their own. You can gently handle the object. Do not apply any pressure or use it yet. |
| 10 Minutes – 12 Hours | Partial Cure | The bond is getting stronger. It can resist light bumps and pressure, but it’s not ready for heavy work. |
| 12 – 24 Hours | Full Cure | The glue has reached its maximum strength. The project is ready for normal use, sanding, or finishing. |
My Top 5 Tips for Making Super Glue Set Faster (and Stronger!)
Tired of waiting around? Want to guarantee a rock-solid bond? Here are the proven techniques I use in my own workshop to get perfect results every time.
- Use a CA Glue Accelerator: This is the professional’s choice for instant results. It’s perfect for holding tricky angles or when you simply can’t wait. Lightly spray one side, apply glue to the other, press together, and it’s done.
- Prepare Your Surfaces Properly: The strongest bonds start with a clean slate. Make sure your surfaces are free of dust, oil, wax, and grime. A quick wipe with denatured alcohol works wonders. For very smooth surfaces like plastic or metal, scuffing them lightly with sandpaper gives the glue more texture to grip.
- Apply Gentle, Firm Pressure: Once you join the pieces, press them together firmly and consistently for 30-60 seconds. A simple clamp or even some rubber bands can do the trick. This ensures maximum surface contact and squeezes out excess glue, leading to a faster, stronger bond.
- Add a Little Moisture (Carefully!): If you’re working in a very dry environment, you can gently breathe on one of the surfaces just before joining them. The moisture from your breath can be just enough to kick-start the reaction. Don’t add water directly, as that’s too much and can weaken the bond.
- The Baking Soda Trick for Gaps: Need to fill a small gap or create a super-strong fillet? This trick is a game-changer. Sprinkle a little baking soda into the gap, then add a drop of thin CA glue. The reaction is instant and creates a hard, plastic-like material that you can sand and paint. As the U.S. Consumer Product Safety Commission advises, always work in a well-ventilated area when using adhesives.
Common Super Glue Mistakes and How to Avoid Them
We’ve all been there. Let’s make sure these common pitfalls don’t ruin your next project.
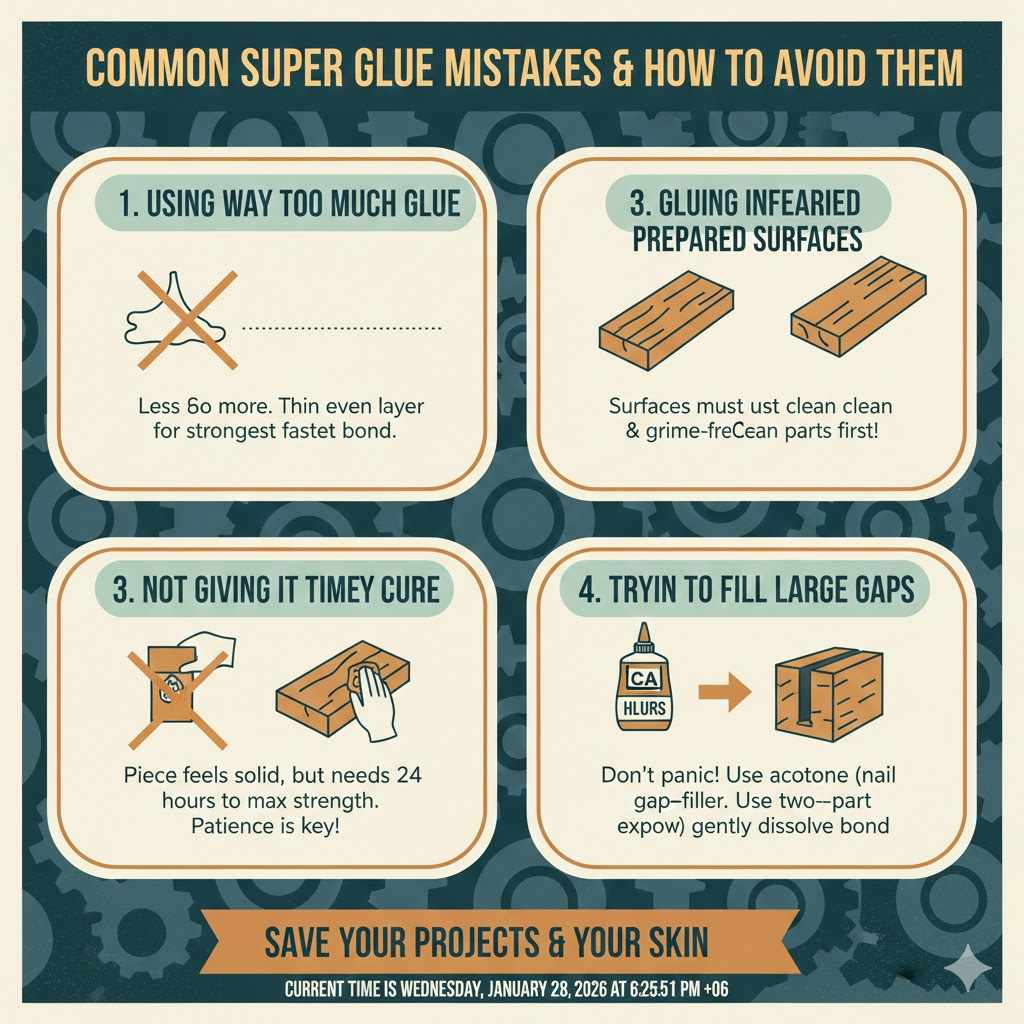
- Using Way Too Much Glue: Remember, less is more. A thick puddle suffocates the chemical reaction. Apply a thin, even layer for the fastest and strongest bond.
- Gluing Unprepared Surfaces: Trying to glue dirty, dusty, or oily surfaces is a recipe for failure. The glue will stick to the grime, not the material itself. Always clean your parts first.
- Not Giving it Time to Fully Cure: This is the big one. The piece may feel solid after a few minutes, but putting stress on it before the full 24-hour cure time can cause the bond to break. Patience is a virtue!
- Trying to Fill Large Gaps: CA glue is not a gap-filler (unless you’re using the baking soda trick for small voids). For large gaps, a two-part epoxy is a much better choice.
- Gluing Your Fingers Together: It happens! Don’t panic and don’t try to pull your skin apart. The best and safest method is to use acetone (nail polish remover) to gently dissolve the bond. Soak a cotton swab in acetone and work it around the edges of the glue until your fingers come free.
Frequently Asked Questions (FAQ)
1. How can I make super glue set instantly?
The only way to get a truly instant set is by using a CA glue accelerator spray. Apply the glue to one piece and spray the activator on the other. When you press them together, the bond will form in 1-3 seconds. The baking soda trick also creates an instant reaction for filling small gaps.
2. Why isn’t my super glue setting?
This is almost always due to one of three things: the environment is too cold or dry (low humidity), the surfaces are acidic or were not cleaned properly, or you applied way too much glue. Try warming the room, adding a little moisture with your breath, or using an accelerator.
3. Can I use water to make super glue dry faster?
While super glue does use moisture to cure, adding a drop of water is too much. It can cause the glue to cure too quickly and unevenly, resulting in a weak, brittle bond. A very light mist from a plant sprayer or simply breathing on the surface is a safer way to introduce a tiny amount of moisture if your workshop is very dry.
4. How do I get super glue off my skin?
Don’t pull! The safest way is to soak the area in warm, soapy water to soften the skin. Then, use an acetone-based nail polish remover to gently dissolve the glue. A pumice stone can help rub away any remaining bits. According to the chemists at Compound Interest, this works because acetone is a solvent for cyanoacrylate.
5. Is super glue waterproof once it’s fully cured?
Yes, once fully cured after 24 hours, most super glues are highly water-resistant and can withstand occasional exposure to moisture. However, for projects that will be constantly wet or submerged, a marine-grade epoxy is a more reliable and durable choice.
6. What is the difference between thin, medium, and thick super glue?
These terms refer to the glue’s viscosity. Thin CA is watery and wicks into tight cracks, setting very fast. Medium CA is a general-purpose glue that’s a bit easier to control. Thick CA (or Gel) is like toothpaste, stays where you put it, and is better for filling small gaps, but it sets much slower.
7. Does putting super glue in the fridge make it last longer?
Yes, it does! Storing unopened super glue in a cool, dry place like a refrigerator can significantly extend its shelf life by slowing down the gradual curing that happens inside the bottle. Just make sure to let it warm up to room temperature before you use it.
Conclusion: Gluing It All Together
See? Super glue isn’t so mysterious after all. The key to success is simply understanding the difference between a quick “set time” for handling and the full 24-hour “cure time” for maximum strength.
By controlling the factors in your workshop—like temperature, humidity, and surface prep—and by using the right amount of glue, you can create strong, reliable bonds every single time. And when you’re in a hurry, a can of CA accelerator is an indispensable tool to have on your bench.
So the next time you reach for that little bottle, you can do it with confidence. You now have the knowledge to make your repairs and projects last. Get out there and build something great!