How to Fill Gaps in Wood: The Right Filler for Every Gap Size
Quick answer: Match the filler to the gap, not the other way around. Hairline cracks under 1/16″ take a wood glue-and-sawdust paste. Gaps up to 1/8″ take a stainable wood putty. Anything from 1/8″ to about 1″ needs a two-part epoxy, usually backed with a sliver of wood so it has something to grip. And any gap wider than an inch — or one that keeps reopening every winter — is a structural problem that filler alone will not fix.
Most “how to fill a gap” guides jump straight to a single product. That is how you end up with a putty repair that pops out of a 3/8″ gap six months later, or an overkill epoxy job on a nail hole that could have been fixed in two minutes. The real skill is diagnosing the gap first — its size, its location, and why it opened up — then picking the right material for that specific job.
Below is the same gap-size decision framework I use in my own shop, plus the prep, application, sanding, and color-matching steps that actually make a repair disappear instead of standing out.
Gap-Size Decision Table: What To Use For Each Type Of Gap
This is the core decision most articles skip. Wood movement, joinery gaps, and old repairs all show up differently depending on how wide and deep the gap actually is.
| Gap Size | Category | Best Method / Product | Why |
|---|---|---|---|
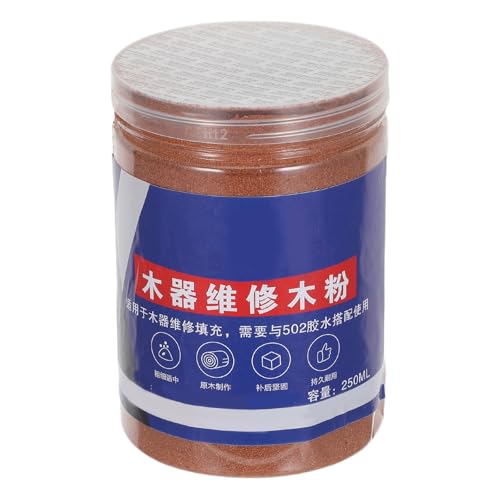
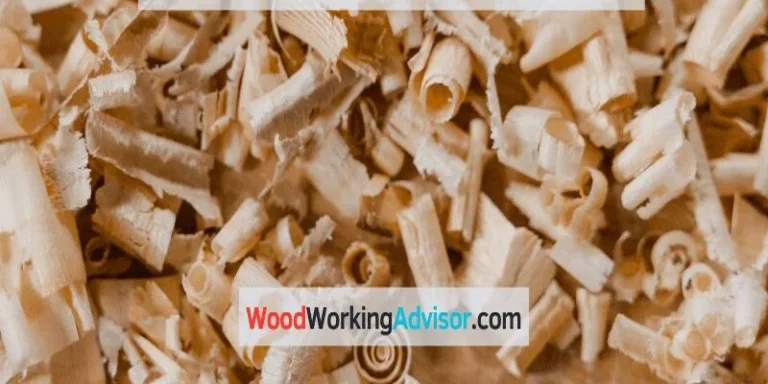
| Under 1/16″ | Hairline crack | Wood glue + fine sawdust paste | Cheapest option and nearly invisible when the sawdust comes from the same board. |
| 1/16″ – 1/8″ | Small gap | Stainable wood putty / filler | Standard nail-hole filler works fine at this size and sands smooth with fine grit. |
| 1/8″ – 1/4″ | Medium gap | Two-part wood epoxy filler | Single-component fillers shrink and crack once a void passes about 1/8″ deep or wide; epoxy holds its shape. |
| 1/4″ – 1″ | Large gap | Epoxy + backer wood sliver, or a dutchman/spline patch | Straight epoxy over this size needs something to grip; a thin wood backer or inset patch keeps it from cracking out. |
| Over 1″ or a joint that keeps moving | Structural gap | Re-glue, re-cut, or re-joinery — do not just fill it | Filler has no structural strength. A gap this size usually means the joint itself has failed and needs to be taken apart and redone. |
Preparing The Gap Before You Fill It
Every filler, regardless of size, fails the same way when skipped this step: it does not bond. Before mixing anything:
- Vacuum or blow out dust and debris — trapped dust is the #1 reason fillers pop out later.
- Lightly sand the edges of the gap so the filler has clean wood to grip, not old finish or wax.
- Let the wood dry fully if it was recently cleaned with water; damp wood traps moisture under the filler and can cause it to bulge or discolor.
- For gaps at a joint, check whether the joint is actually loose (see filling gaps at wood joints below) before filling — filling a joint that still moves just cracks the filler again.
Step-By-Step: How To Fill A Gap In Wood
- Assess the gap. Measure the width and depth, and use the table above to pick a filler category.
- Clean and dry the area. Remove dust, debris, and any loose wood fibers.
- Mix the filler if needed. Two-part epoxies need accurate ratios — off-ratio mixing is the most common reason epoxy stays tacky.
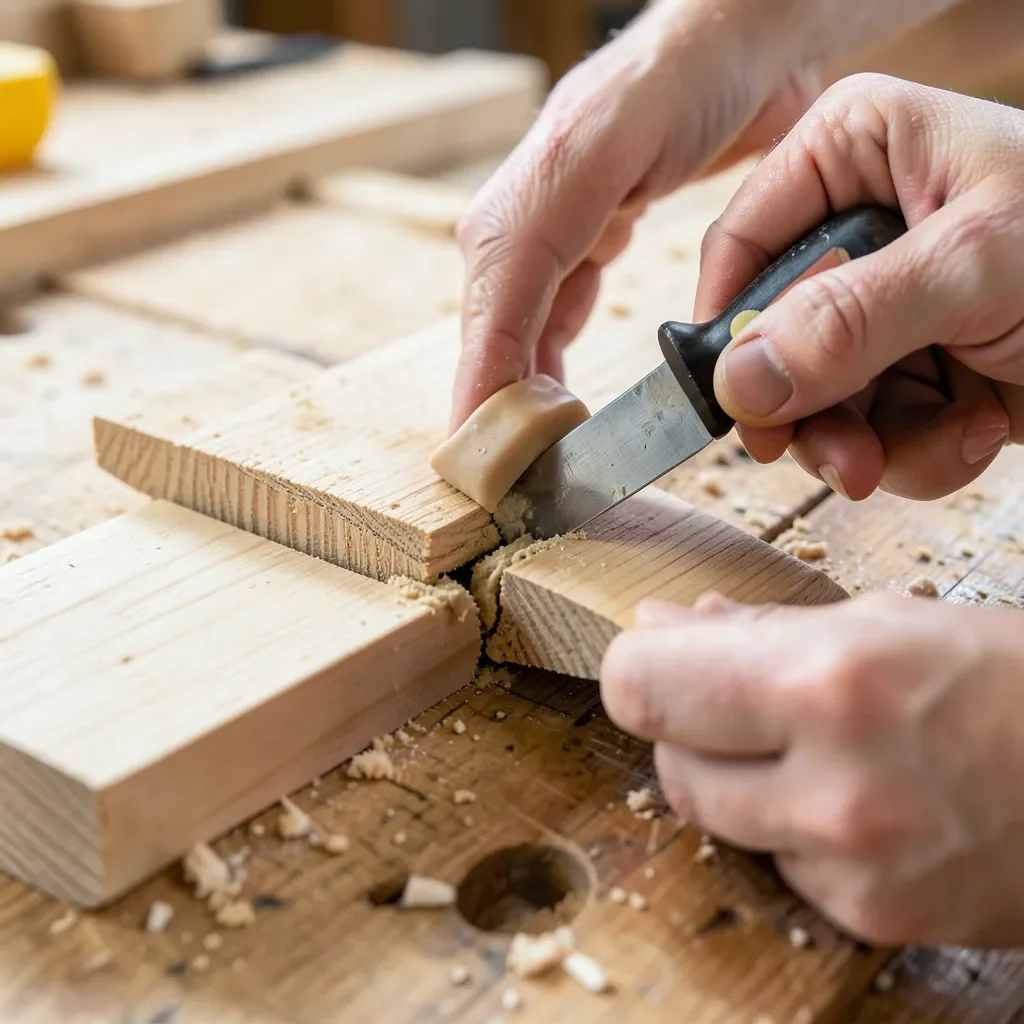
- Overfill slightly. Press the filler in with a flexible putty knife, working it into the corners, then mound it slightly proud of the surface.
- Let it cure fully. Follow the product’s stated cure time — sanding too early smears soft filler instead of cutting it.
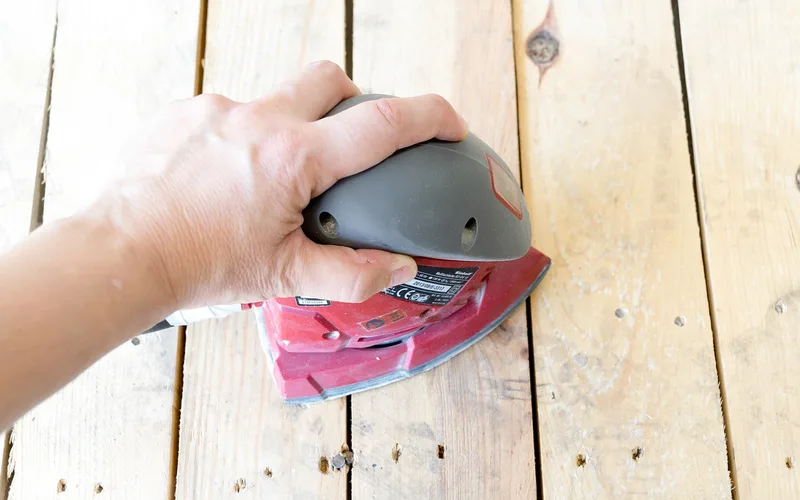
- Sand level, then blend. Start with 120-grit to knock down the excess, then move to 220-grit sanding with the grain to blend the repair into the surrounding wood.
Color-Matching A Wood Filler Repair
Plain wood filler does not accept stain the same way real wood does, which is why a repair that looked fine dry can suddenly stand out once you apply finish. Two ways around this:
- Pre-tinted, color-matched filler — sold in shades like walnut, golden oak, and cherry, mixed to match before you apply it.
- Stain marker touch-up after filling — fill with a neutral or slightly lighter filler, then deepen the color with a stain pen once it is sanded, since it is far easier to darken a repair than lighten one.
When Filling Isn’t Enough: Structural Gaps
Not every gap should be filled. If a gap is wider than about an inch, if it reopens every heating season, or if it is at a joint that visibly flexes under load, the underlying joinery has failed. In that case:
- Disassemble and re-glue the joint if the piece allows it.
- Cut a dutchman patch (a shaped wood insert) for a void that is too large or irregular for filler alone.
- For repeated seasonal gaps at board joints specifically, see our dedicated guide on fixing wood joint gaps indoors and outdoors, which covers seasonal wood movement in more depth.
Data point: Wood only shrinks and swells below roughly 30% moisture content (the fiber saturation point), and flatsawn boards can move nearly twice as much across their width as quartersawn boards of the same species. That is why a gap that opens up every winter often partly closes again on its own in summer — a detail worth checking before you permanently fill a seasonal gap. (Source: USDA Forest Products Laboratory Wood Handbook, Chapter 4.)
From the shop: After 12+ years building furniture and doing deck and trim repairs, the mistake I see most often is reaching for epoxy on every gap because it feels like the “strong” choice. On a 1/16″ hairline crack, epoxy is overkill and often looks glassier than the surrounding wood once finished. I save epoxy for gaps 1/8″ and up, and use a simple glue-and-sawdust paste for anything smaller — it sands and stains far closer to the real wood. — Md Meraj, founder, Woodworking Advisor
Common Mistakes To Avoid
- Skipping the size assessment and using the same filler for every gap regardless of width or depth.
- Sanding before the filler fully cures, which smears it instead of leveling it.
- Filling a gap that is actually a symptom of a loose joint instead of fixing the joint itself.
- Ignoring color until after the finish goes on, when it is too late to blend the repair in.
- Using a single-component filler on gaps over 1/8″, where it is prone to shrinking and cracking back open.
Recommended Fillers By Gap Size
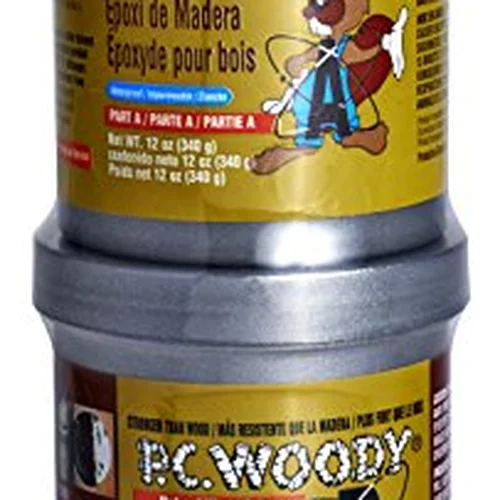
PC-Woody Two-Part Epoxy Paste
Best for gaps 1/8″ to 1″; cures rock-hard and can be drilled, sanded, or screwed once set.
Check Price on Amazon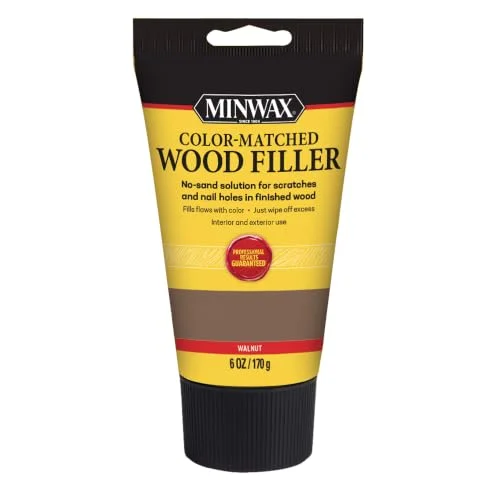
Minwax Color-Matched Wood Filler
Pre-tinted, no-sand putty for gaps up to about 1/8″; comes in walnut, golden oak, and cherry to skip separate stain-matching.
Check Price on Amazon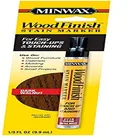
Minwax Wood Finish Stain Marker
The fastest way to darken a filler repair after sanding, without mixing or re-staining the whole piece.
Check Price on AmazonFrequently Asked Questions
What Is The Best Thing To Fill Gaps In Wood?
It depends on the size. Under 1/16″, a wood glue and sawdust paste works best. From 1/16″ to 1/8″, a stainable wood putty is easiest. Past 1/8″, a two-part epoxy holds up better and will not shrink back out of the gap.
What Do Builders Use To Fill Gaps?
Professional builders typically use two-part epoxy fillers for structural or exterior gaps because of their strength and water resistance, and reserve lighter wood putty for small cosmetic gaps like nail holes.
What Can I Use To Fill Gaps In Wood Trim?
For trim, a stainable or paintable wood putty is usually enough since trim gaps are typically small (nail holes, mitered corner gaps). Larger trim gaps from seasonal movement may need a flexible caulk instead of a rigid filler.
What Is The Best Filler For Cracks In Wood?
Hairline cracks respond best to a wood glue and fine sawdust mixture from the same species — it sands and stains closer to the surrounding wood than most commercial fillers. Wider cracks are better served by epoxy.
How Do I Know If A Gap Is Structural And Shouldn’t Just Be Filled?
If the gap is wider than about an inch, if it visibly opens and closes with the seasons, or if the joint flexes when you put weight on it, filling will not fix the underlying problem. That gap needs the joint disassembled and re-glued, or a proper dutchman patch, not just filler.
Related Guides
- Making your own filler at home instead of buying one? See Homemade Wood Filler: Easy DIY Recipe for Perfect Repairs.
- Dealing specifically with gaps at a board or furniture joint? See How to Fill Wood Joint Gaps: Indoor & Outdoor Fixes.
- Already have wood putty on hand? See How to Use Wood Putty.
- Wondering how long that filler needs to cure before you can sand it? See How Long Does Wood Putty Take to Dry?.
- Working with a crack rather than a gap? See How to Fix Cracked Wood.
- Need a fast-curing glue for the sawdust-paste method? See Fast-Drying Wood Glue.
- Filling gaps in pressure-treated lumber? Check Can I Sand Pressure-Treated Wood first.
- Finishing over a filled repair? See Urethane Varnish vs. Polyurethane Varnish.
Conclusion
Filling a gap in wood is a five-minute job once you know which category it falls into. Diagnose the size first, prep the area so the filler actually bonds, pick the product from the table above, and match the color before the finish goes on — not after. If the gap keeps coming back or is wider than an inch, stop filling and fix the joint instead.
Sponsored / affiliate links. As an Amazon Associate I earn from qualifying purchases. I may earn additional commission from eligible campaigns.