How to Mix Primer: Stir vs. Thin (And When Each Applies)
Most primers don’t need to be mixed with anything at all — you just need to stir the can thoroughly to re-blend the pigment and solids that settle during storage. Thinning with water, mineral spirits, or denatured alcohol is only necessary if you’re spraying it through a sprayer, and even then the ratio depends entirely on which type of primer you’re using.
That distinction trips people up constantly, because a lot of generic advice online treats “mixing primer” like it always means diluting it. For brush or roller application — which covers the vast majority of DIY priming jobs — the correct move is almost always to stir, not thin. Here’s how to do it right for each primer type, when thinning genuinely applies, and the mistakes that cause the most callbacks and redo jobs.
Stirring vs. Thinning: Know Which One You Actually Need
Best Way To Stir Without Air Bubbles
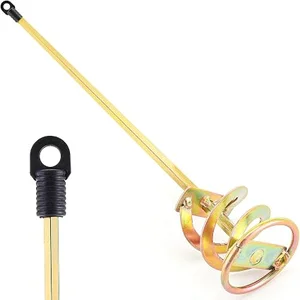 |
Paint Mixer Drill Attachment – $8.98 Fits any standard drill and works a settled can back to a uniform consistency far faster than hand-stirring, without the high-speed whipping that causes bubbles.
|
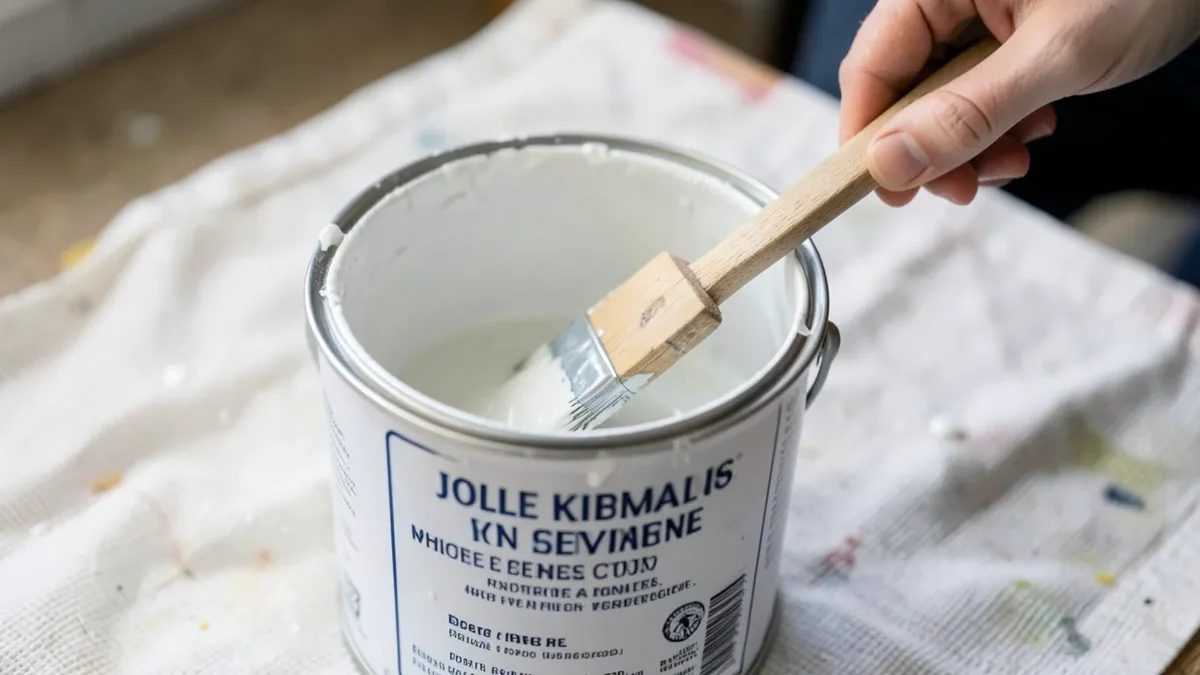
Primer separates in the can over time — heavier pigments and solids settle toward the bottom, especially in stain-blocking and high-build primers. A can that’s been sitting on a shelf for even a few weeks can have a noticeably thinner liquid on top and a dense sludge underneath. Skip the stir and you’ll get a first coat with almost no hiding power, and a last coat that goes on like paste.
| Primer Type | Stir Only, Or Thin? | If Thinning For A Sprayer |
|---|---|---|
| Latex/acrylic (water-based) | Stir for brush/roller | Water, roughly 5–10% by volume, per the sprayer’s manual |
| Alkyd/oil-based | Stir for brush/roller | Mineral spirits, roughly 10–15% by volume |
| Shellac-based (e.g. BIN) | Stir for brush/roller | Denatured alcohol, roughly 10% by volume |
Notice the pattern: every primer type gets stirred for normal application, and thinning only enters the picture when you’re feeding it through a spray gun that needs a specific viscosity to atomize properly. If you’re using a brush or roller, you can generally ignore the thinning column entirely — and always check your specific product’s label, since ratios vary by brand and formulation.
How To Stir It Correctly
- Pour off a little into a separate container if the can is more than half full, so you have room to work the solids up from the bottom without spilling.
- Use a flat paddle stick, not a whisk motion. Scrape along the bottom and sides where settled solids collect, then fold the mixture over itself.
- Go slow if you’re using a drill attachment. A mixing paddle on a drill is faster than hand-stirring, but running it at high speed whips air into the primer — those bubbles pop as the coat dries and leave tiny craters (called “cratering”) in the finish.
- Keep stirring until the color and texture are uniform top to bottom, with no streaks or grainy lumps left in suspension.
Prepping The Surface Before You Prime
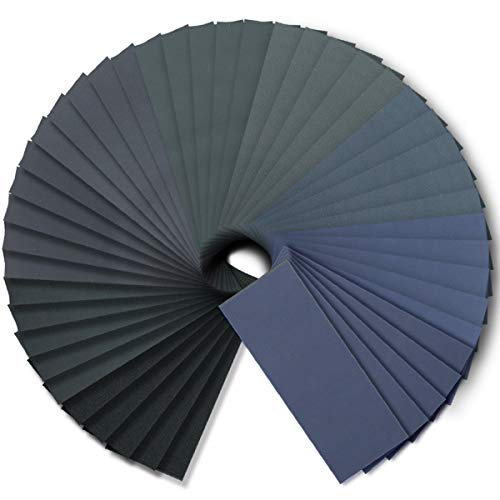
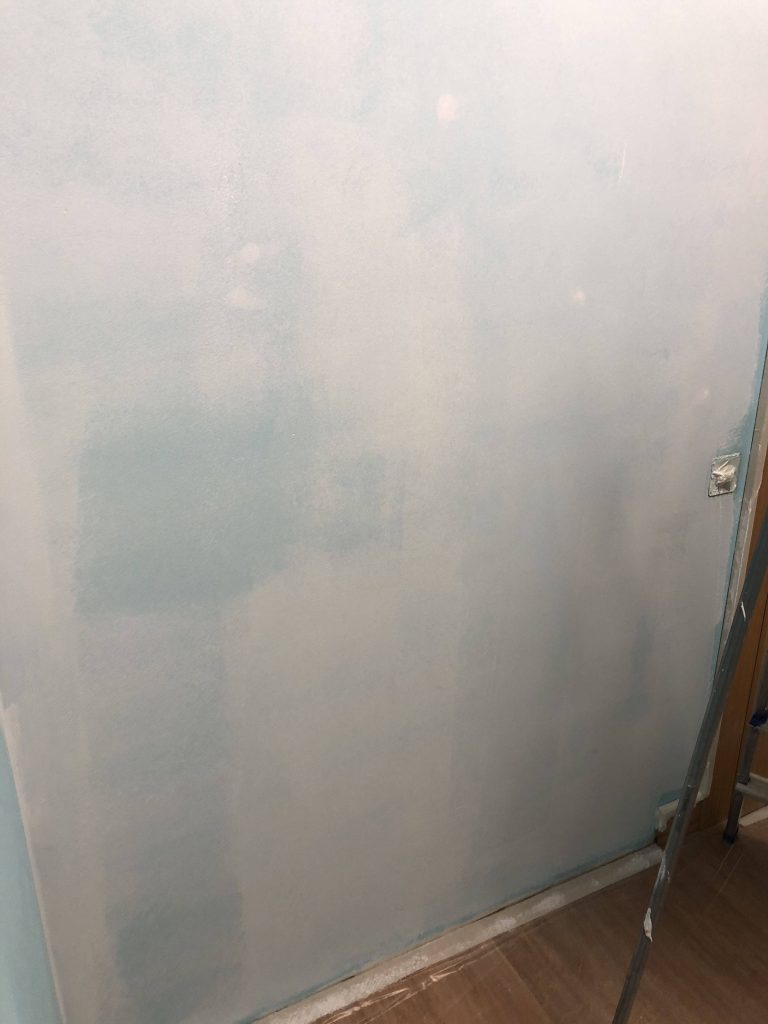
A perfectly mixed primer still fails on a dirty or wet surface. Wipe away dust, grease, and dirt with a damp cloth, using a mild detergent on anything greasy, then let it dry fully — priming over a surface that’s even slightly damp is one of the most common causes of peeling. Lightly sand glossy or rough spots with a fine-grit sandpaper so the primer has some texture to grip, and wipe away the resulting dust before you start.
Applying It Without Streaks Or Missed Spots
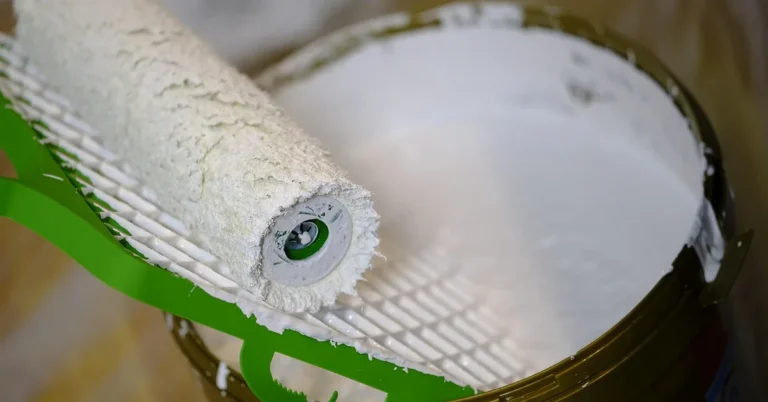
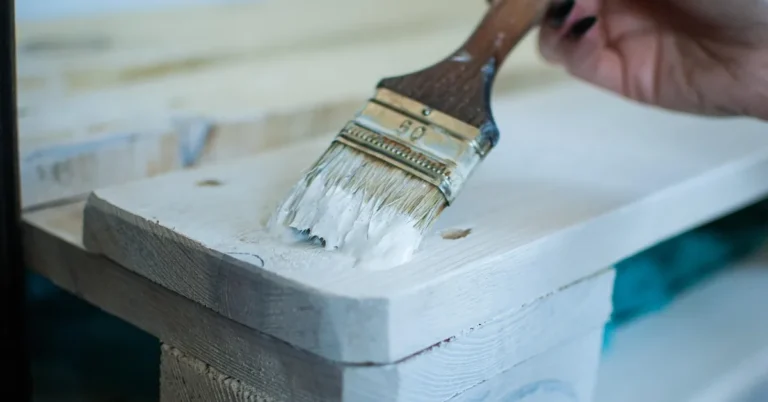
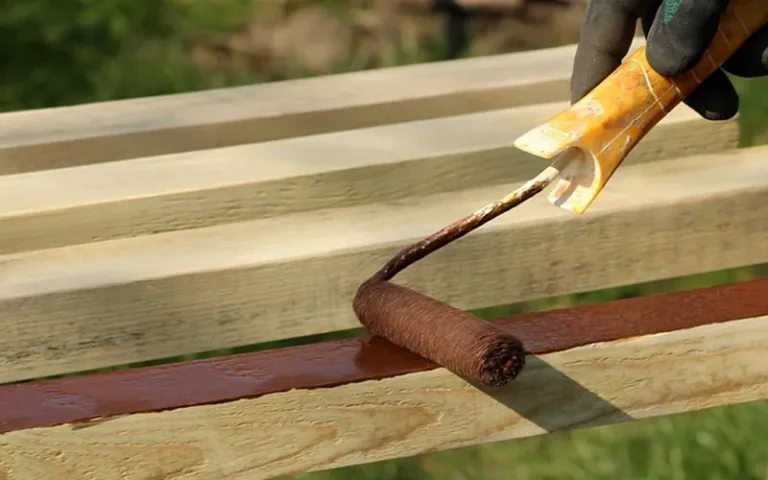
With a brush, load only about half the bristle length so it doesn’t drip, and work in long, even strokes moving in one direction rather than scrubbing back and forth. With a roller, load it evenly in the tray and work in overlapping “W” patterns so you don’t leave visible roller-edge lines. In both cases, one thin, even coat beats one thick coat — a heavy coat takes longer to dry, sags on vertical surfaces, and dries unevenly enough that it can actually show through the topcoat.
Drying And Recoat Times By Primer Type
| Primer Type | Touch-Dry | Recoat / Paint Over |
|---|---|---|
| Latex/acrylic | 30–60 minutes | 1–4 hours (check label) |
| Alkyd/oil-based | 1–2 hours | 4–24 hours |
| Shellac-based | 15–30 minutes | 45 minutes–1 hour |
Touch-dry isn’t the same as fully cured — that just means you can touch it without leaving a fingerprint. Full cure, when the film actually hardens all the way through, can take several days and depends heavily on temperature and humidity. Ideal curing conditions sit between 60°F and 80°F with moderate humidity; cold, damp conditions can stretch cure time out considerably and leave the surface soft enough to mark for longer than the label suggests.
Mistakes That Cause The Most Redo Jobs
- Skipping the stir on an older can. Settled solids mean inconsistent coverage from the first stroke to the last.
- Thinning primer that didn’t need it. Adding water or solvent to a brush-and-roller job weakens hide and adhesion for no benefit.
- Priming over a damp or dirty surface. This is the single biggest cause of peeling and poor adhesion, and no amount of correct mixing fixes it.
- Applying too thick a coat to save time. It dries unevenly, takes far longer to cure, and can telegraph texture through the topcoat.
- Painting before the primer has actually cured, not just gone touch-dry, especially in cold or humid weather.
Frequently Asked Questions
What Is The Ratio For Mixing Primer?
For brush or roller application, most primers need no thinning at all — just a thorough stir. If you’re spraying, typical thinning ratios run 5–15% by volume depending on the primer type, but always check the manufacturer’s label since it varies by product.
Can You Mix Primer With Paint?
No. Primer and paint are formulated for different jobs — primer is built for adhesion and stain-blocking, paint for color and topcoat durability. Combining them weakens both functions, and any primer-paint hybrid products are pre-formulated by the manufacturer, not mixed on-site.
How Long Should Primer Dry Before Painting?
It depends on the type: shellac-based primers can often be recoated in under an hour, latex primers typically need 1–4 hours, and oil-based primers can need up to 24 hours. Always check the specific product’s label rather than assuming.
Do You Need To Sand After Priming?
A light scuff-sand with fine-grit sandpaper after the primer has dried removes any raised grain or minor roughness and helps the topcoat go on smoother, though it isn’t strictly required on already-smooth surfaces.
Bottom Line
Mixing primer is mostly about stirring it back to a uniform consistency, not diluting it — save the thinning for when you’re actually using a sprayer, and match the ratio to your specific primer type and its label instructions. Get the surface prep and coat thickness right alongside that, and the primer will do its job the way it’s supposed to.
Sponsored / affiliate links. As an Amazon Associate I earn from qualifying purchases. I may earn additional commission from eligible campaigns.