How to Adhere Laminate to Wood: Contact Cement Application Guide
To adhere laminate to wood, apply contact cement to both the plywood substrate and the back of the laminate sheet, let both coats dry until tacky, then join them carefully – contact cement bonds on contact with almost no room to slide or reposition.
Laminate countertops, cabinet doors, and shelving all rely on one adhesive that behaves nothing like ordinary wood glue: contact cement. Unlike PVA glue or epoxy, which go on wet and get clamped while they cure, contact cement is applied to both surfaces, left to dry until it’s tacky rather than wet, and only then pressed together. The moment the two tacky surfaces touch, the bond is essentially permanent – there’s no sliding the laminate into place afterward. That single detail trips up more first-time laminate jobs than any other step, so this guide walks through the real sequence: substrate prep, the contact-cement method itself, safe alignment tricks, and trimming the overhang cleanly with a router.
What You Need Before You Start
Laminate work doesn’t require a large tool list, but a few of these items aren’t optional if you want a clean, bubble-free result:
- Contact cement – solvent-based for the strongest, most heat-resistant bond, or a water-based (low-VOC) formula if you’re working indoors without good ventilation.
- Plastic laminate (HPL) sheet – cut oversized by about 1/2 inch on each edge; it gets trimmed flush after bonding, not before.
- Plywood or MDF substrate – clean, flat, and free of voids (more on why this matters below).
- Notched trowel, foam roller, or brush – for spreading an even coat of cement on both surfaces.
- Thin wood dowels or lattice strips – used as spacers so you can position the laminate before it touches the glued surface.
- J-roller or laminate roller – for pressing the bonded sheet down firmly once it’s aligned.
- Router with a flush-trim (laminate trim) bit – the standard tool for cutting the overhang flush after bonding.
- Fine-grit sandpaper or a laminate file – to ease the trimmed edge.
Standard Contact Cement For Laminate
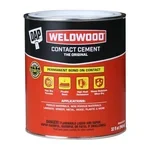 |
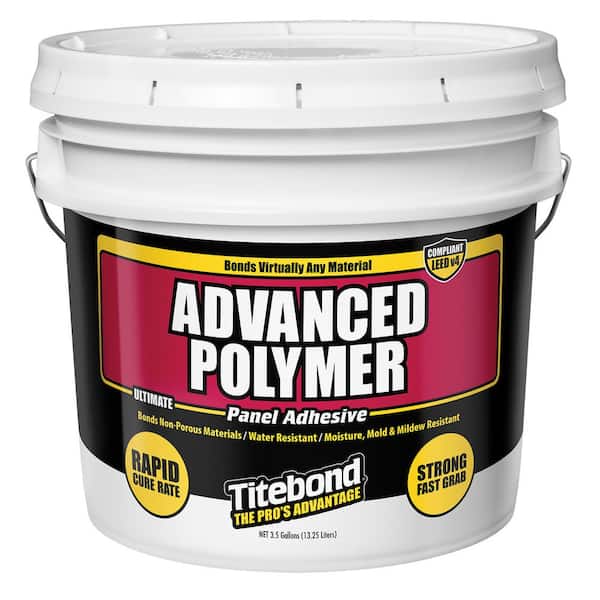
DAP Weldwood Original Contact Cement, 32 oz – $23.48 This is the exact type of adhesive this guide is built around – a solvent-based contact cement made for bonding laminate to wood, applied to both surfaces and pressed together once tacky.
|
Why Contact Cement Works Differently Than Wood Glue
Most wood glues – PVA glue included – go on wet, get clamped, and give you several minutes to slide the pieces into their final position before the glue grabs. Contact cement is built around the opposite idea. You coat both surfaces, let the solvent or water carrier flash off until the cement feels dry to the touch but still slightly tacky (usually 10 to 30 minutes depending on temperature and humidity), and only then bring the two surfaces together. There’s no wet squeeze-out, no clamping, and critically, almost no ability to reposition once contact is made – the two tacky films grab each other instantly and permanently.
That instant grab is exactly why contact cement is the right choice for laminate: it doesn’t need clamping pressure across a large, thin, rigid sheet the way a wet glue would, and it sets fast enough that you can trim and use the piece the same day. The tradeoff is that alignment has to be handled before the surfaces ever touch, not adjusted afterward.
Prepping the Wood Substrate
Laminate is thin and rigid, which means it telegraphs whatever is underneath it. A dip, a raised seam, a void in the plywood, or leftover sawdust will show up as a visible flaw on the finished surface once the laminate is bonded down – it can’t flex to hide substrate imperfections the way a thicker material might.
Before applying any adhesive, sand the substrate smooth, fill any voids or gaps (especially at seams in built-up plywood or particleboard), and vacuum it completely – then wipe it down with a tack cloth or a solvent like denatured alcohol to pull off any remaining dust and oils. Cement applied over dusty wood won’t form a continuous film, and that shows up later as a soft spot or a spot where the laminate lifts.
Applying Contact Cement to Both Surfaces
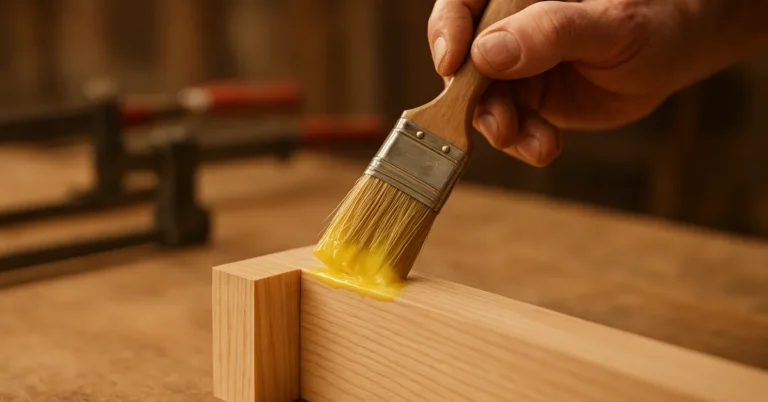
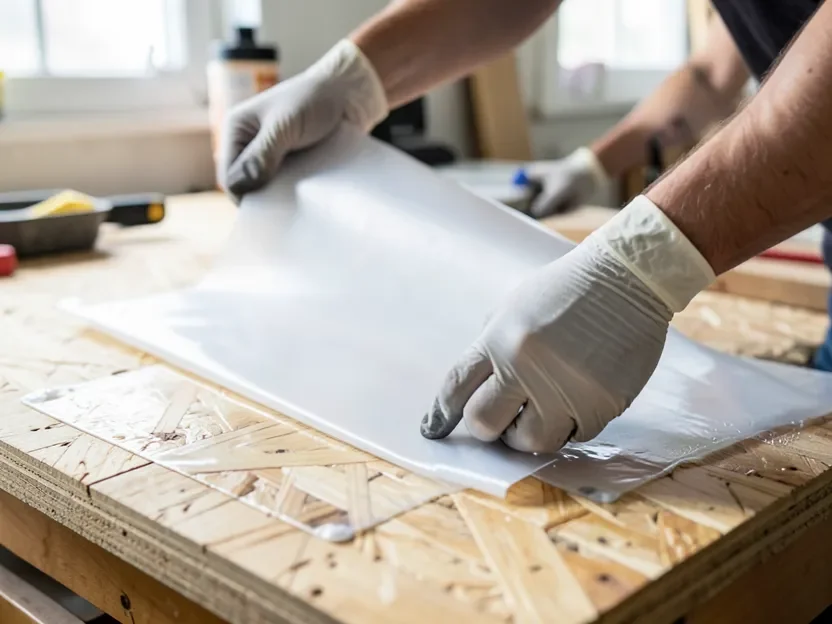
Spread an even coat of contact cement on the substrate and a separate coat on the back of the laminate sheet, using a notched trowel, foam roller, or brush depending on the product’s instructions. Cover the entire surface – missed spots become weak points with no second chance to fix them once the sheet is down.
Let both coats dry until they’re tacky, not wet. A reliable test: lightly touch a scrap of kraft paper or brown paper bag to the cement. If the paper sticks and pulls off cleanly, it’s still wet; if the paper doesn’t stick at all, it’s ready. Most solvent-based cements are ready in 15 to 30 minutes at room temperature; water-based formulas can take longer. Don’t rush this step – joining two wet-coated surfaces gives a weaker bond than joining two properly flashed-off tacky ones.
Joining the Laminate: Why Alignment Has to Be Right the First Time
This is the step where contact cement punishes any hesitation. Because the bond forms instantly on contact, you can’t lay the sheet down, notice it’s crooked, and slide it over – lifting it at that point tears the laminate’s paper backing or the substrate’s veneer, ruining both pieces.
The standard trick professionals use is a set of thin wood dowels or wood lattice strips laid across the substrate, spaced every 8 to 12 inches, before setting the laminate down. The dowels hold the laminate suspended just above the tacky cement so you can slide it into perfect position without anything touching yet. Once the overhang is even on all sides, press the laminate down onto the dowel nearest the center first, then pull that dowel out and press the next section down, working outward toward the edges. This lets you commit to the bond gradually, in a controlled sequence, instead of all at once.
Once the sheet is fully down, go over the entire surface with a J-roller, applying firm, even pressure in overlapping passes. This forces out any trapped air and maximizes contact between the two cement films, which is what actually gives the bond its strength.
Trimming the Overhang with a Router
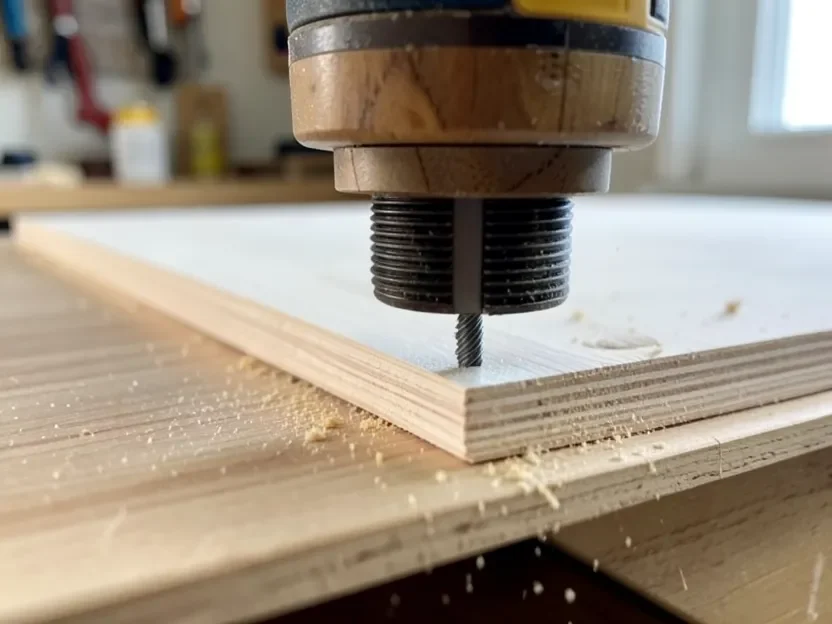
Laminate is deliberately cut oversized before bonding, so the next step is trimming that overhang flush with the substrate edge. A router fitted with a flush-trim bit (sometimes sold specifically as a laminate trim bit) is the standard tool for this – the bit’s bearing rides along the substrate edge while the cutter shears the overhanging laminate off flush in a single pass.
Keep the router moving steadily and feed it in the direction that keeps the bit cutting into the laminate rather than pulling away from it, which prevents chipping along the edge. After trimming, run a fine file or 220-grit sandpaper along the cut edge at a slight downward angle to remove any sharpness – a freshly trimmed laminate edge is thin and can be surprisingly sharp to the touch.
Common Mistakes That Ruin a Laminate Bond
- Joining the surfaces while the cement is still wet – this traps solvent under the laminate and weakens the bond instead of strengthening it.
- Skipping the dowel/spacer method on large panels – without it, a single misaligned corner means starting over with a new sheet of laminate.
- Not rolling the entire surface – missed spots, especially near edges and corners, are where laminate lifts first.
- Cutting the laminate to exact final size before bonding – leave the overhang and trim after bonding; laminate cut flush beforehand rarely lines up perfectly with the substrate.
- Skipping substrate prep – dust, voids, and uneven spots telegraph straight through the thin, rigid laminate.
Frequently Asked Questions
Do you apply contact cement to both surfaces or just one?
Both. Contact cement only works because two coated, tacky surfaces bond to each other on contact – applying it to just the substrate or just the laminate won’t create a proper bond, no matter how much cement is used.
Can you reposition laminate after it touches the substrate?
Effectively no. Contact cement bonds instantly on contact, unlike PVA glue or epoxy, which stay workable for several minutes. That’s why laminate is aligned using spacer dowels or strips beforehand, rather than being adjusted after it’s set down.
What tool is used to trim laminate overhang?
A router with a flush-trim (laminate trim) bit is the standard tool. Its bearing follows the substrate edge so the bit cuts the overhanging laminate flush in one pass, rather than needing to be cut close by hand beforehand.
Why does substrate prep matter so much for laminate?
Laminate is thin and rigid, so it telegraphs whatever surface it’s bonded to. Dust, voids, or uneven spots in the plywood or MDF substrate will show through as visible flaws once the laminate is bonded down, which is why a clean, smooth, void-free surface matters more here than with thicker overlay materials. If plywood is your base, our guide on how to stick Formica to plywood explains why laminate makers treat it as a marginal substrate.
Conclusion
Adhering laminate to wood comes down to respecting how contact cement behaves: coat both surfaces, wait for tacky rather than wet, use spacers to control alignment, and commit to the bond in a deliberate sequence rather than all at once. Prep the substrate properly, trim the overhang with a flush-trim router bit, and the result is a bond that’s stronger and faster than clamped wood glue – it just has to be done in the right order.
Sponsored / affiliate links. As an Amazon Associate I earn from qualifying purchases. I may earn additional commission from eligible campaigns.