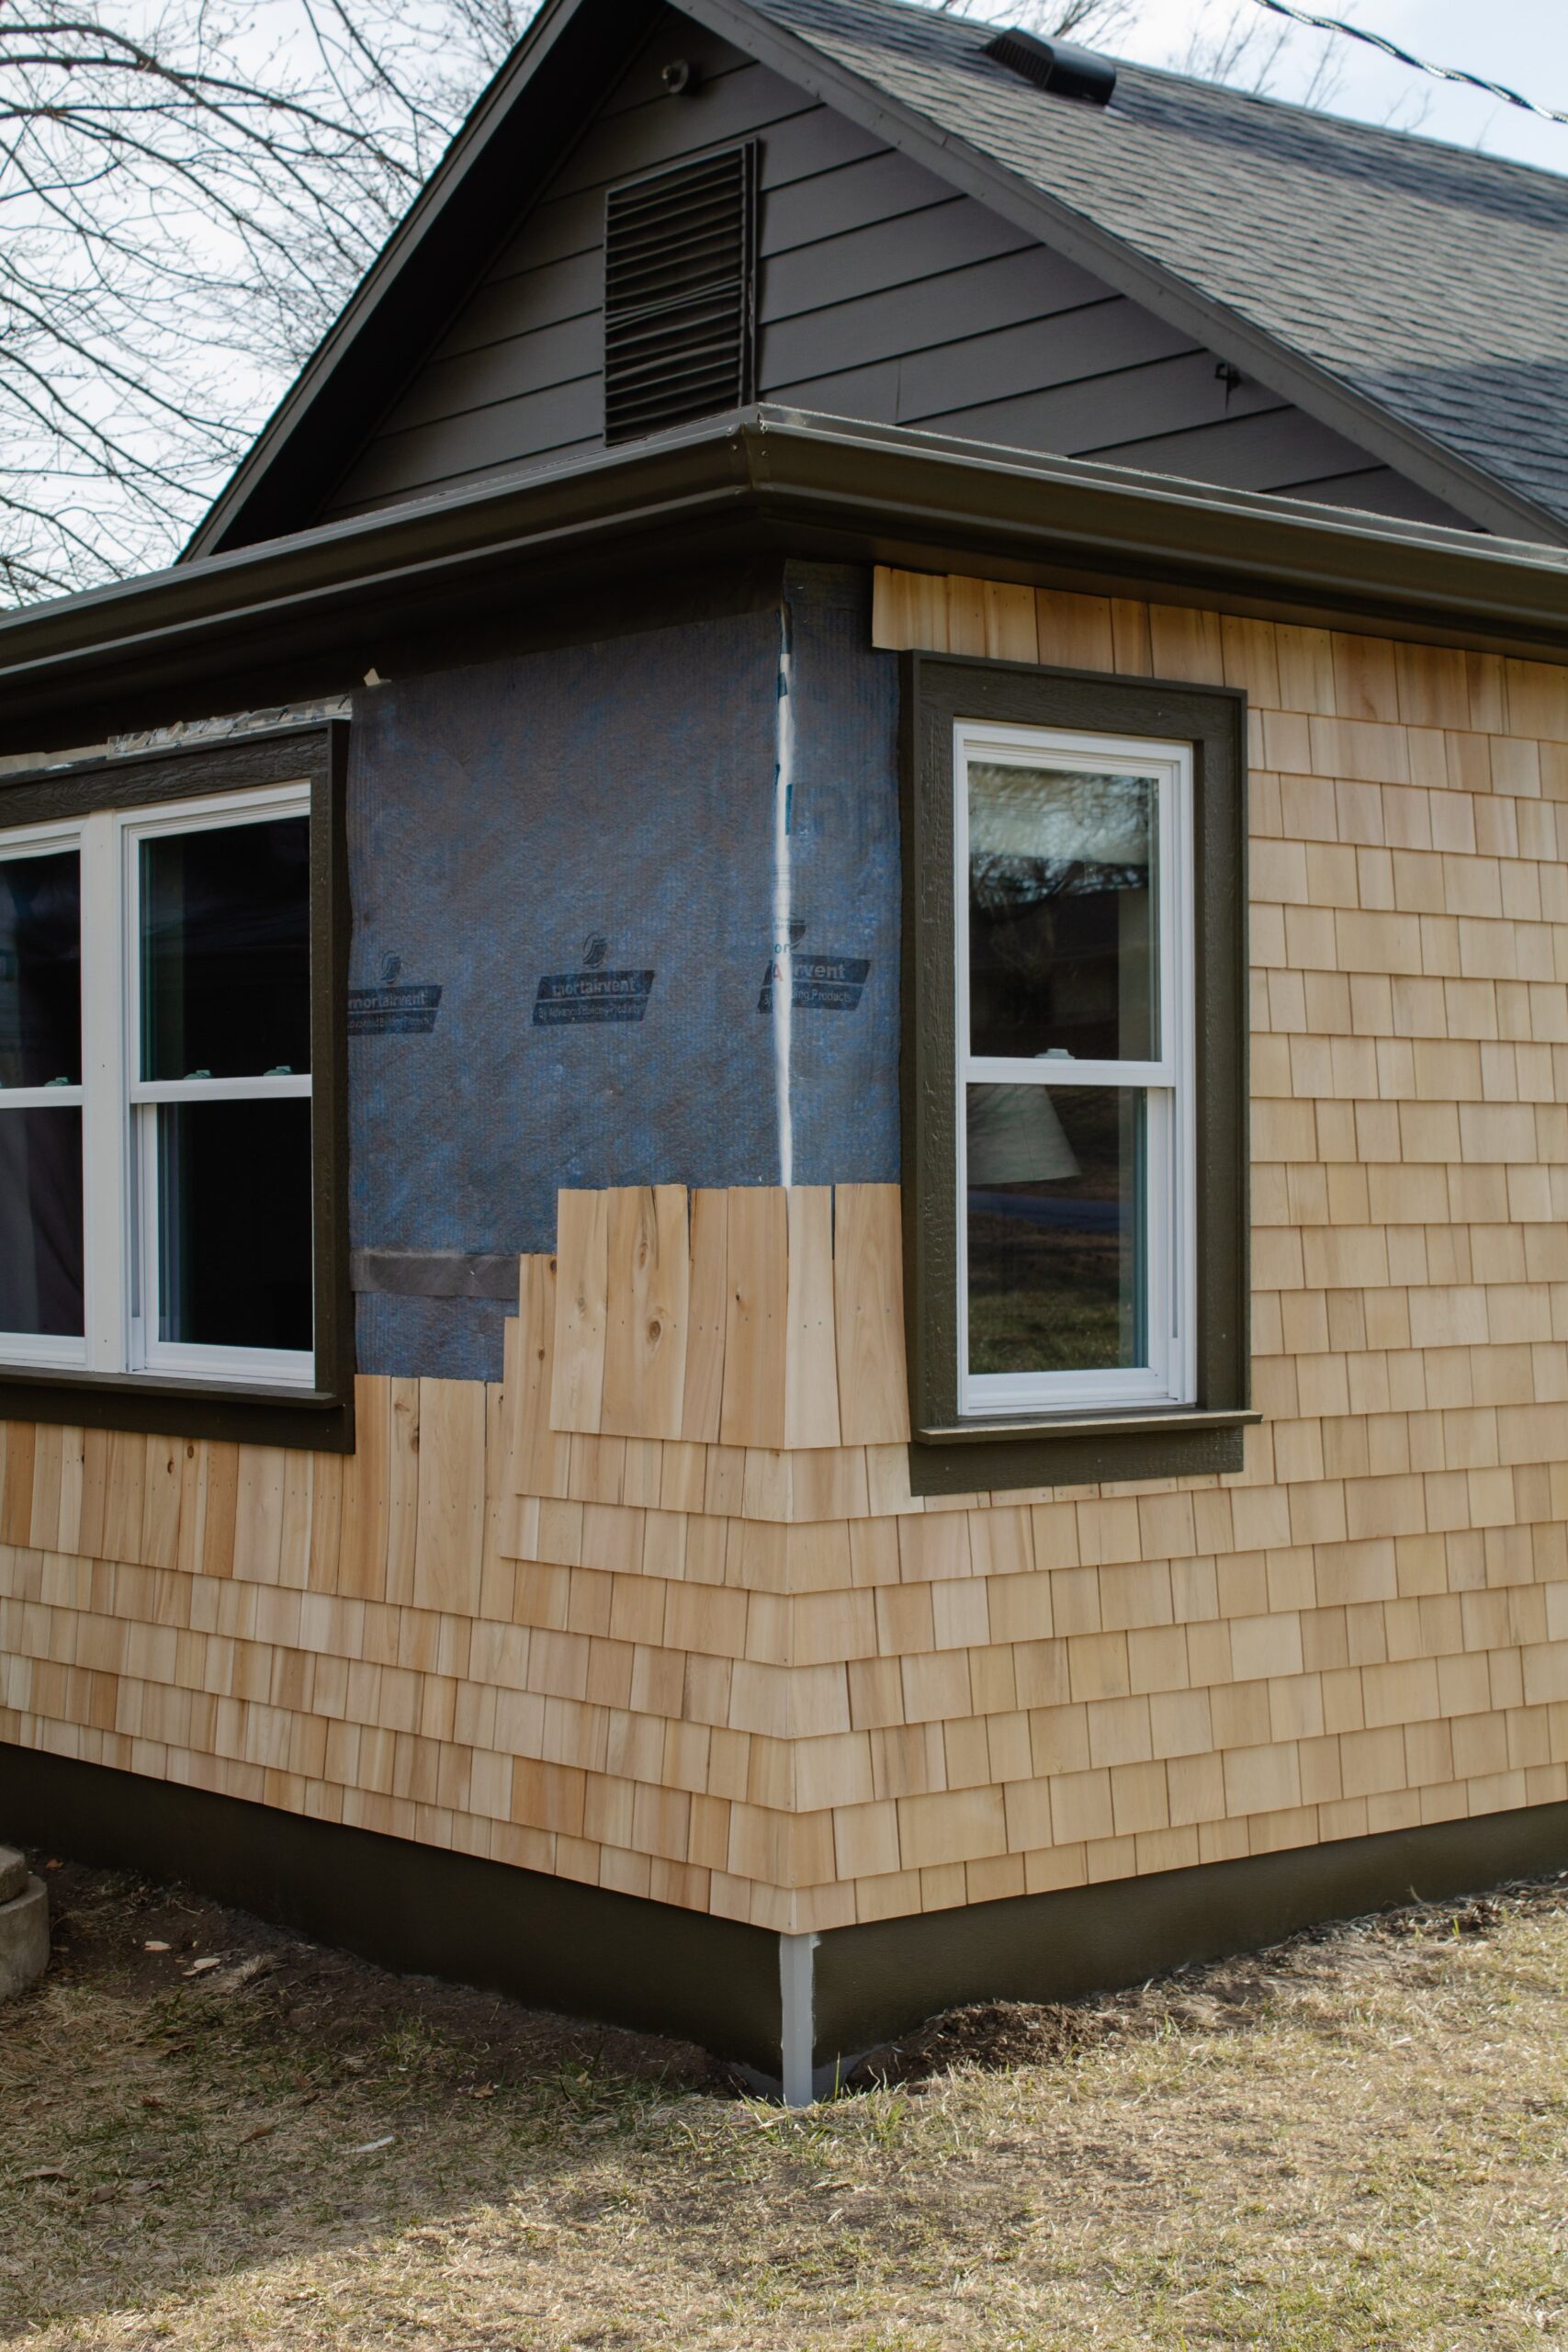
How to Cedar Shingle a House: Step-by-Step Guide
Cedar shingles add charm and durability to any house. They’re a popular choice for homeowners.
Shingling a house with cedar can seem daunting. But with the right guidance, it’s manageable for many DIY enthusiasts. Cedar shingles offer both beauty and long-lasting protection. They can enhance your home’s curb appeal and increase its value. This blog post will guide you through the process step-by-step.
You’ll learn about the tools needed, preparation steps, and installation techniques. By the end, you’ll have the knowledge to tackle this project with confidence. So, let’s dive in and transform your home with stunning cedar shingles.
Credit: nadinestay.com
Introduction To Cedar Shingling
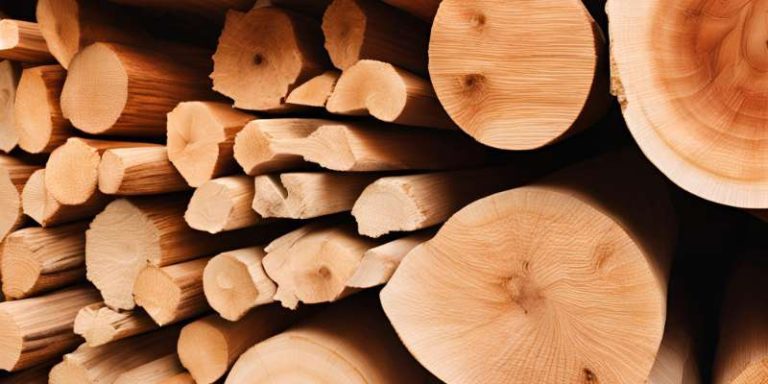
Cedar shingles offer many benefits. They are durable and long-lasting. Cedar shingles have a natural resistance to insects and decay. They also provide good insulation. This helps keep your house warm in winter and cool in summer. Cedar shingles are also eco-friendly. They come from a renewable resource. They can be recycled after use. Cedar shingles also add beauty to your home. They have a natural and rustic look.
The process of cedar shingling a house involves several steps. First, you need to prepare the roof. This includes cleaning and repairing any damage. Next, you will need to measure the roof. This helps you know how many shingles you need. After that, you can start installing the shingles. Begin at the bottom edge of the roof. Work your way up to the top. Overlap the shingles as you go. This helps keep out water. Finally, secure the shingles with nails.
Materials And Tools Needed
Gather cedar shingles, nails, a hammer, a utility knife, a ladder, and a tape measure. Ensure you also have safety gear.
Essential Materials
Cedar shingles are a must. These are the main roofing material. Use roofing nails or staples to secure the shingles. Felt paper is essential for underlayment. This protects the roof from moisture. Flashing is needed for edges and valleys. It prevents leaks.
Recommended Tools
A hammer or pneumatic nail gun is necessary. These help in securing the shingles. A utility knife is useful for cutting shingles. Use a chalk line to keep rows straight. A tape measure ensures correct shingle placement. A ladder is needed to reach the roof. Safety gear like gloves and a helmet is important.
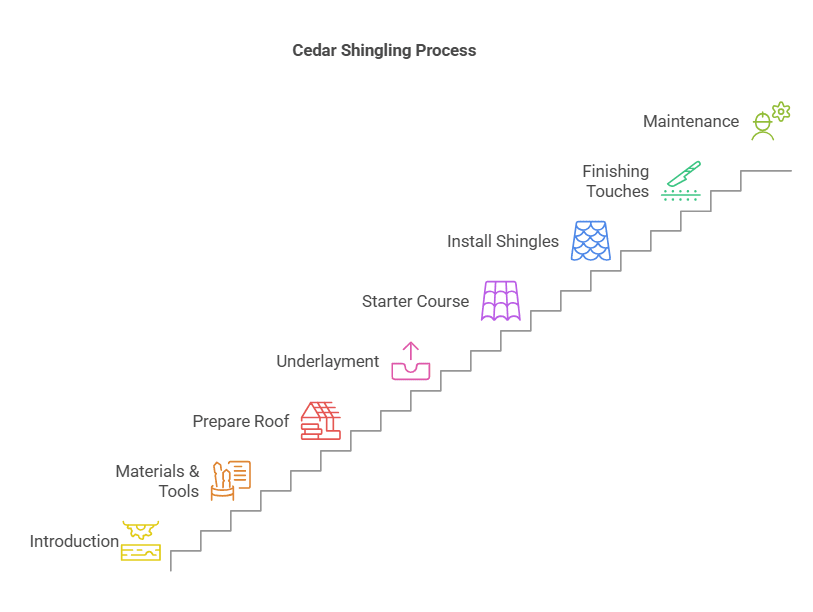
Preparing The Roof
Inspect the roof for any visible damage. Look for cracks, leaks, and missing shingles. Make sure the roof is clean and dry. Check the underlayment and flashing. They should be in good condition.
Use a shingle removal tool or flat shovel. Start at the top and work downwards. Carefully pry up the old shingles. Place them in a container for disposal. Make sure to remove all nails and debris. A clean surface is needed for new shingles.
Fix any damaged areas on the roof. Replace any rotting wood. Use roof cement to fill cracks and holes. Ensure the roof is solid and smooth. This will help the new shingles last longer.
Installing The Underlayment
Pick the right underlayment for cedar shingles. Felt paper is common. It’s easy to install. Synthetic underlayment is another choice. It’s durable and water-resistant. Both options work well. Consider the climate in your area. Wet regions need better protection. Dry areas can use lighter materials. Cost is also a factor. Felt paper is cheaper. Synthetic underlayment costs more. Choose what fits your budget and needs.
Start at the bottom edge of the roof. Roll out the underlayment. Secure it with roofing nails. Overlap each row by two inches. This stops water from getting in. Make sure the surface is smooth. No wrinkles or gaps. Cover the whole roof. Check for any damaged spots. Fix them right away. The underlayment must be tight and secure. This keeps the roof safe. Now, it’s ready for the shingles.
Laying The Starter Course
Measure the roof edge. Use a tape measure. Mark the length needed. Next, cut the cedar shingles. Use a sharp saw or cutter. Make sure the cuts are straight. This helps the shingles fit well. Always wear safety gloves. It protects your hands from cuts.
Start nailing at the edge. Place the first shingle. Use two nails. One on each side. This keeps the shingle secure. Overlap the next shingle slightly. Make sure there are no gaps. Continue this until you reach the end. Check each shingle. Make sure it is tight.
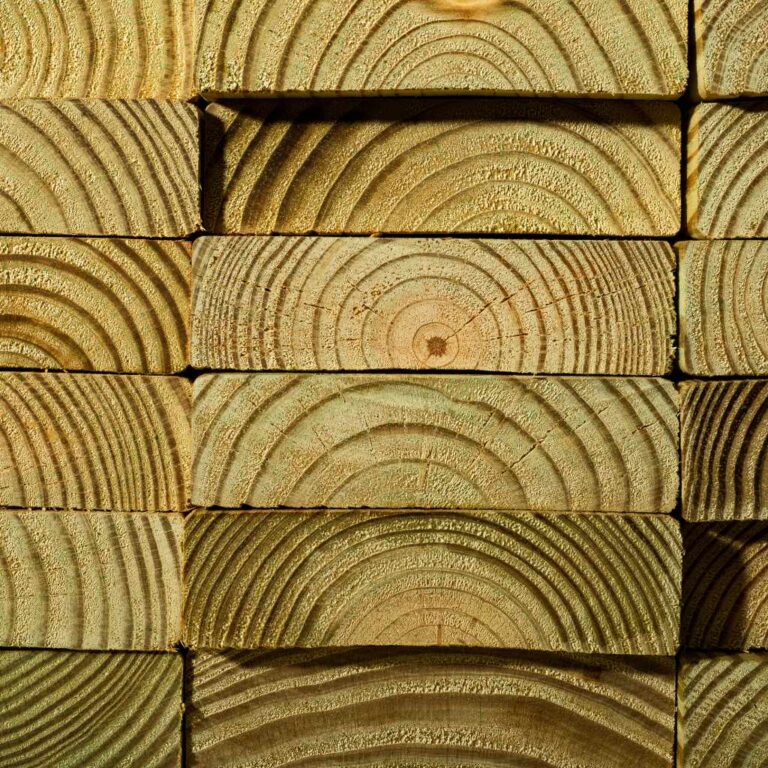
Credit: www.familyhandyman.com
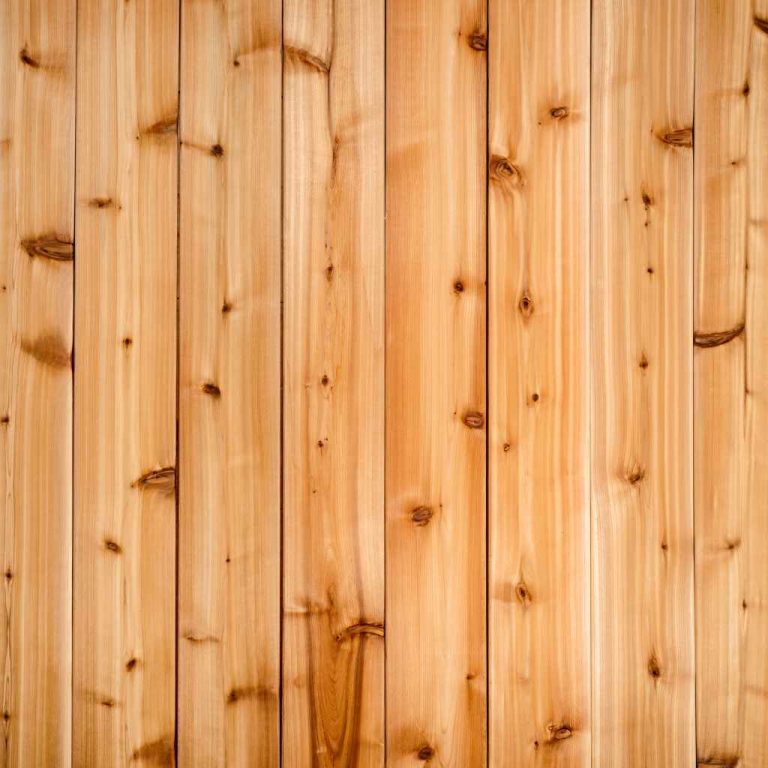
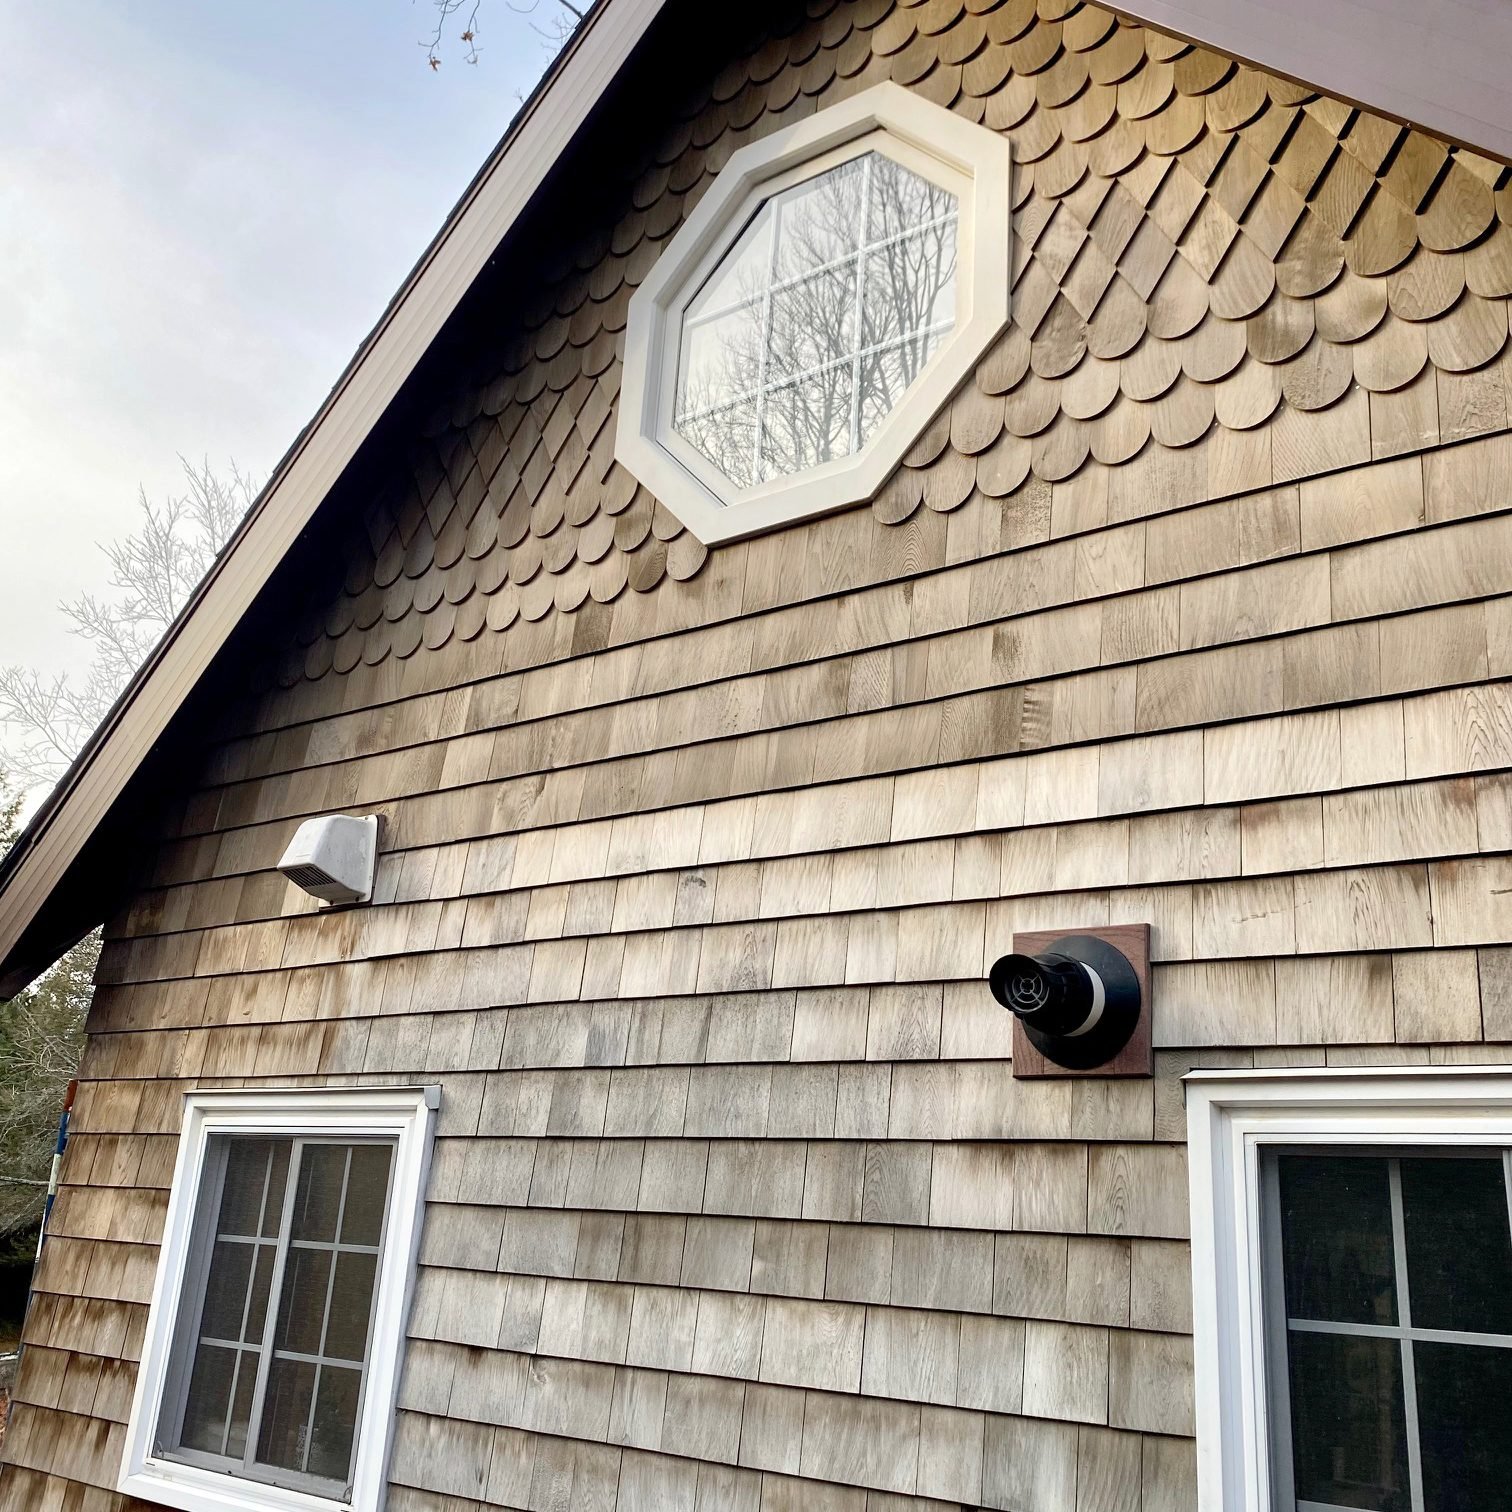
Installing Cedar Shingles
Start at the bottom of the roof. Place the first shingle. Make sure it is straight. Use a chalk line to help. Check the alignment often. Adjust if needed. A straight start is important. It sets the tone for the whole roof.
Use two nails per shingle. Place them about one inch from the edge. Drive the nails straight in. Make sure the nails are not too deep. The shingle should be secure but not cracked. Keep the nails even. This helps the shingles lay flat.
Avoid lining up the seams. This helps prevent leaks. Start each row with a half shingle. This creates a staggered pattern. Continue this pattern up the roof. It looks better and works better. Staggering makes the roof stronger.
Finishing Touches
Applying finishing touches to cedar shingle a house enhances its look and durability. Align shingles properly for a seamless appearance. Secure each shingle to prevent gaps and ensure longevity.
Installing Ridge Caps
It is important to install ridge caps properly. Start by placing the first cap at one end of the ridge. Align it carefully. Secure it with nails. Use two nails on each side. Overlap the next cap over the first. Continue this pattern along the ridge. Make sure each cap overlaps the previous one. This ensures a waterproof seal. Trim any excess material if needed.
Trimming Excess Shingles
Excess shingles need to be trimmed. Use a utility knife for this task. Be careful while cutting. Trim the shingles along the edges. Ensure a clean and straight line. This gives a neat finish to the roof. Dispose of the trimmed pieces responsibly. Regularly check for any loose shingles. Secure them with nails if found. A tidy roof lasts longer.
Maintenance And Care
Check cedar shingles twice a year. Look for cracks and damage. Replace broken shingles quickly. This stops leaks and rot. Use binoculars for roof inspections.
Clean cedar shingles with a soft brush. Remove dirt and moss. Do not use a pressure washer. It can cause damage. Treat shingles with a wood preservative. This keeps them strong and fresh. Apply treatment every few years.
Frequently Asked Questions
How Long Do Cedar Shingles Last?
Cedar shingles can last up to 30 years with proper care. Regular maintenance is crucial for longevity. Weather conditions also impact their lifespan.
Are Cedar Shingles Eco-friendly?
Yes, cedar shingles are eco-friendly. They are a renewable resource and biodegradable. They also have a low carbon footprint.
What Tools Do I Need For Cedar Shingling?
You need a hammer, nails, a utility knife, and a tape measure. A chalk line and ladder are also necessary.
How Do I Maintain Cedar Shingles?
Regular cleaning is essential. Remove debris and inspect for damage. Treat with preservatives every few years.
Conclusion
Cedar shingling a house can be a rewarding project. It enhances curb appeal and protects your home. Follow the steps carefully for the best results. Don’t rush; take your time. Safety is crucial, so use proper gear. Enjoy the satisfaction of a job well done.
With these tips, your home will look beautiful. Ready to get started? Grab your tools and begin your cedar shingling journey today. Good luck!