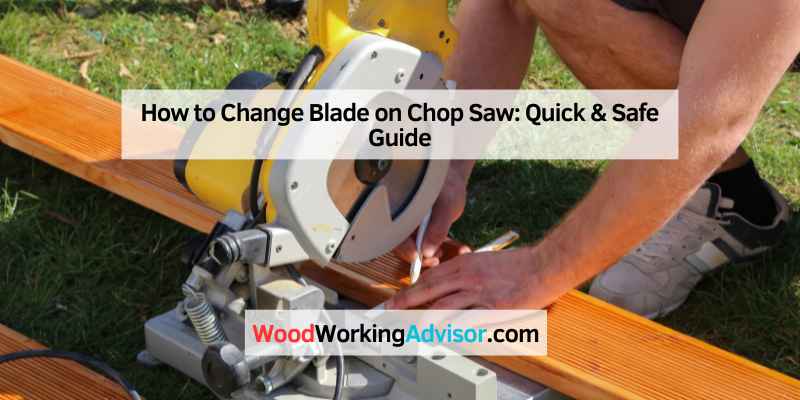
How to Change Blade on Chop Saw: Quick & Safe Guide
To change the blade on a chop saw, unplug the tool and remove the blade guard. Then, use the appropriate wrench to loosen the bolt securing the blade and replace it with a new one.
Chop saws are essential tools for cutting various materials efficiently. Knowing how to change the blade is crucial for maintaining optimal performance. A dull or damaged blade can lead to poor cuts and increased safety risks. Regularly replacing the blade ensures clean cuts and enhances the tool’s longevity.
This straightforward process not only saves time but also improves the quality of your work. Whether you’re a DIY enthusiast or a professional, mastering this skill will help you get the most out of your chop saw. Let’s dive into the step-by-step guide for changing the blade effectively.
Introduction To Chop Saws
A chop saw is a powerful tool. It is used for cutting various materials. Blade maintenance is very important for safety and performance. A dull blade can cause problems during cutting. Regular checks and replacements help ensure the chop saw works well.
Before changing the blade, safety precautions are key. Always unplug the saw to avoid accidents. Wear safety goggles to protect your eyes. Gloves are also important to keep your hands safe. Make sure to work in a well-lit area. This helps you see better while changing the blade.
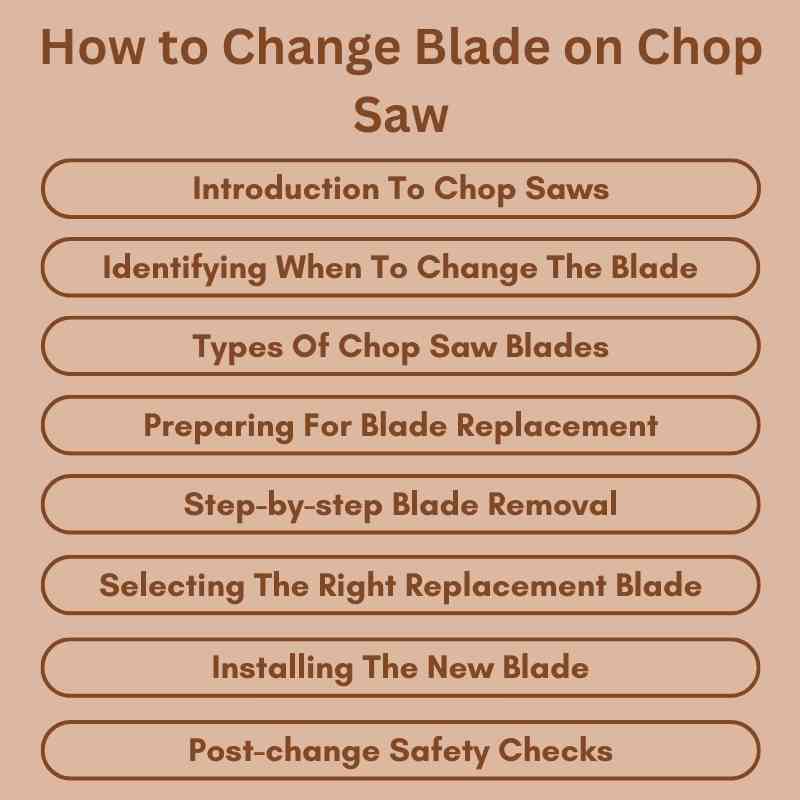
Identifying When To Change The Blade
Recognizing the signs of dullness is essential. A blade that cuts slowly is a clear indicator. If the cuts are uneven or rough, it’s time for a change. Listen for unusual noises during operation. These sounds often signal a worn blade.
The effects on cutting performance can be significant. A dull blade requires more force to cut through materials. This can lead to increased wear on the chop saw. It may also create hazards by causing the material to slip. Regularly check the blade to ensure safety and efficiency.
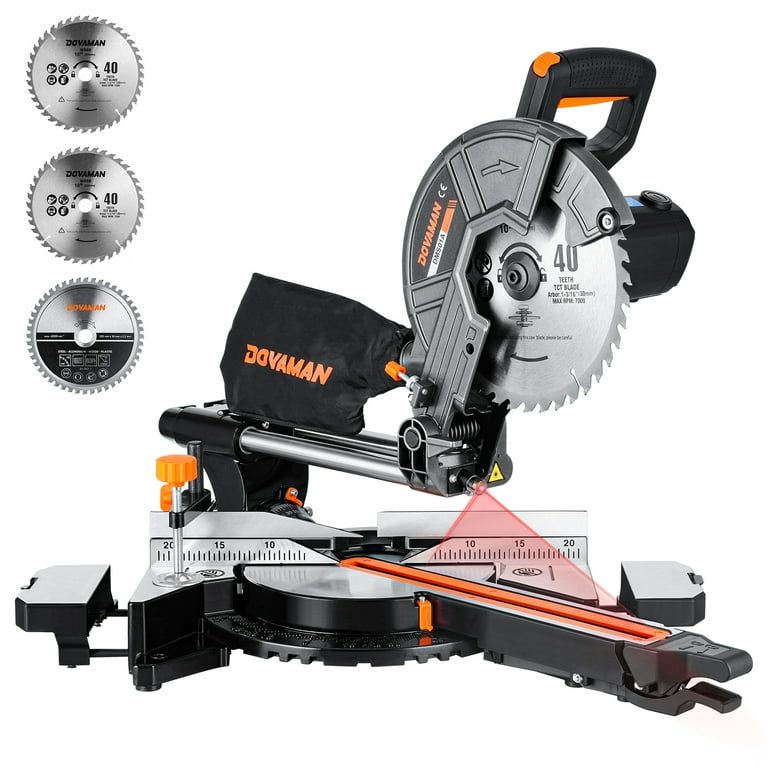
Types Of Chop Saw Blades
Chop saw blades come in different materials. Common types include carbon steel, high-speed steel, and tungsten carbide. Each material has unique properties. Choose based on your cutting needs.
Blade size is crucial for compatibility. Most chop saws use blades ranging from 10 to 14 inches. Always check your saw’s manual for the correct size. Using the right size ensures safe and effective cutting.
Thickness of the blade also matters. Thicker blades are better for tough materials. Make sure the thickness matches your chop saw’s specifications for optimal performance.
Preparing For Blade Replacement
Start by gathering the necessary tools for blade replacement. You will need a wrench, a new blade, and safety gloves. Ensure you have a flat surface to work on. A workbench or a sturdy table works best.
Next, secure the chop saw. Unplug it to avoid accidents. Use clamps to hold it steady. This step is very important for your safety. Make sure the area is free from any clutter.
Check that all tools are within reach. This will make the replacement process smoother. Always prioritize safety while working with sharp tools.
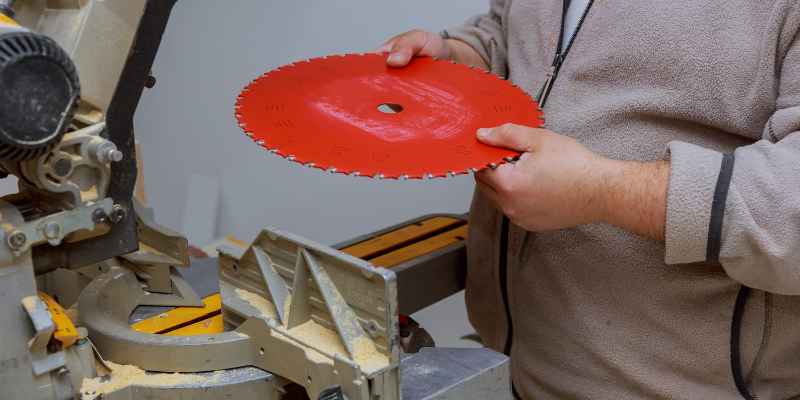
Step-by-step Blade Removal
To unlock the blade guard, locate the lever or knob. Turn or pull it to release the guard. This step ensures safety while changing the blade.
Next, to remove the old blade, ensure the saw is unplugged. Use an appropriate tool to loosen the blade bolt. Turn it counterclockwise until it comes off.
Gently lift the old blade away from the saw. Check for any debris around the blade area. Keeping it clean helps the new blade fit properly.
Selecting The Right Replacement Blade
Choosing the right replacement blade is essential for effective cutting. Different materials need specific blades. For example, use a carbide-tipped blade for metal and a high-speed steel blade for wood.
Quality matters. A well-made blade lasts longer and cuts better. Look for trusted brands. They often provide better performance and durability. Reading reviews can help find the best options.
Check the tooth count. Fewer teeth cut faster but leave rough edges. More teeth provide a smoother finish but cut slower. Always match the blade to your specific needs for the best results.
Installing The New Blade
To install a new blade, first disconnect the power to the chop saw. This ensures safety during the process. Next, remove the old blade by loosening the bolt. Carefully slide the old blade off the arbor.
For aligning the blade correctly, place the new blade on the arbor. Make sure the teeth face the right direction. The blade should fit snugly without any gaps. Check the alignment before tightening.
Tightening the blade securely is crucial. Use a wrench to tighten the bolt firmly. Avoid over-tightening, as it can damage the blade. Always double-check the tightness before use.
Post-change Safety Checks
After changing the blade, perform safety checks. This ensures the saw works correctly.
Testing the saw is crucial. Turn on the saw and listen for unusual sounds. Check if the blade spins smoothly.
- Inspect the blade for any damage.
- Ensure the guard is in place.
- Check the power cord for frays.
- Make sure the table is stable.
Routine maintenance keeps the chop saw safe. Clean the saw after each use. Regularly check and tighten all bolts.
Troubleshooting Common Issues
Blade wobbling can be a common issue. Check the blade for any damage or wear. Ensure the blade is properly tightened on the arbor. An improperly mounted blade can cause wobbling. Clean the arbor and ensure it’s free from debris.
Poor cut quality often results from a dull or damaged blade. Inspect the blade for nicks and wear. A sharp blade ensures smoother cuts. If the cut is not straight, the alignment of the saw may be off. Regularly check and adjust the saw’s settings for the best results.
Frequently Asked Questions
How Do I Safely Change The Blade On A Chop Saw?
To safely change the blade on a chop saw, first unplug the tool to eliminate any power source. Ensure you wear safety goggles and gloves. Use the appropriate wrench to loosen the blade bolt. Replace the old blade with the new one, securing it tightly.
Reconnect power and test the saw.
What Tools Do I Need To Change The Chop Saw Blade?
You typically need a wrench or socket to loosen the blade bolt. Additionally, having safety goggles and gloves is essential for protection. A clean cloth can help to wipe down the saw and remove any debris. These tools ensure a smooth and safe blade replacement process.
How Often Should I Replace My Chop Saw Blade?
It’s recommended to replace your chop saw blade every 6 to 12 months, depending on usage. Frequent use may require more regular changes. Signs of wear include dullness, chipping, or burning on the material being cut. Regular maintenance extends the life of your chop saw and ensures better performance.
Can I Use Any Blade On My Chop Saw?
No, you cannot use just any blade on your chop saw. Each chop saw is designed for specific blade types and sizes. Always refer to the manufacturer’s guidelines for compatibility. Using the wrong blade can lead to poor performance or even safety hazards during operation.
Conclusion
Changing the blade on your chop saw is a straightforward process. With the right tools and safety precautions, you can ensure optimal performance. Regular blade changes will enhance your cutting efficiency and prolong the life of your tool. Keep your workspace organized and always prioritize safety during maintenance.
Happy cutting!