How to Countersink Screw: A Step-by-Step Guide for Perfect Results
Countersinking a screw ensures a smooth and professional finish. It helps the screw head sit flush with the material’s surface.
This guide will walk you through the steps to countersink a screw properly. Whether you’re working on a DIY project or a professional task, countersinking can make a big difference. It prevents wood from splitting and gives your work a clean look.
You’ll learn the tools needed and the techniques to get the best results. Stay with us to master the basics and enhance your woodworking skills.
Introduction To Countersinking
Countersinking helps screws sit flush with the surface. This creates a smooth finish. It also prevents damage. The process involves creating a conical hole. A special tool called a countersink bit is used. This tool cuts the hole to match the screw’s shape.
Purpose Of Countersinking
Countersinking hides the screw head. This makes the surface look clean. It also stops the screw from sticking out. This prevents accidents. The screw head won’t catch on clothes or skin. Also, it improves the wood’s strength. The screw is less likely to split the wood.
Benefits Of Countersinking
Better appearance: The surface looks smooth and neat.
Safety: No sharp edges sticking out.
Durability: Less chance of wood splitting.
Easy to paint or finish: No bumps or uneven spots.
Credit: www.thehandymansdaughter.com
Tools Needed
A drill is a must for making the hole. Countersink bits help create a smooth surface. A screwdriver or drill driver is needed to insert the screw. You also need screws of the right size. Wood glue can help hold things in place.
Clamps can hold your work steady. Tape measure helps with precision. Pencil for marking spots. A level ensures your work is straight. Safety glasses protect your eyes. Sandpaper smooths rough edges. A workbench can make the job easier.
Choosing The Right Screw
Different screws are made for different tasks. Wood screws are used for wood projects. Machine screws fit metal or plastic materials. Sheet metal screws are best for metal sheets. Drywall screws work well with drywall. Always pick the right screw for your job.
The screw size matters a lot. Long screws are for thick materials. Short screws fit thin materials. A wide screw holds more weight. A thin screw is good for light items. Check the material thickness before choosing a screw.
Preparing The Workpiece
Use a pencil to mark the screw location. Make sure the mark is clear. Double-check the spot before drilling. Keep a ruler handy for accuracy.
Place the workpiece on a sturdy surface. Use clamps to hold it tight. This will keep it from moving. Safety is important during this step. Ensure the workpiece is stable.
Drilling The Pilot Hole
Creating a pilot hole helps guide the screw into the material. This prevents splitting and makes countersinking easier. Always use a drill bit slightly smaller than the screw.
Selecting The Drill Bit
Select a drill bit that matches the screw size. The bit should be slightly smaller than the screw. This helps the screw grip the material. It’s important to choose the right size. A bit too large or too small can cause problems. Always check the size before drilling.
Drilling Technique
Hold the drill steady and straight. Apply gentle pressure. Start drilling slowly to create a small hole. Then increase speed slightly. Make sure the hole is straight and clean. Drill depth should match screw length. Avoid wiggling the drill, it can widen the hole. Keep control and stay steady.
Credit: www.thehandymansdaughter.com
Creating The Countersink
Select a bit that matches the screw size. Smaller screws need smaller bits. Larger screws need larger bits. Check the drill package for size details. Use the correct bit for best results.
Drill a test hole first. It helps in checking the depth. The screw head should sit flush. Adjust the depth if needed. Too deep or too shallow will look bad. Repeat the process until the perfect depth is achieved.
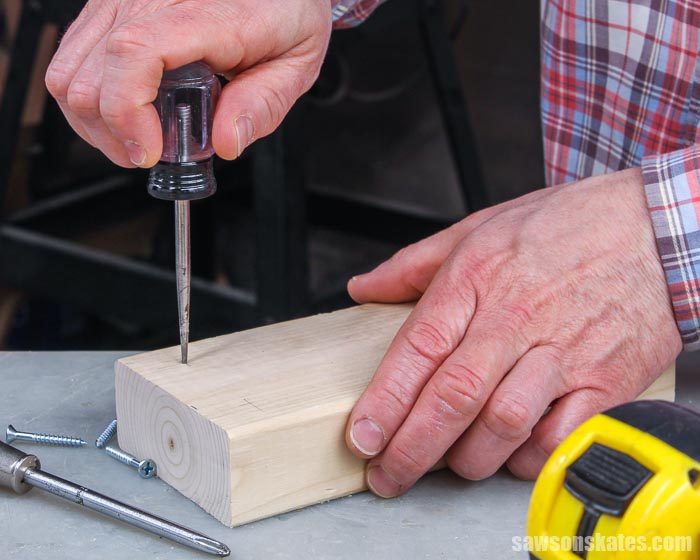
Inserting The Screw
Place the screw on the hole. Make sure it is straight. Hold it firm. Use your other hand for balance. This helps the screw go in evenly.
Turn the screwdriver slowly. Push down gently. Keep it straight. Check the alignment often. Adjust as needed. Drive the screw until it is flush.
Finishing Touches
Check the countersink hole. Make sure it is smooth and even. The hole should match the screw head. The screw should sit flush with the surface. Adjust if needed. A good fit looks neat and professional.
Use sandpaper to smooth the edges. Sand lightly around the hole. This removes rough spots. It makes the surface clean and polished. A smooth surface looks better. It also prevents splinters or scratches. Take your time. Make sure it feels smooth to the touch.
Common Mistakes
Many people overdrill the hole. This can cause the screw to sit too deep. It may damage the material. Always use a depth stop on the drill bit. This helps control the depth. Measure twice, drill once. This prevents mistakes. Use a countersink bit for best results. Always drill slowly and carefully. Rushing can cause errors. Practice on scrap wood first. This helps improve your skill.
Splintering is a common issue. It can make the project look bad. To avoid this, use a sharp bit. Dull bits cause more splintering. Drill at a slow speed. Fast drilling increases splintering. Use masking tape on the surface. This reduces splintering. Always support the wood from the back. It helps prevent breakage. Practice these steps for a clean finish.
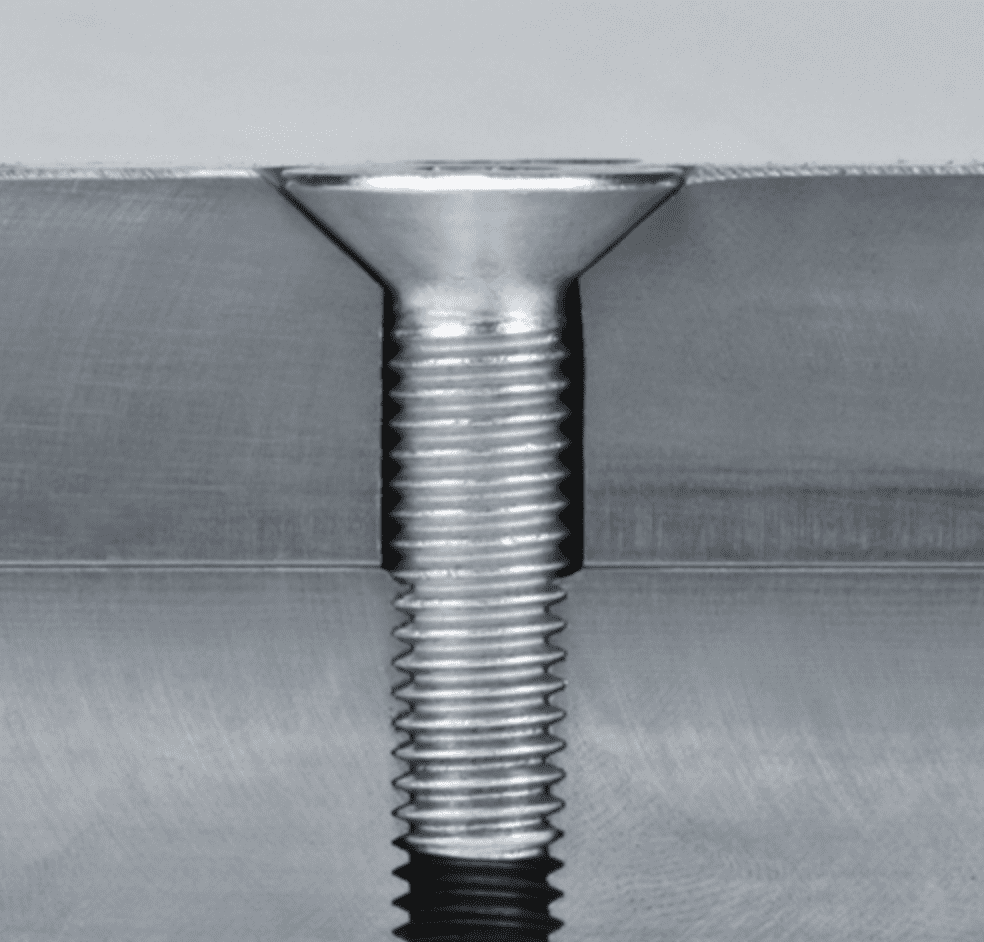
Credit: solutions.travers.com
Tips And Tricks
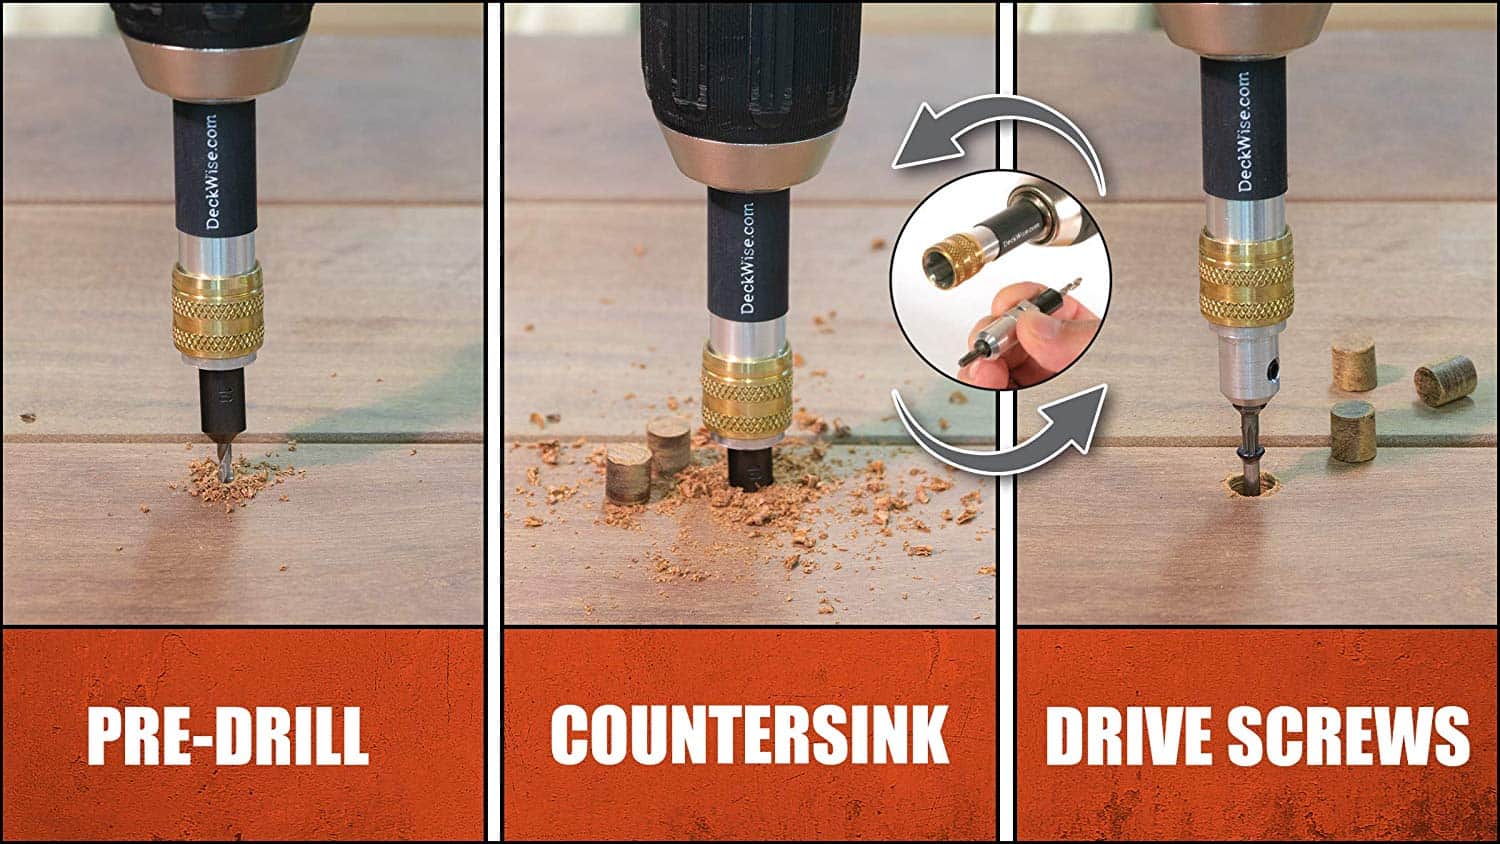
Drill a pilot hole slightly smaller than the screw. Use a countersink bit to create a cone-shaped opening. Insert the screw, ensuring it sits flush with the surface.
Using Lubricants
Lubricants help screws go in smoothly. Use a bit of soap or wax. This reduces friction. The screw will turn easier. It also prevents the wood from splitting.
Maintaining Tools
Keep tools sharp. Dull tools make work hard. They can damage the wood. Store tools in a dry place. This keeps them from rusting. Clean them after each use. This ensures they last longer.
Frequently Asked Questions
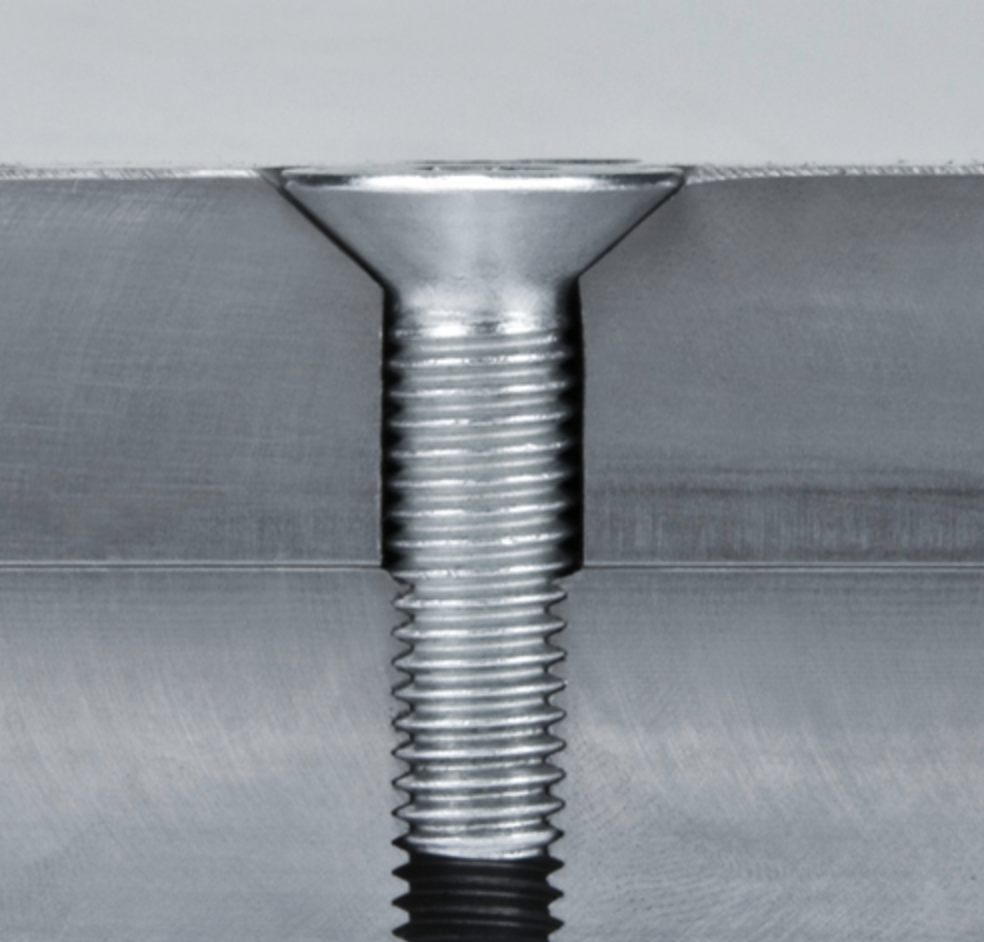
What Is A Countersink Screw?
A countersink screw is a type of screw designed to sit flush with or below the surface of the material.
Why Should You Countersink Screws?
Countersinking screws prevents snagging, creates a smooth finish, and ensures the screw head sits flush with the surface.
How To Choose The Right Countersink Bit?
Select a countersink bit matching your screw size and material type. This ensures a perfect fit.
What Tools Are Needed For Countersinking Screws?
You need a drill, countersink bit, and screwdriver. These tools ensure an accurate and clean countersink.
Conclusion
Countersinking screws is an essential skill for smooth, professional finishes. With the right tools, the task becomes simple and efficient. Remember to measure accurately and drill carefully. Practice makes perfect, so don’t rush. A well-countersunk screw not only looks good but also ensures durability.
Keep these tips in mind for your next project. Happy building!