Can You Refinish Hand-Scraped Hardwood Floors? (Yes, With Limits)
Yes — solid hand-scraped hardwood can be sanded and refinished, often up to five times, but the sanding that removes scratches also flattens the hand-scraped grooves. Engineered hand-scraped floors have a thin wear layer and usually survive only one careful refinish, if that. This guide covers how many refinishes your floor actually has left, when a screen-and-recoat saves the texture instead, and the full step-by-step process. For background on the texture itself, see our guide to what hand-scraped hardwood flooring actually is.
Solid vs. Engineered: How Many Times You Can Actually Refinish
The single biggest factor in whether refinishing makes sense is what’s under the hand-scraped surface — solid wood all the way through, or a thin veneer glued to a plywood core. That construction detail decides whether you get five refinishes or zero.
| Floor Type | Wear Layer | Realistic Refinishes |
|---|---|---|
| Solid hardwood (3/4″) | Full board thickness | Up to 5, though each sanding softens the scraped texture |
| Engineered, thick veneer | 4–6mm | 3–6 refinishes possible |
| Engineered, mid veneer | 3mm | 1–3 refinishes |
| Engineered, thin veneer | 2mm | One careful refinish, or none |
Solid hand-scraped hardwood can technically go through the full sand-and-refinish cycle as many times as any other solid floor. The catch is cosmetic, not structural: each pass of the drum sander takes the high points off the scraped texture, so a floor refinished three or four times ends up noticeably smoother and less dramatic than it was on day one. Engineered hand-scraped floors don’t get that many chances — once the sander cuts through the veneer into the plywood core, the floor is done, full stop.
Why Sanding Can Flatten the Hand-Scraped Texture
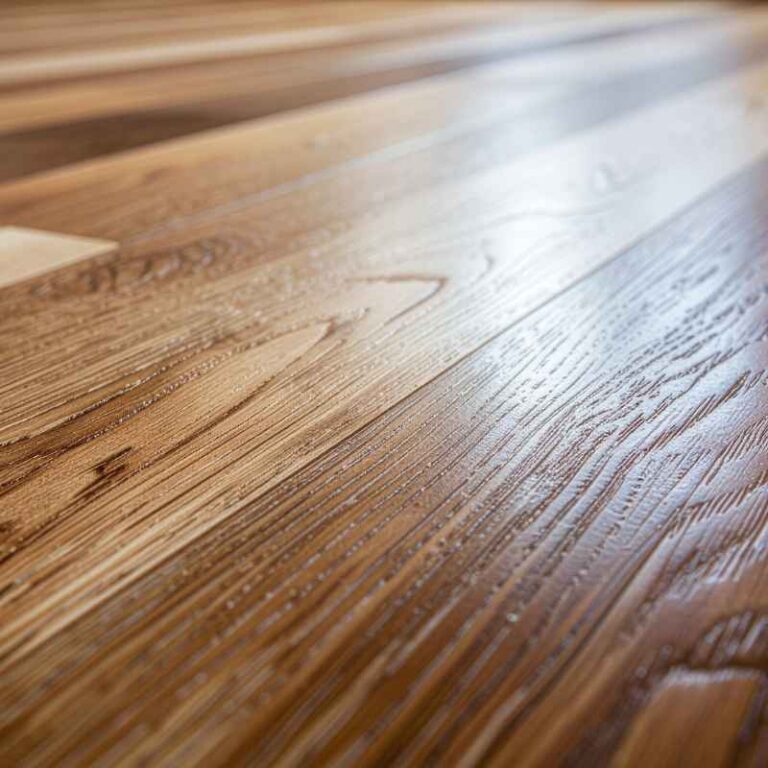
Hand-scraped texture is a series of shallow grooves and dips cut into the board face before finishing, not a surface coating. A drum or orbital sander works by leveling the highest points of a surface down to meet the lowest points nearby — which is exactly what you want on a flat floor, but it’s the opposite of what preserves a scraped profile. The deeper and more irregular the original scraping, the more of it survives a light sanding; shallow or machine-uniform scraping can disappear almost completely after just one pass with 40–60 grit paper.
This is why a refinisher’s first question should be how deep the scraping actually is, not just what species the wood is. A floor with deep, artisan hand-tooled grooves can lose a full refinish cycle’s worth of sanding and still look intentionally textured. A floor with shallow, machine-scraped texture — common on many big-box engineered products — can come out of the same sanding looking like an ordinary smooth floor with a few stray marks left over.
How to Tell If Your Floor Is Solid or Engineered
- Check a floor vent or the edge of a closet where the flooring ends — a cut edge shows the layered plywood core of engineered board versus uniform wood grain all the way through on solid.
- Look underneath, if accessible — solid hardwood is nailed to a subfloor; engineered flooring is often glued or click-locked and shows a plywood or HDF backing.
- Check any leftover box or receipt from installation — the product listing will state veneer thickness in millimeters for engineered flooring.
- When in doubt, ask before sanding — a flooring contractor can confirm construction type and veneer depth in a five-minute visit, which is far cheaper than sanding through an engineered floor by mistake.
Screen-and-Recoat: The Alternative That Keeps the Texture Intact
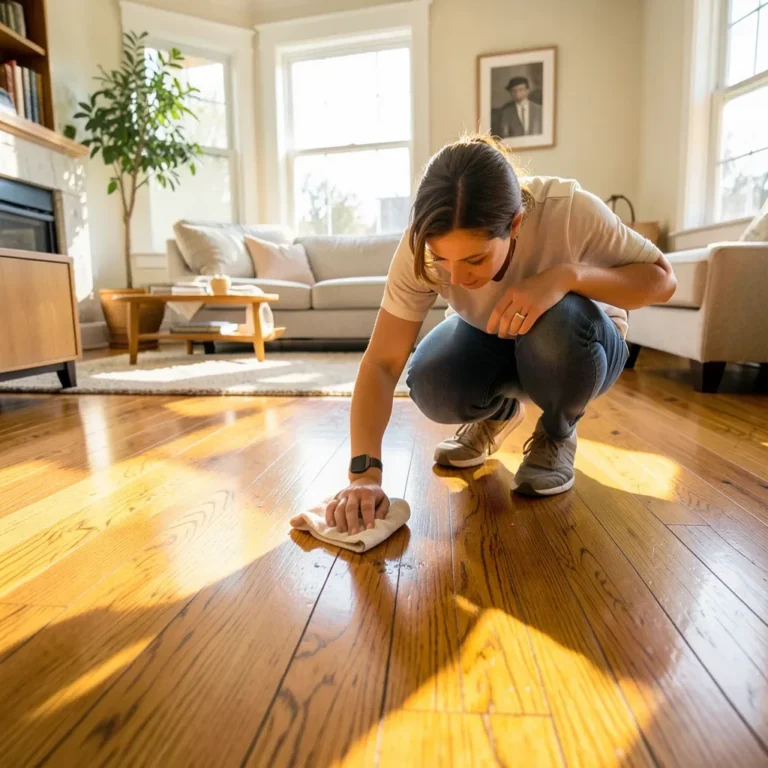
If the existing finish is dull or scuffed but the wood itself isn’t damaged, a full sand-and-refinish is overkill — and it’s the option most likely to erase your hand-scraped texture for good. A screen-and-recoat lightly abrades just the top finish layer with a buffer and fine screen, then applies a fresh coat of polyurethane on top. No wood is removed, so the scraped profile stays exactly as deep as it was.
📊 A full sand-and-refinish runs $3–$8 per square foot, while a screen-and-recoat typically costs $1–$2.50 per square foot and finishes in a single day. — Source: NerdWallet, 2026
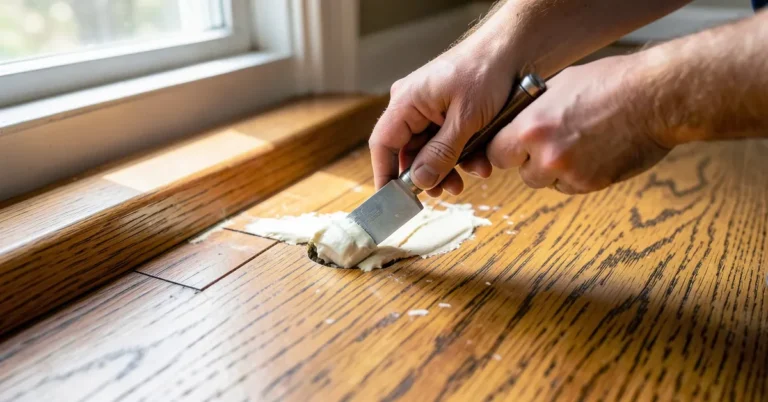
Screen-and-recoat only works if the existing finish is intact enough to bond a new topcoat to it — it won’t fix deep gouges, water stains that have reached bare wood, or boards with worn-through finish. For a hand-scraped floor with cosmetic dullness but sound wood, though, it’s the option that refreshes the shine without gambling the texture. If the finish has failed down to bare wood but the floor still can’t tolerate a drum sander, a chemical strip-and-refinish is worth considering as a middle option.
Best Screen-and-Recoat Pick
 |
Bona Pro Series Hardwood Floor Refresher (32 oz.) A waterborne, no-wax polyurethane topcoat made for exactly the screen-and-recoat job described above — it bonds to an existing polyurethane finish without any sanding.
|
As an Amazon Associate we earn from qualifying purchases.
How to Refinish Hand-Scraped Hardwood Floors, Step by Step
If your floor is solid wood, the texture is deep enough to spare, and you’ve decided a full sand-and-refinish is worth it, here’s the process from bare wood to final topcoat — for the full DIY walkthrough with more photos and product picks, see our complete hardwood floor refinishing guide.
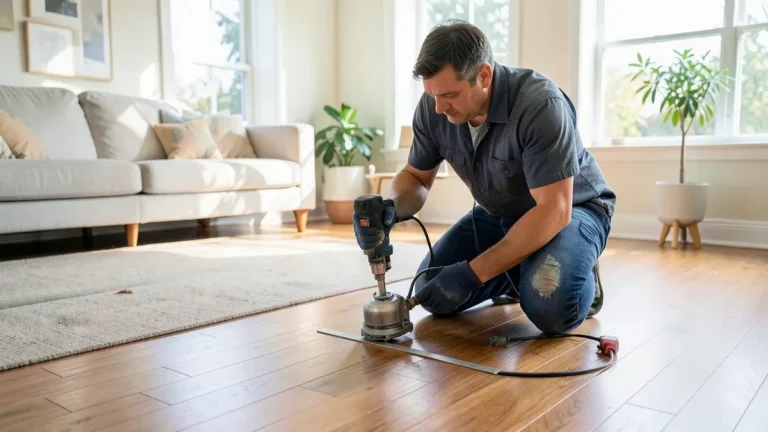
You’ll want a quality belt or orbital floor sander before starting, plus the graduated sandpaper grits and safety gear listed in the steps below.
- Assess the floor: Check for deep gouges, water damage, and the existing finish type before choosing sandpaper grits and products.
- Gather tools and safety gear: An orbital sander for the field, an edge sander for tight corners, graduated sandpaper grits, a respirator, and safety glasses.
- Sand with coarse grit (40–60): Remove the old finish and level major imperfections, working evenly and in the direction of the grain.
- Sand with medium grit (80–100): Remove the scratch pattern left by the coarse grit and smooth the surface further.
- Sand with fine grit (120–150): Prepare the wood to accept stain evenly, checking often for remaining scratches.
- Apply stain evenly: Work with the grain using a brush, rag, or applicator pad, wiping excess before it dries unevenly.
- Apply the first coat of finish: Use a brush, roller, or applicator, and let it dry fully per the product’s label before continuing.
- Screen lightly between coats: A light pass with fine-grit sandpaper or a buffing screen improves adhesion for the next coat.
- Apply additional finish coats: Most floors need two to three total coats of polyurethane for durability, following the manufacturer’s recoat window.
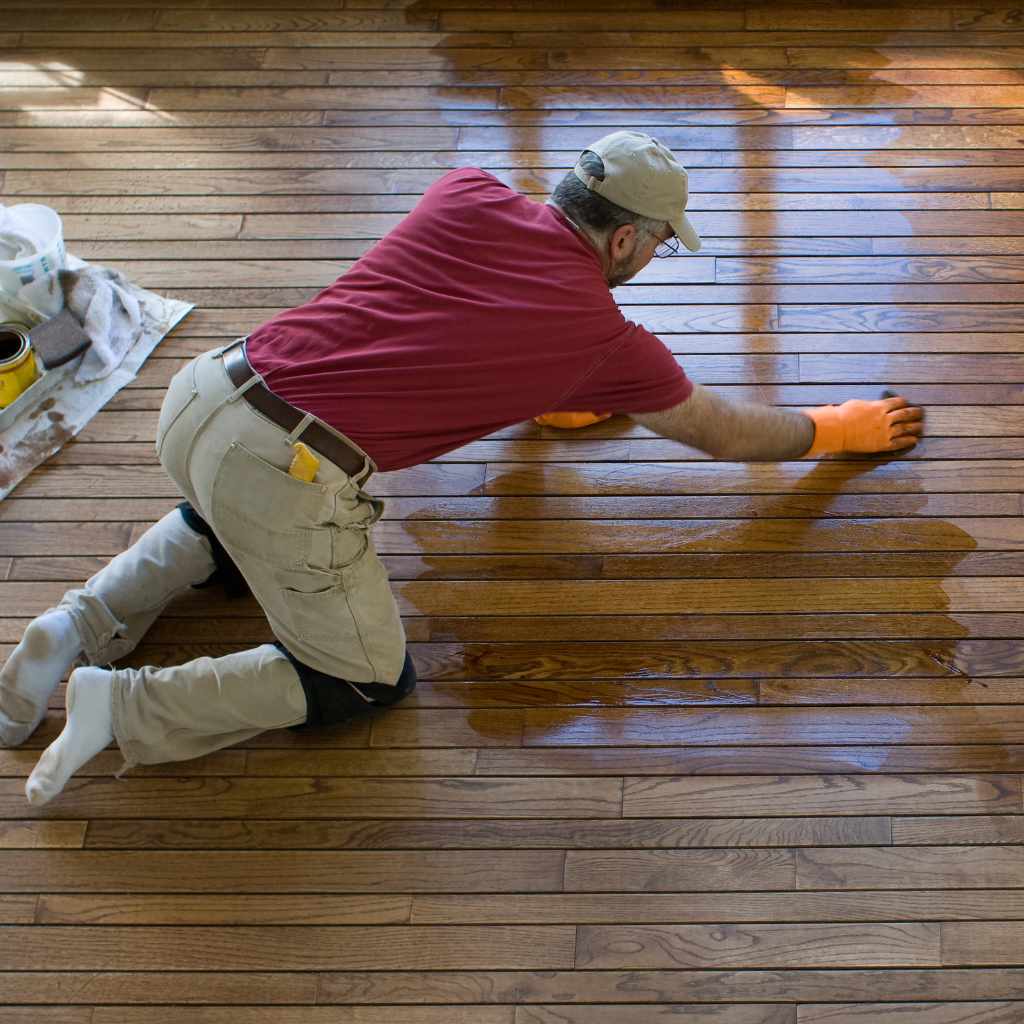
“The mistake I see most often on hand-scraped floors is treating the coarse-grit pass like any other refinishing job — running the drum sander at full pressure until the whole floor looks uniform. That’s exactly how you sand a $12-a-square-foot hand-scraped floor down to a $4 flat one. Go lighter on the first pass than feels necessary, then check the texture before deciding whether a second pass is worth it.”
Common Mistakes to Avoid
- Skipping sandpaper grits: Jumping from coarse straight to fine leaves deep scratches the finish will highlight rather than hide.
- Sanding against the grain: Creates visible cross-grain scratches that are difficult to remove without another full pass.
- Not checking construction type first: Sanding an engineered floor without confirming veneer thickness can cut through to the plywood core in one pass.
- Rushing dry times between coats: Recoating too soon causes bubbling, poor adhesion, and a finish that fails early.
- Mixing incompatible products: An oil-based stain under a waterborne finish (or vice versa) without testing compatibility can cause adhesion failure.
When to Call a Flooring Professional
Deep gouges, water damage that has reached the subfloor, or structural squeaks and soft spots are worth a professional visit before any sanding starts — fixing those issues after a bad DIY sanding job costs more than doing it right the first time. Large square footage and floors with borders or medallion inlays also benefit from a pro’s equipment and experience, since a single uneven pass on a large room is much harder to blend out than on a small closet.
Frequently Asked Questions
Can I sand and refinish hand-scraped hardwood floors myself?
Yes, if the floor is solid wood and you’re comfortable operating an orbital or drum sander. Rent equipment, work through sandpaper grits in order, and go lighter than you would on a smooth floor to preserve more of the scraped texture.
Will refinishing remove the hand-scraped texture completely?
Not necessarily, but it will reduce it. Deep, hand-tooled scraping can survive several refinishing cycles looking intentional; shallow, machine-scraped texture can flatten to nearly smooth after just one sanding pass.
Can you screen and recoat hand-scraped floors instead of sanding?
Yes, as long as the existing finish is intact and the wood underneath isn’t damaged. Screen-and-recoat only abrades the topcoat, not the wood, so the scraped profile stays exactly as it was.
How many times can you refinish an engineered hand-scraped floor?
Usually once, and sometimes not at all. Engineered hand-scraped floors have a thin hardwood veneer (often 2–4mm) over a plywood core, and sanding through that veneer exposes the core permanently.
What’s the best finish for a refinished hand-scraped floor?
A durable oil-based or waterborne polyurethane in a satin or matte sheen works well — matte sheens hide the remaining texture variations better than a high-gloss finish, which tends to highlight every dip and inconsistency.
Final Thoughts
Refinishing hand-scraped hardwood floors is realistic for most solid-wood installations, but it’s a trade: every sanding pass softens the texture that made the floor distinctive in the first place. Check whether your floor is solid or engineered before you commit, consider a screen-and-recoat if the wood itself is sound, and if you do sand, go lighter than instinct tells you to. Done carefully, your floor can look refreshed without losing what made it worth choosing. For more hardwood care and repair guides, browse our full hardwood flooring section.
Sponsored / affiliate links. As an Amazon Associate I earn from qualifying purchases. I may earn additional commission from eligible campaigns.