How to Install Cabinet Handles Straight: The Jig Method Pros Use
A single crooked handle is enough to make an entire row of cabinets look unfinished, even when the doors, paint, and hinges are perfect. Straight hardware placement isn’t luck or a steady hand – it comes down to using the right reference measurement for your cabinet type and drilling with a guide instead of eyeballing a pencil mark. This guide covers both the manual marking method and the jig method, plus the exact placement numbers cabinet installers use so every door and drawer in the kitchen lines up.
Why Cabinet Handles End Up Crooked
Best for Whole-Kitchen Hardware Installs
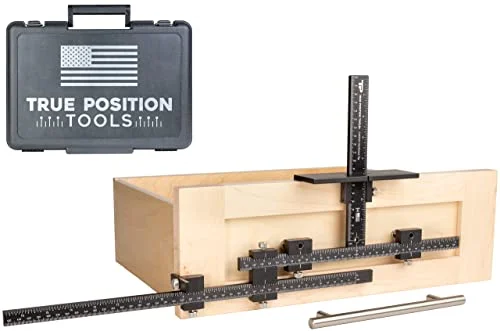 |
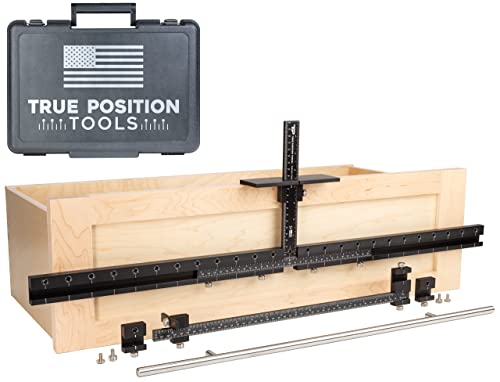
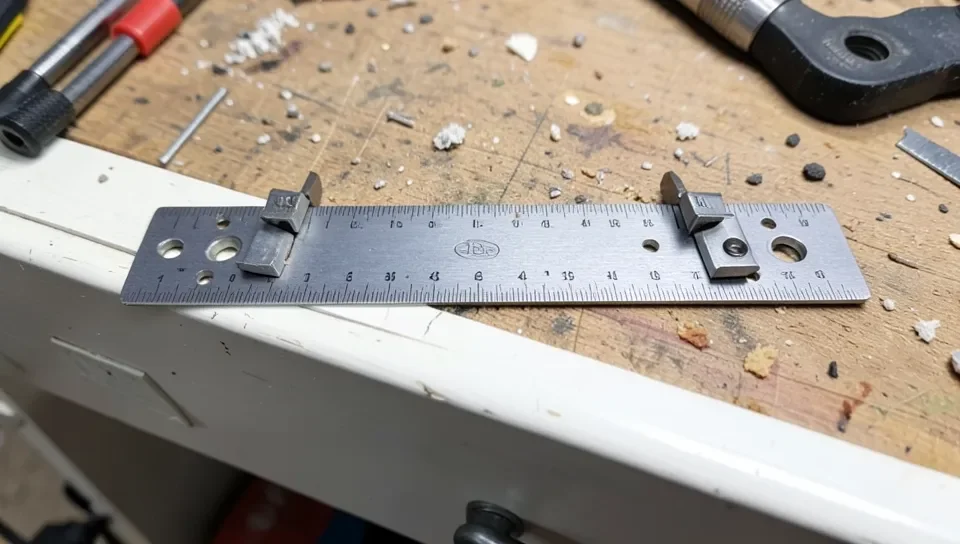
True Position Tools PRO Cabinet Hardware Jig – $249 This is the style of jig the placement measurements in this guide are built around – set the hole spacing once and every door and drawer lands in exactly the same spot.
|
Most crooked handles trace back to one of three habits. The first is eyeballing the position instead of measuring both mounting holes independently – a handle can look centered from three feet away and still be off by an eighth of an inch, which is enough to notice once the light hits it at an angle. The second is measuring from a warped or dented tape measure edge instead of a squared reference line. The third is not accounting for door type: overlay doors (the common style where the door sits in front of the cabinet frame) and inset doors (which sit flush inside the frame) have different usable widths, so a horizontal center point that works on one style will be off on the other. Get the reference point wrong once and every hole you drill after it repeats the same error.
Tools You’ll Actually Need
A basic install only needs a few things, but each one earns its place. A combination square is more reliable than a tape measure alone because its edge locks against the door and gives you a true 90-degree reference line, not just a number. A center punch stops the drill bit from wandering off your pencil mark the instant it touches the wood – skip it and even a sharp bit can walk a millimeter or two before it bites in. Use the correct drill bit size for your screws (usually a 1/8″ pilot bit for standard handle screws, though it’s worth checking the screws that ship with your hardware since sizes vary). You’ll also want a drill or driver, painter’s tape to mark over without scratching finished wood, and either a cabinet hardware jig or a shop-made plywood template if you’re doing more than a handful of doors.
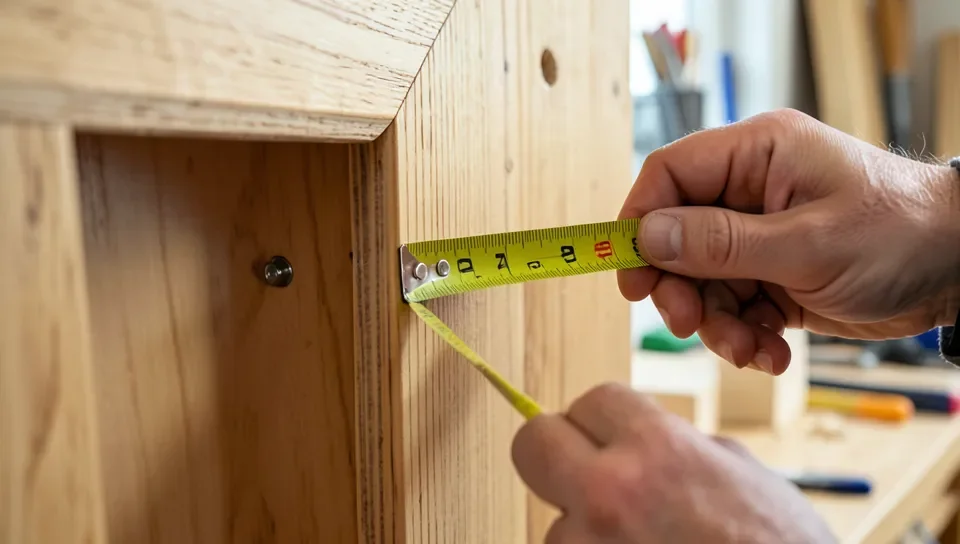
The Standard Placement Measurements Pros Use
Most how-to guides tell you to “center it nicely,” which is exactly how handles end up inconsistent from door to door. Cabinet installers work off a short list of reference numbers instead:
- Upper cabinet doors: hardware goes near the bottom corner closest to the opening edge (the side away from the hinges), typically 2.5″ to 3″ up from the bottom of the door and 2.5″ to 3″ in from the side. This puts the handle where your hand naturally reaches when the door swings down and out.
- Base cabinet doors: the placement flips – hardware goes near the top corner closest to the opening edge, again 2.5″ to 3″ from each edge, since you’re reaching down into a lower cabinet rather than up into one.
- Drawers: pulls are centered both horizontally and vertically on the drawer front. On wide drawers (30″ or more), two pulls are often used, spaced symmetrically 6″ to 12″ apart from the drawer’s center line rather than one long pull.
- Hole-to-hole spacing: pulls are manufactured in fixed center-to-center hole spacings – common sizes are 3″, 3.5″, 4″, 5″, 6.3″, and 8″. Always measure your actual hardware’s hole spacing before setting a jig or marking a template; never assume it matches the last set you installed.
These aren’t strict rules – some kitchens use a uniform 2″ offset on every door for a cleaner look, and that’s a legitimate design choice. The point is to pick one consistent number and template every single door to it, rather than adjusting slightly on each one “by eye.”
Marking and Drilling Without a Jig
For a single cabinet or two, a jig isn’t strictly necessary. Lay the door face-down on a padded surface so the finished side doesn’t get scratched. Using your combination square, measure in from the reference edge and mark both hole centers with a pencil, then double-check the distance between the two marks against your hardware’s actual hole spacing before drilling anything. Set the center punch on each mark and tap it firmly – this small dimple keeps the bit from sliding once you start drilling. Drill the pilot holes at a slow speed to start, then increase speed once the bit has bitten in, keeping the drill perpendicular to the door face the entire time. A slightly angled hole is one of the most common causes of a handle that looks crooked even though both holes measured correctly – the screw pulls the hardware toward whichever way the hole leans.
Using a Cabinet Hardware Jig
Once you’re doing more than four or five doors and drawers, a jig earns back the time it costs almost immediately, because it removes the cumulative drift that creeps in from re-measuring by hand on every single piece. Most jigs work the same basic way: you set an adjustable dial or sliding stop to match your hardware’s exact hole spacing, hook the jig’s stops against two edges of the door or drawer front to register its position, tighten a clamp or thumbscrew, and drill through the jig’s own guide holes instead of a pencil mark. Because the jig is set once, the second, tenth, and thirtieth hole all land in exactly the same relative spot – the kind of consistency that’s genuinely difficult to hold by hand across an entire kitchen.
The Backer-Board Trick That Stops Splintering
One problem that catches a lot of first-time installers off guard has nothing to do with alignment: the drill bit splintering the finished face right as it breaks through the back side of the door. This happens because the wood fibers on the exit side of the hole have nothing to support them once the bit punches through, so they tear instead of cutting cleanly. The fix is simple – clamp a flat scrap of plywood or MDF flush against the back face of the door before you drill, so the bit exits into solid wood instead of open air. It adds thirty seconds per hole and eliminates the finished-face blowout that’s otherwise very hard to hide once it happens on a painted or veneered door.
Common Mistakes That Cause Crooked Handles
- Measuring once instead of twice: a single measurement carries its error into the drilled hole; measuring both marks independently and comparing the distance between them catches mistakes before they’re permanent.
- Assuming hole spacing matches your last project: different hardware lines use different center-to-center spacing, and drilling to the wrong spacing is the single most common way to waste an otherwise-good pull.
- Not fully tightening the jig or clamp: a jig that shifts even slightly mid-drill produces a hole that’s off from where the jig was actually set, which defeats the entire point of using one.
- Ignoring door type: using the same reference measurement on both overlay and inset doors without adjusting for their different usable widths.
Frequently Asked Questions
How do I make sure cabinet handles are straight?
Use a combination square or jig to set a true reference line, mark both mounting holes independently, and drill perpendicular to the door face. A slightly angled hole is the most common cause of a handle that looks crooked even when the measurements were correct.
What tools do I need to install cabinet handles?
A combination square, pencil, center punch, drill with the correct pilot bit, screwdriver or driver, and either a cabinet hardware jig or a shop-made template for multiple doors.
How high should cabinet pulls be placed on cabinet doors?
On upper cabinet doors, hardware typically sits 2.5″ to 3″ up from the bottom corner nearest the opening edge. On base cabinet doors, it’s placed 2.5″ to 3″ down from the top corner instead, since the reach direction is reversed.
Is a cabinet hardware jig worth it for one kitchen?
For four or five doors, marking by hand with a combination square is usually fast enough. Past that, a jig pays for itself in the time saved re-measuring each piece and in the consistency it holds across every door and drawer in the kitchen.
Can I install cabinet handles myself?
Yes. It’s a basic drill-and-driver job that doesn’t require professional experience – the main skill is measuring carefully and drilling straight, both of which a jig or combination square make easier to get right the first time.
Conclusion
Straight cabinet handles come down to a repeatable process, not a steady hand: pick a consistent reference measurement for your cabinet type, mark both holes independently, back up the door before drilling to stop splintering, and drill perpendicular to the face. Do that on the first door and repeat it exactly on every door after, whether by hand with a combination square or with a jig, and the whole kitchen ends up looking like it was installed by one careful person instead of assembled door by door.
Sponsored / affiliate links. As an Amazon Associate I earn from qualifying purchases. I may earn additional commission from eligible campaigns.