DIY Lumber Storage Ideas
A practical DIY lumber storage setup is often a wall-mounted system with three zones: horizontal racks for boards, vertical slots for plywood, and a bin or tote for scraps. It keeps material dry, visible, and off the floor. Poor storage leads to warped stock, crushed sheet goods, lost offcuts, and a shop that is harder to heat and move through in winter. This guide covers garage-friendly builds, space-saving layouts, and the key tradeoffs for cold, cramped shops.
Why winter woodshops need a storage plan


Cold concrete, tight clearances, and stacked material create problems fast. When lumber sits on the floor, it picks up moisture from below and is harder to inspect, sort, and move. In a winter shop, the best layout keeps boards off cold surfaces, leaves a clear walking path, and limits the chance of tipping or sagging.
Cold-floor moisture and wood movement
Winter garage floors can stay cold even when the air warms. That matters because wood stored directly on concrete can pick up moisture from condensation or damp air near the slab. Keep stickers, racks, or a cart base between the wood and the floor, and leave enough airflow that bundles do not trap dampness.
What breaks down first in cramped shops
The first failures are usually practical, not dramatic. Long boards start to bow when they are propped at one end, sheet goods lean into a pile, and offcuts become a floor-level obstacle. A good system prevents those three problems before they turn into damaged stock or a blocked route to the bench.
Which lumber storage style fits your shop?
The right choice comes down to three things: wall space, floor space, and the material you store most often. A wall rack fits open framing and long boards. A rolling cart helps when wall space is tight. A vertical tower is the strongest answer for a corner that would otherwise go unused.
Match storage to floor space and wall space
If the shop has open wall sections and studs where you need them, a wall-mounted rack is usually the most stable choice. If tools and machines already cover the walls, a cart on casters may fit better because it can move out of the way. If both wall and floor space are tight, a vertical tower uses height instead of width.
Choose by board length and sheet-goods needs
Short offcuts and mixed lumber work well in bins or on a cart. Full sheets need a wider footprint and a stiffer base, because a stack of plywood can act like a sail when it leans. Long boards need either continuous support or closely spaced arms so the ends do not droop.
Decide between fixed storage and mobile storage
Fixed storage wins on stability. Mobile storage wins when you need to shift material for parking, tool access, or seasonal cleanup. If the rack will hold heavy hardwood or long boards, fixed wall attachment is usually the safer answer. If the load changes week to week, a rolling cart is easier to reconfigure.
Lumber storage decision matrix
This matrix helps you match storage type to the actual constraint in the shop. Use it to compare floor space, wall space, board length, sheet goods, mobility, moisture exposure, and build difficulty before you start cutting material.
| Shop constraint | Best fit | Why it fits | Build difficulty |
|---|---|---|---|
| Very little floor space | Vertical wood tower | Uses corner height and keeps the footprint small | Moderate |
| Open wall space, long boards | Wall-mounted lumber rack | Holds boards off the floor and keeps them easy to reach | Easy to moderate |
| Heavy boards, long spans | Cantilever rack | Bracket arms support longer stock with fewer sag points | Moderate to advanced |
| Mixed lumber, scraps, frequent moves | Rolling lumber cart | Casters let you move the load and park it elsewhere | Easy to intermediate |
| Full sheets of plywood | Plywood storage cart or vertical sheet bay | Wider base and divider help prevent tipping | Intermediate |
| Low-cost wall build | Conduit lumber rack | EMT conduit keeps cost down and works for horizontal storage | Intermediate |
| Moisture exposure near slab or door | Any off-the-floor design with airflow | Reduces direct contact with cold concrete and damp zones | Depends on layout |
| Need to move material often | Rolling cart with locking wheels | Mobility matters more than maximum capacity | Easy to intermediate |
A common first-timer mistake is choosing a rack by appearance instead of load path. A board around 6 feet long needs support that helps keep it from bowing between points, and a plywood stack needs a base that helps prevent sideways racking if the top sheet shifts.
Wall-mounted lumber rack ideas
A wall-mounted rack is the best answer when you have studs, open wall sections, and lumber that should stay off the floor. Saws on Skates groups these builds with basic 2x4s and a handful of screws, which makes them a practical starting point for many garage shops. For heavier stock, upgrade the support spacing and fastening hardware.
Stud attachment and lag screw basics
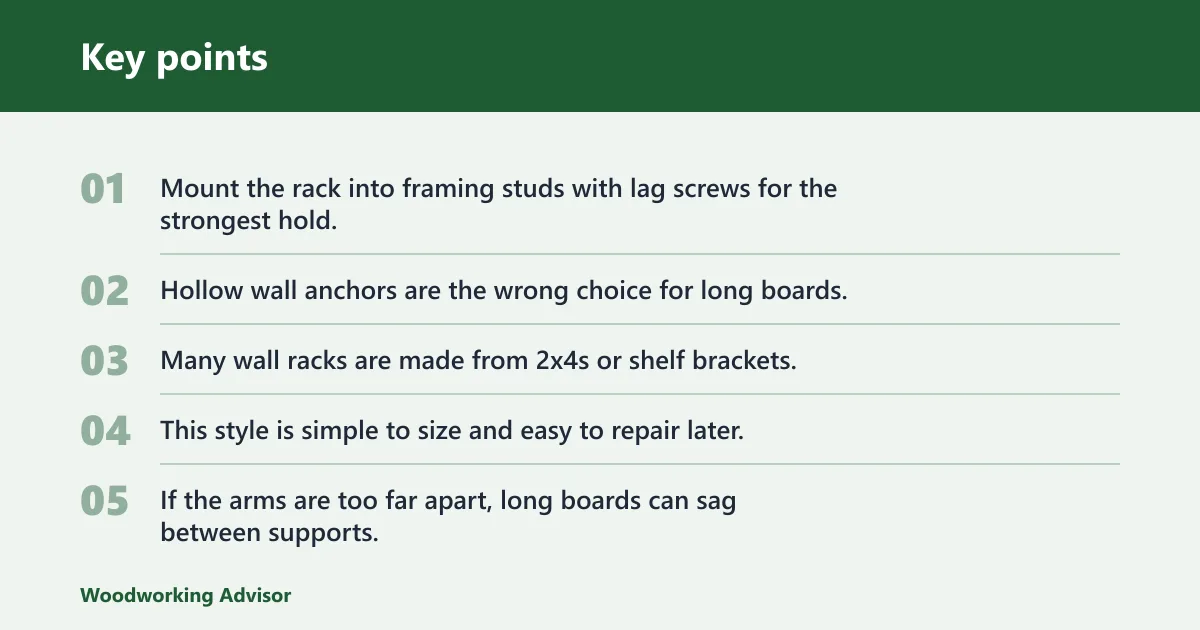
Use a stud finder before you drill. That is not optional for heavy wall storage. Mount the rack into framing studs with lag screws for the strongest hold, or use wood screws only when the design is light and the load is modest. Hollow wall anchors are the wrong choice for long boards.
2×4 and shelf-bracket builds
Many wall racks are made from 2x4s or shelf brackets, with horizontal arms that hold lumber in rows. This style is simple to size and easy to repair later. If the arms are too far apart, long boards can sag between supports. Keep the spacing close enough that the load stays flat.
When a cantilever rack makes more sense
A cantilever rack is the better choice when the stock is longer or heavier than a simple shelf-style rack should carry. DiyCraftsy includes a cantilever lumber rack among its DIY ideas. The bracket arms carry the load while leaving the front open, which makes it easier to slide boards in and out without lifting over a front lip.
Suppose your garage wall can spare 10 feet of width but the floor is already crowded with machines. A wall-mounted rack gives you a fixed home for framing lumber and hardwood, while the floor stays open for parking, a saw stand, or assembly.
Should you build a rolling cart?
Build a rolling cart when your stock changes often, your wall space is limited, or you want one holder for scraps and mixed lumber. Ana White lists a lumber cart as an intermediate build with casters, and another option is a beginner build using only 2×4 material and casters. The cart works best when it is not overloaded and the wheels lock.
Best uses for casters and locking wheels
Casters make a heavy cart movable, but locking wheels are the part that keeps it useful. Without locks, the cart can shift while you pull a board or roll it over a threshold. Choose casters rated for the full load plus a margin for uneven floor joints and winter debris.
How to keep a cart stable under load
The base should be wider than the load is tall, especially for plywood or mixed cutoffs. Keep the heaviest stock low. If the cart carries long boards, orient them so the longest pieces do not stick out far enough to act like a lever. A low center of gravity matters more than raw capacity.
Scrap wood and mixed lumber on one cart
The HandyMan’s Daughter rolling cart is good for bits and smaller pieces. Ana White’s lumber cart stores plywood in the center and scrap on one side, which is a useful layout when you want one station for mixed material. That layout keeps the short pieces from sliding under larger stock.
Plywood and sheet-goods storage options
Plywood needs more support than many boards because the sheets are wide, flexible, and awkward to turn in a cramped shop. Jaime Costiglio’s lumber rack is intended to hold full sheets and full size boards. If the storage area is too narrow, a cart or vertical bay is safer than a lean-to pile against the wall.
Vertical sheet storage
Vertical storage saves floor width, but it must be stable. Use a wider base so the sheet stack cannot kick out at the bottom. A center bay or divider can keep the sheets upright and separate plywood from MDF, OSB, or panel stock. That divider also makes it easier to pull one sheet without disturbing the rest.
Cart-based sheet storage
A sheet-goods cart works well when you need to move panels near a saw or keep them from taking over the wall. DiyCraftsy describes a rolling lumber rack and sheet goods cart as a mobile option. Keep the load centered and low, and do not let full sheets ride so high that the cart becomes top-heavy.
Wider bases and center dividers
For plywood, the base footprint matters more than fancy joinery. A wider stance resists tipping when a sheet shifts or when one side is loaded before the other. A center divider helps separate full sheets from cutoffs, which keeps the stack from leaning into a single crooked mass.
How do you store scrap wood in a small shop?
The best scrap system sorts by size, keeps pieces visible, and stops the lean-and-pile habit that eats floor space. Use bins for short cutoffs, divided sections for longer offcuts, and a separate zone for species or thickness if you reuse scrap often. The goal is quick access, not perfect symmetry.
Bins, divided sections, and size sorting
Sort scraps by length first, then by width or thickness. Short pieces belong in bins or totes, where they cannot tumble out. Longer offcuts fit better in divided bays that prevent them from leaning into a single messy stack. Keep one section for usable cutoffs and another for kindling or disposal.
Corner towers and upright organizers
Heathered Nest describes a vertical storage rack that fits an awkward garage corner, and Heathered Nest recommends going vertical when floor space is limited. A vertical wood tower works well for narrow offcuts, molding, and shorter boards. Adjustable dividers or dowels let you change the section width as the scrap mix changes.
Labeling by species, thickness, or length
Label by the trait that matters most for retrieval. For a rough shop, that may be species and thickness, such as maple 4/4 or pine 1x. For a trim-heavy shop, length may matter more. Put labels at eye level and keep the wording consistent across bins, dividers, and wall sections.
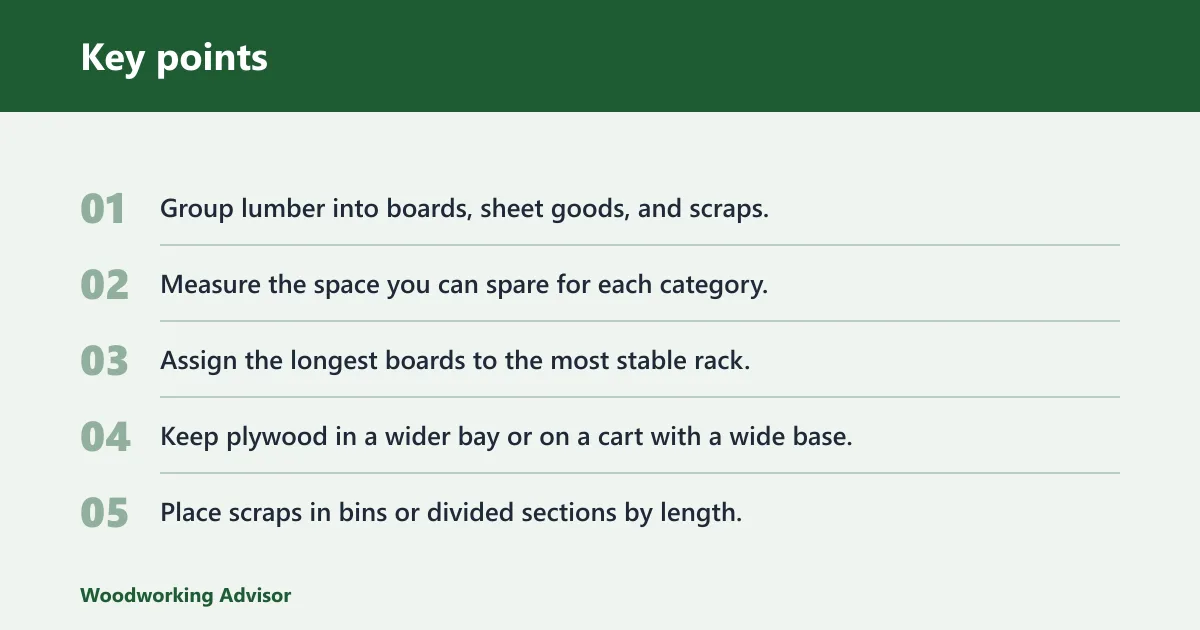
- Group lumber into boards, sheet goods, and scraps.
- Measure the space you can spare for each category.
- Assign the longest boards to the most stable rack.
- Keep plywood in a wider bay or on a cart with a wide base.
- Place scraps in bins or divided sections by length.
- Label every zone so you can put material back in the same place.
How do you keep lumber organized so you can find the right piece fast?
Speed comes from a simple workflow: one place for each type of stock, one label system, and one habit for putting material away. Mark species, thickness, and rough length on the rack or bin. Put the most-used material at hand height, and keep rarely used stock higher or lower.
A practical workflow is to sort incoming lumber once, not every time you need a board. Put full sheets in the sheet bay, long boards in the horizontal rack, and scraps in the bin immediately after a cut. If a piece does not have a home, it becomes clutter by default.
Frequently asked questions
What is the best way to store lumber in a garage shop?
The best garage-shop setup is usually a wall-mounted rack for boards, a vertical bay for plywood, and a bin for scraps. That combination keeps material off the floor and easy to reach. If wall space is tight, shift some stock to a rolling cart with locking wheels.
Should I build a wall-mounted lumber rack or a rolling cart?
Choose a wall rack if you have studs, open wall space, and heavier or longer boards. Choose a rolling cart if you need mobility or your walls are already full. Wall storage is steadier. A cart is easier to move and rearrange.
How do I store plywood sheets without taking up floor space?
Store plywood vertically in a narrow bay or on a cart with a wider base. Add a center divider so the sheets stay upright and do not slide into a lean. If the stack is tall, keep the heaviest sheets at the bottom and limit how many you store in one section.
What is the best way to store scrap wood in a small workshop?
Use bins for short pieces and divided vertical sections for longer offcuts. Sort by length first, then by thickness or species if that helps you find usable pieces faster. The key is to stop scraps from forming a loose pile on the floor or a slanted heap in a corner.
How do I store long boards without them tipping or bowing?
Support long boards at several points instead of only at the ends. A wall-mounted rack with closely spaced arms or a cantilever rack works well. Keep the support points level, anchor the rack into studs with lag screws, and avoid hanging more weight on one side than the other.
How do I label different wood types in storage?
Use labels that match how you search for stock, such as species, thickness, and length. Keep the format the same on every rack, bin, and divider. Simple tags, tape labels, or painted marks work as long as they are easy to read in winter light and do not fall off.
Sponsored / affiliate links. As an Amazon Associate I earn from qualifying purchases. I may earn additional commission from eligible campaigns.