How to Hollow Out Wood by Hand: Match the Tool to the Depth
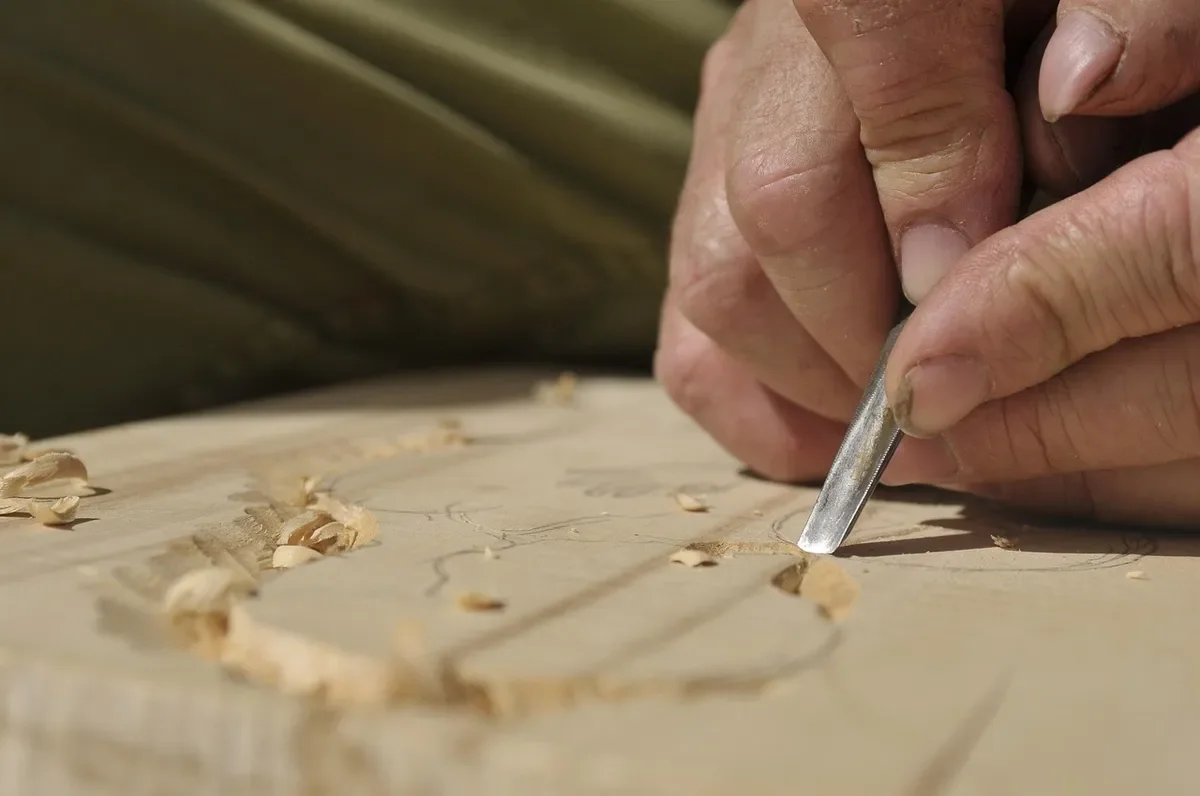
To hollow out wood by hand, match the tool to the shape of the hollow: a gouge or adze for open dishes and bowls, and a drill plus chisel for straight-walled pockets. The mistake most beginners make is using a chisel on everything, which is slow and tears the grain in a deep cavity.
This guide sorts the job by what you are actually making, then shows the drill-and-chisel method step by step, including the simple math on how much wood a drill really removes. If you are carving a full bowl, our hand-carved bowl guide goes deeper on that specific project.
Match the Method to the Hollow
Best Forstner Bit Set for Deep Pockets
 |
IRWIN Marples Forstner Bit Set, 14 Pieces: $68.79 Flat-bottomed bits are what you use to drill out the bulk of a pocket before you pare the walls with a chisel.
|
Hollows fall into a few families, and each has a tool that does most of the work. Choosing correctly at the start saves hours of chisel work.
| What you are making | Best hand method | Why it works |
|---|---|---|
| Open dish, bowl or scoop | Adze or mallet-driven gouge, then scorp | Takes thick chips fast and follows a curved floor |
| Small spoon or ladle bowl | Hook knife or a tight-sweep gouge | Controlled cuts in a small, curved space |
| Straight-walled pocket, tray or box cavity | Drill out waste, then chisel | Drilling sets the depth and removes most of the wood |
| Shallow concave dip in a flat surface | Gouge to a depth line | Full method here |
If you are scooping a seat, the adze-and-scorp routine is covered in our chair seat contouring guide. For gouge sweep numbers and sharpening, see how to gouge wood. The rest of this page focuses on the drill-and-chisel pocket, since the other pages cover the curved cases.
How Much Wood Does Drilling Actually Remove?
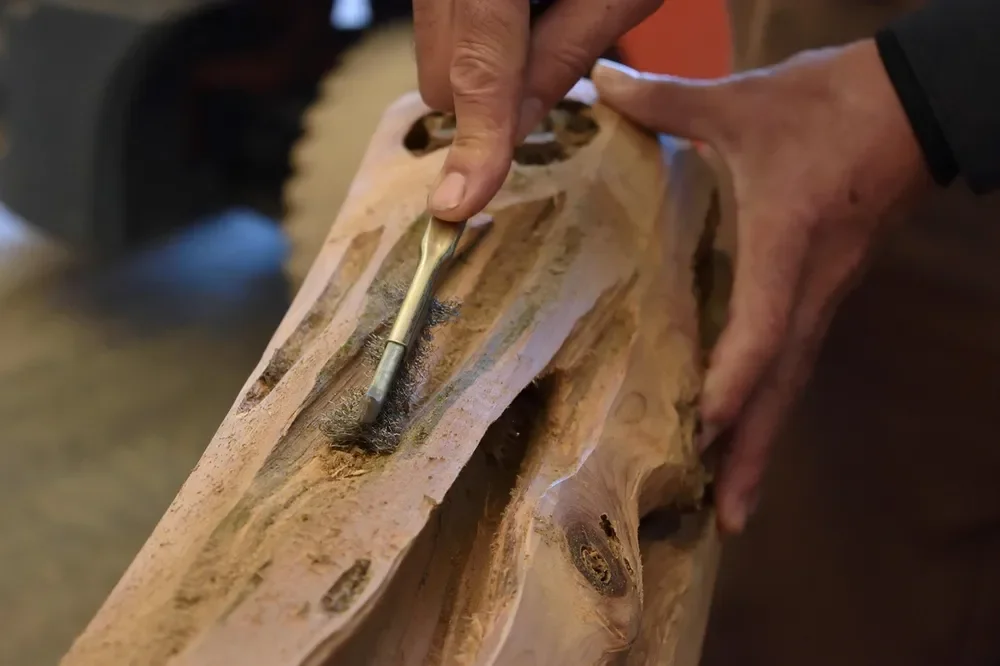
Most guides say to drill out the waste, but few say how much a drill can really clear. It is geometry. A round hole can never fill a square, so drilled holes always leave webs of wood between them that you must pare away.
| Hole layout | Area removed | Left for the chisel |
|---|---|---|
| Square grid, holes touching | 78.5 percent (pi/4) | 21.5 percent |
| Staggered rows, holes touching | 90.7 percent | 9.3 percent |
A quick example makes it concrete. A 3 by 2 inch pocket has 6 square inches of area. Six touching 1 inch holes in a square grid remove about 4.7 square inches, leaving roughly 1.3 square inches of webs and corners. Staggering the holes so each row nests into the gaps of the last cuts the leftover by more than half, which is worth the extra layout time on a deep pocket.
These are theoretical figures for perfectly touching holes. In practice you drill slightly overlapping holes, so the real leftover is a little smaller, but the webs are thinner and more fragile, which makes them easier to break out with the chisel.
Drill-and-Chisel Method, Step by Step
- Mark the outline with a marking knife or sharp pencil, and mark the depth on the drill bit with a strip of tape or set a depth stop.
- Score the outline with a chisel: hold it vertical, bevel facing the waste, and tap a light stop cut all the way around. This stop cut keeps later chips from tearing past your line.
- Drill the waste with a Forstner bit, stopping about 1/16 to 1/8 inch short of the final depth. Clear the chips often by lifting the bit.
- Break out the webs between holes with a chisel driven by hand or a light mallet tap, working from the middle toward the outline.
- Pare the walls to the scored line with the chisel bevel down, taking thin cuts and stopping when you hit the line.
- Level the floor with a wide, flat chisel or a router plane, and remove the last 1/16 to 1/8 inch you left in step 3. The bit’s center spur leaves a small dimple, so cut the floor just below it.
The Old Advice to Start at the Edge Is Backwards
Many older tutorials tell you to start at the edge and move inward. On a pocket, that is a good way to tear the wall. Chips lift toward the edge and break the fibers past your layout line, especially across end grain.
The safer order is to remove the middle first and take the last cuts at the line. Because the stop cut already severs the fibers along the outline, the final paring cut has nothing to tear into. Work from the middle out, and the wall stays crisp.
Reading the Grain So the Chisel Does Not Split the Wall
- Cut downhill: if the chisel digs in or the surface looks torn, the grain is rising toward you. Turn the workpiece and cut from the other direction.
- Watch the ends of the pocket: at the two end-grain walls, use small paring cuts rather than mallet blows so you do not wedge the wood apart.
- Keep walls thicker than you think: a thin wall can split when you lever out a web, so leave extra thickness until the final passes.
Softer, even-grained woods such as basswood are far more forgiving for a first hollow than open-grained red oak. Our gouging guide compares hardness values for common carving woods.
Tools You Actually Need
- Chisels: a sharp 1/2 inch and a 1 inch bench chisel cover most pocket work.
- Gouges: a shallow gouge for wide scoops and a deeper sweep for tight curves.
- Mallet: a wooden or dead-blow mallet for driving gouges through thick waste.
- Adze and scorp: for open bowls and seats, where the hollow is too big to drill.
- Forstner bits: the flat bottom is what makes them right for pockets; twist bits leave a cone-shaped hole.
- Clamps or a bench hook: the work must not move while you cut.
Safety While Hollowing by Hand
- Clamp the workpiece so both hands can stay behind the cutting edge at all times.
- Never hold the wood in one hand while you cut toward it. Clamp it.
- Wear safety glasses, and add a dust mask when working dry hardwood or sanding.
- A cut-resistant glove on the hand that holds the workpiece is cheap insurance.
- Keep tools sharp: dull edges need more force, and force is what causes slips.
Smoothing the Hollow
Chisel and gouge marks can be left as a hand-worked texture, especially on a bowl. For a smooth finish, scrape first with a card scraper or a curved scorp, then sand through 80, 120 and 180 grit. Sand with the grain where you can, and use a sanding block on flat pocket floors so they stay flat. If the piece will hold food, finish with a food-safe oil such as mineral oil.
Common Mistakes
- Drilling to full depth and leaving no margin for the chisel to level the floor.
- Skipping the stop cut, then tearing the wall on the last pass.
- Removing thick chips near the outline instead of thin paring cuts.
- Using a dull tool and forcing it, which is how most slips happen.
- Choosing a hard or knotty board for a first project.
Frequently Asked Questions
How do you hollow out wood by hand?
Pick the method by the shape of the hollow. For an open dish or bowl, remove most of the wood with an adze or a mallet-driven gouge, then refine with a scorp or smaller gouge. For a straight-walled pocket, drill overlapping flat-bottomed holes with a Forstner bit to just short of your final depth, then pare the remaining webs and walls with a sharp chisel.
What is the fastest way to hollow out a block of wood by hand?
Drilling is usually the fastest way to clear a pocket. Flat-bottomed holes set in a staggered pattern remove about 90 percent of the area before any chisel work, while a square grid of touching holes removes about 78 percent. An adze is faster for large open bowls because it takes thick chips.
What tools do you need to hollow out wood by hand?
At minimum you need a way to hold the work, a sharp gouge or chisel, and a mallet. For deeper pockets add a drill and Forstner bits, and for bowls and seats an adze and a scorp. Eye protection and a cut-resistant glove for your holding hand are part of the kit.
Is it easier to hollow green wood or dry wood?
Green wood is easier because the fibers are wet and cut cleanly, which is why bowl carvers rough out fresh logs. The trade-off is that a hollowed green piece shrinks and can crack as it dries, so it needs slow, controlled drying or a thick, uniform wall.
Final Thoughts
Hollowing by hand is mostly a decision about method. Choose an adze or gouge for open shapes, drill first for straight-walled pockets, and let the chisel do only the finishing. Practice on a scrap of basswood or pine until the walls come out crisp, and the same skills carry over to bowls, trays and seats.
Sponsored / affiliate links. As an Amazon Associate I earn from qualifying purchases. I may earn additional commission from eligible campaigns.